With, WPFunnels you will be excited to use the first-ever canvas-based funnel builder in WordPress.
There are 2 benefits of using this visual Drag and Drop Canvas:
i. Makes the Funnel building process much easier using your favorite page builders.
ii. Plan your Funnel Steps, set Conditions, and make major changes – all on a beautiful visual canvas.
This is something you’ve always wanted on a funnel-building tool.
Let’s take a closer look at the Drag and Drop canvas and understand all the features it has.
The WPFunnels Drag and Drop Canvas
Watch this video or read the guide below to learn all about the Drag and drop canvas.
For this guide, let’s use a funnel from scratch.
Once you create a funnel from scratch, you will see a blank Drag and Drop Canvas of WPFunnels.
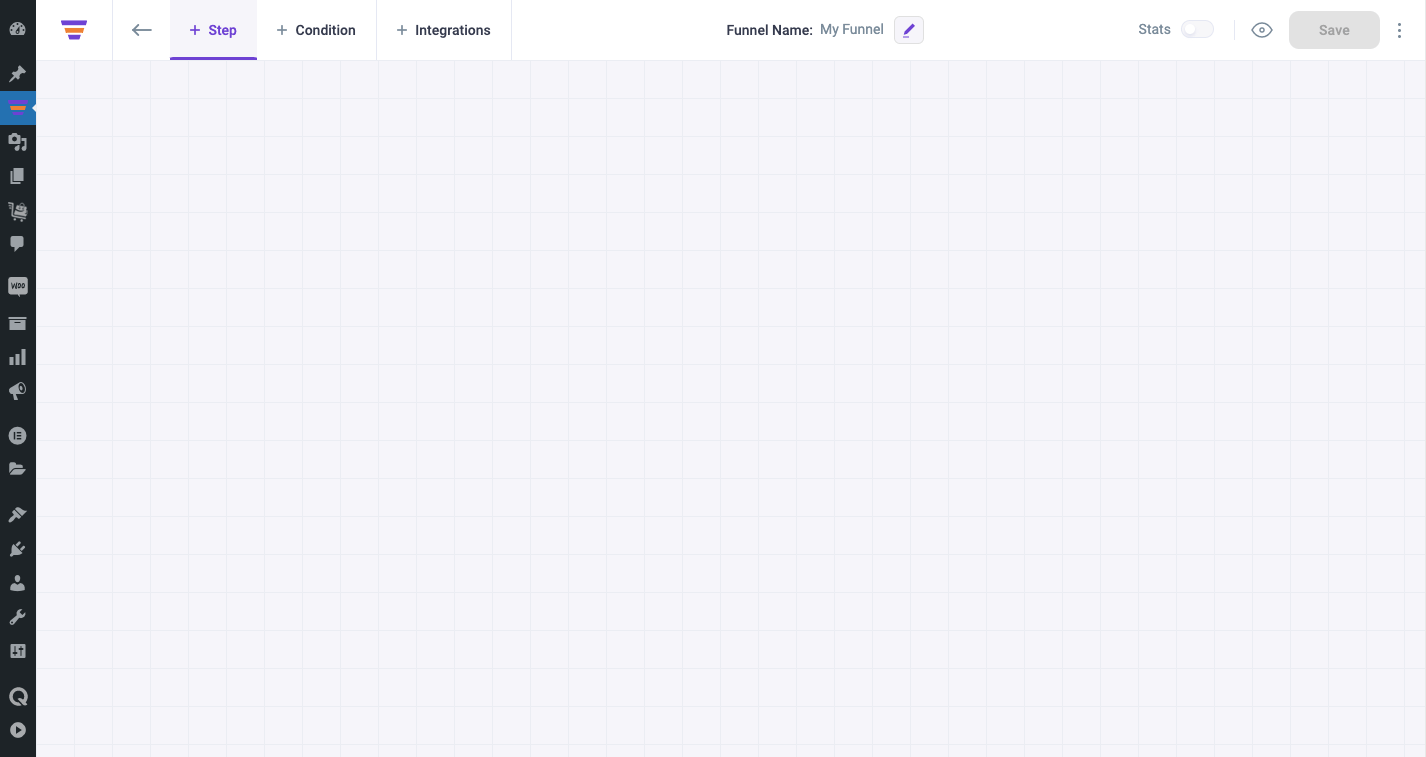
- When you import a funnel template, have steps will be added here. But for this guide, we are using a blank canvas to explain all the features you will find here.
The canvas has the following options to make the funnel-building experience much easier:
- Add Step (+ Step)
- Funnel Steps Mapping
- Add Condition (+ Condition)
- Integrations (+ Integrations)
- Edit Funnel Name
- Preview Funnel
- Stats
- Save
- More options
Let us go over each of the see options.
i. Add Step (+ Step)
On the top left corner of the canvas, you will see the + Step option.
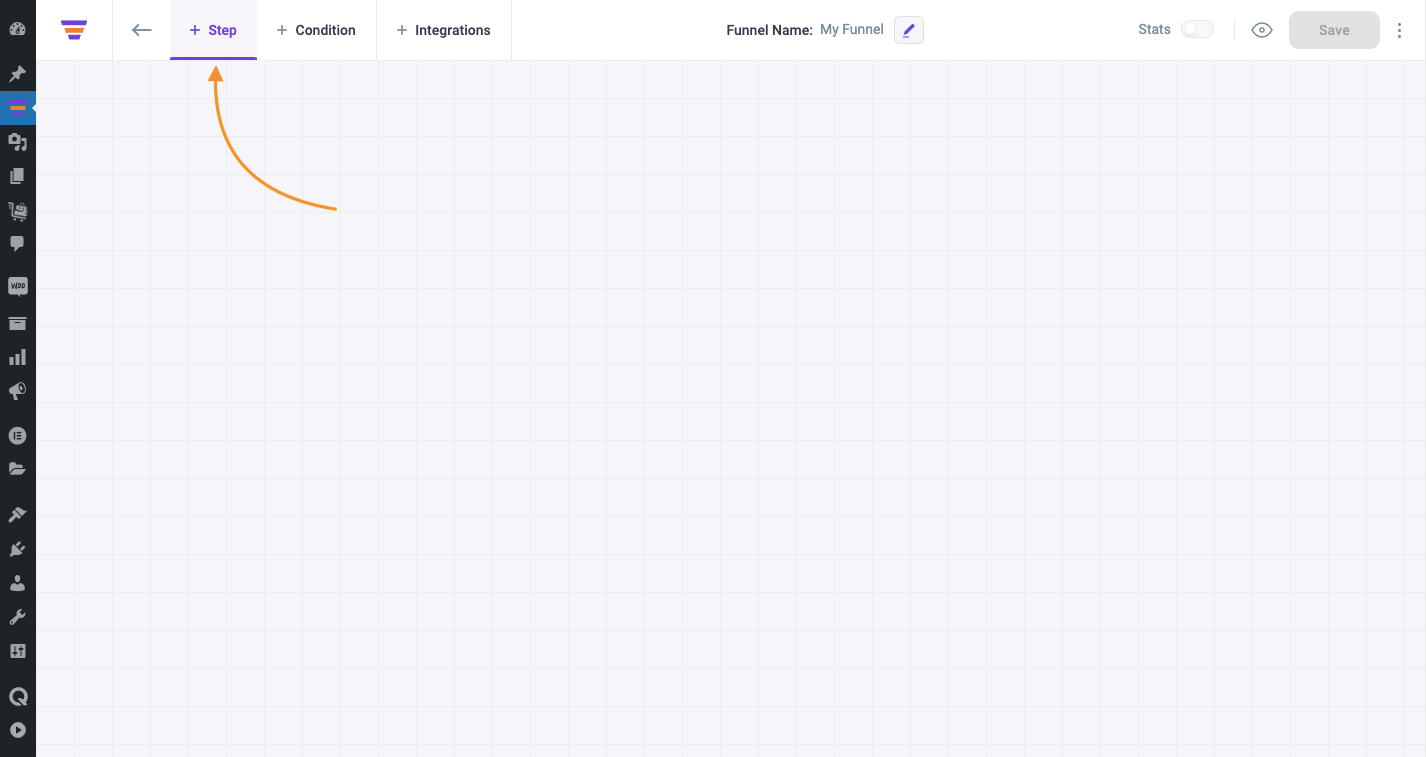
You may click on this button to add funnel steps and start panning the buyers’ journey.
You will be able to add 6 types of funnel Steps:
- Landing
- Checkout
- Thank You
- Custom
- Upsell
- Downsell
ii. Funnel Steps Mapping
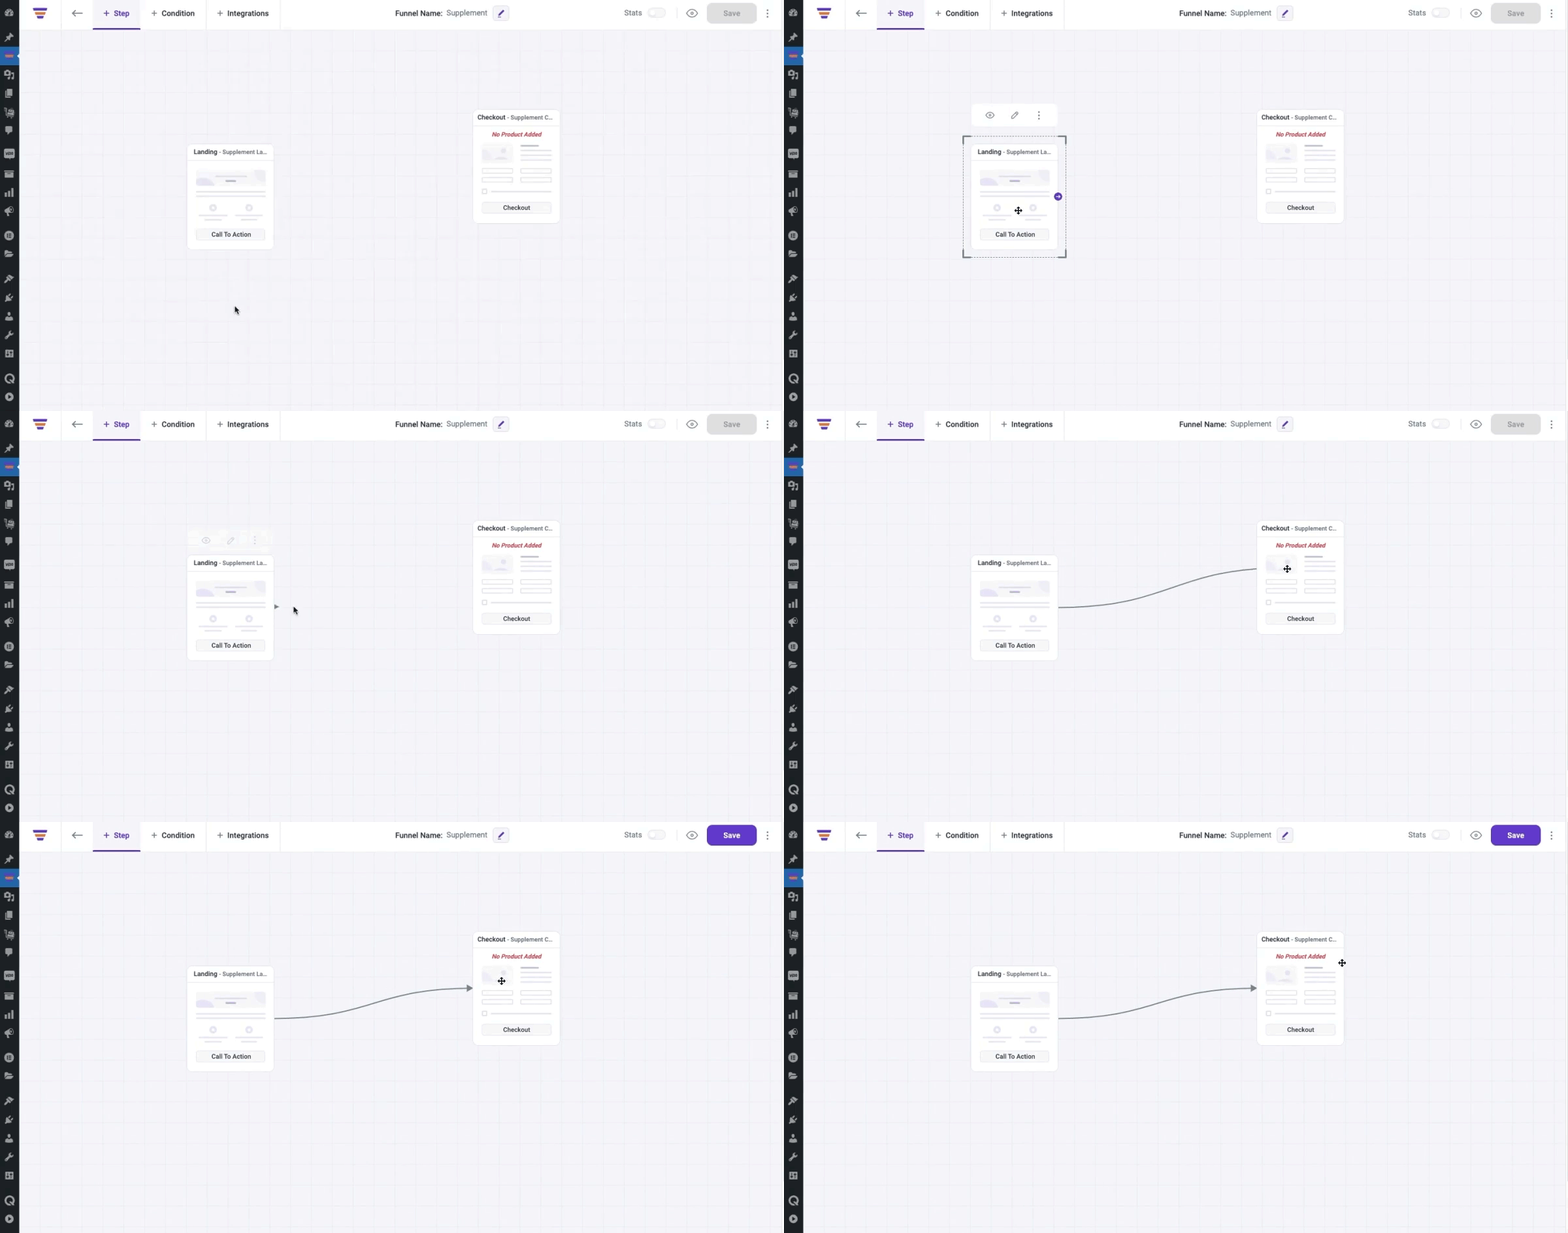
Add the steps and drag them around to decide how you want to organize them and what steps you want to include in your funnel.
Once you add steps, you will be able to move & organize them by clicking and dragging them and connect then connect in the right order easily.
iii. + Condition
Click on this button to add a conditional node with which you can set the conditional triggers to move from one step to another in a sales funnel.
For example, you can use a condition that if someone rejects an Upsell offer, he will be directed to a Downsell offer. But if he accepts it, he will not see the Downsell offer and proceed to see another Upsell offer.
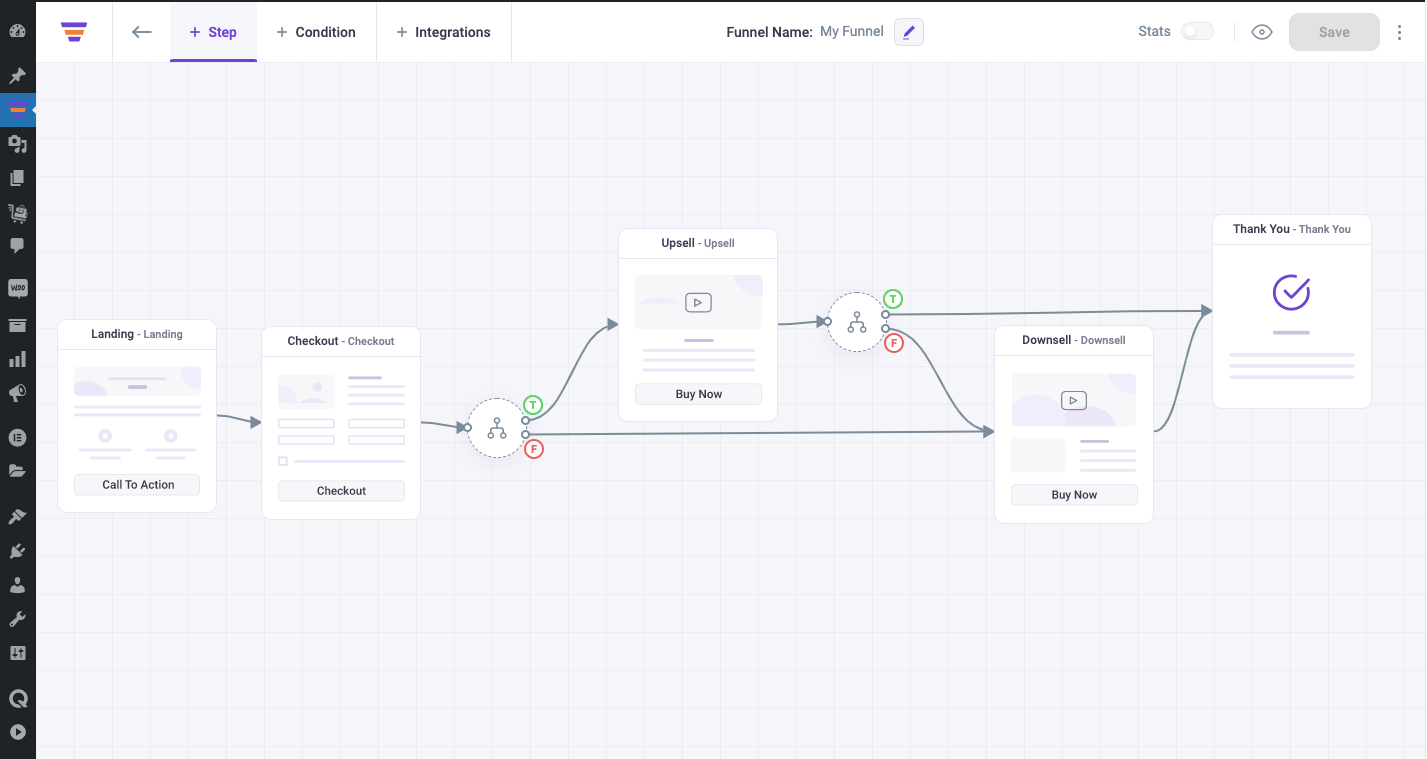
Here, you can see steps added, and conditions set in between. What you will be doing is you will be visually adding the conditional node and inside its settings, you will set the condition which has to be met to move to the next appropriate step.
iv. Integrations (+ Integrations)
Click on this button to integrate your funnel with other tools.
For example, you can add integration with CRM and automation tools.
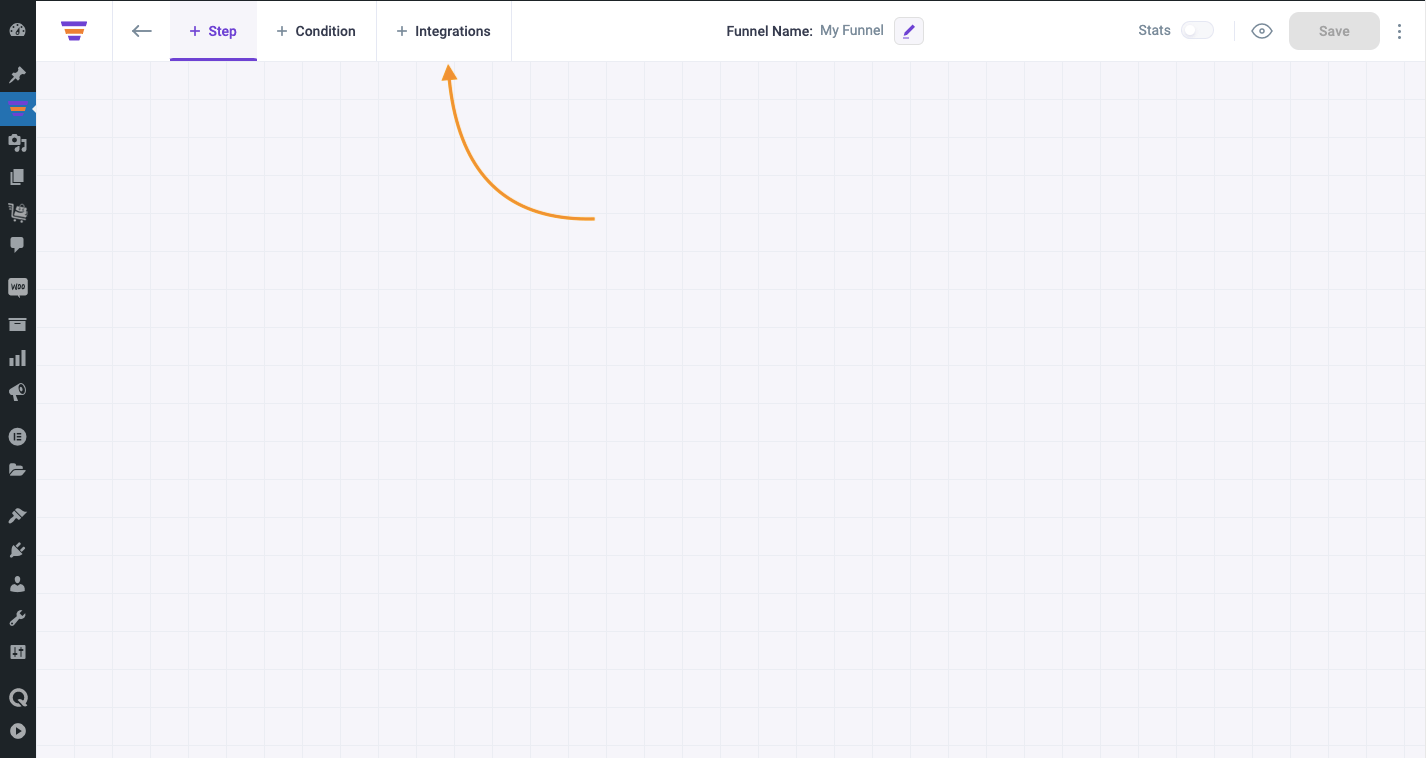
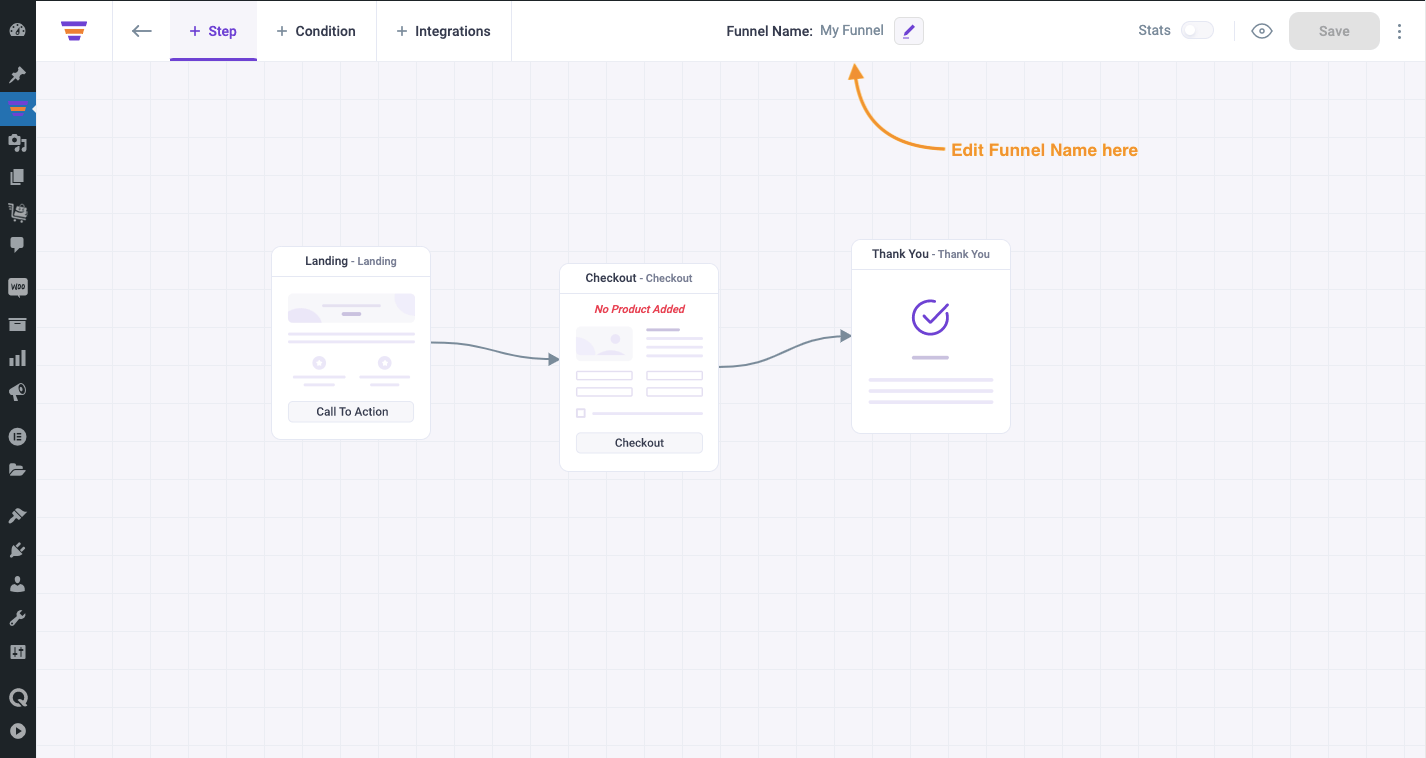
v. Edit Funnel Name
You may edit the name of your funnel as you want.
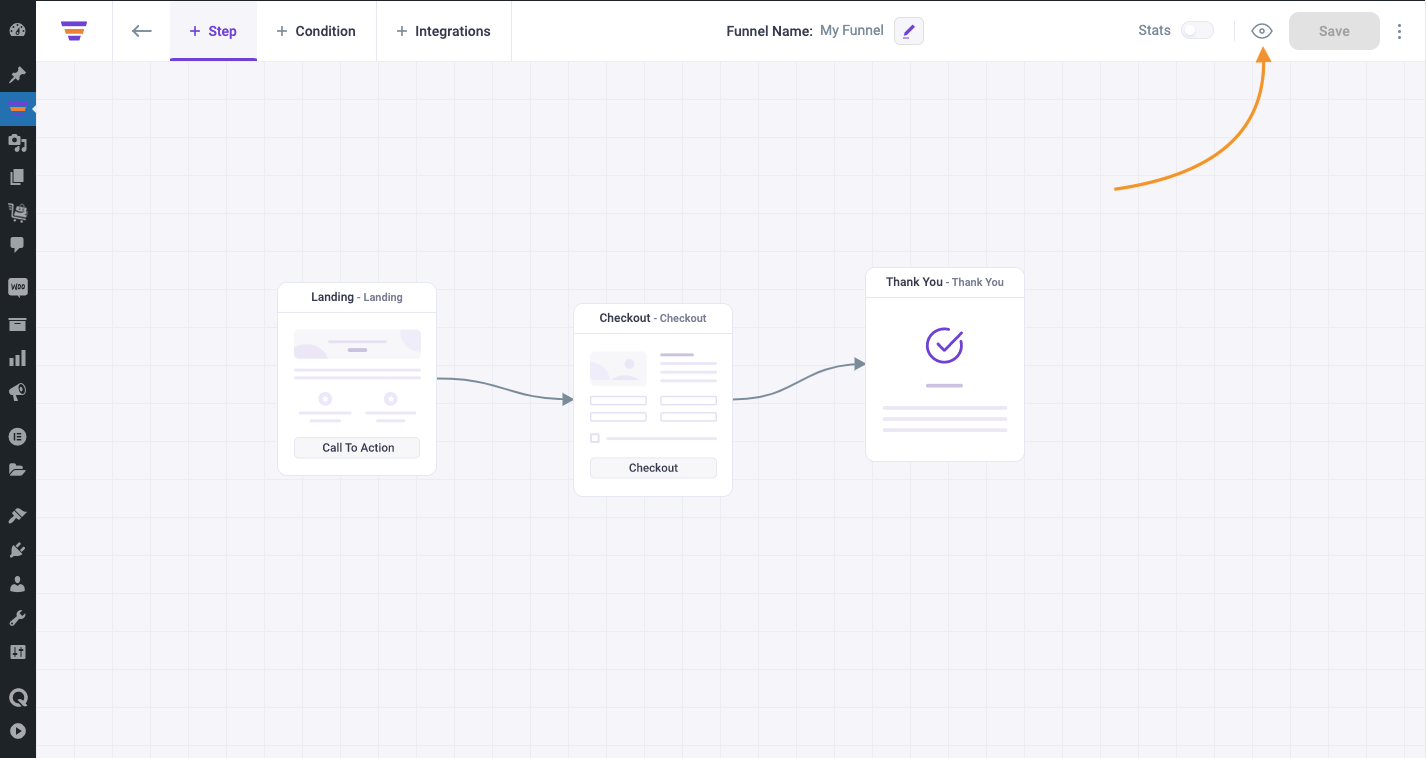
vi. Preview
Clicking on the preview button will let you view the funnel in action. So, after you create a funnel and save it, you may click on the Preview button to get a live version of the funnel.
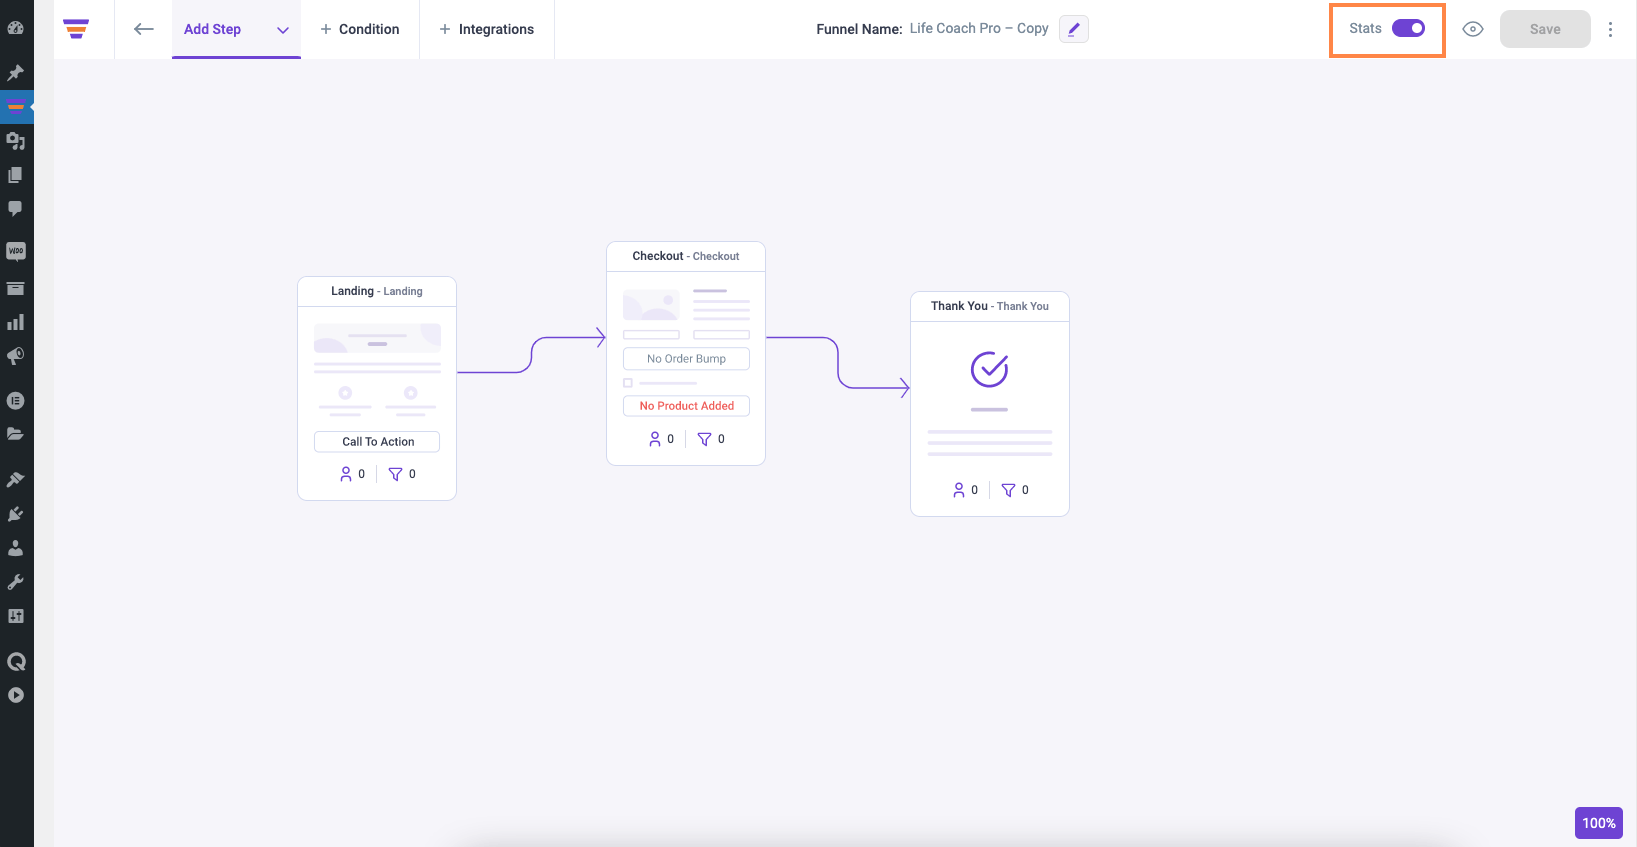
vii. Stats
Enabling Stats will show you the Visit and Conversion number at the bottom of each funnel step.
viii. Save
Clicking on Save will save your funnel.
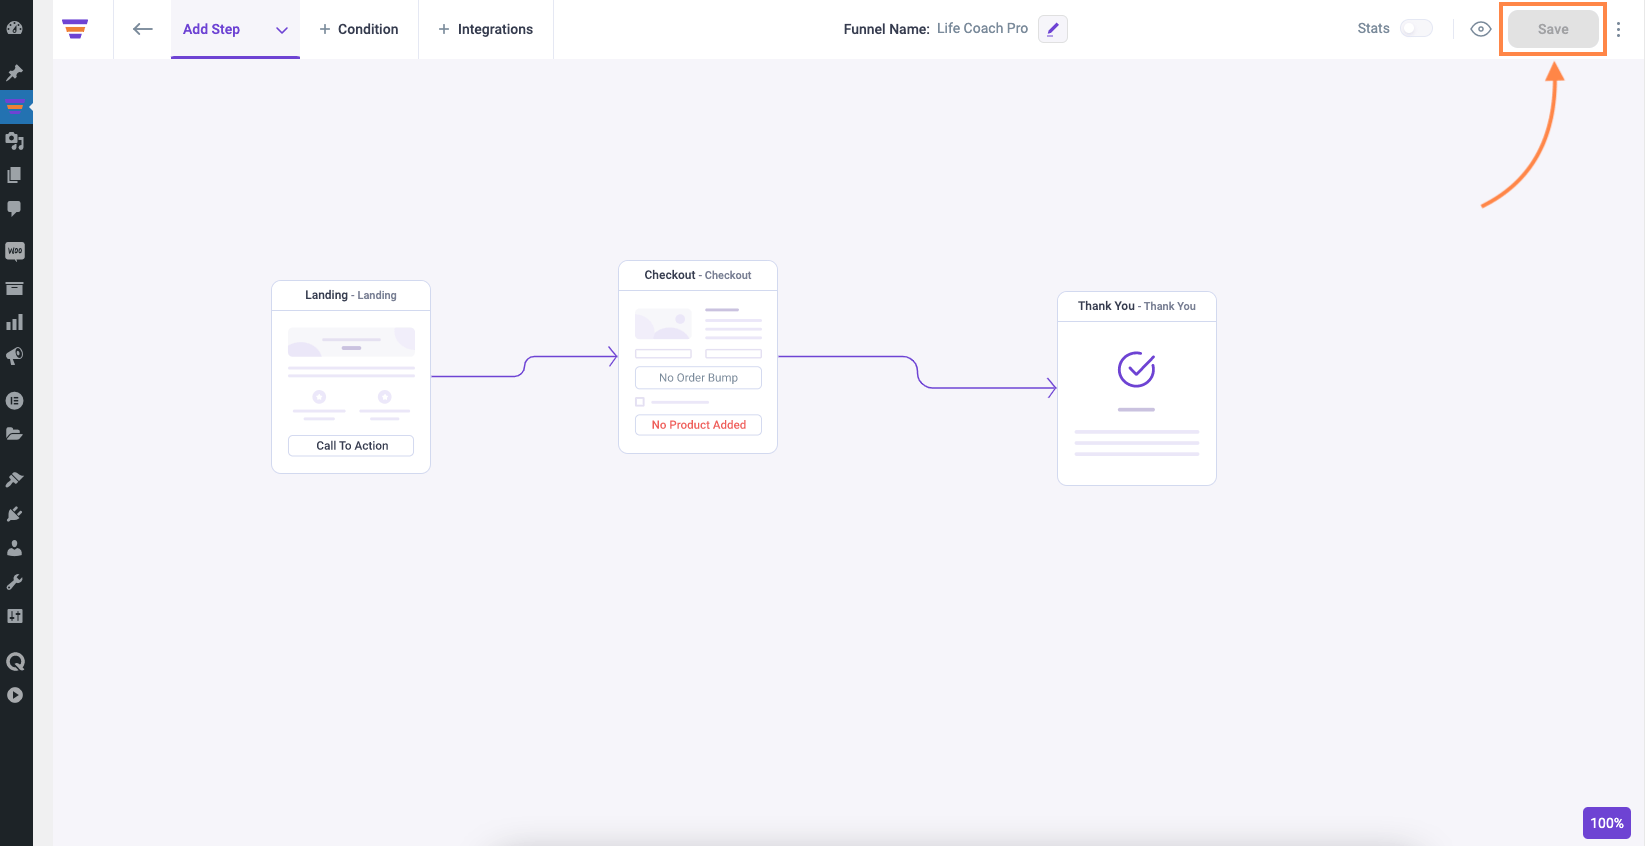
ix. More options
Clicking on 3 dots will open more options for you.
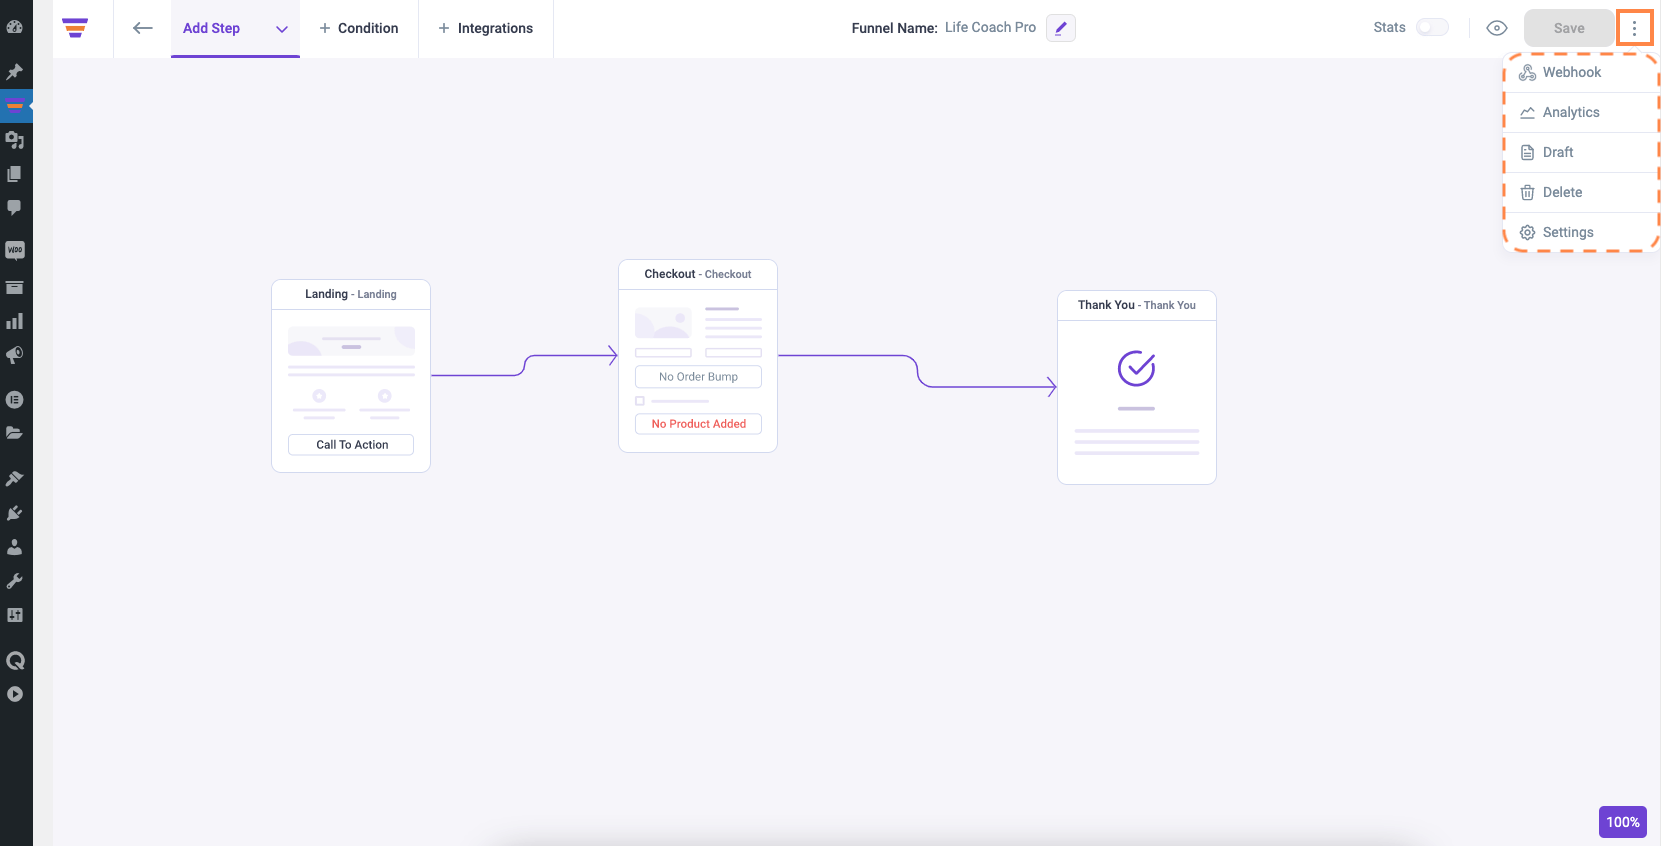
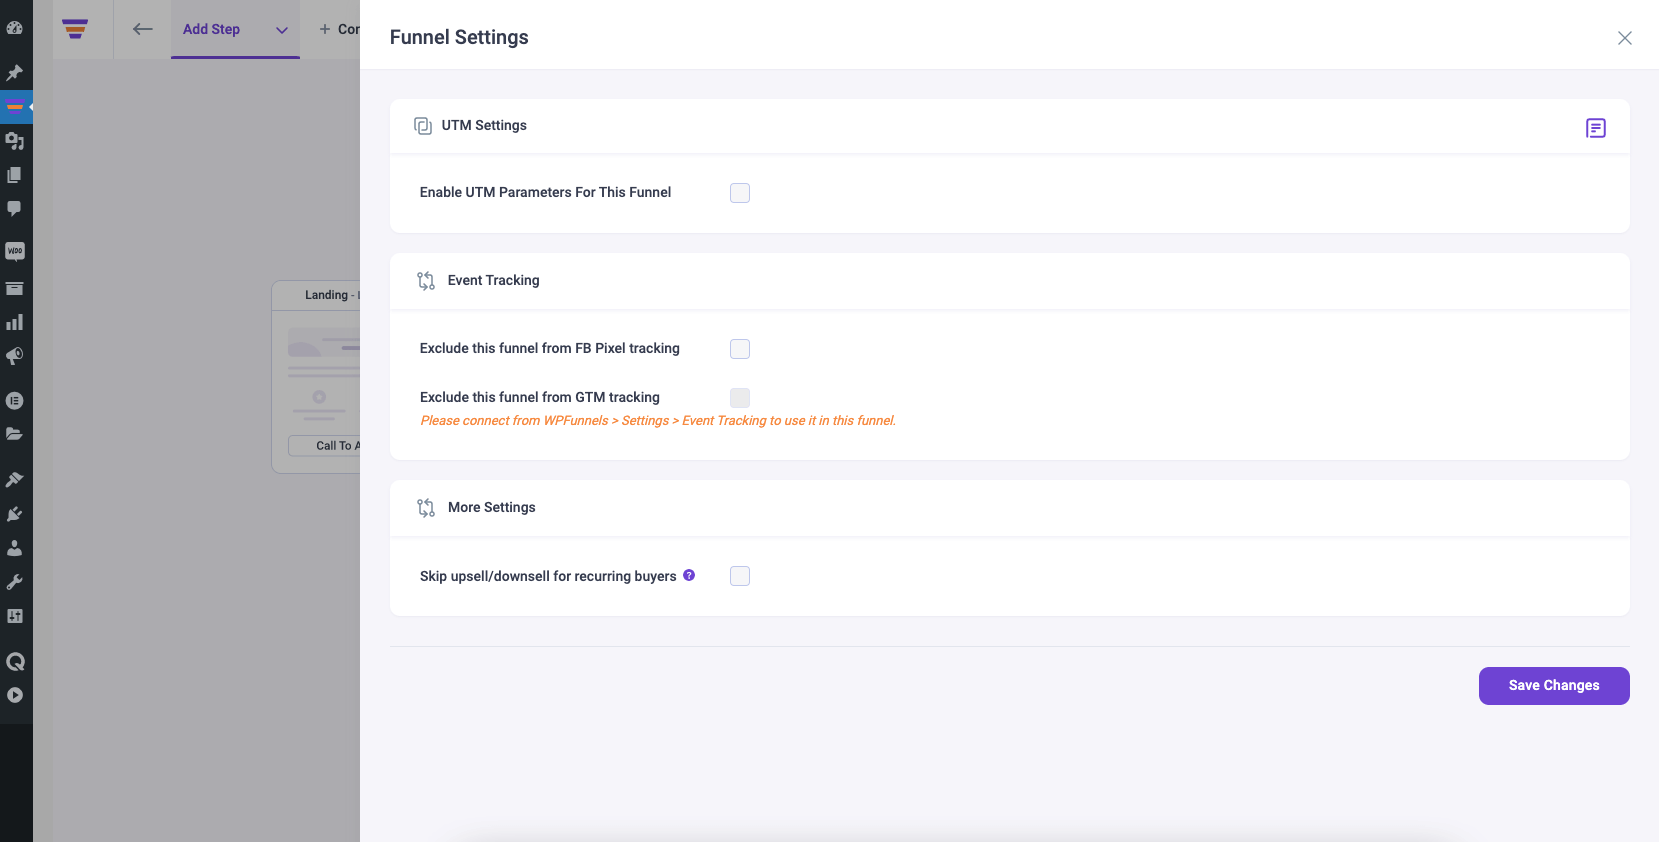
Here, if you click on Settings, it will open a Funnel Settings drawer.
From here, you can set up UTM, exclude your funnel from event tracking and skip upsell/downsell offers for recurring buyers.
Also, you can click on each step to configure them individually which we will learn in one of the next guides.
For now, let us learn how to Add or Remove a step easily in your funnel mapping canvas.
