Creator LMS lets you easily build and manage online courses right from your WordPress dashboard. Follow this guide to install and activate Creator LMS and start creating your first course within a couple of minutes.
Install And Activate Creator LMS Free
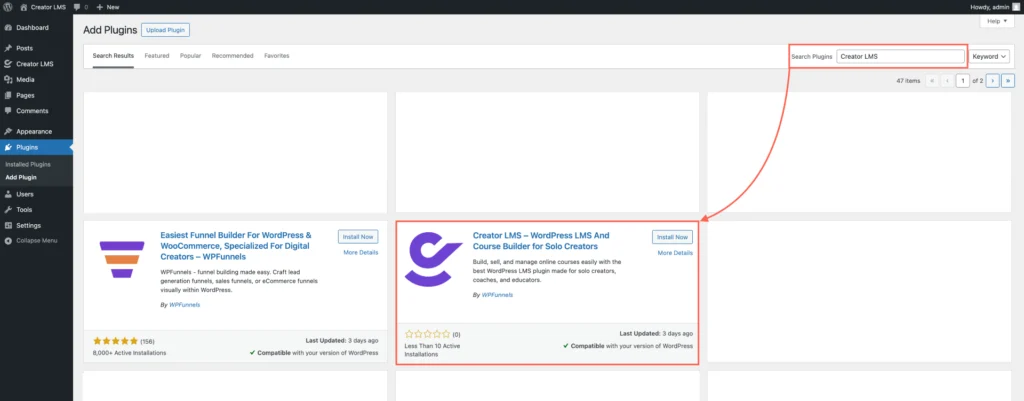
Step 1: Go to your WordPress Dashboard → Plugins → Add New.
In the search box, type “Creator LMS”. You’ll see the plugin named “Creator LMS – Simple WordPress Learning Management System”. Click on Install Now. Alternatively, you can download it directly from WordPress.org. After installation, click Activate.
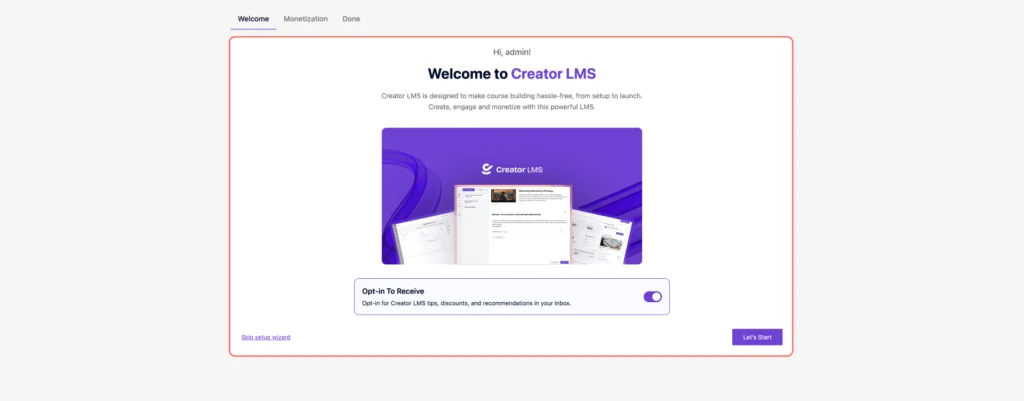
Step 2: Once activated, Creator LMS will be added to your WordPress menu, and you’ll be taken to the Creator LMS Welcome setup wizard. You’ll see a welcome screen for the Creator LMS setup wizard, which helps you configure your LMS in just a few easy steps.
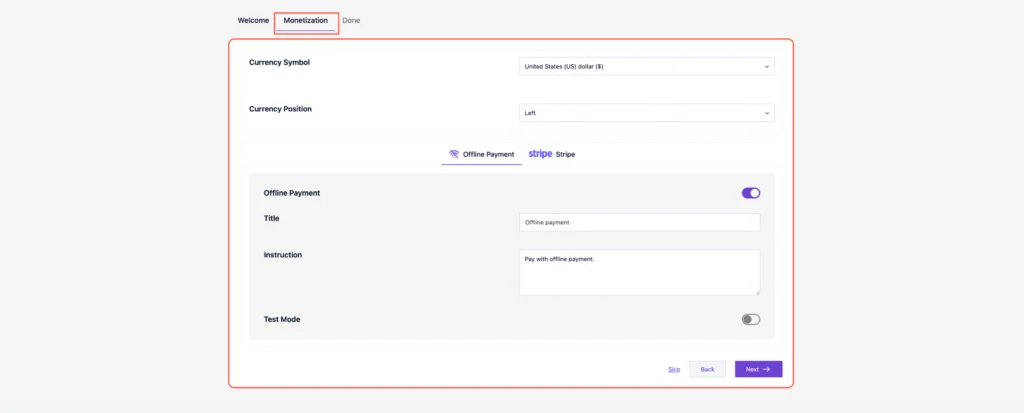
Step 3: In the Monetization Settings, you will set up your basic payment and currency options.
- Currency Symbol – Choose the currency for your platform (e.g., USD, EUR, etc.)
- Currency Position – Set whether the symbol appears before or after the price.
- Offline Payment – Enable manual/offline payments.
- You can customize the Title (e.g., “Offline Payment”) and Instruction (e.g., “Pay with offline payment”).
- Stripe – Enable Stripe if you want to accept credit card payments.
You can also toggle Testing Mode if you’re just exploring or setting things up before going live. Once you’ve reviewed everything, click Next.
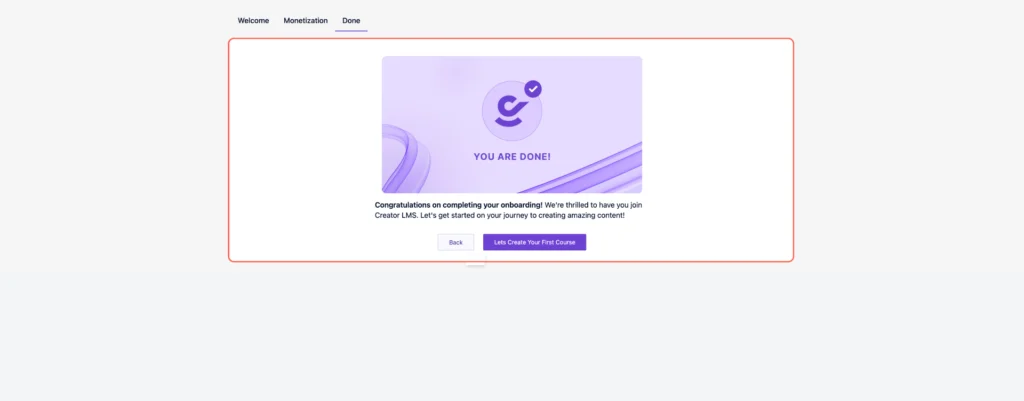
Step 4: Once you’ve completed the Monetization setup, you’ll reach the Done screen. Click the “Let’s Create Your First Course” button to start building your first course.
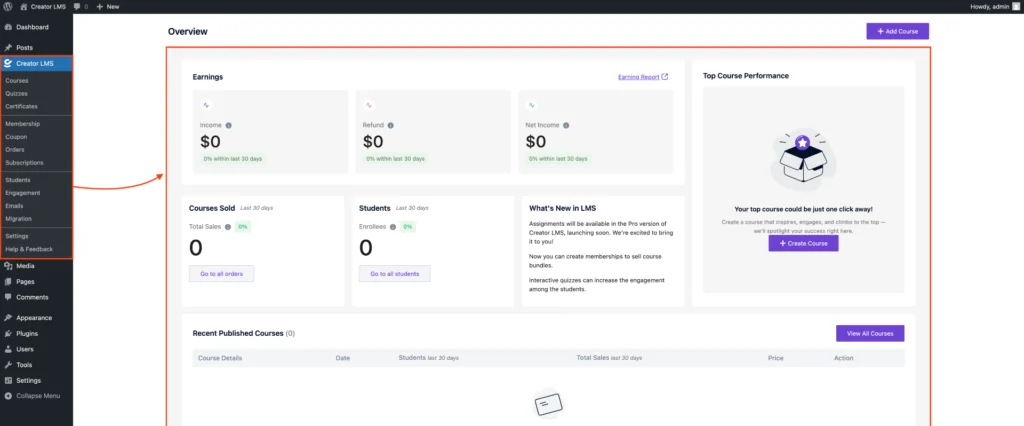
Step 5: Once everything is set up, you’ll be taken to the Dashboard section, where you can begin creating your first course.
You’re now ready to explore Creator LMS and start building impactful learning experiences.