Fluent Forms is fully integrated with Mail Mint to help you capture leads easily. To do this you’ll need Fluent Forms and Mail Mint Pro installed and activated on your WordPress Dashboard.
Let’s have a look at how you can use these tools together to collect valuable leads.
Step 1: Create Your Desired Form Using Fluent Form
Create the form and add the necessary fields. For this, we’ll just add Email and First Name.

Step 2: Create An Automation For This Fluent Form In Mail Mint
Go to Mail Mint Automation Module and select Create an Automation. Once you create automation, give a proper name to your Automation workflow.
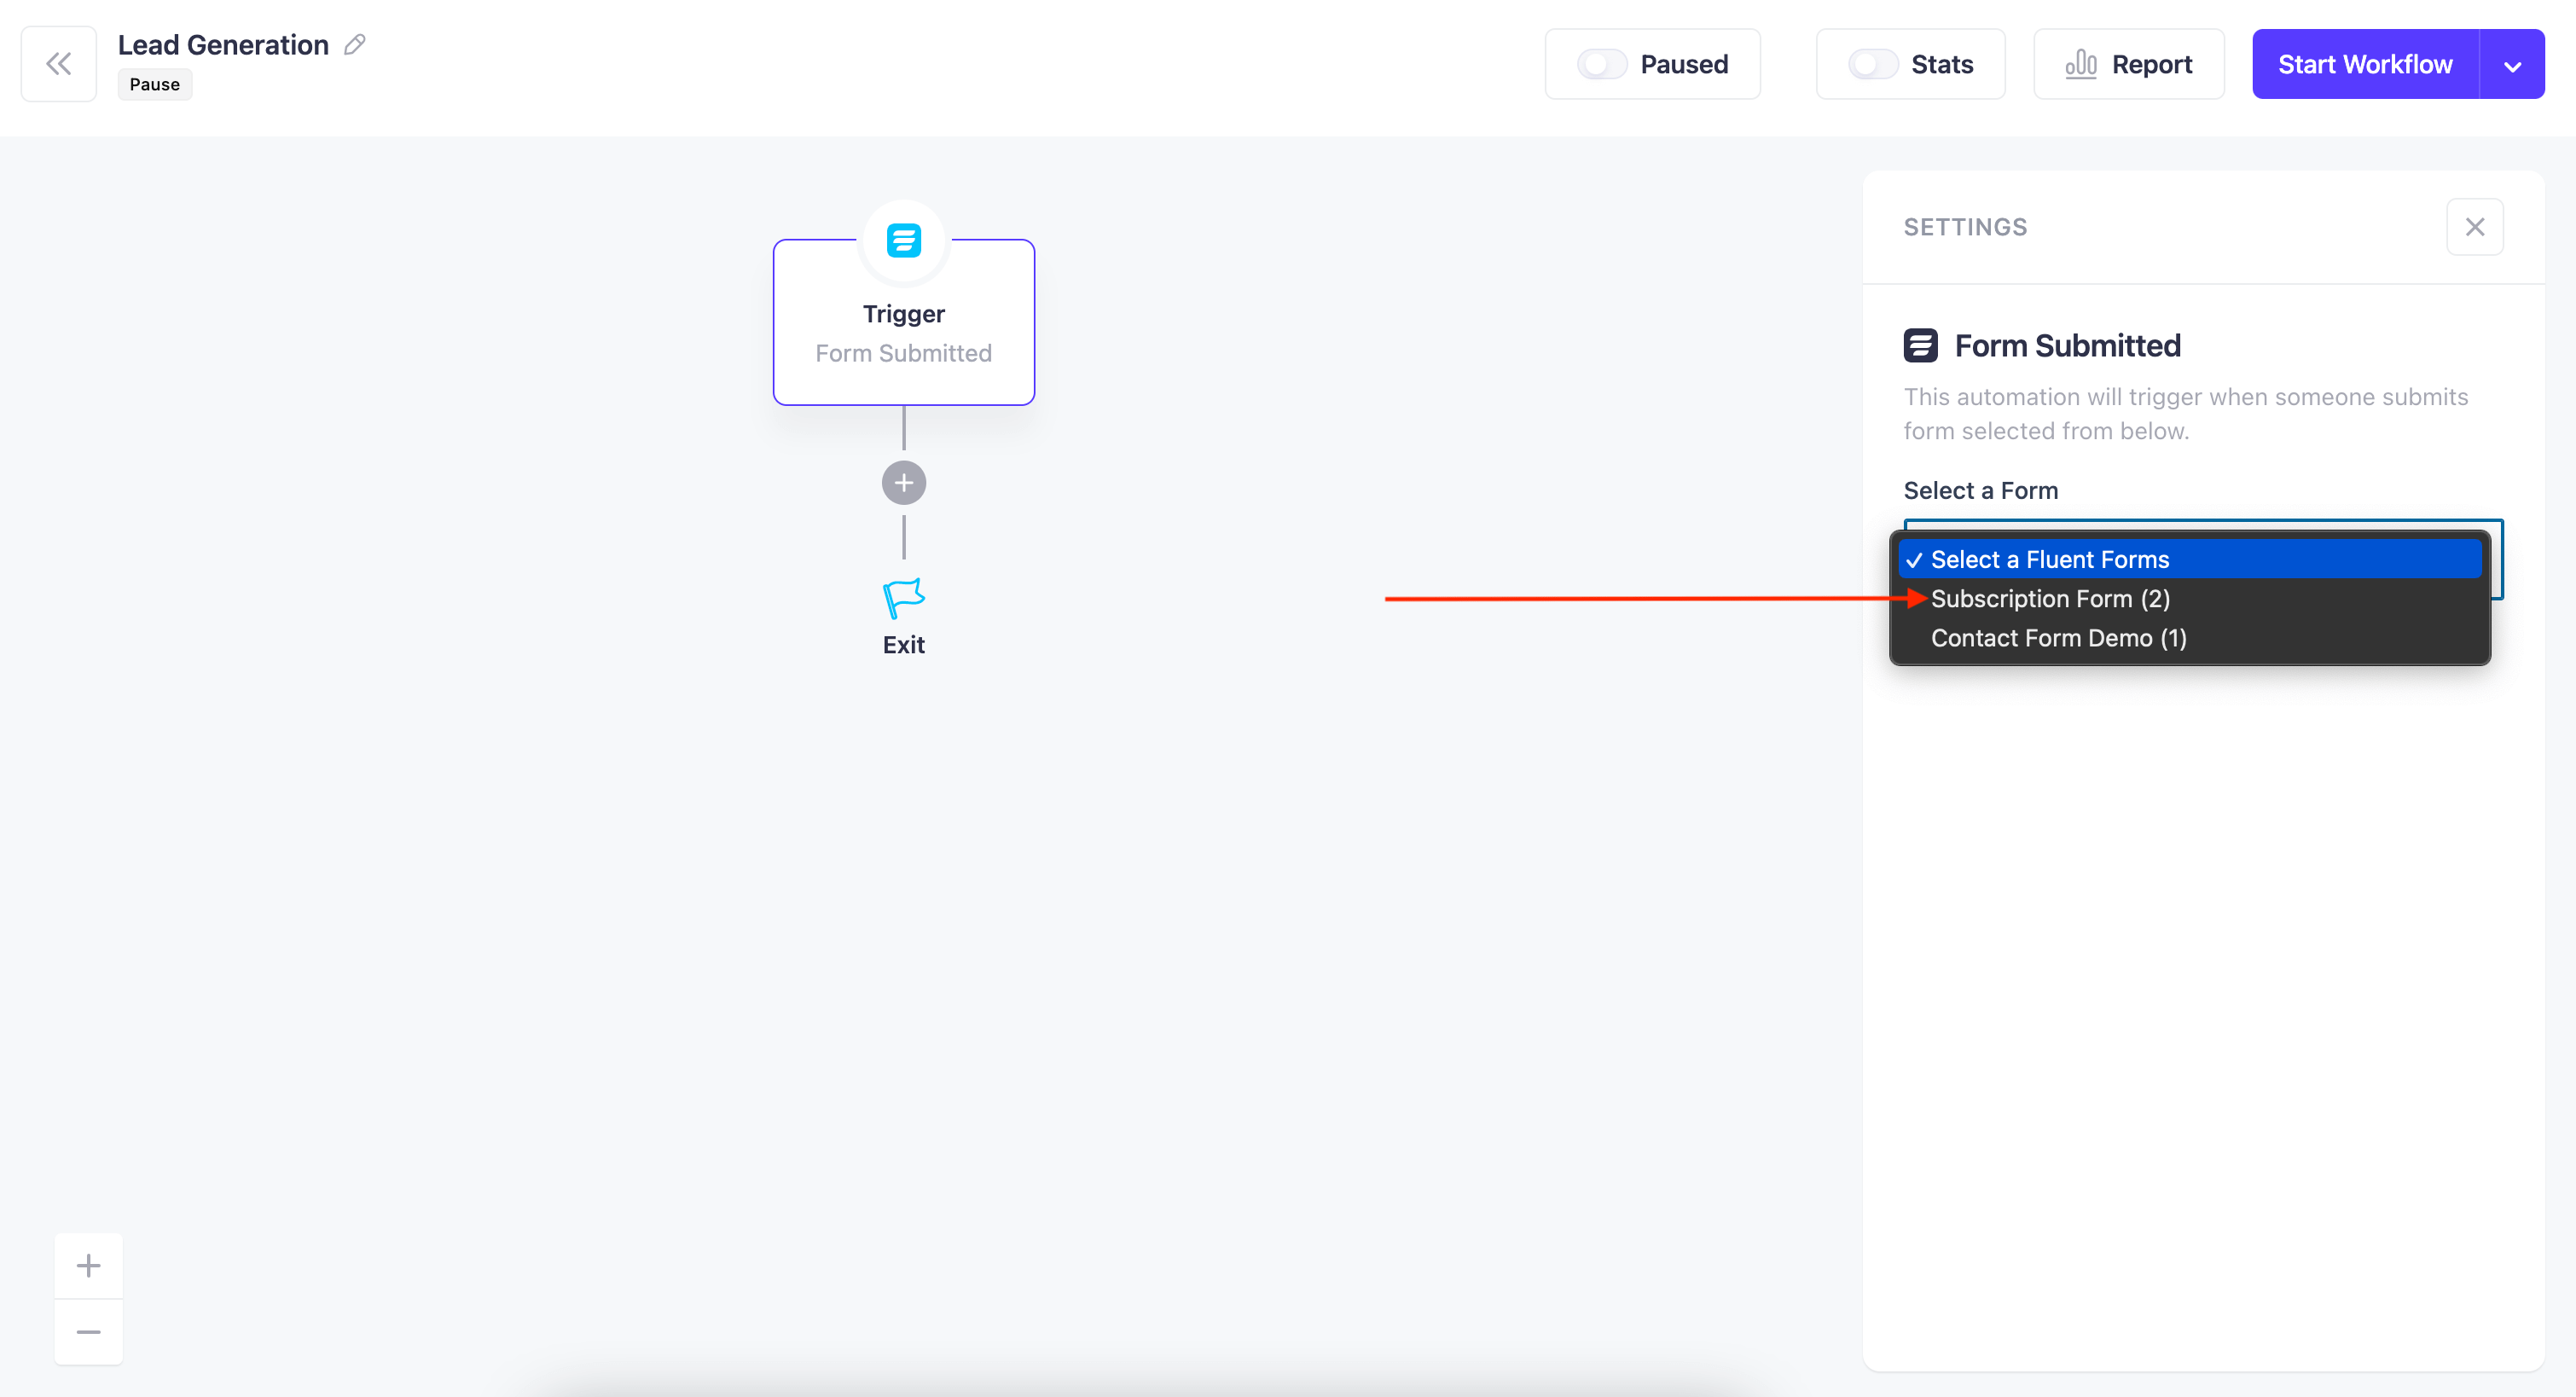
Once you’re done, Click on Select Trigger and Select Fluent Forms. Under Fluent Forms, you’ll find the trigger “Form Submitted”

Once you select this, a settings window for this trigger will open on the right. There, you have to select the name of the Form that you just created to capture leads. In this case my form is “Subscription Form“

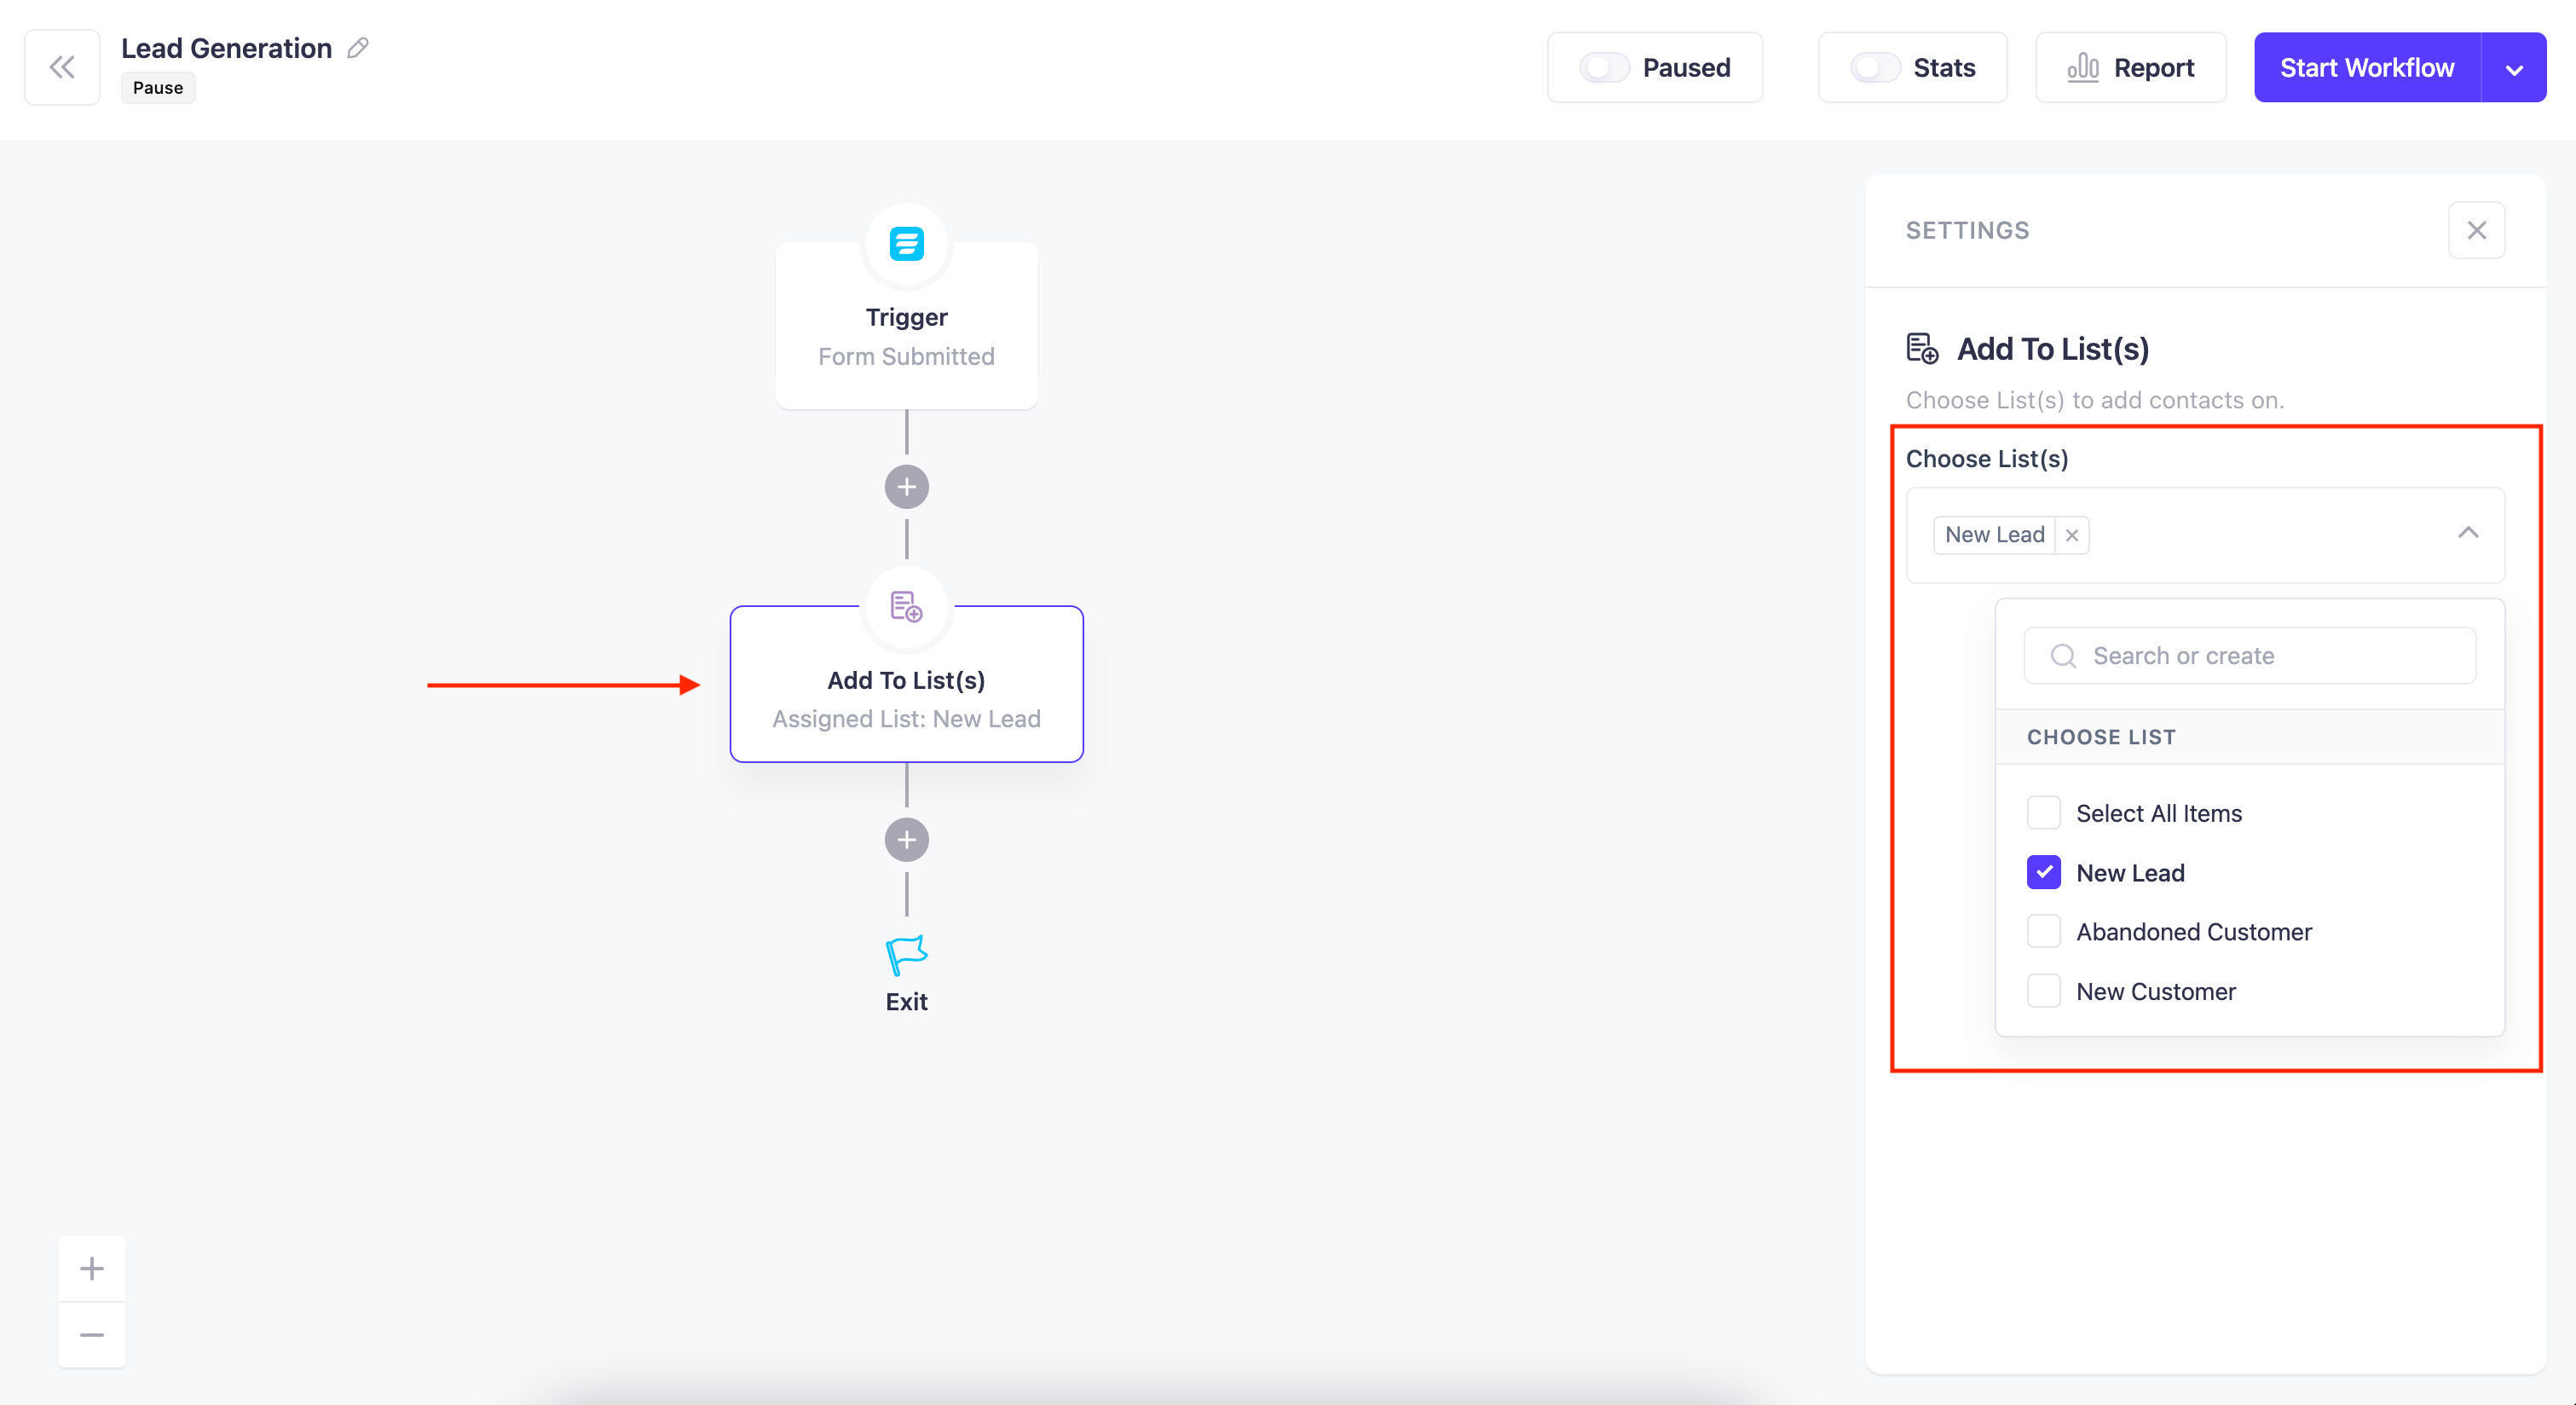
Once you have selected the form and finalized the trigger, now you can add a set of actions you want under this automation workflow. For now, we’ll be adding that if a form is submitted, the lead will be assigned to a list named “New Lead“

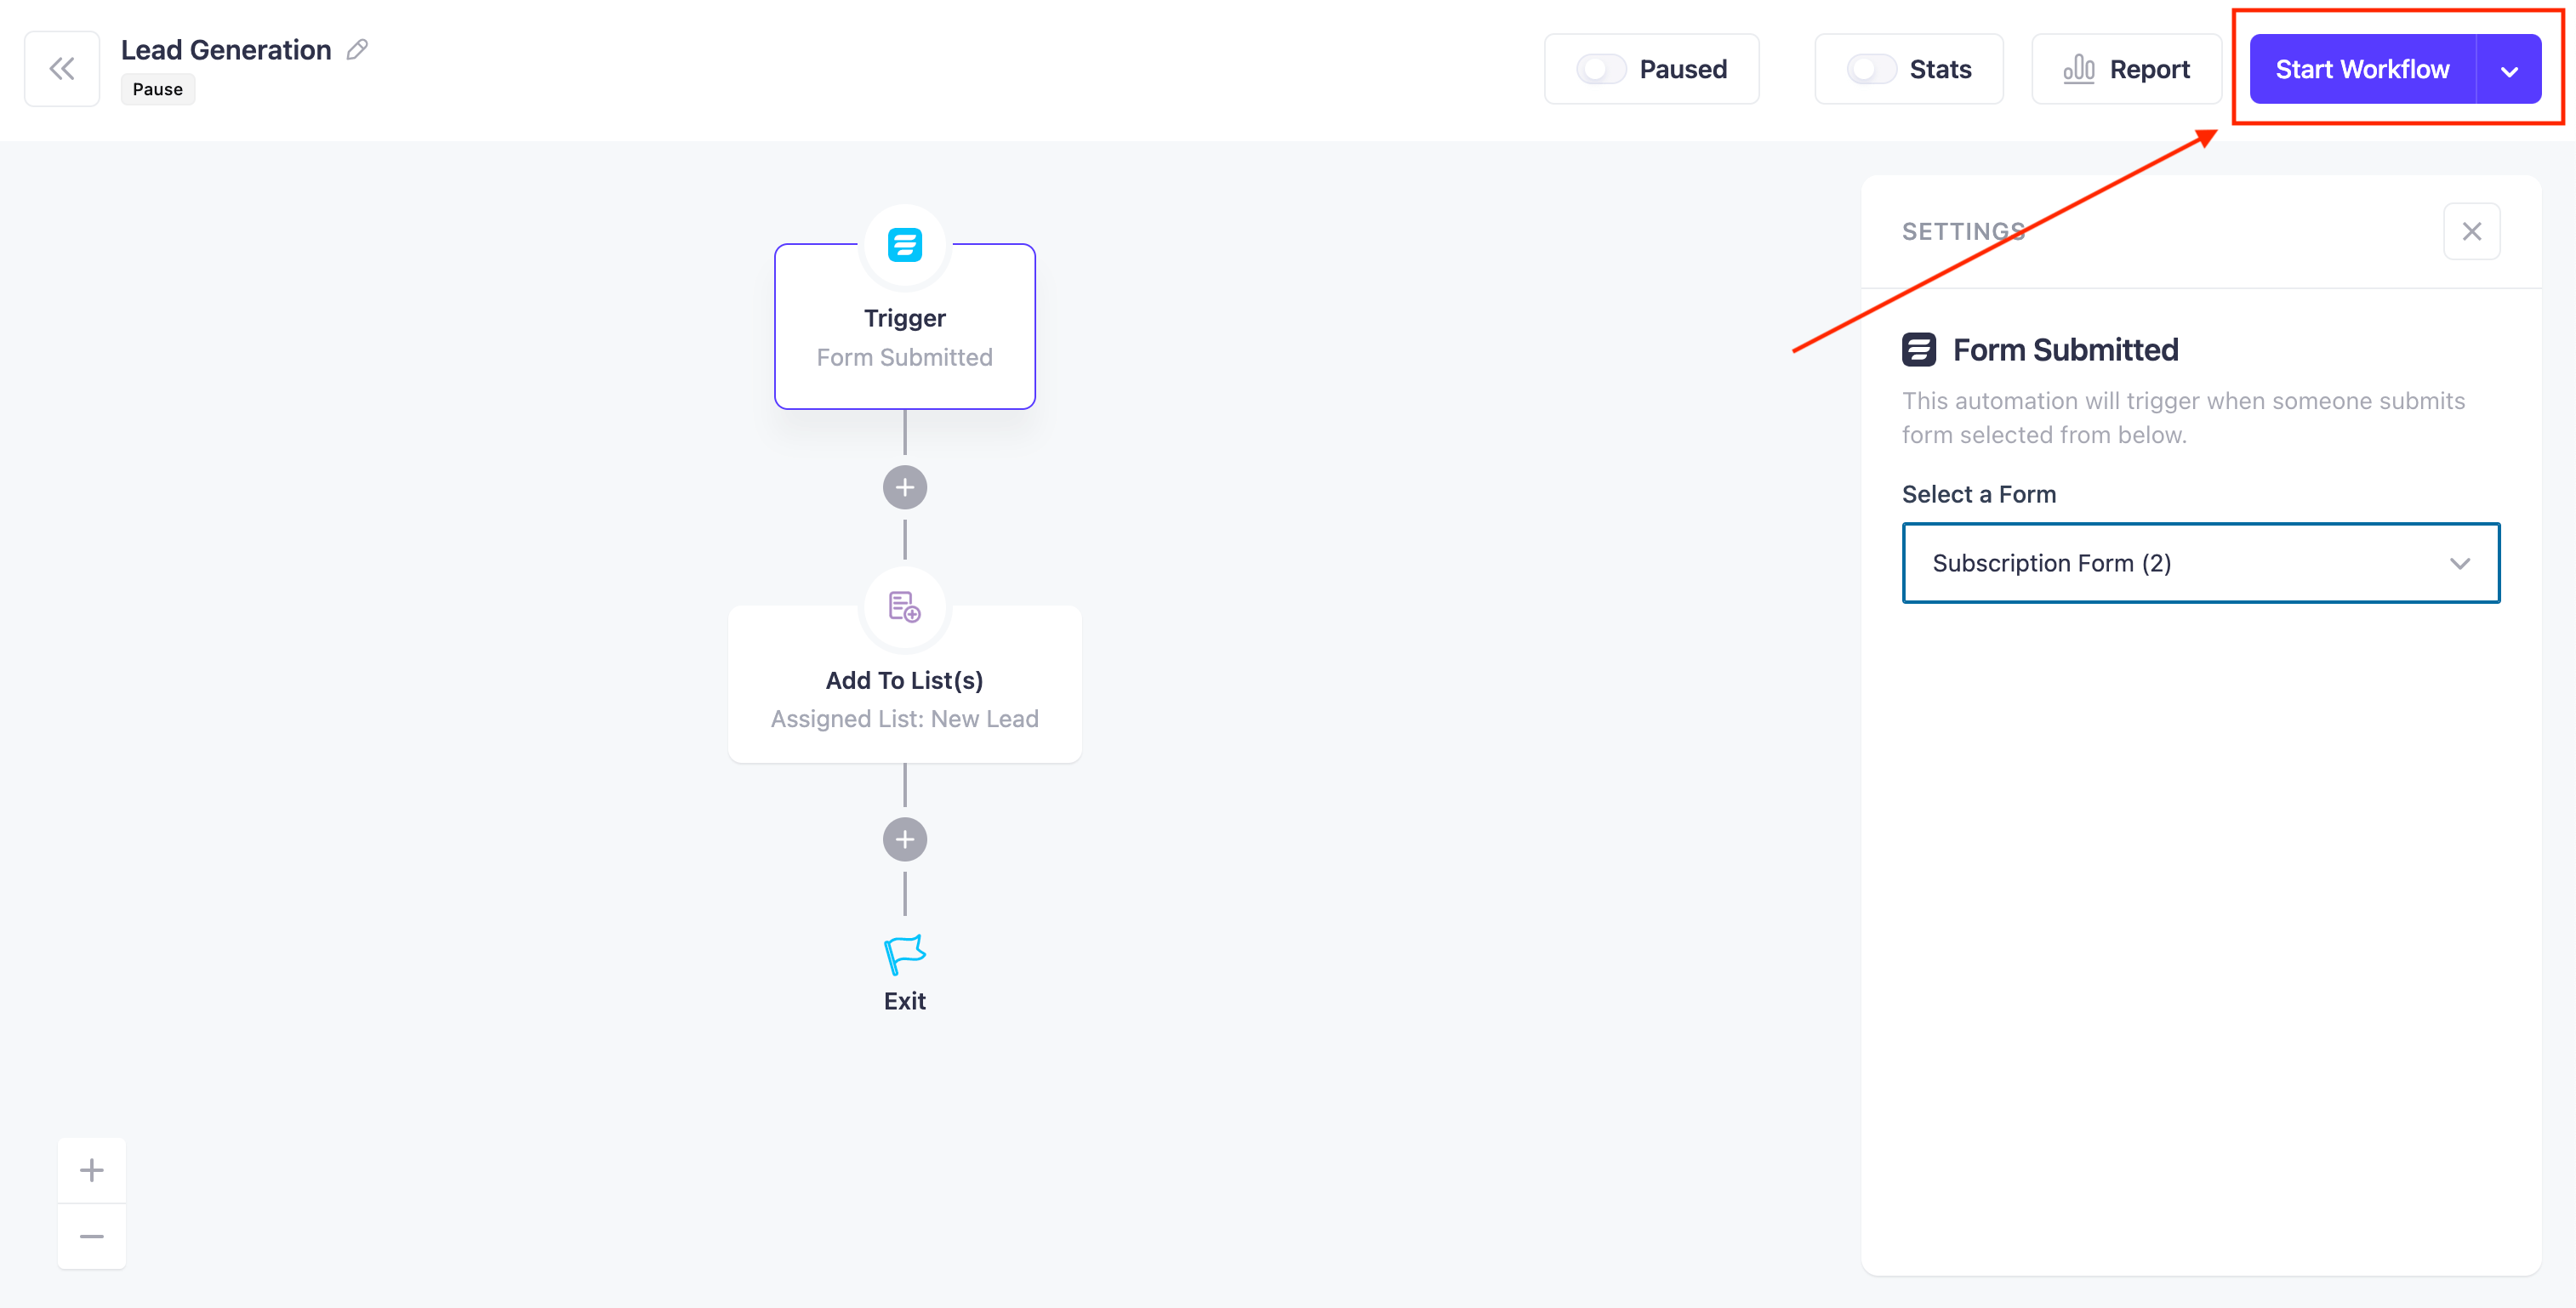
Once you’ve crafted the workflow, simply click on “Start Workflow” to start.

Now go ahead and fill out the Fluent Form for testing. You’ll see the lead will be added to your Mail Mint contacts.


