WPFunnels allows you to create and edit your funnel pages using Oxygen Page Builder.
In this short guide, you’ll learn to design and customize your Landing page with Oxygen Page Builder.
So, let’s begin.
Design Your Funnel Landing Page with Oxygen Page Builder
Follow these steps to design or edit the Landing page of your funnels using Oxygen Page Builder.
Step 1:
Create a new sales funnel using WPFunnels or simply start editing an existing funnel.
Step 2:
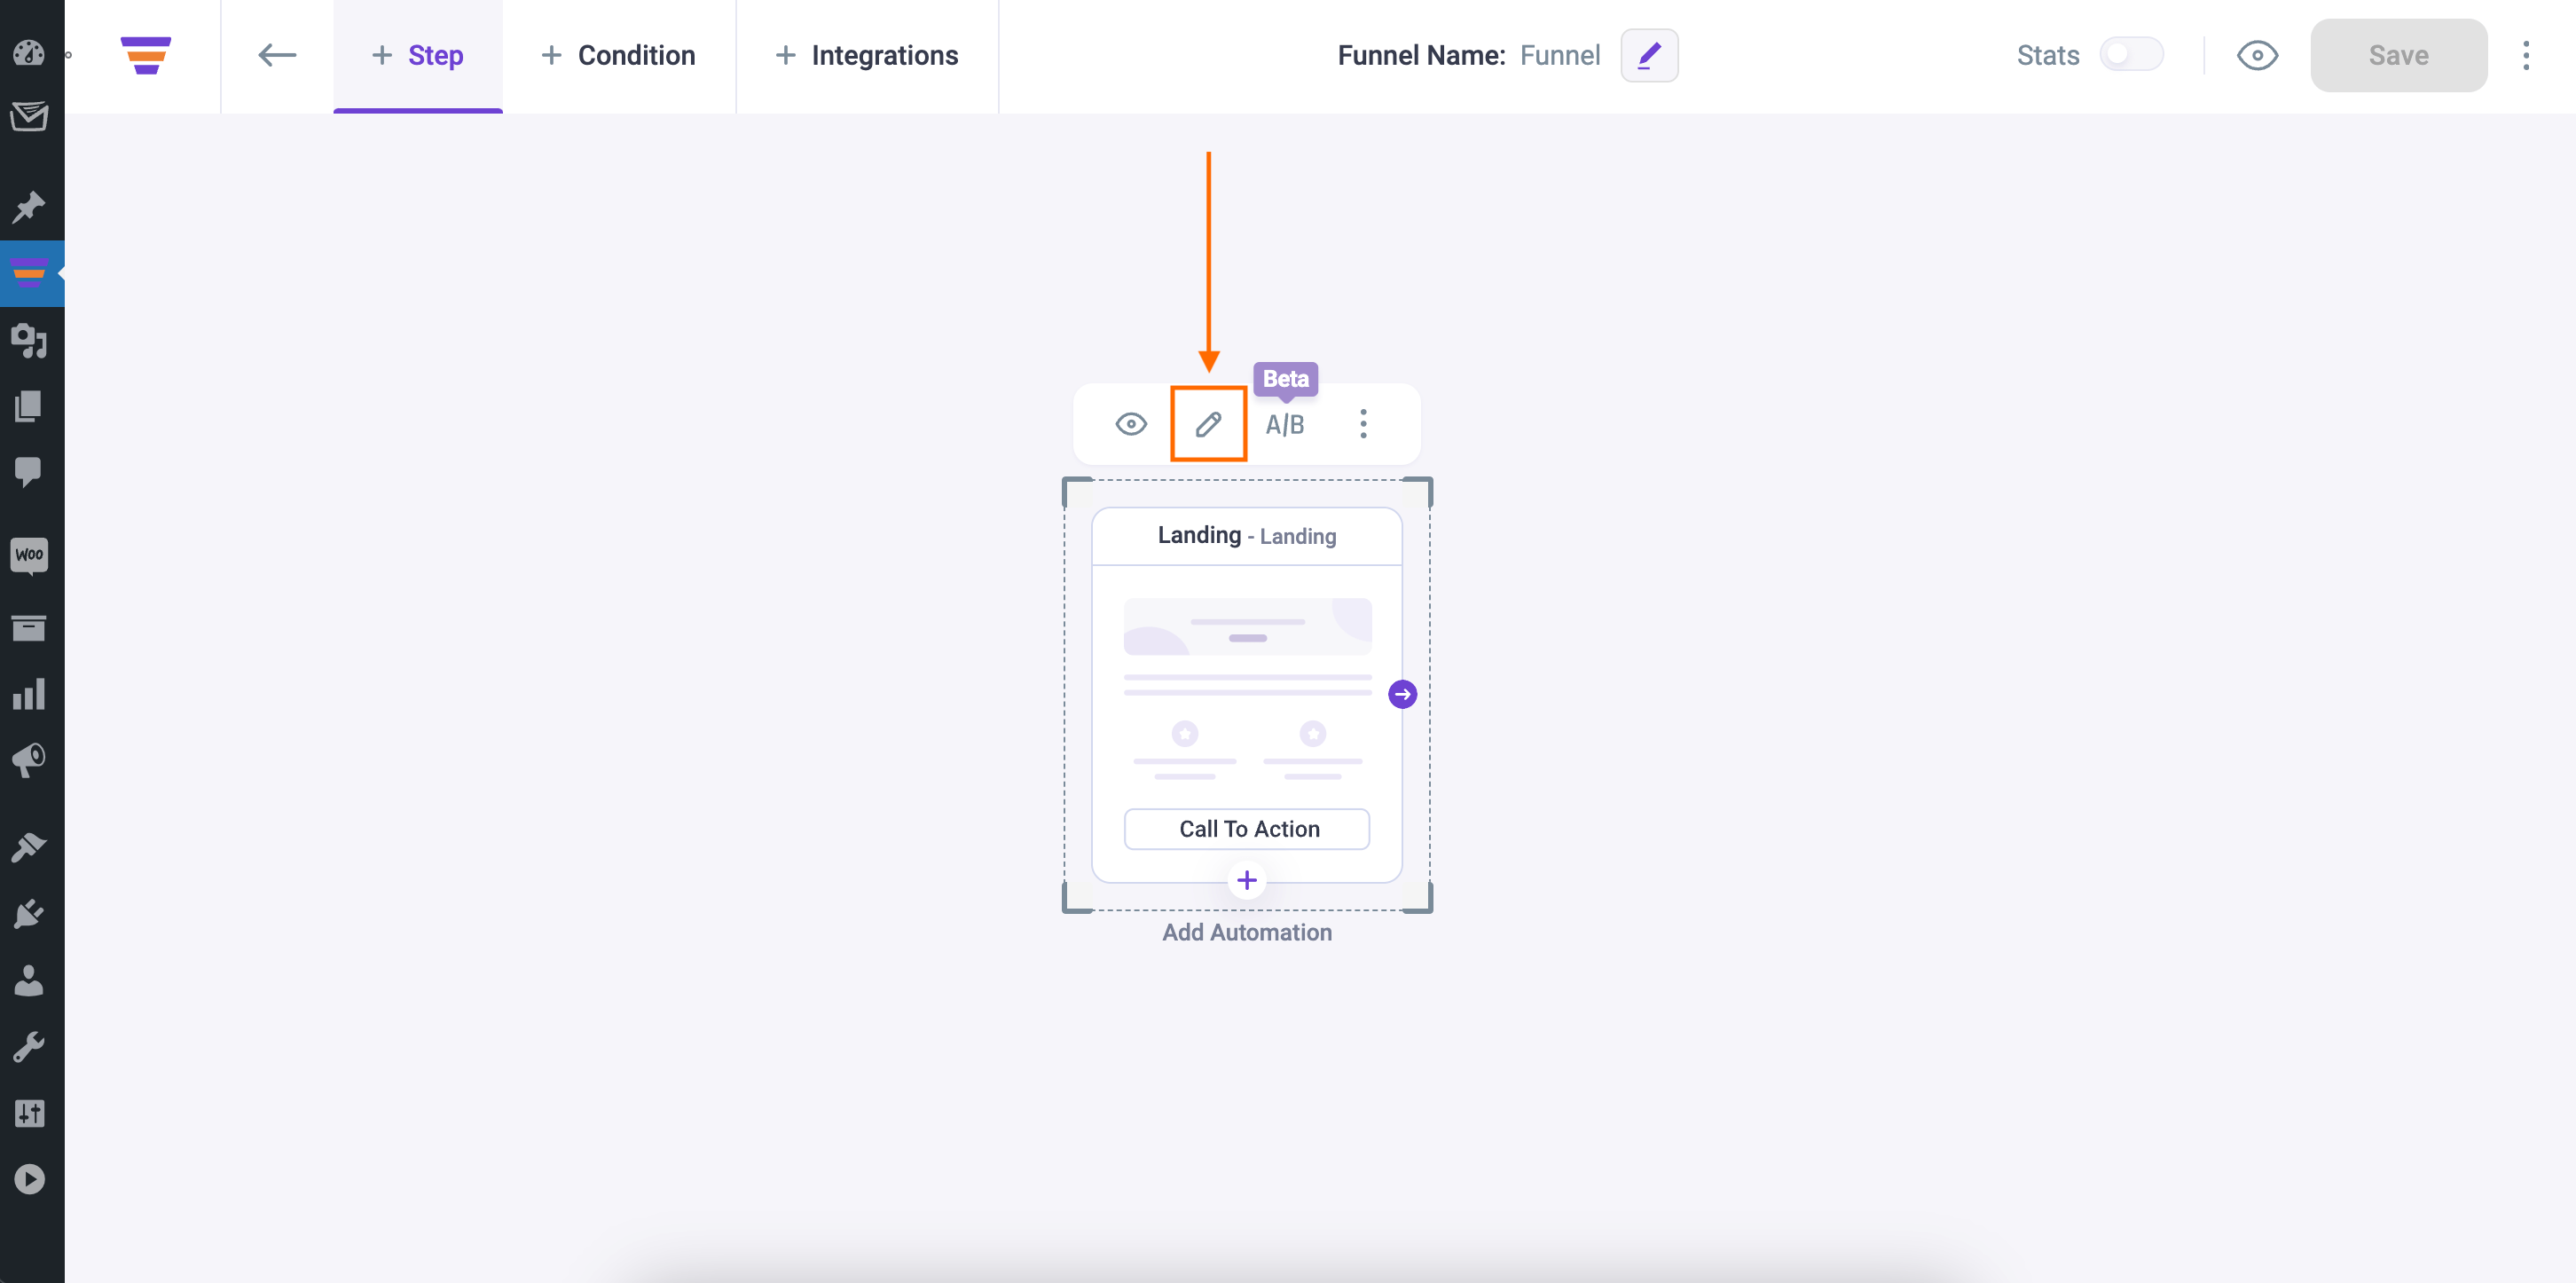
Click on the Landing step in your funnel canvas, and 4 new options will appear on top of it.
- View
- Edit
- A/B Testing
- Configure
Click on the Edit icon and it’ll open a new tab with Oxygen, where you can edit this page.
Note: If you set Oxygen as the default page builder the Landing page will open with Oxygen. You can change the default page builder from the WPFunnels Settings.

Step 3:
From this page, change the Template to WPFunnels Canvas to get the full Canvas.
Now, to start editing the Landing page, click on the Edit With Oxygen button, and you will see that the Landing page is opened with the Oxygen builder.

Step 4:
To add the Next Step Button to your landing page, click on the Add button from the upper left side of the screen, and you will get all the available Oxygen builder elements.

Click on the Next Step Button element, and it will be added to the landing page canvas.

If you select the button, you will get the button-related settings on the left side of the window.
To change any style of the button, click on the Button Style option from the left.
Step 5:
Also, you can add the Optin Form element on the Landing step.
To add the Optin Form, search for WPF Optin, and select that element.

On the left side, you will get some options to change the Form Layout, Form Field, Form Style, etc in WPF Optin Form Settings.

Any other module like – Offer Accept/Reject module, Checkout module, Order Details module won’t work on the Landing Step.
Step 6:
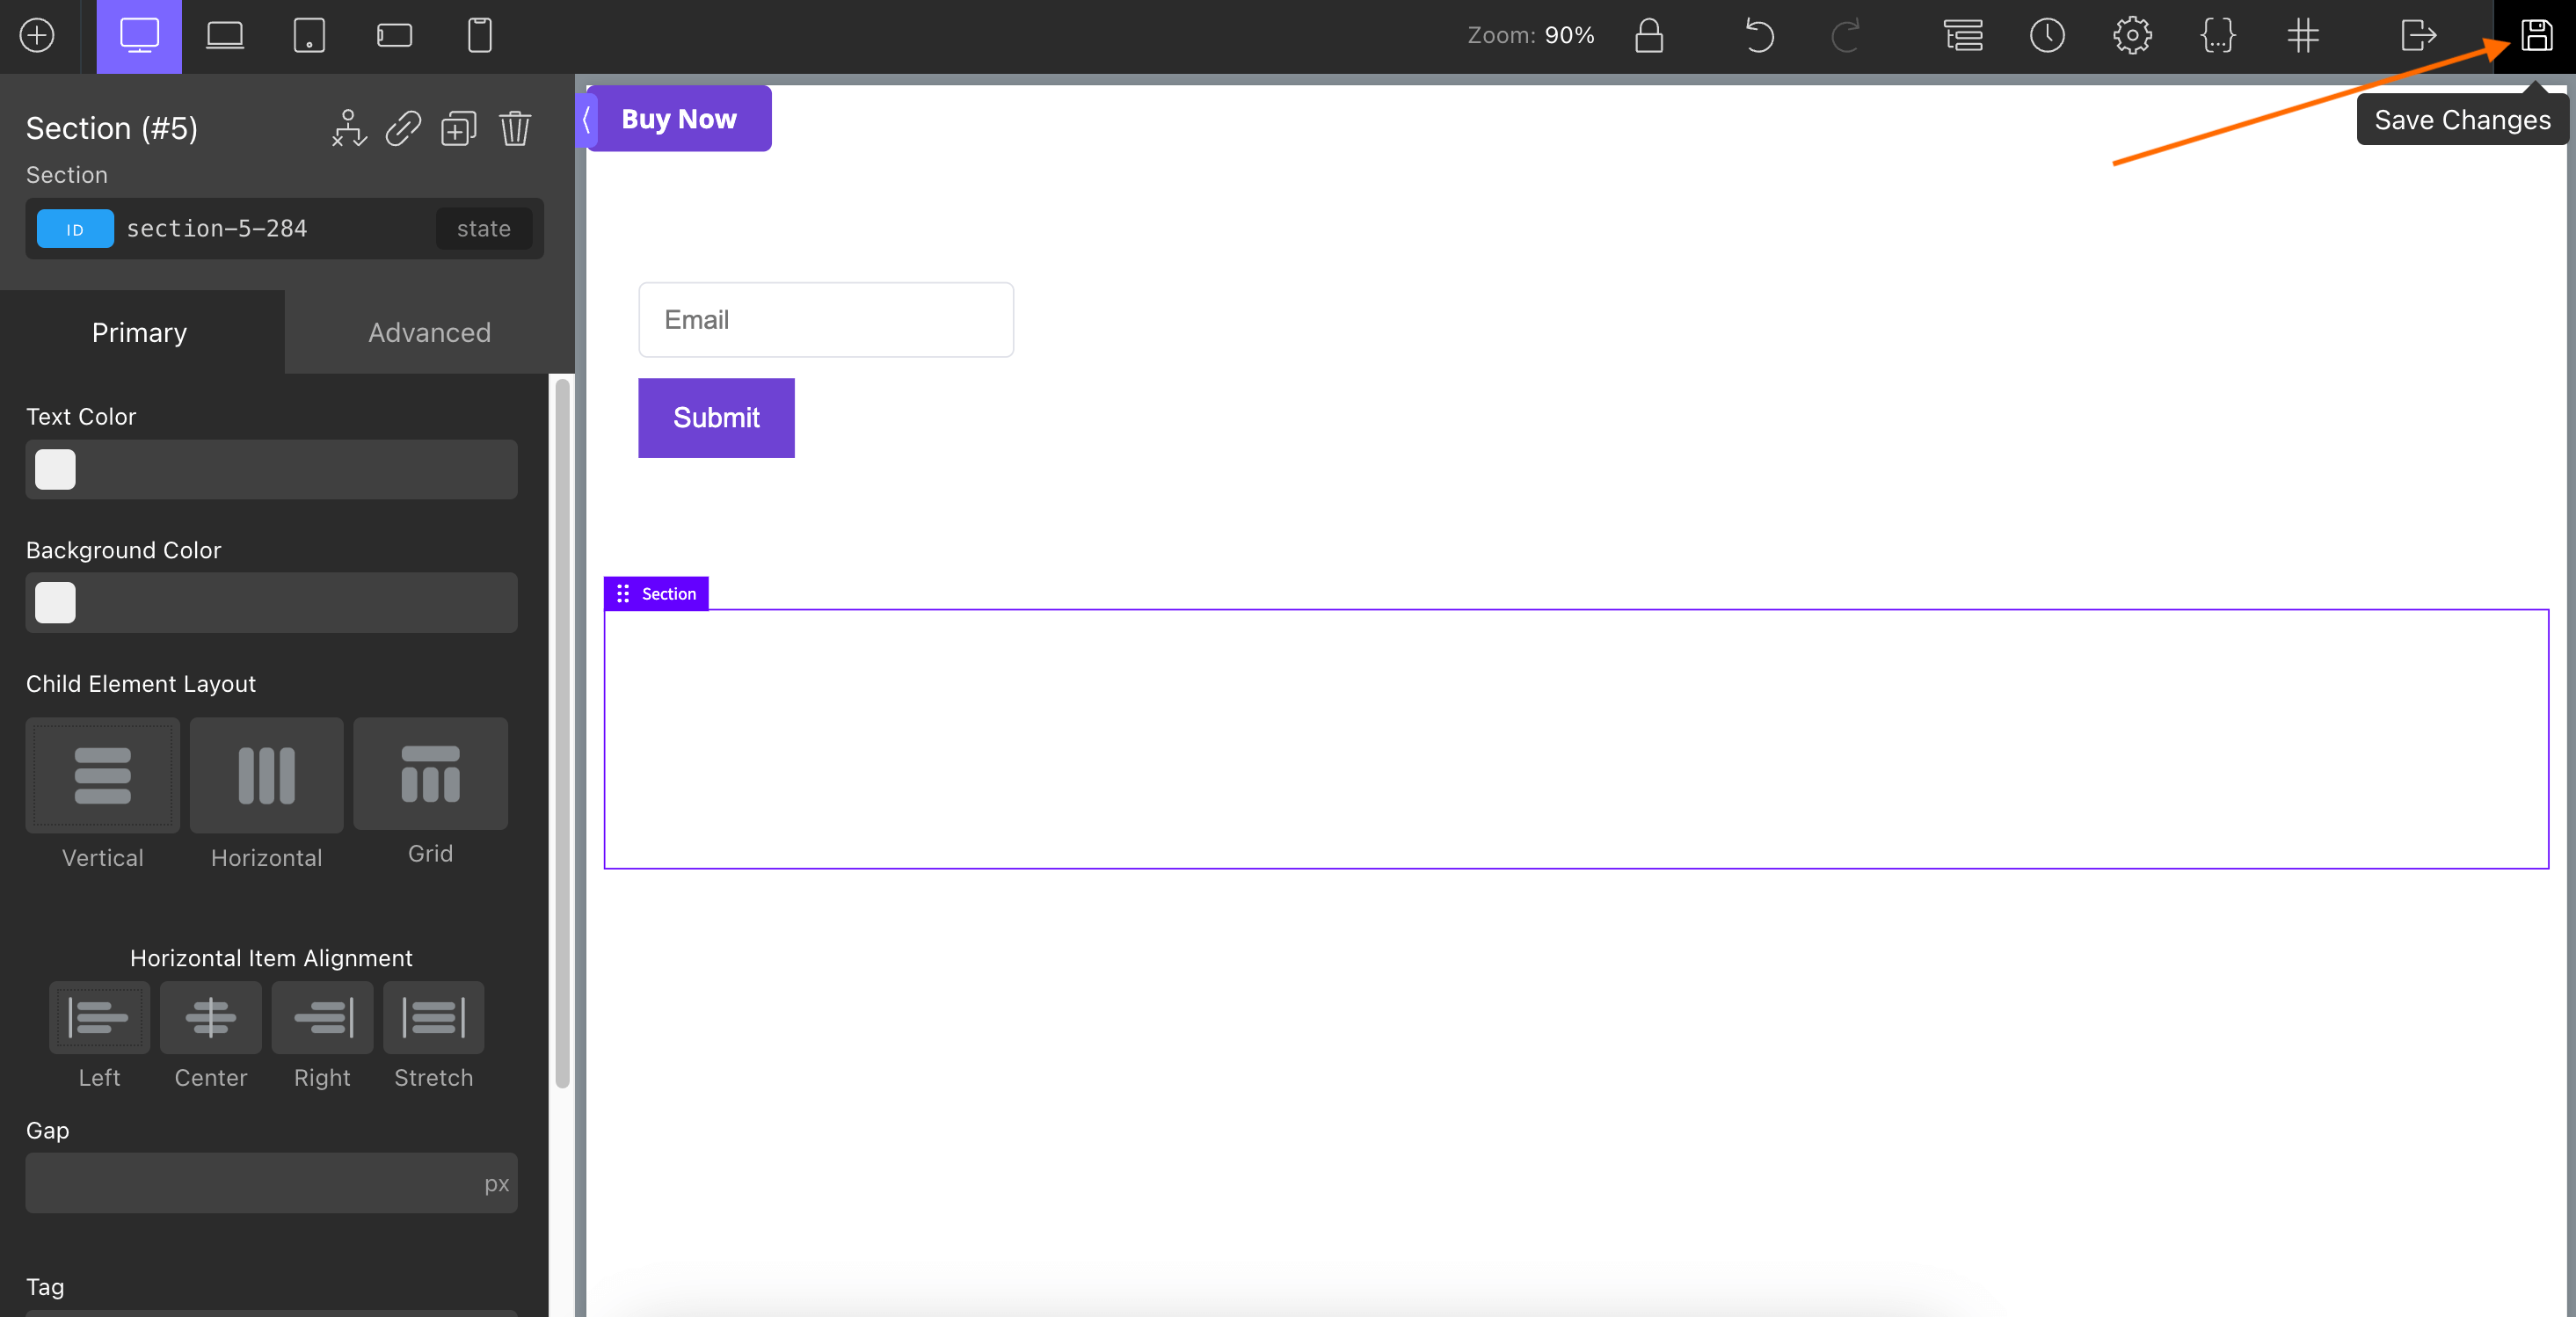
Finally, once the editing is done, click on the Save button from the top-right of the window and the changes will be saved.
That’s it, your Landing Page is Ready.
Now you can go and start editing your Checkout Page.
