With Mail Mint, you can easily send admin notification when a Mail Mint form is submitted.
For that, you need Mail Mint Free and Mail Mint Pro installed and activated on your site with a valid license key.
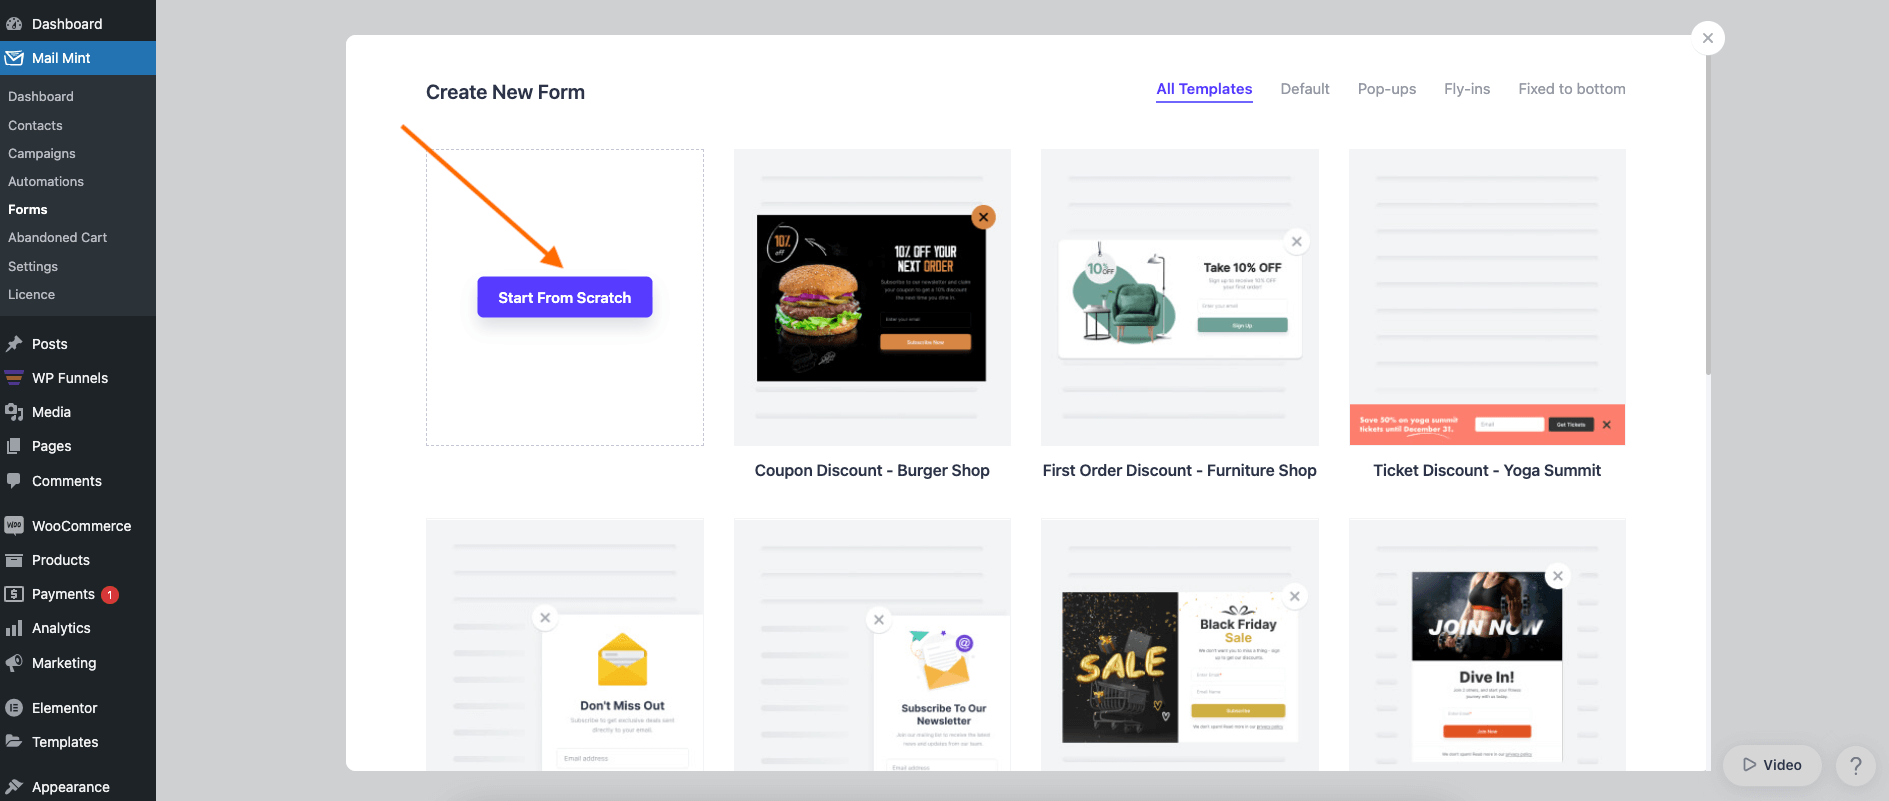
So let’s create a Form from scratch.
Step 1: Create A Form In Mail Mint
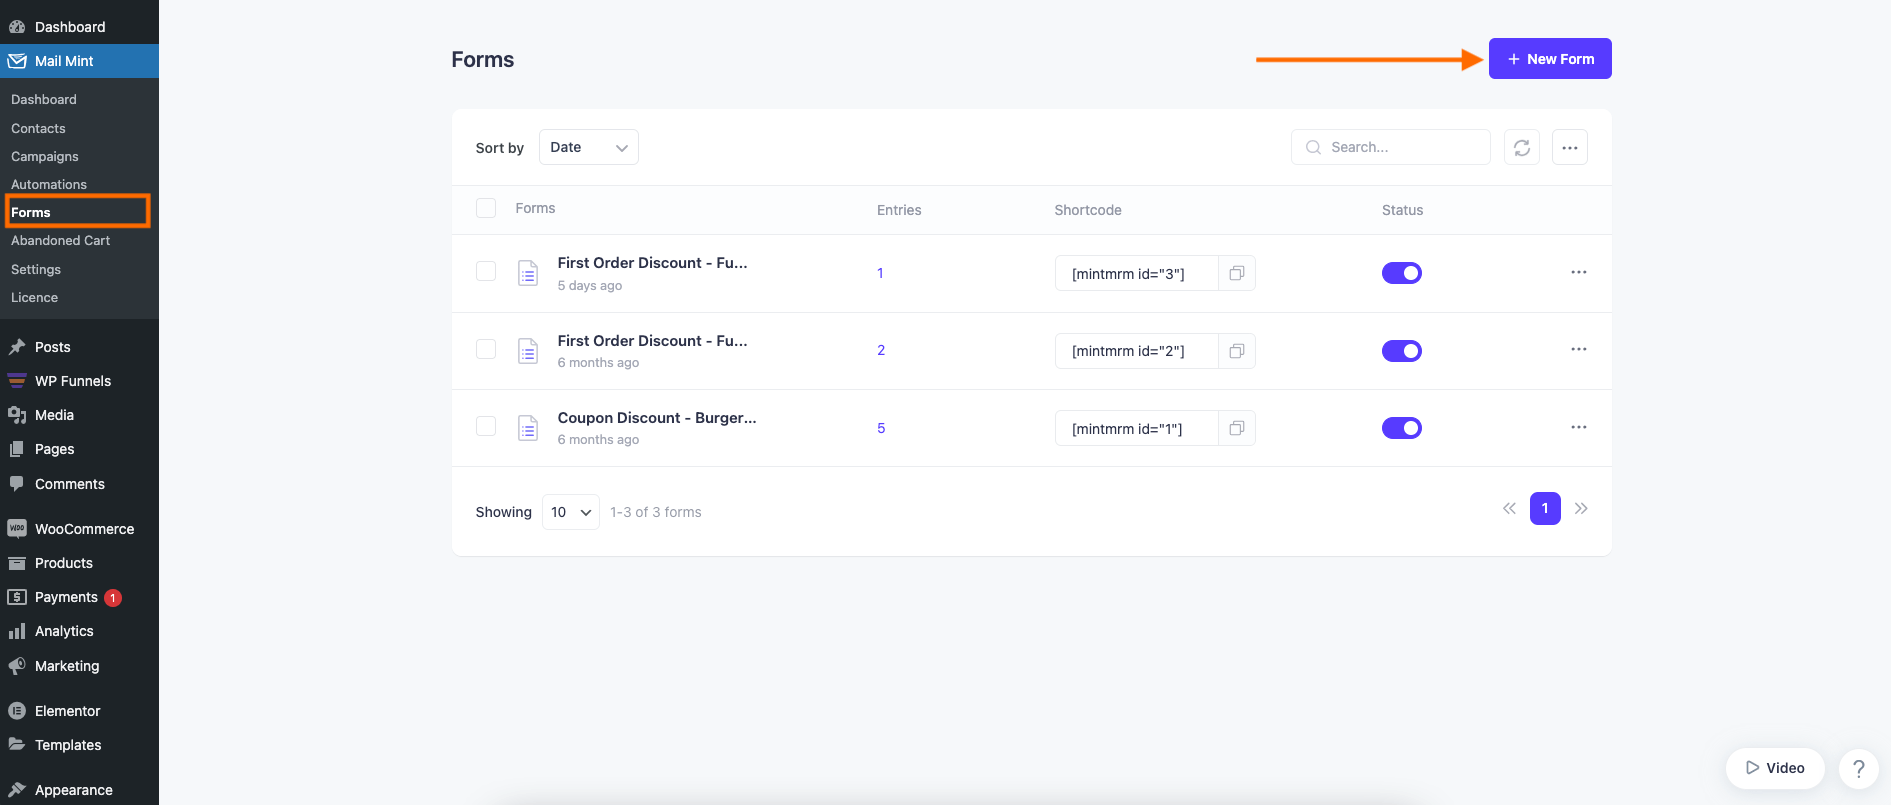
1. On the WordPress Dashboard, go to Mail Mint > Forms and click on “+ New Form” to create a new form.
2. Now you can select an existing Email Template or click on Create From Scratch.
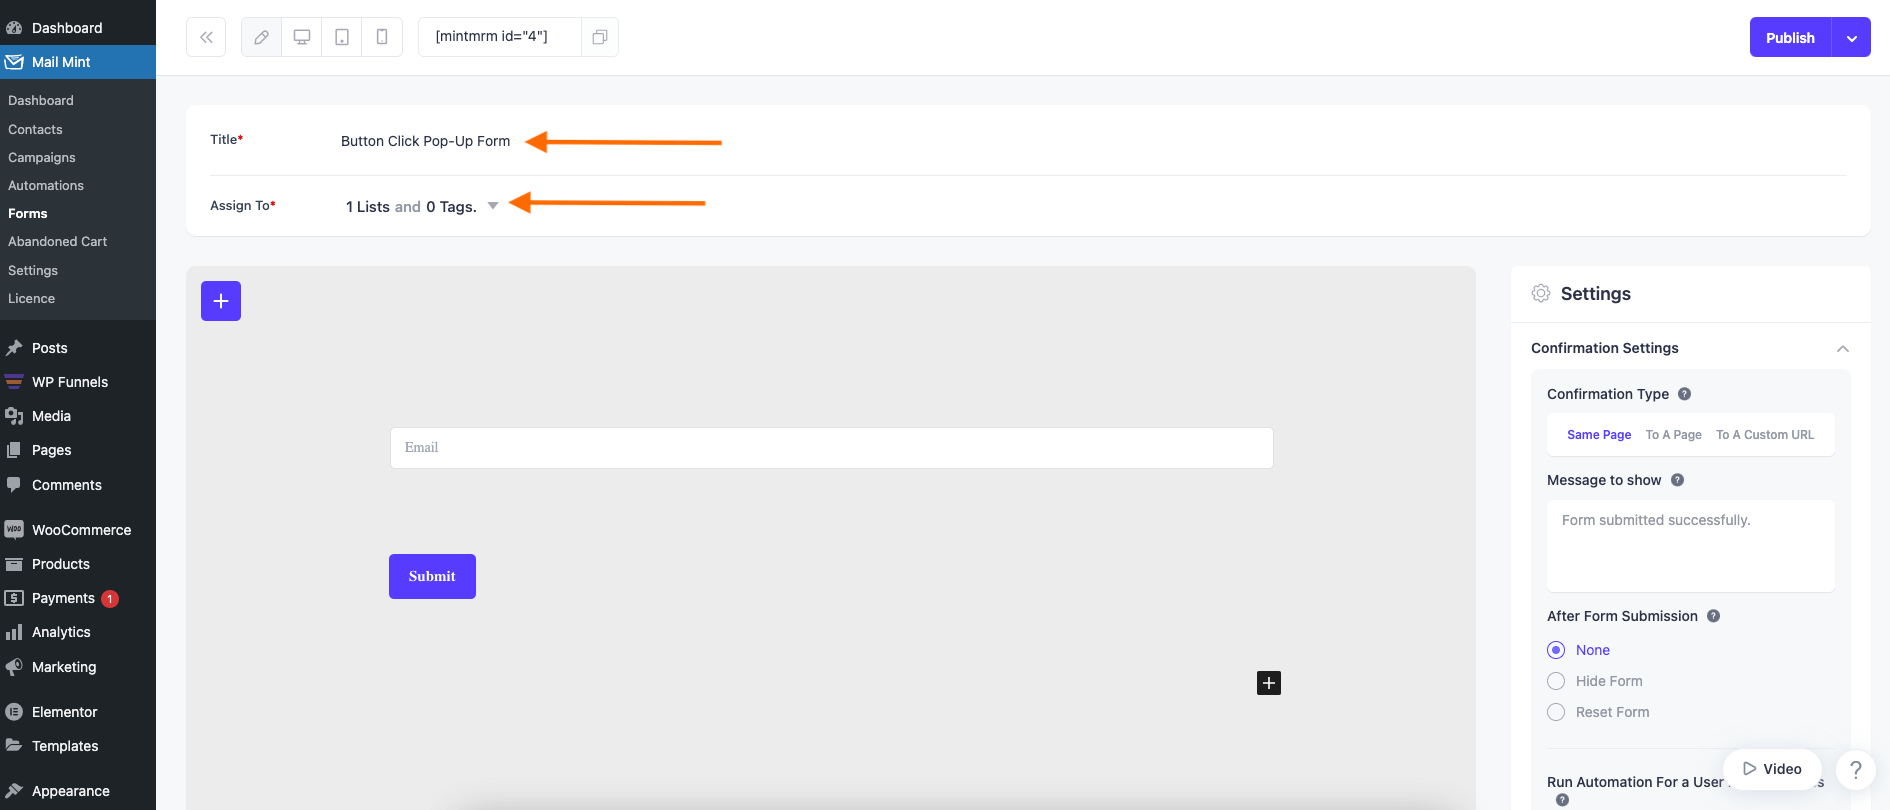
3. Set up the Form Title and Assign To your desired Lists or Tags.
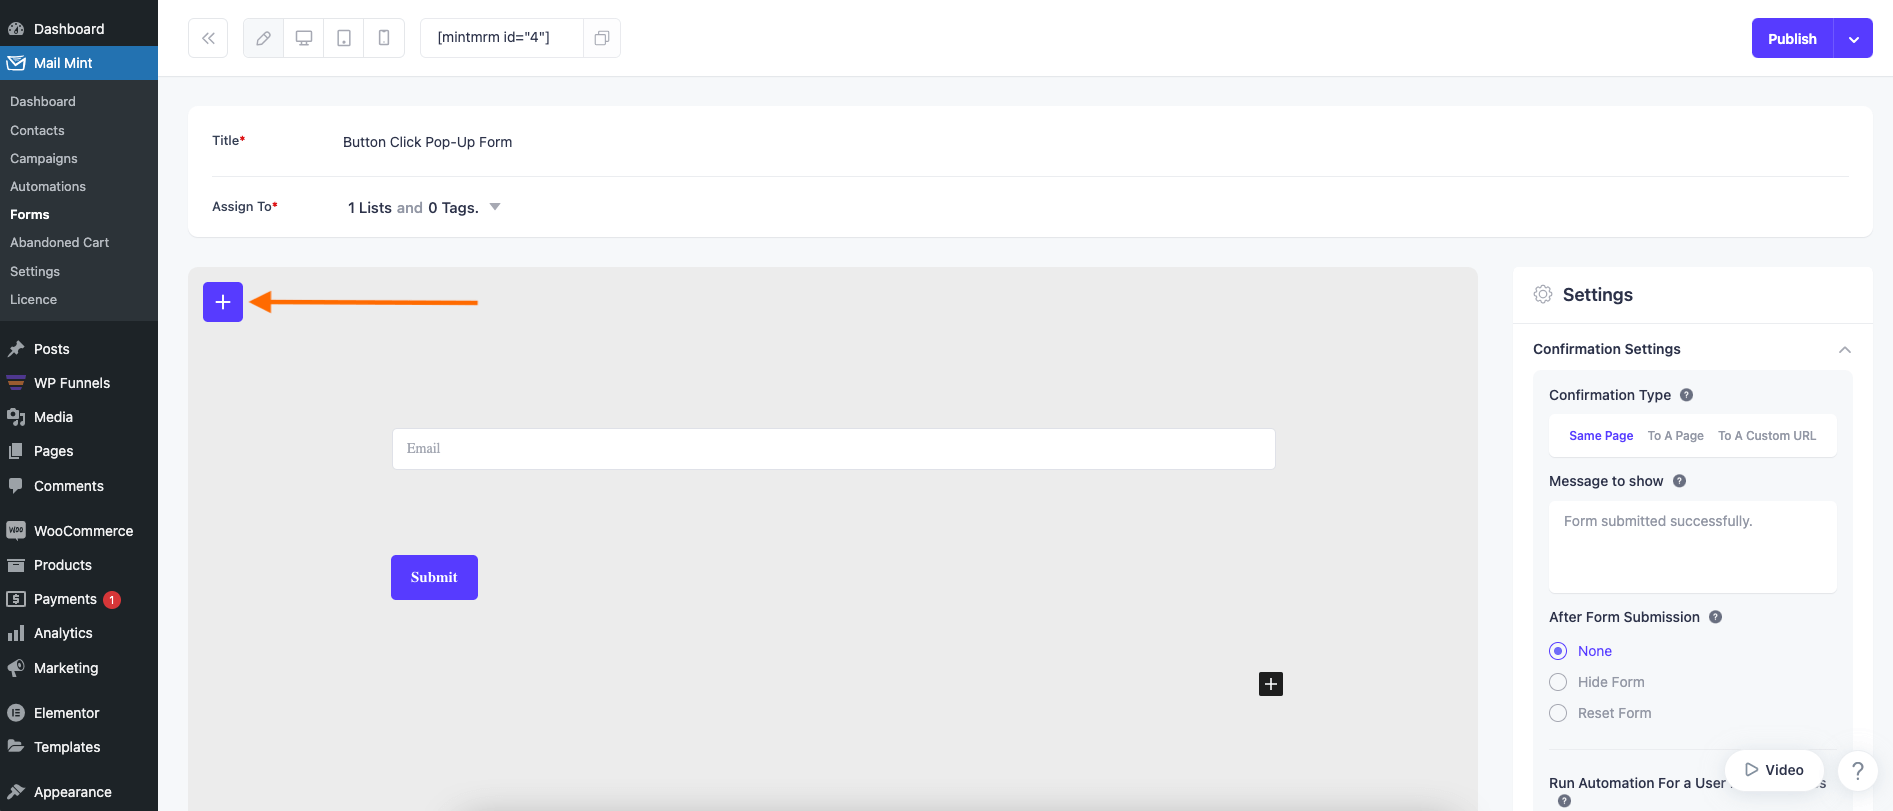
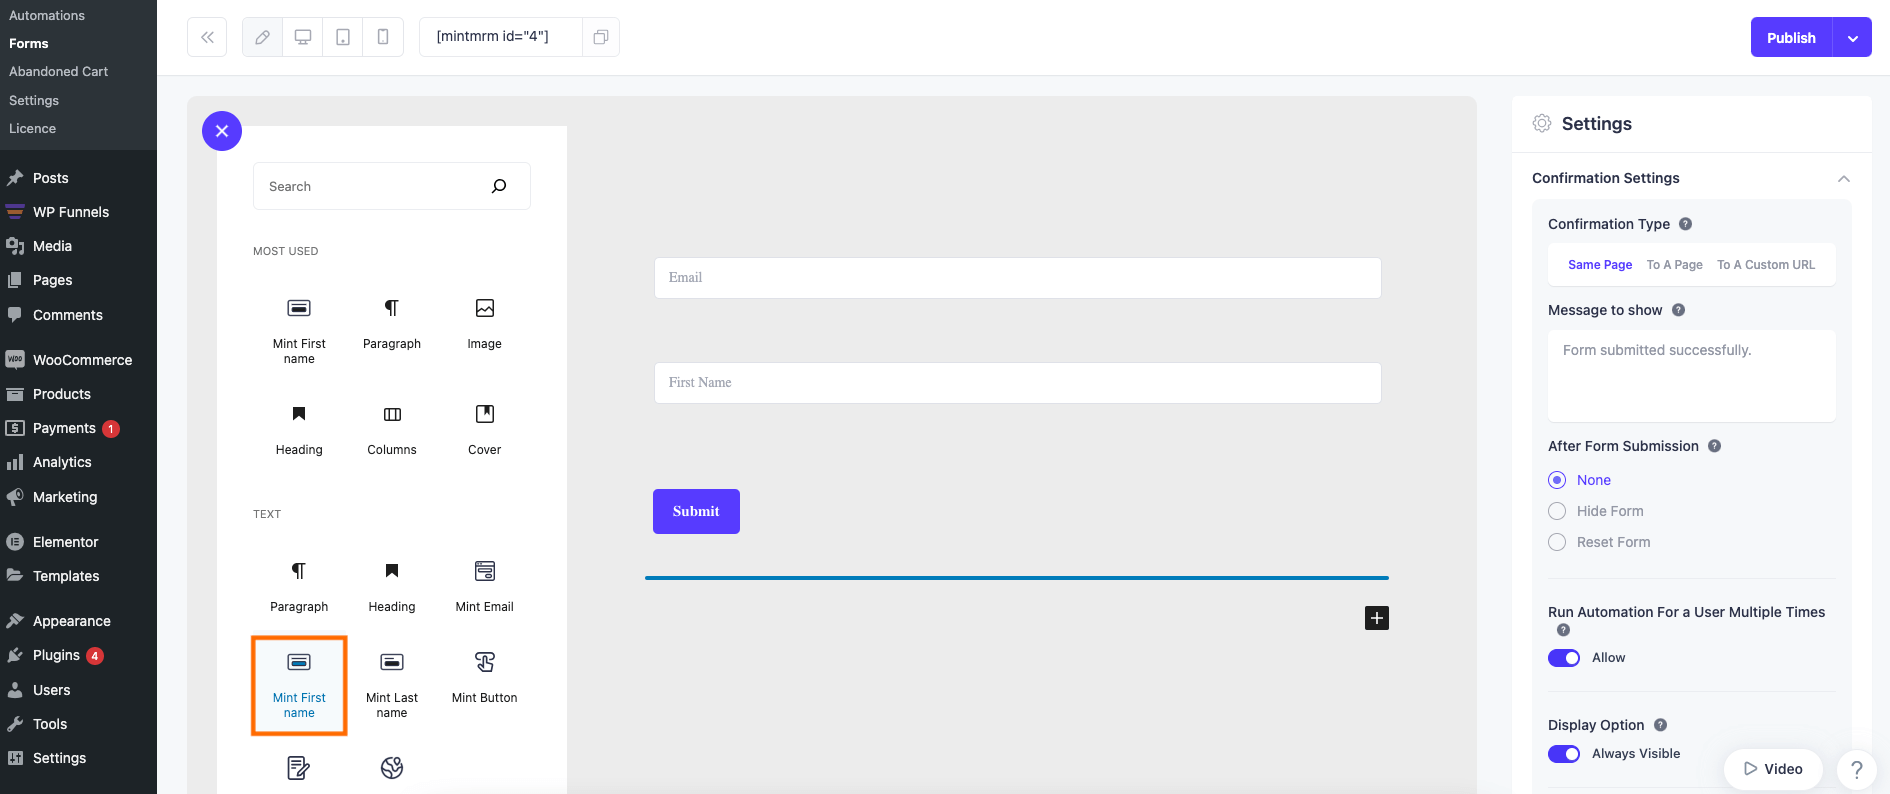
4. Click on the plus button to add a new Form Field.
5. Select any Form Field and add it to your form. Here I am adding the Mint First Name field.
Now let’s move on to configuring Confirmation Settings.
Step 2: Configure Confirmation Settings
1. Click on the Confirmation Settings and scroll down to Admin Notification section.
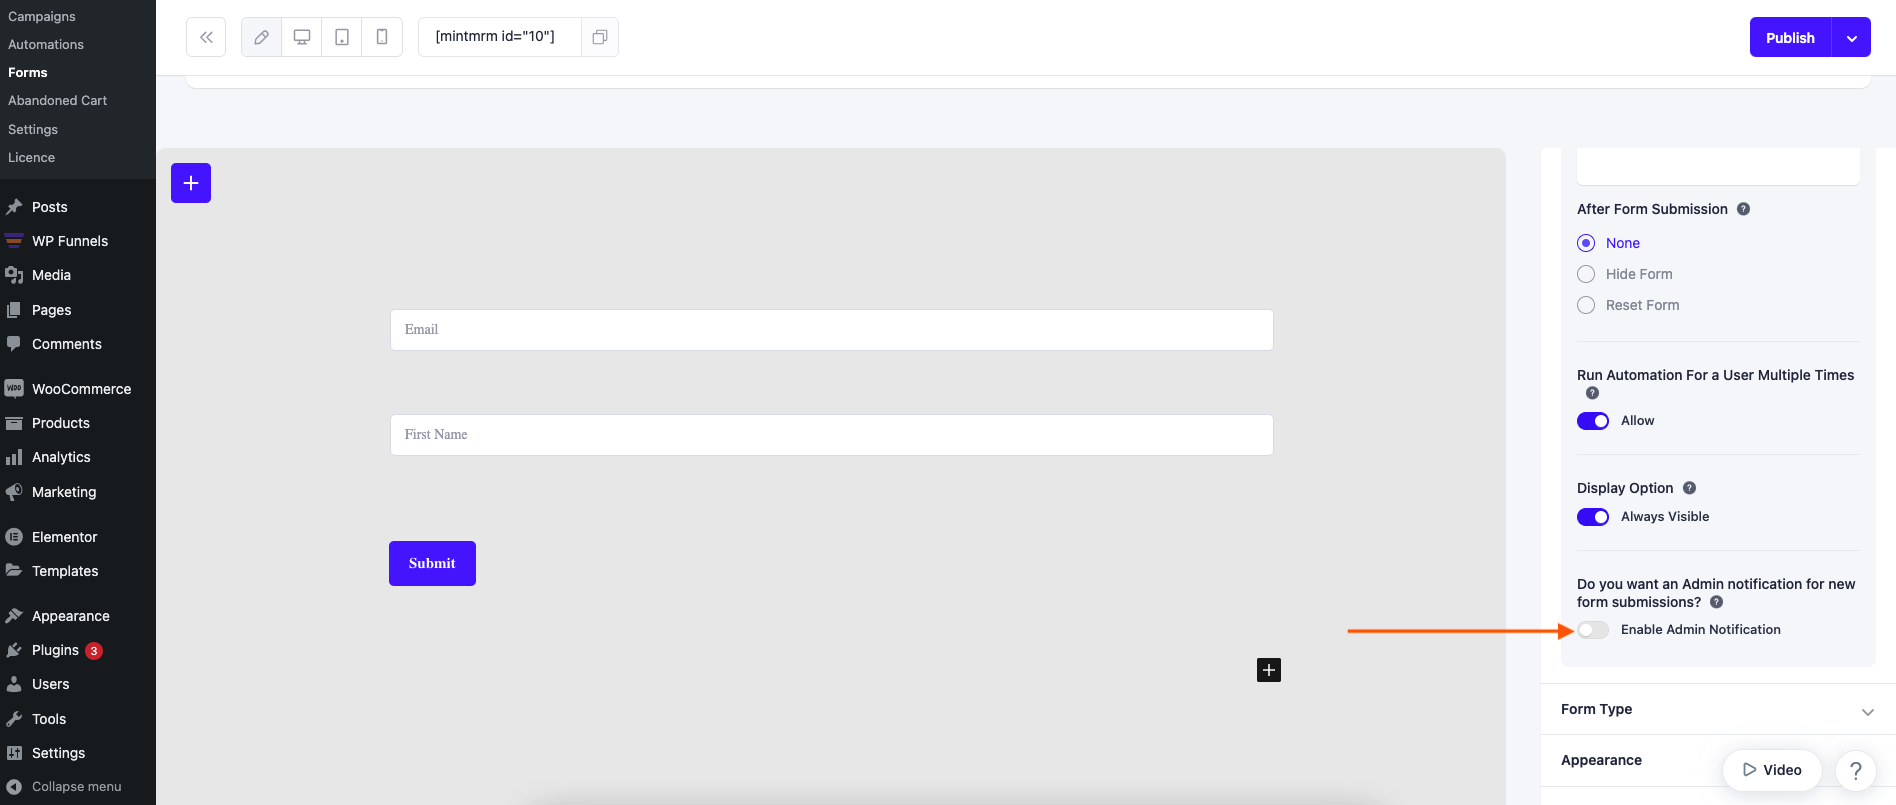
2. Set an email address, subject line and a message.
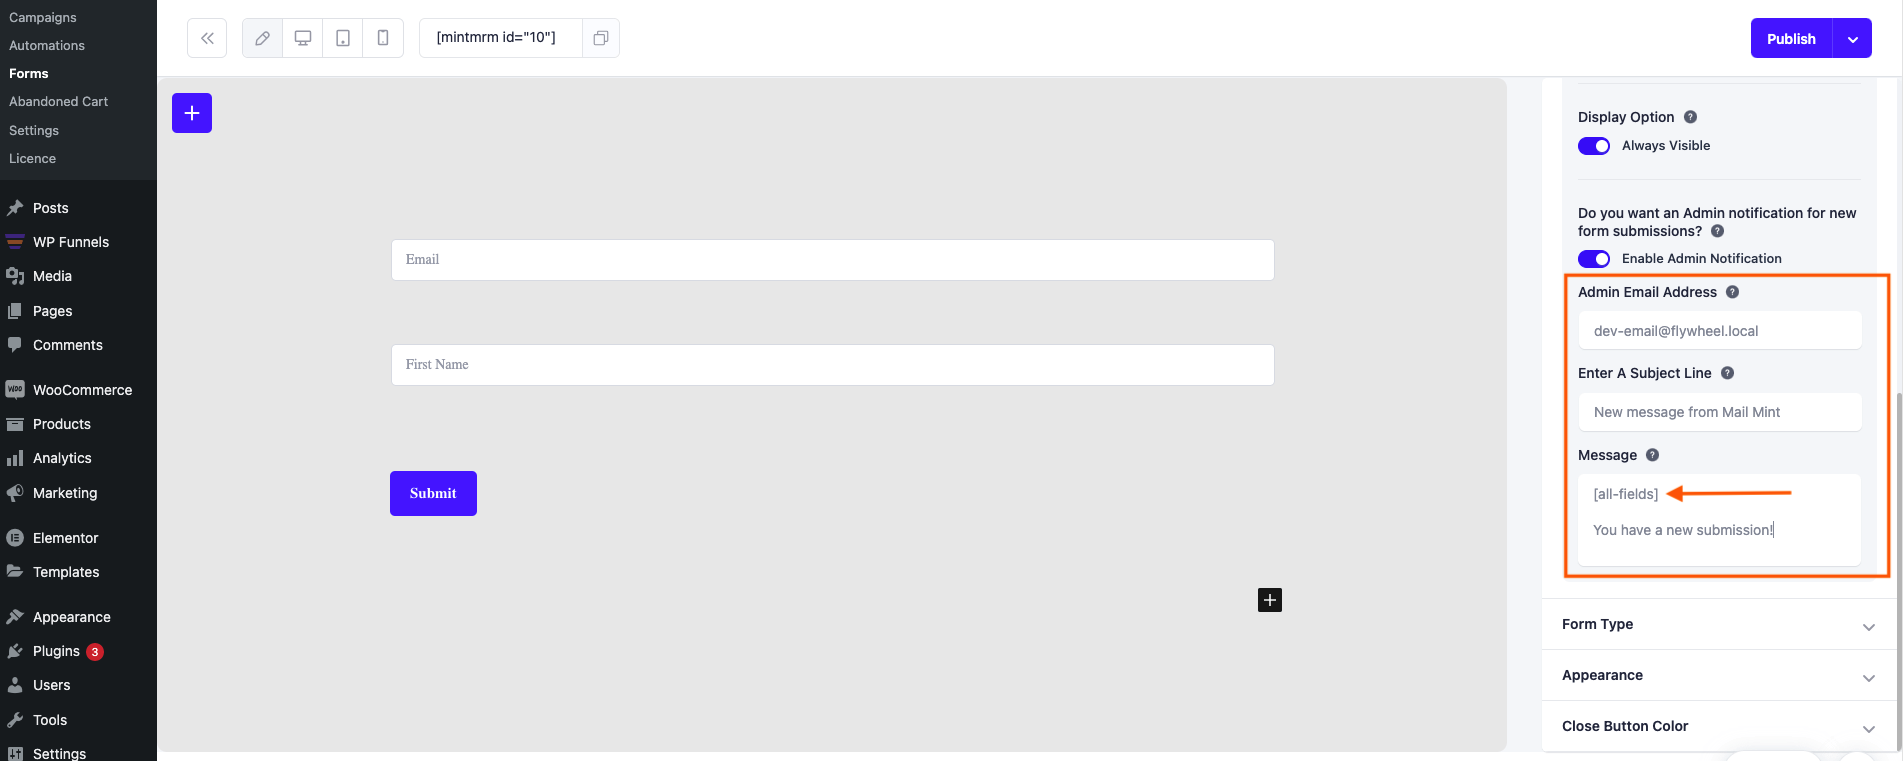
3. To receive the form data, do not remove the [all-fields] merge tag. You may type anything above and below the merge tag.
4. After configuring everything, click on Publish to make your Form live.
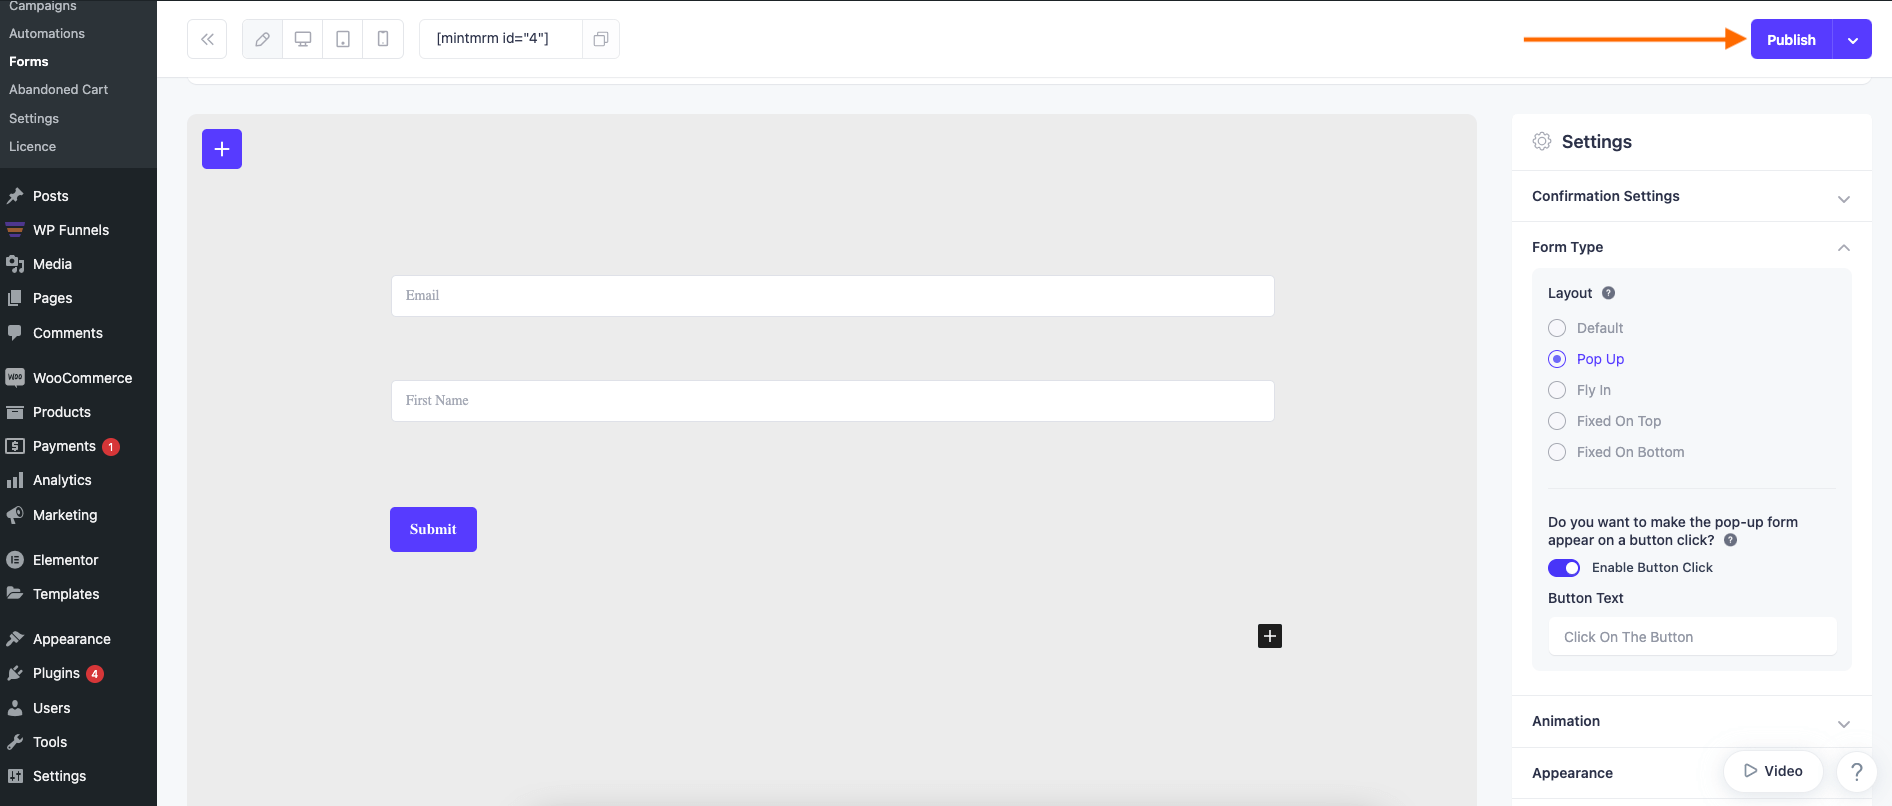
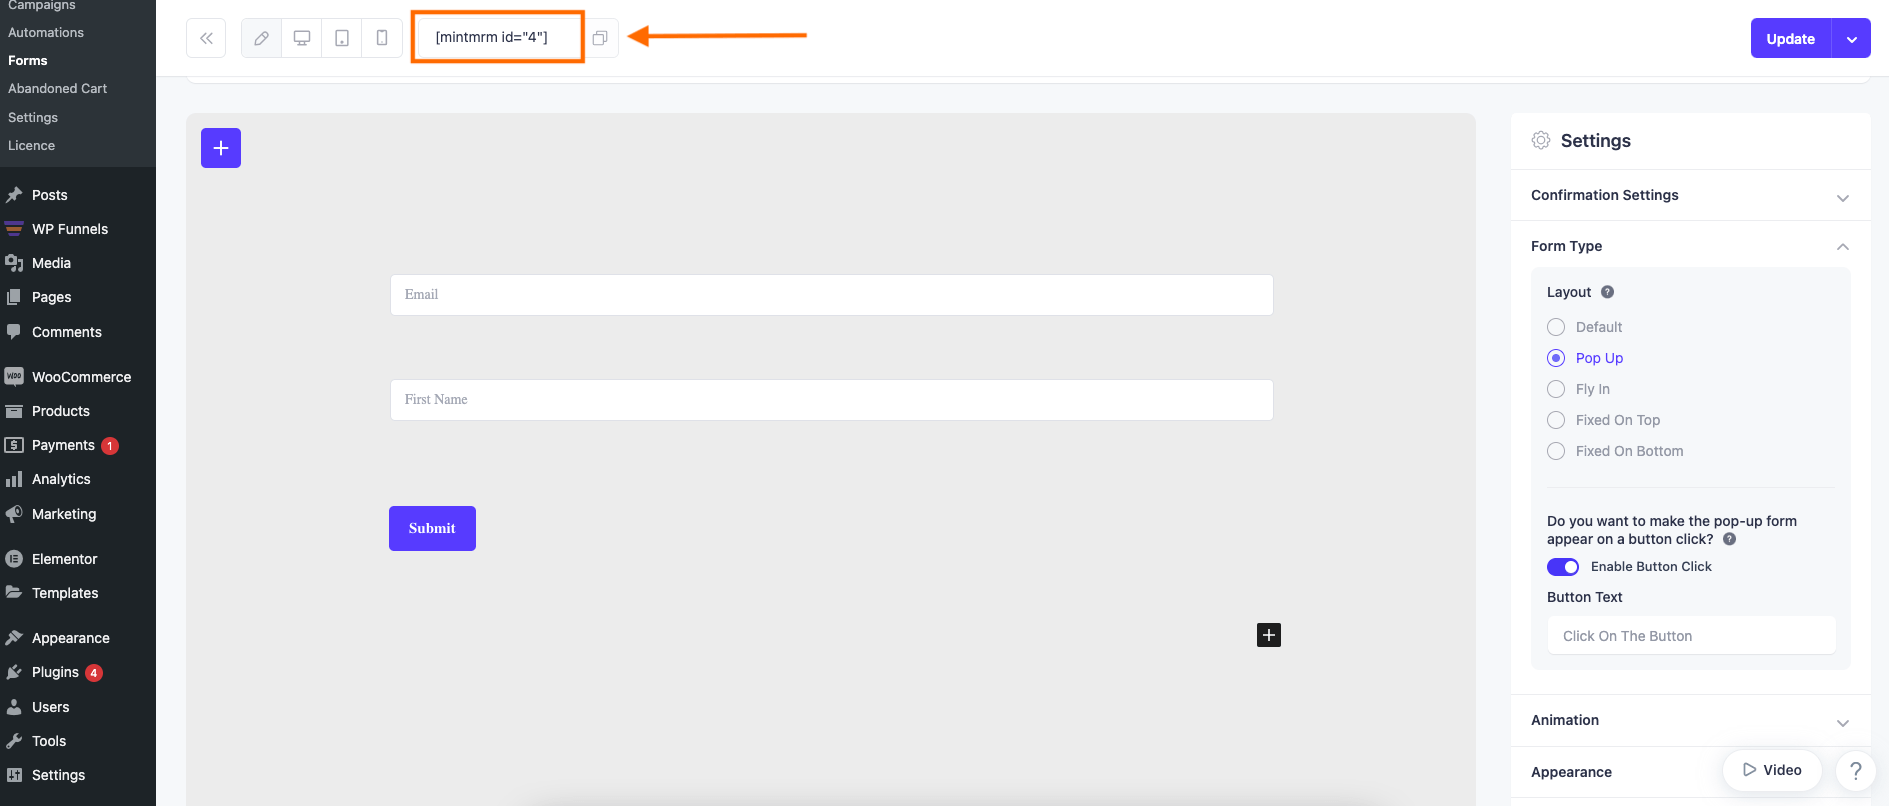
5. Now copy the Form Shortcode and embed it on any page where you want to capture leads.
That’s how you can easily enable the admin notification.


