With WPFunnels, you can easily use its built-in Opt-in Form to capture leads at the top of your funnel.
In this guide, you’ll learn how to embed and use the Opt-in Form within your Divi layout to start collecting contacts seamlessly.
Let’s dive in!
Step 1: Create or Choose a Funnel with an Opt-in Form
- Go to WPFunnels → Funnels from your WordPress dashboard. Click on “Create New Funnel”.

Choose an existing template or start from scratch — whichever suits your goal.
Step 1 – Edit Your Funnel Landing Page
On the WPFunnels drag-and-drop canvas, locate the Landing Step (usually the first step in the funnel).
- Click on the Landing Step to select it. Then, click the Edit (✏️) icon to open the page where you’ll set up the Opt-in Form.
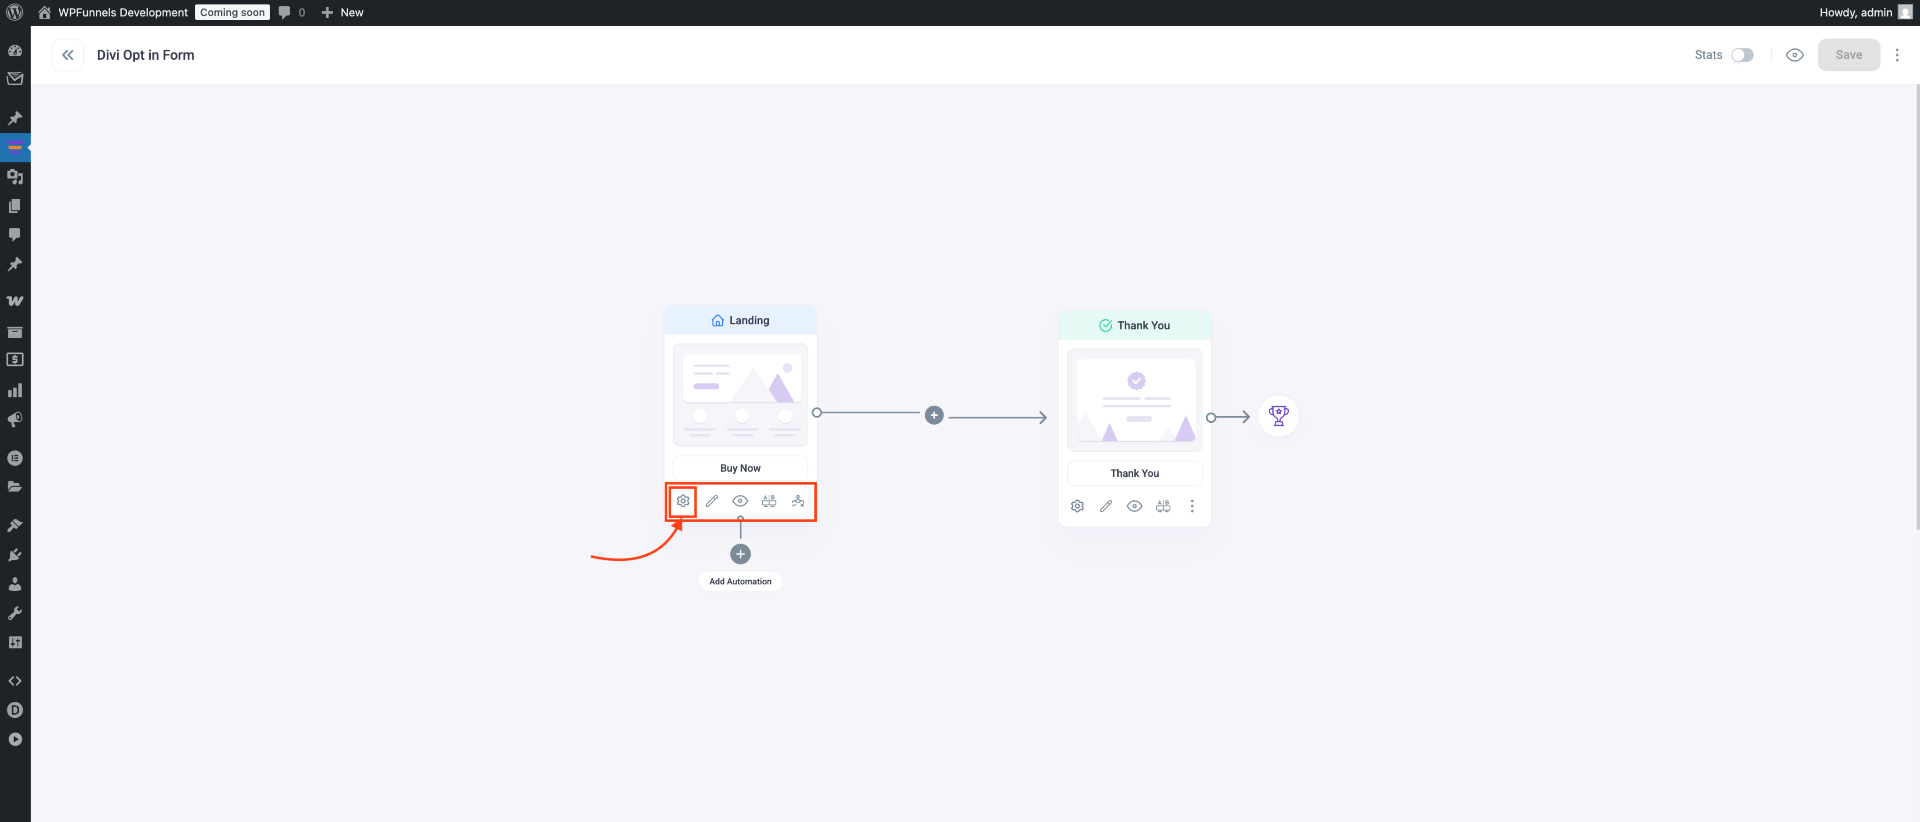
And it will open the Landing page in Divi edit mode.
Note: If you set Divi as the default page builder, the Landing page will open with Divi. You can change the default page builder from the WPFunnels Settings.
Step 2 – Add The Optin Form Widget
1. On the Landing page editor, click on the section (+ button) where you want to add the WPFunnels Optin Form module.
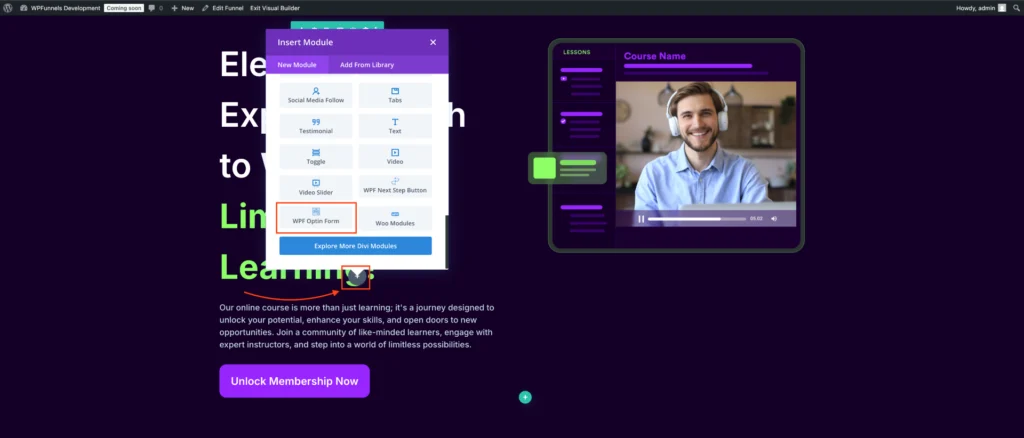
2. Click on the module, and this module will be added to the builder, and you will see the Opt-in module configuration options on the left side.

Step 3 – Configure The Optin Form Widget
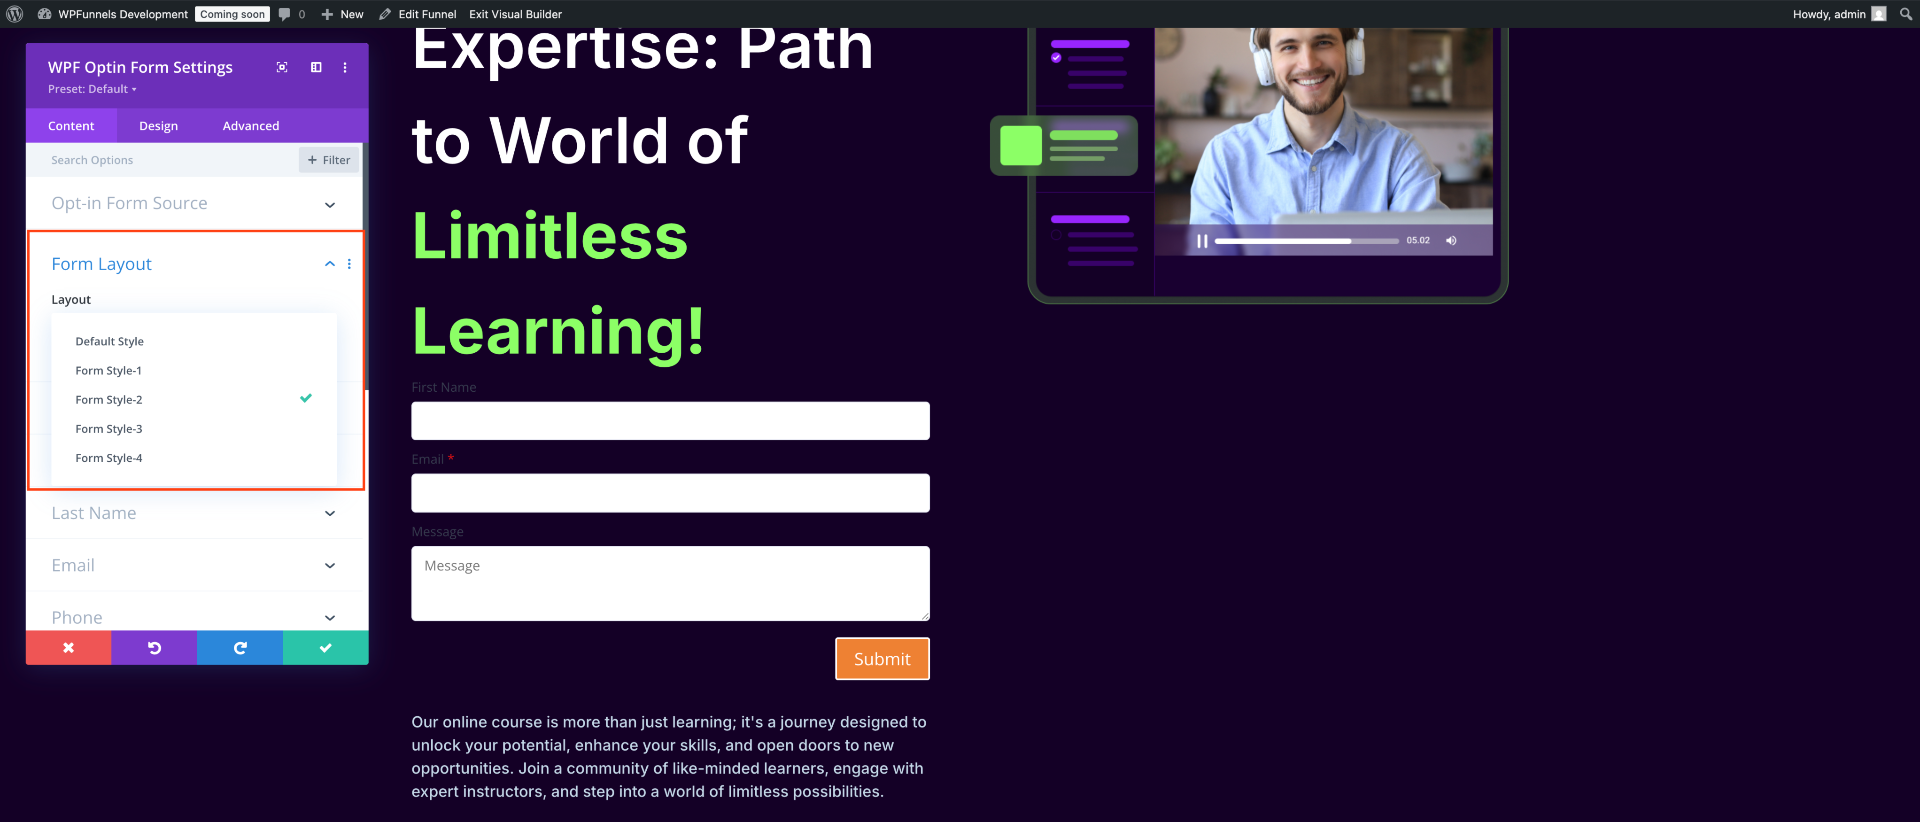
1. Form Layout
You have options to choose from a couple of Form Styles.
2. Form Fields
You can choose to show or hide the following fields:
- Show Input Field Icons
- Show Field Labels
- Field Required Mark

Under this section, you can choose different fields like First name, Last name, Email, Message, etc.
3. Button
Here you can change the Submit button text/ label:

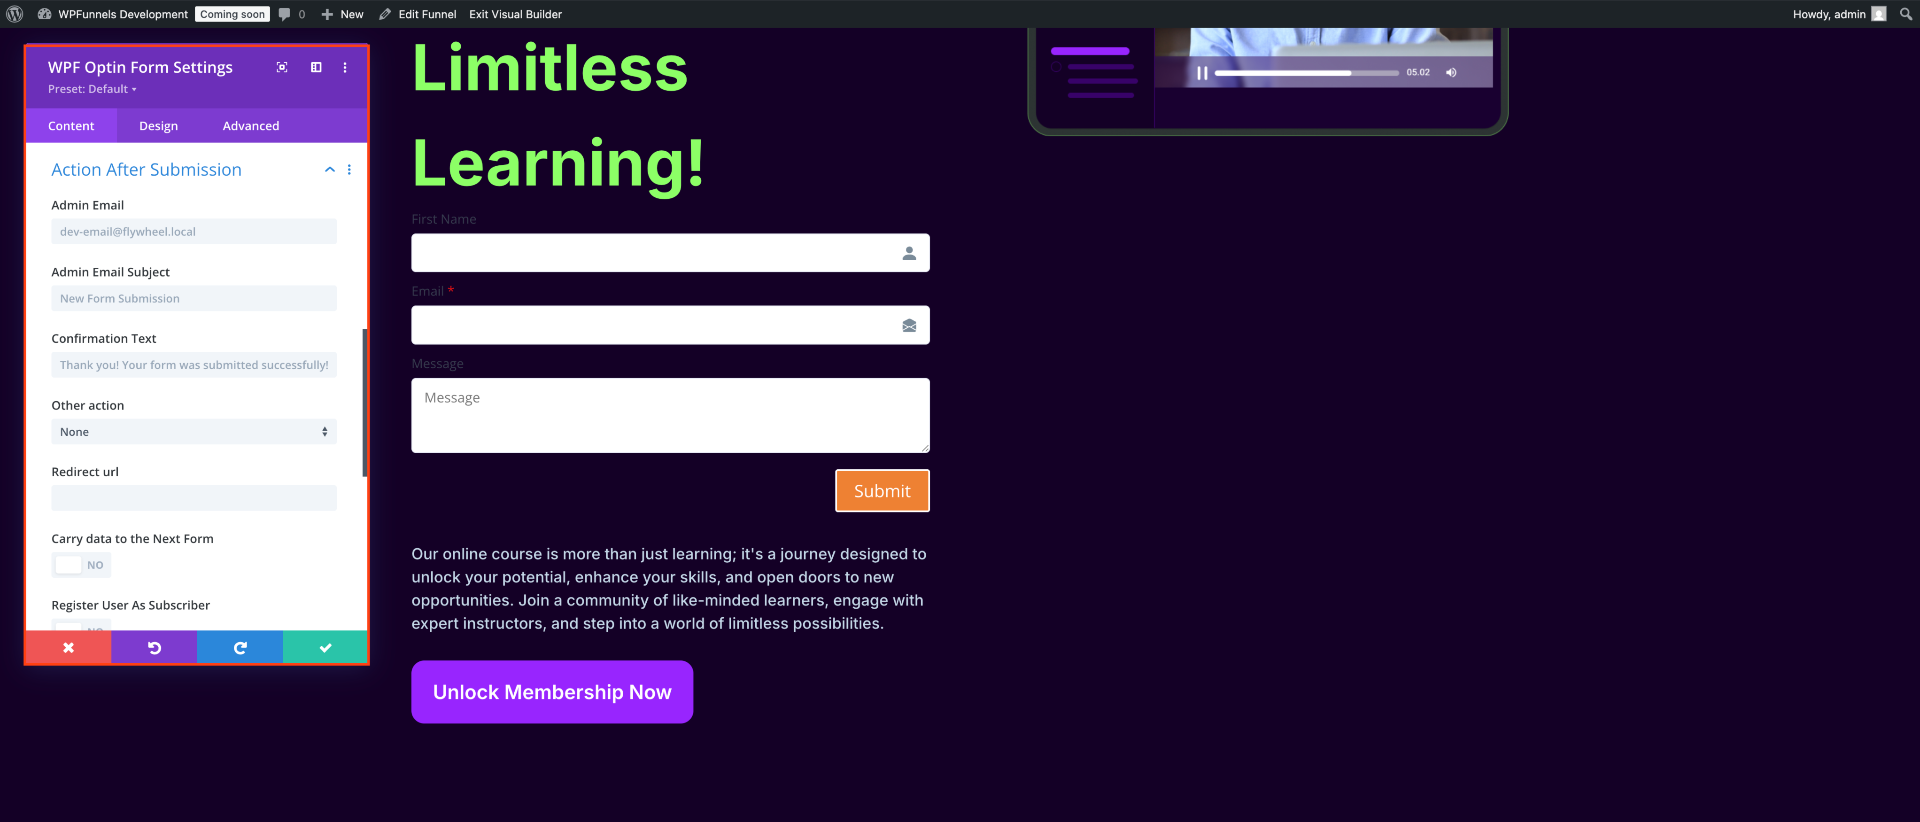
4. Actions After Submit
You can configure the actions after submit. Such as – you can send an email to the admin and you can send the lead to the next step or a specific URL.
In this section, you will see:
- Admin Email
- Admin Email Subject
- Confirmation Text
- Other Action – None, Redirect to URL, Next Step
- Register User As Subscriber (We will discuss this option in the next step)
5. Register User As Subscriber
When a user submits the opt-in form, you can collect their submitted info through CRM.
More to that, if you want to add the users as subscribers to your site, simply enable the Register User As Subscriber option, and the users who submit the opt-in form, their email will be listed as the subscribers.
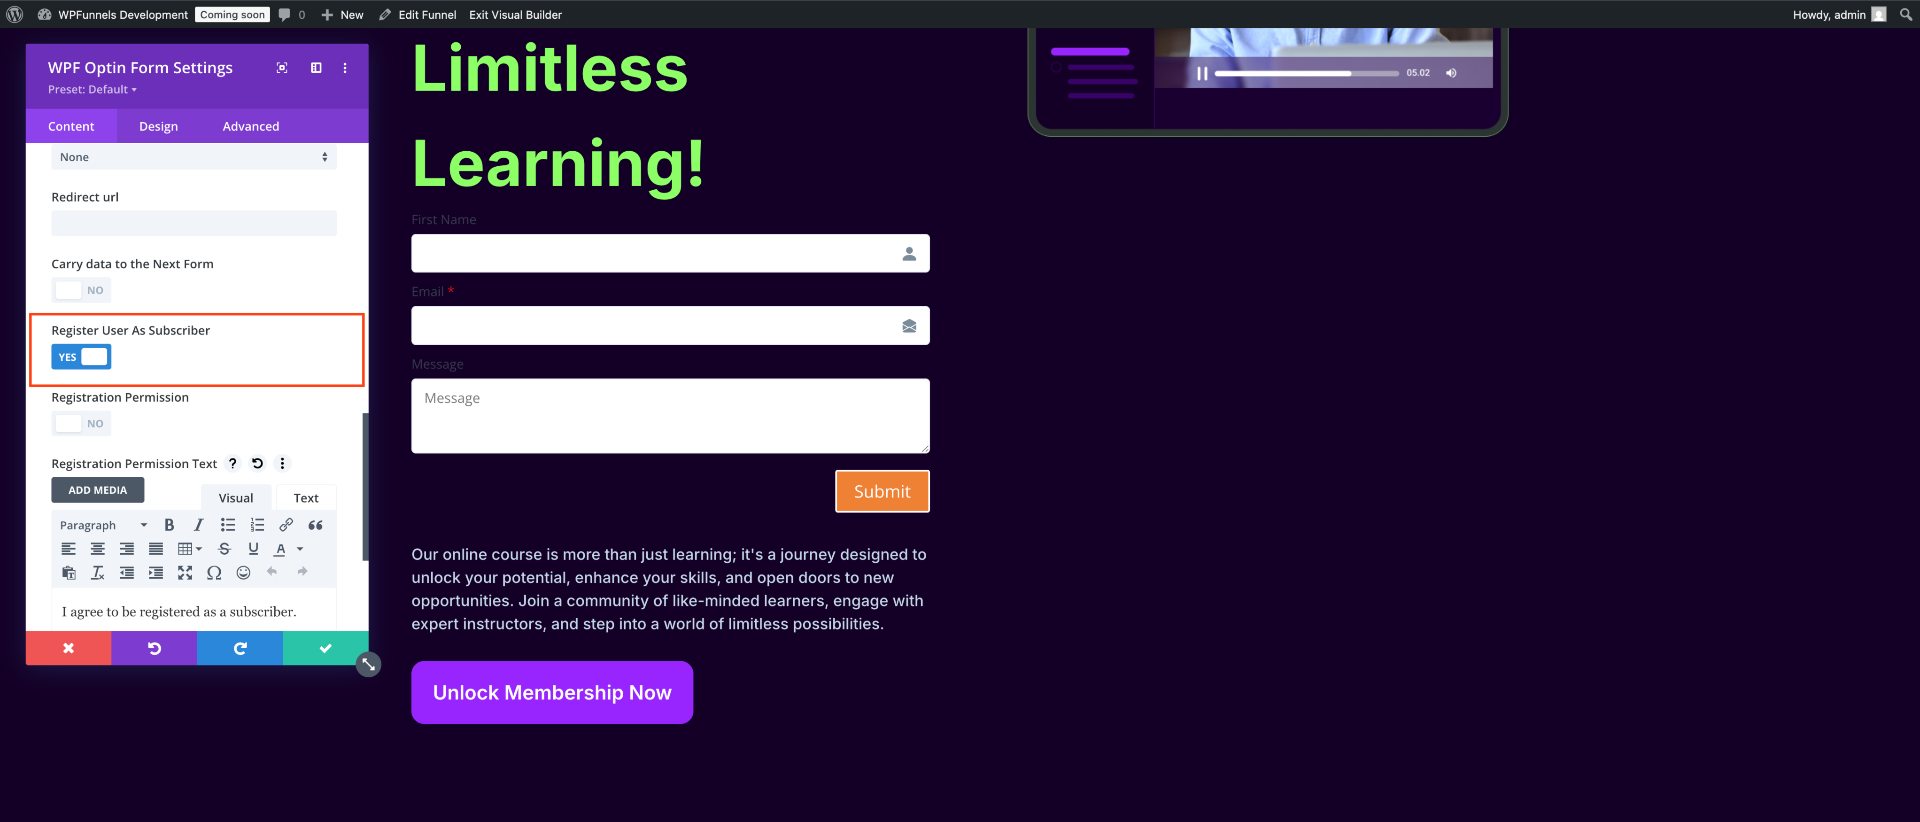
Also, you can add a confirmation check box that the user will be added as a subscriber.
To do so, simply enable the Subscription Permission option below the Register User As Subscriber option, and you will see a new field, Registration permission text box:
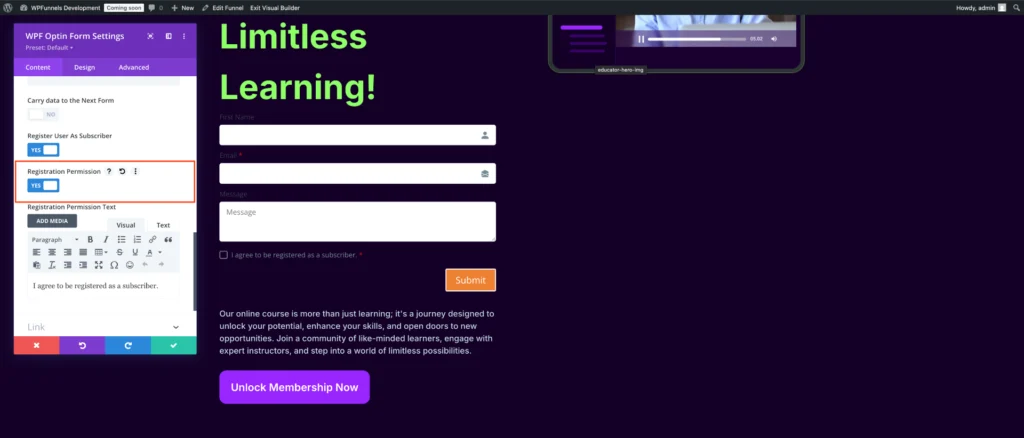
From the screenshot above, you can see that a new checkbox has now added in the preview section – this is the confirmation checkbox that the user will be added as a subscriber.
If you want to change this checkbox confirmation text, make changes to the Registration permission text box, and the confirmation message will be changed.
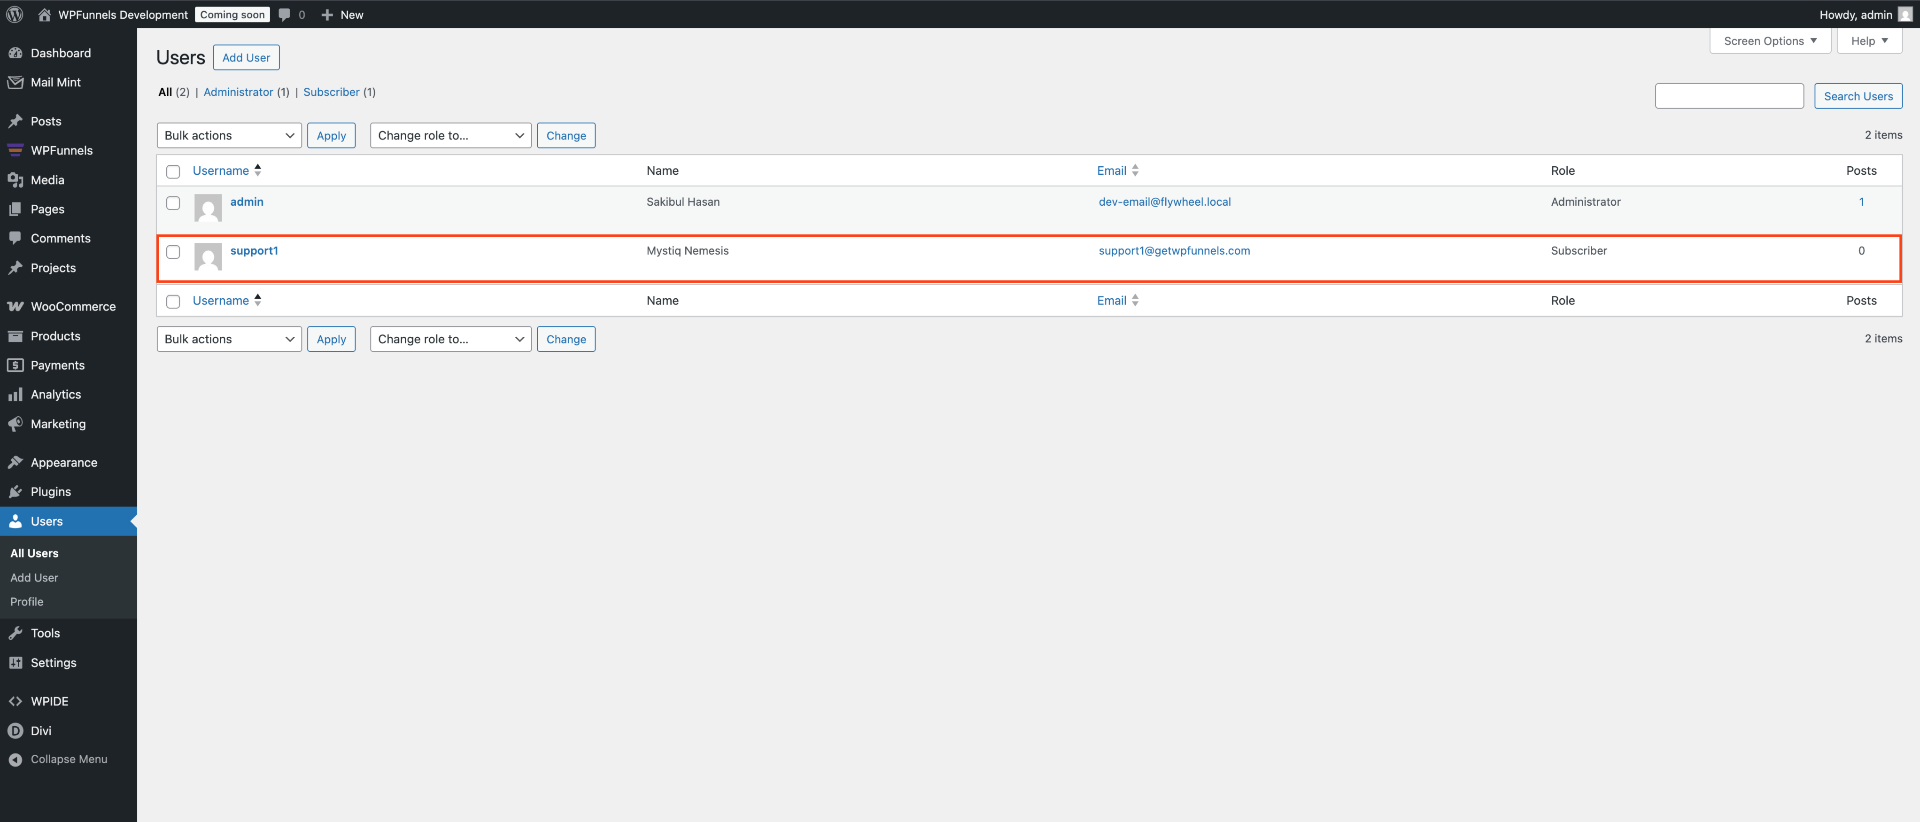
To check if the users are added as subscribers, go to Users >> All Users, and there you will get the list.
After you configure all the options, click Save to save the Landing page.
That’s it, you have successfully added and configured the Optin Form for your funnel.
Note:
- You can see the Analytics of the Optin Form in the WPFunnels Analytics section.
- You can also add Integration with WPFunnels Optin Form.
