Once you have assigned a product as your main product, you can set a discount to this assigned product as well. This discount will be exclusive to this funnel, meaning, people won’t be able to get this discount anywhere else on the website.
If you haven’t assigned a product already, you can follow this doc to learn how you can assign a WooCommerce product as the main product.
Once the product is assigned, follow the easy steps below to set discounts for these products in your funnel.
How To Add Discount To The Main Funnel Sales Product
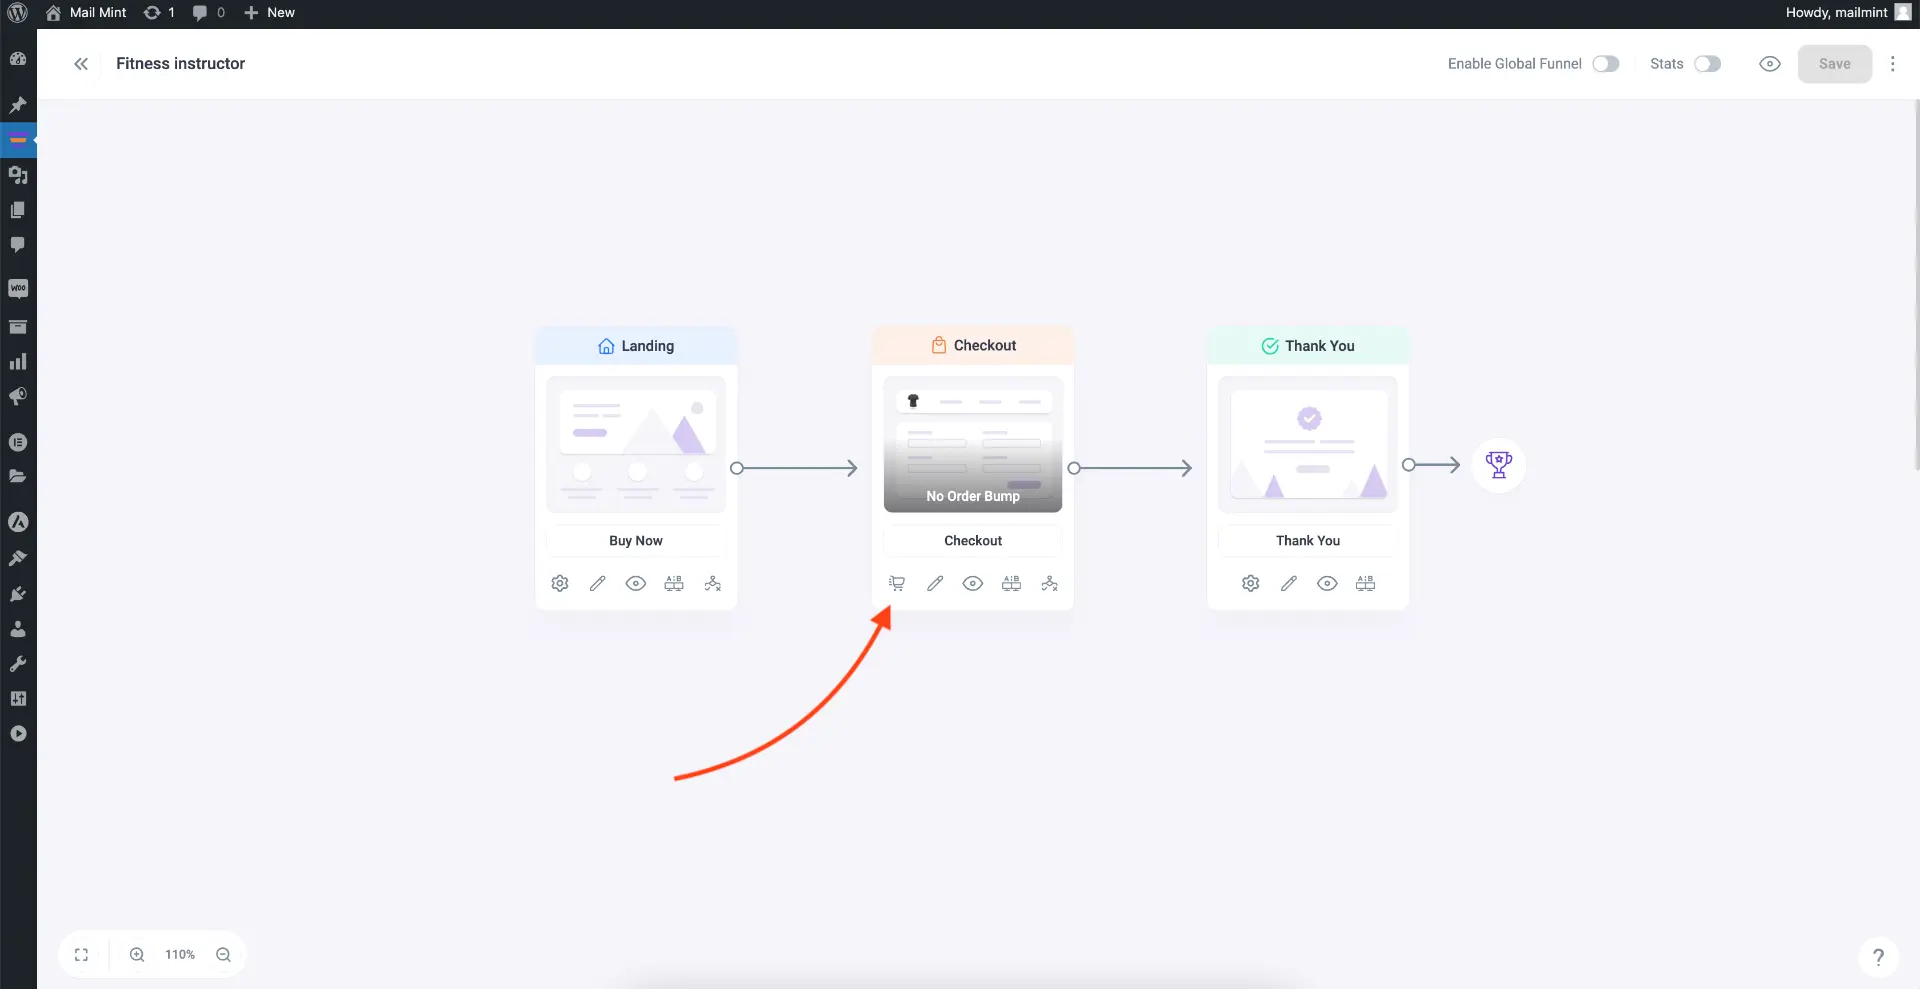
1. Click on the the settings option (cart icon) of your Checkout step on the funnel canvas.

It will open the settings window for your Checkout step.
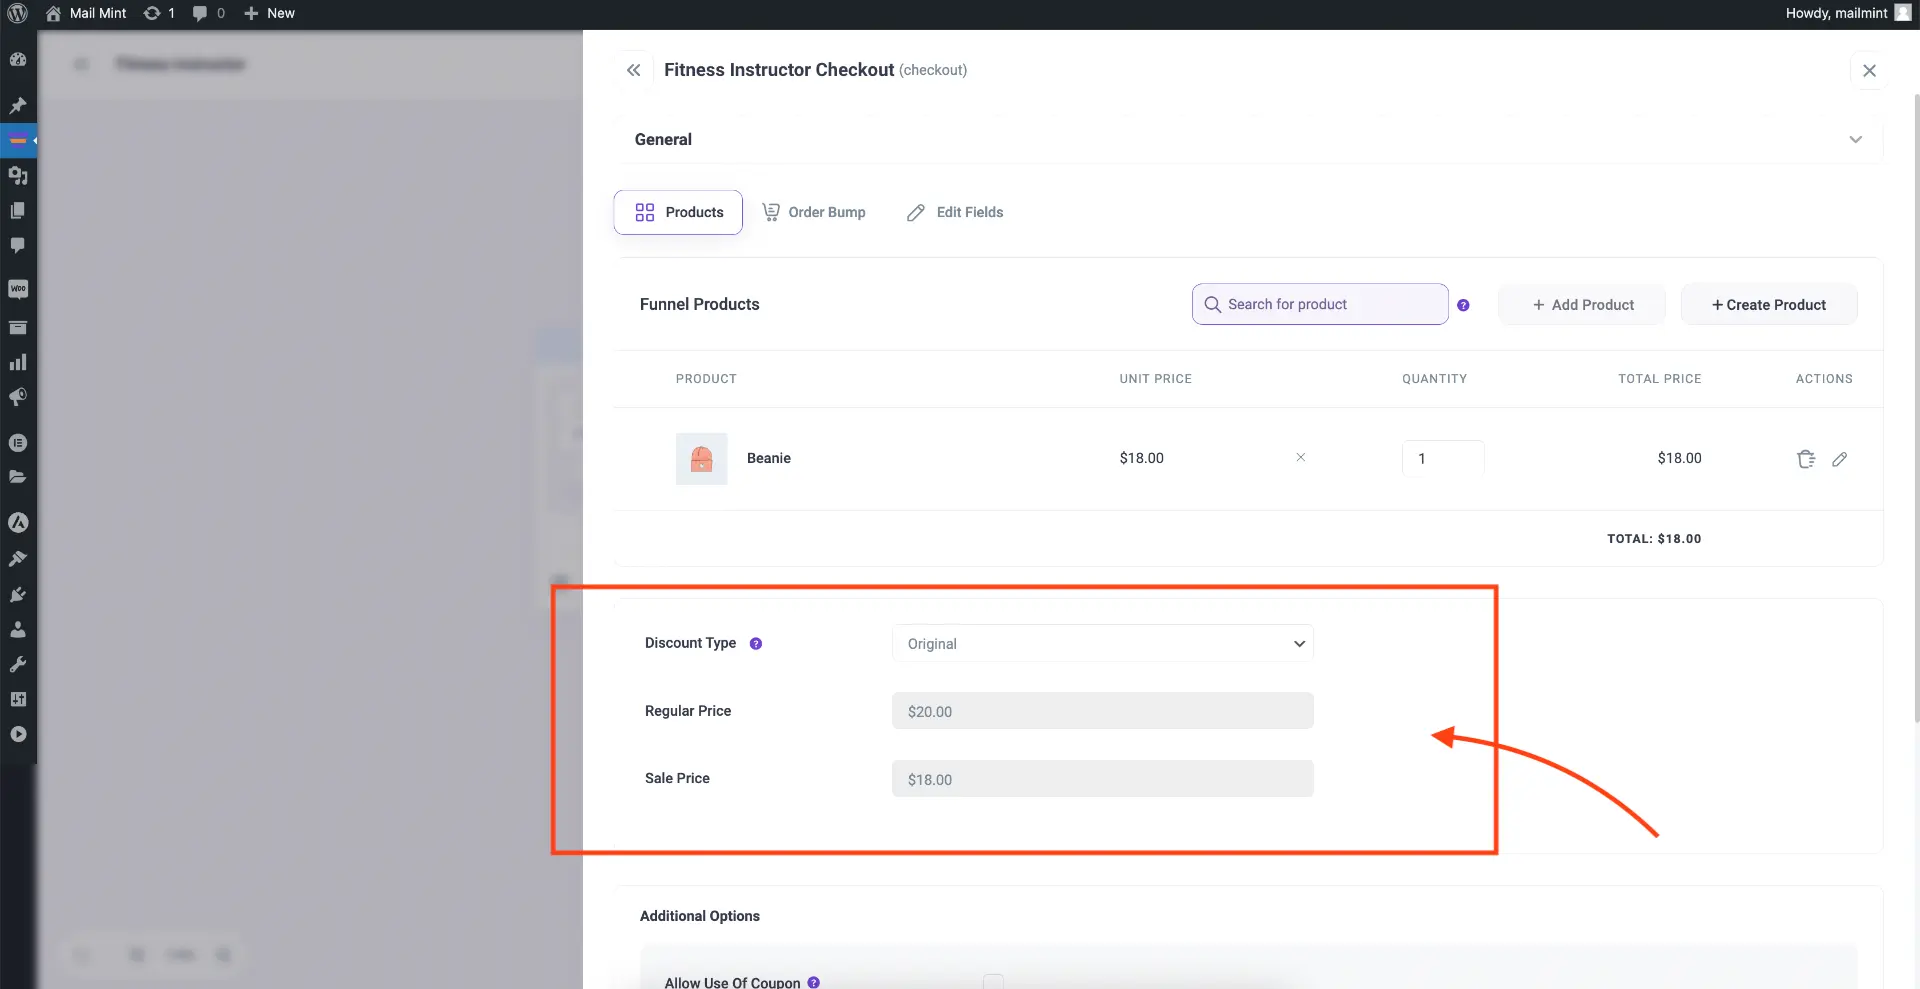
2. Here, look for the option “Discount Type” below the assigned product.

Here, you can see, the discount type is selected as “Original” which means no discount is set from here.
3. Click on the dropdown menu for Discount Type and choose what type of discount you want to apply.

You will get the option to set
- Percentage discount
- Flat discount
4. Once you select a discount type, you will get to configure it.

Here, you will see the following:
- Discount Type:
This will indicate the type of discount you will apply to the cart total. - Discount To Apply To:
You can choose if you want to apply this discount on the Regular price or the Sale price of the product. - Discount Value:
Define how much discount you want to offer. This will take effect on the product price depending on the discount type. - Regular Price:
This simply shows the regular price of your assigned product. - Sale Price:
This will display the sale price of your assigned product (if set). - Discount Offer Price:
Here, you will get a calculated value of the product price after the discount is applied. - Enable time-bound discount:
You may enable this option to define a start time and an end time for the availability of this discount.
5. Once set, scroll down and click on Save Changes.
Now that the discount is set, you will be able to view it on the checkout page.

That’s it. This is how you can easily offer exclusive discounts on your Checkout step product(s).
