In this doc, I will show you how you can assign a course to your sales funnel to start selling.
Follow the steps below to learn how you can easily assign a course to your sales funnel:
1. Create a funnel.
2. You can keep the landing page as it is for now
To add a product to your funnel checkout, click on the Checkout step, and you will get a few options.
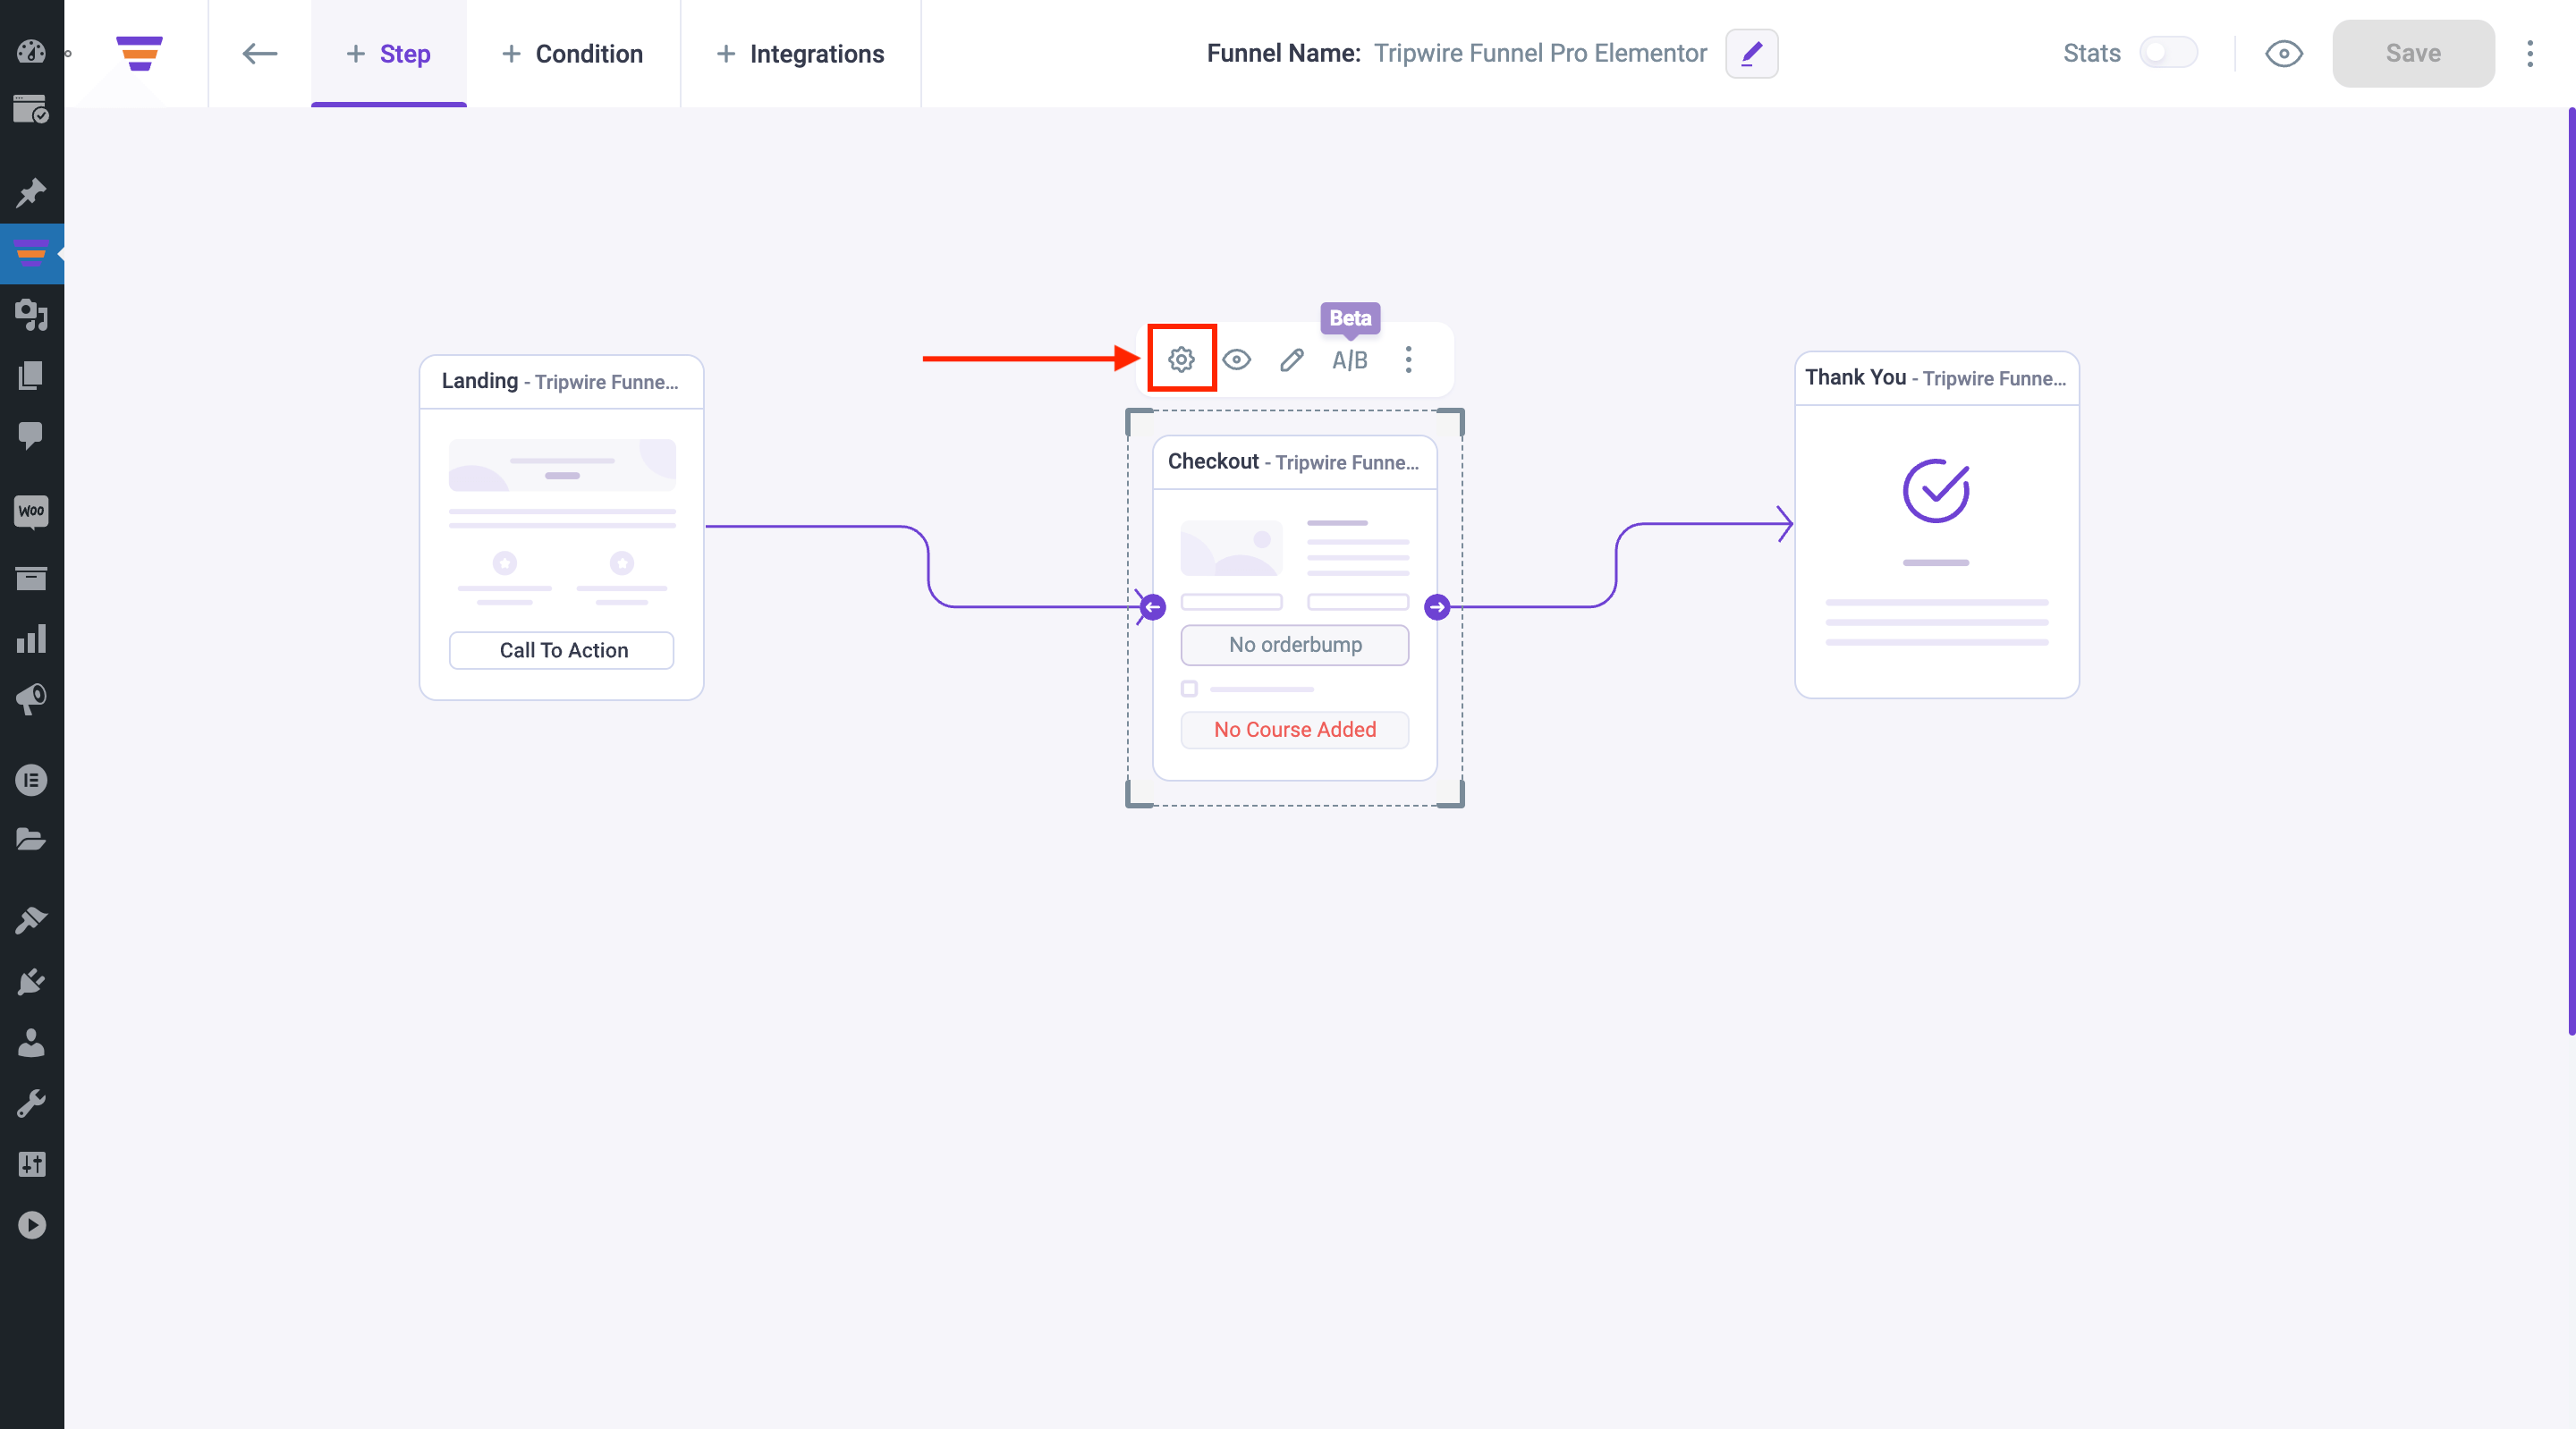
The first option is the Settings for this step. Click on it and the Checkout settings drawer will slide in from the right side of the window.
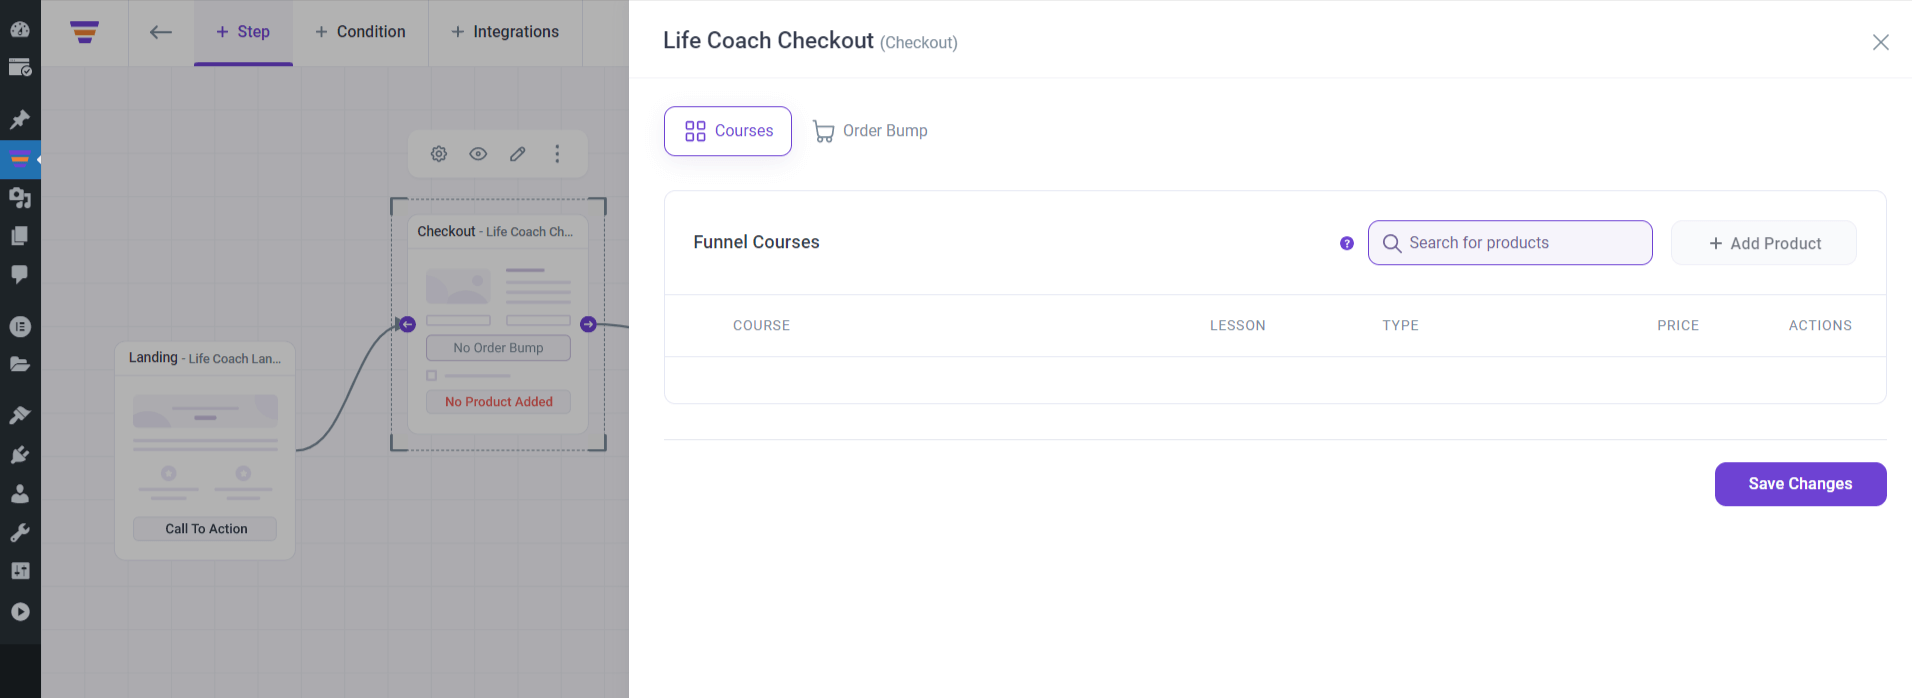
3. In the “Search for products” search box, start typing the course name which you want to include on the Checkout page, and you will get the course list filtered by your search term.
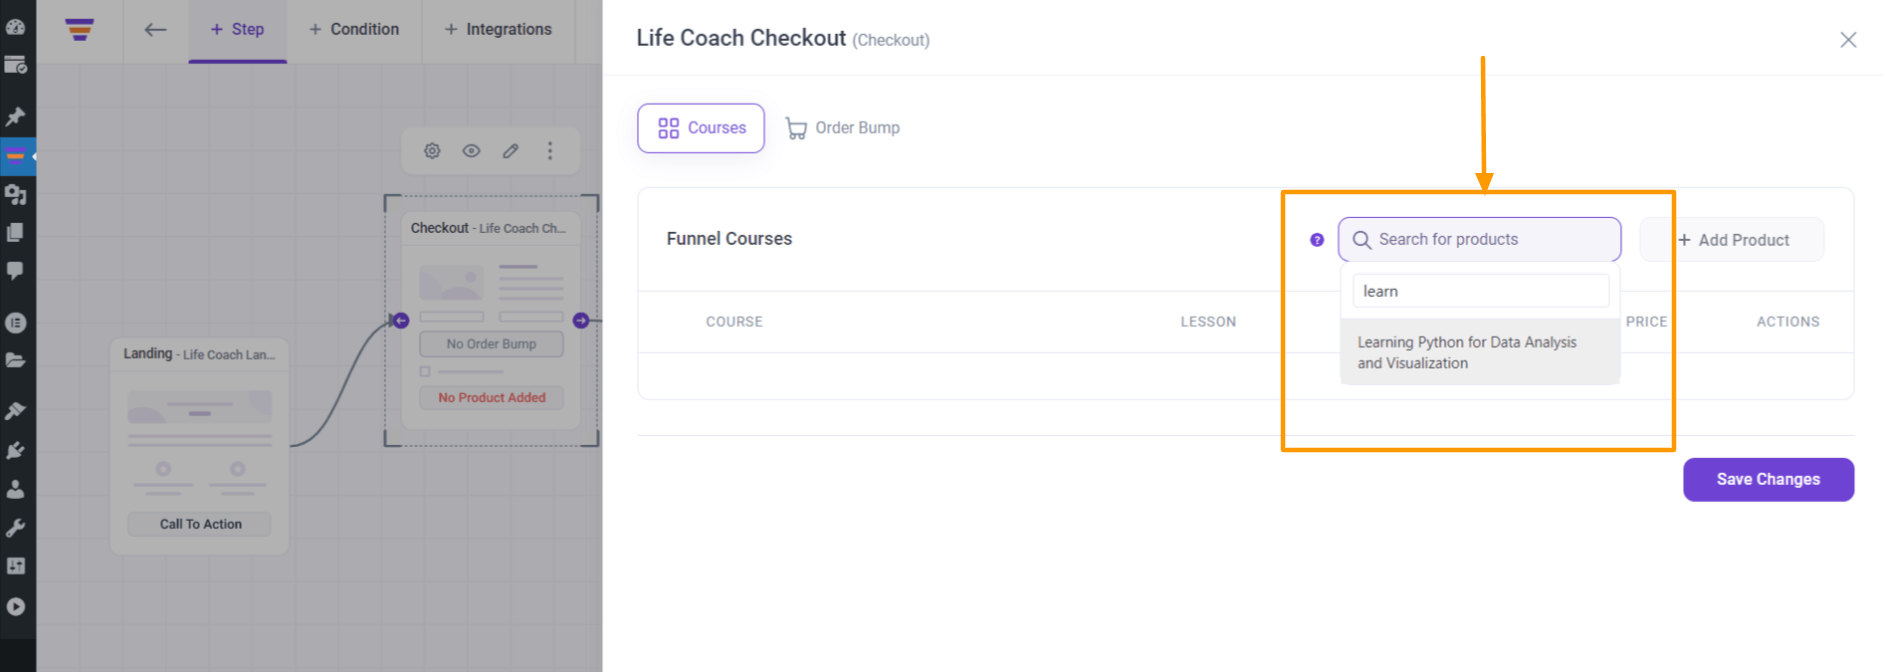
4. Click on the course name and it will be added under the Funnel Courses list.
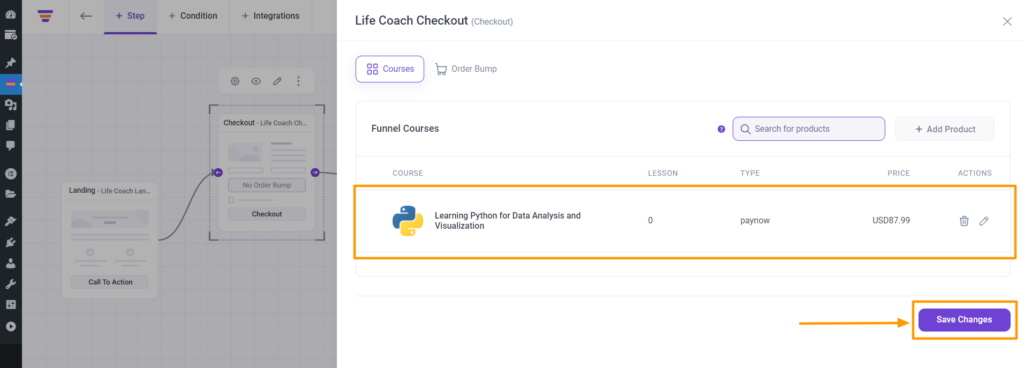
Click on the Save Changes button, and this course is now assigned on your Checkout page.
That’s it, your course is now assigned to your funnel Checkout page.
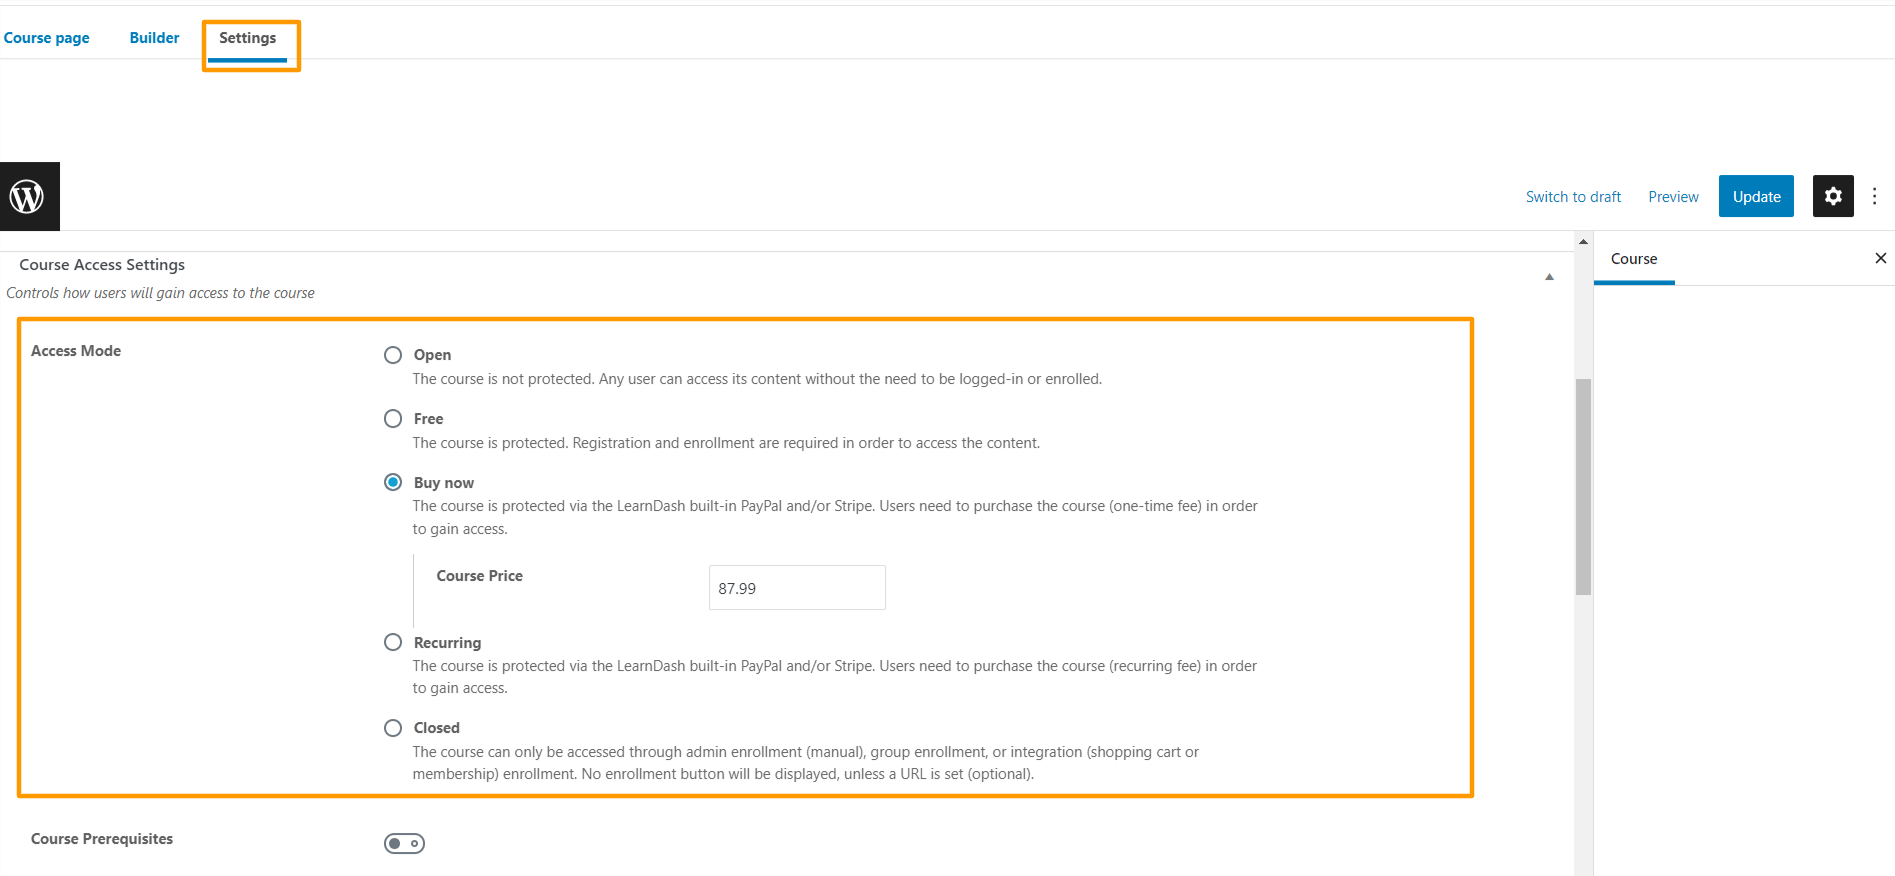
***When you search for a course, it will show you the list of all the courses except the Open and the Closed courses. In LearnDash, you can see the course access status from the Course >> Settings >> Access Mode.
