You can easily create email campaigns to run automated email marketing throughout your contact list.
You may create three types of Email campaigns in Mail Mint,
- Regular Email Campaign
- Sequence Email Campaign
- Sequence For Automation
In this guide, you’ll learn to can create a Regular Email Campaign.
Create Regular Email Campaigns In Mail Mint
Follow these simple steps to create a regular email campaign with Mail Mint.
Step 1: Go to your WordPress Dashboard.
Click on the Campaigns tab on left.

It will take you to the Campaigns page.
Step 2: Here, click on +New Campaign to create a campaign.
Next, on the campaign type selection page, choose the Regular Email Campaign option.

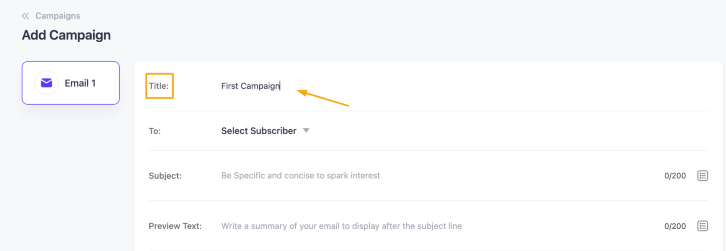
Step 3: Set a Title for your Campaign.
Step 4: Now Choose the receiver list for your campaign from the Subscriber options.
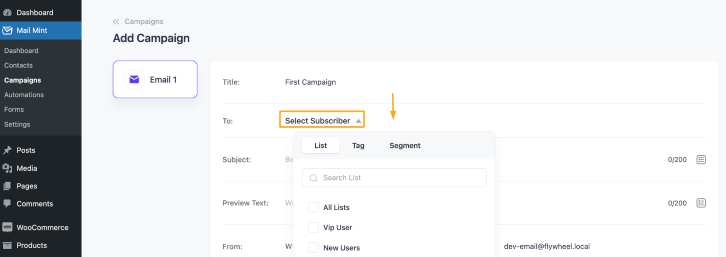
You can choose it by Tag, List, or Segment.

You can apply multiple Tags, Lists, or Segments as well.
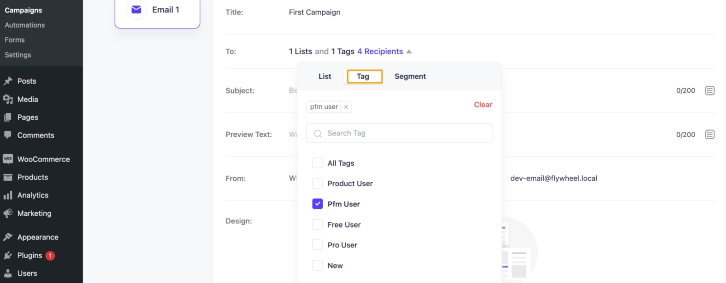
Step 5: Once you’re done selecting the subscriber list, Set a Subject Line and Preview Text for your campaign.

Step 6: Now set the sender’s name & email in the Form field.

Once you’re done setting up these, click on Select A Template.
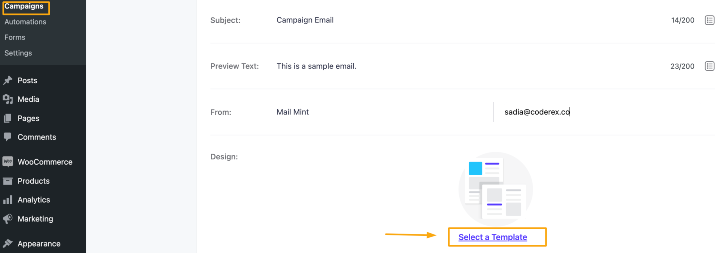
You’ll find 2 options here,
-> Create an email from Scratch.
-> Choose one of the stunning Mail Mint email templates.
In this guide, we’ll choose one of these ready-made templates that you can import with one click to make the process faster.
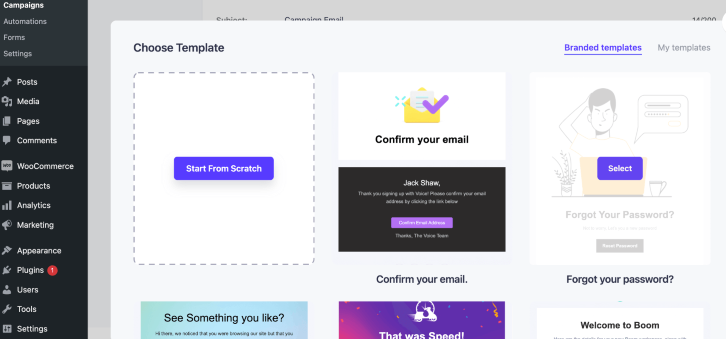
Step 7: Once you choose the template most suitable to you, you can make the required changes.
And once you think that everything looks alright, you can check it in real-time by sending a test email.
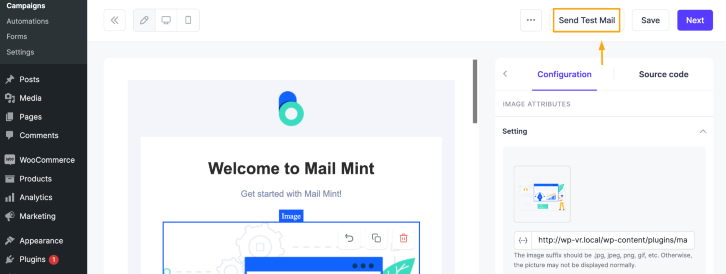
Set one of your own emails where you can check out how the email turned out and click on the Send button.

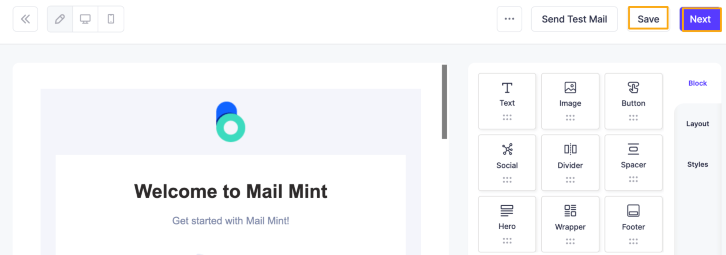
Once you’re ensured that the email is working alright, click on the Save button to save all your progress and click on the Next button to go forward.
Step 8: Now you’ll land on the campaign settings page.
Here, simply click on the Save Draft button to save all your work.
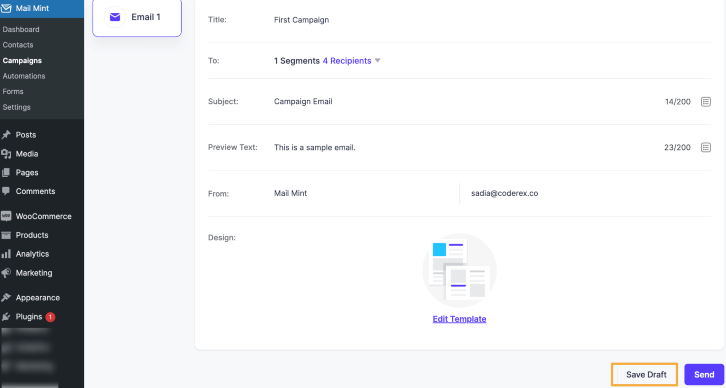
Step 9: Click on the Send button to send this campaign.
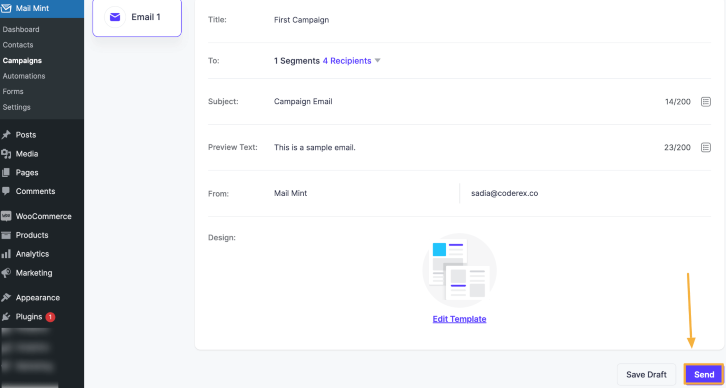
Now, you can send this campaign right now, or you can schedule it.
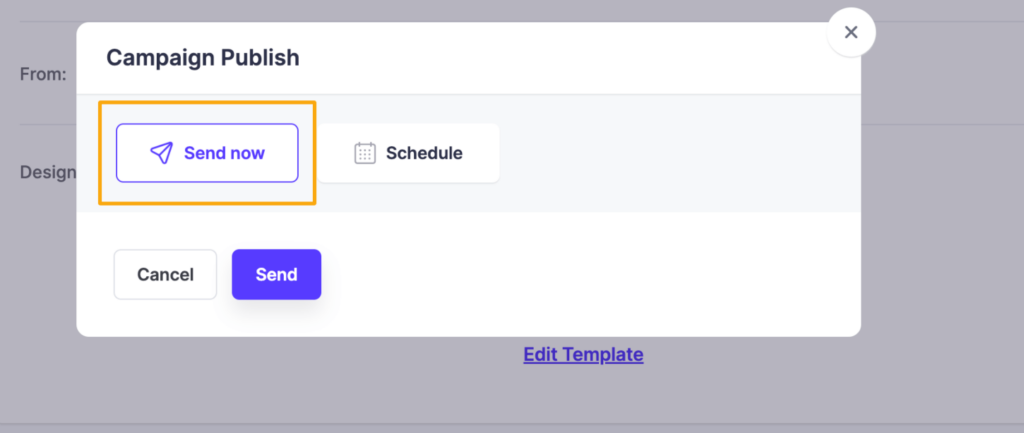
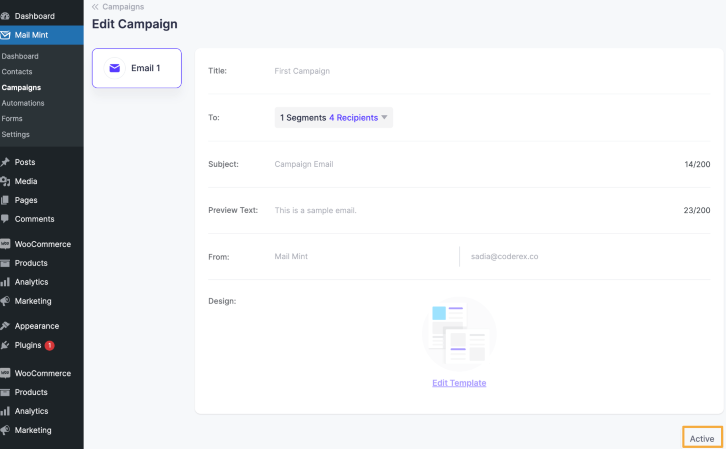
If you, click on the Send Now button, this campaign will be activated right away.
Or, you can click on the Schedule button, and set the Date & Time when you your users to receive this email.
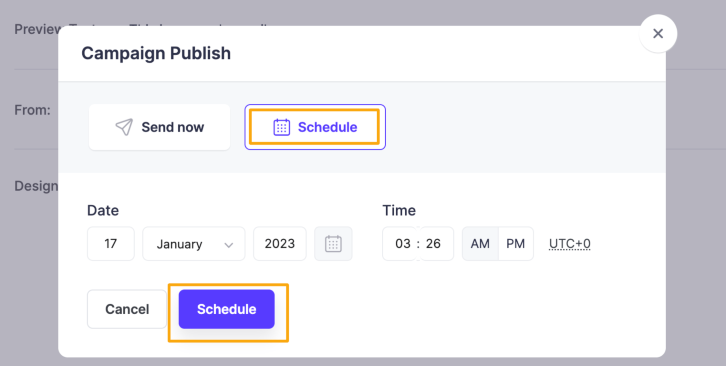
Now just click on the Schedule option and your campaign will be dispatched at the exact time you’ve scheduled it.
