With WPFunnels, you can use a readymade template or you can create a completely new Checkout Page as you wish.
Right now we have the support for Elementor, Gutenberg, Divi, and Oxygen, and you can use any of them to create or edit your Checkout Page.
In this guide, I will show you how you can design or edit your Checkout Page with Elementor to make this Checkout Page compatible with LearnDash. You have to follow almost the same process to edit the Checkout Page with other builders.
Follow the easy steps below to start editing your Checkout Page with Elementor:
Step 1: Insert a Course in the Product Checkout Step
1. To start designing or editing your Checkout Page with Elementor, first go to your Dashboard > WPFunnels. Now Add a New Funnel or start editing the existing one.
2. Now, you need to assign a course to your Checkout Page, click on the Checkout step
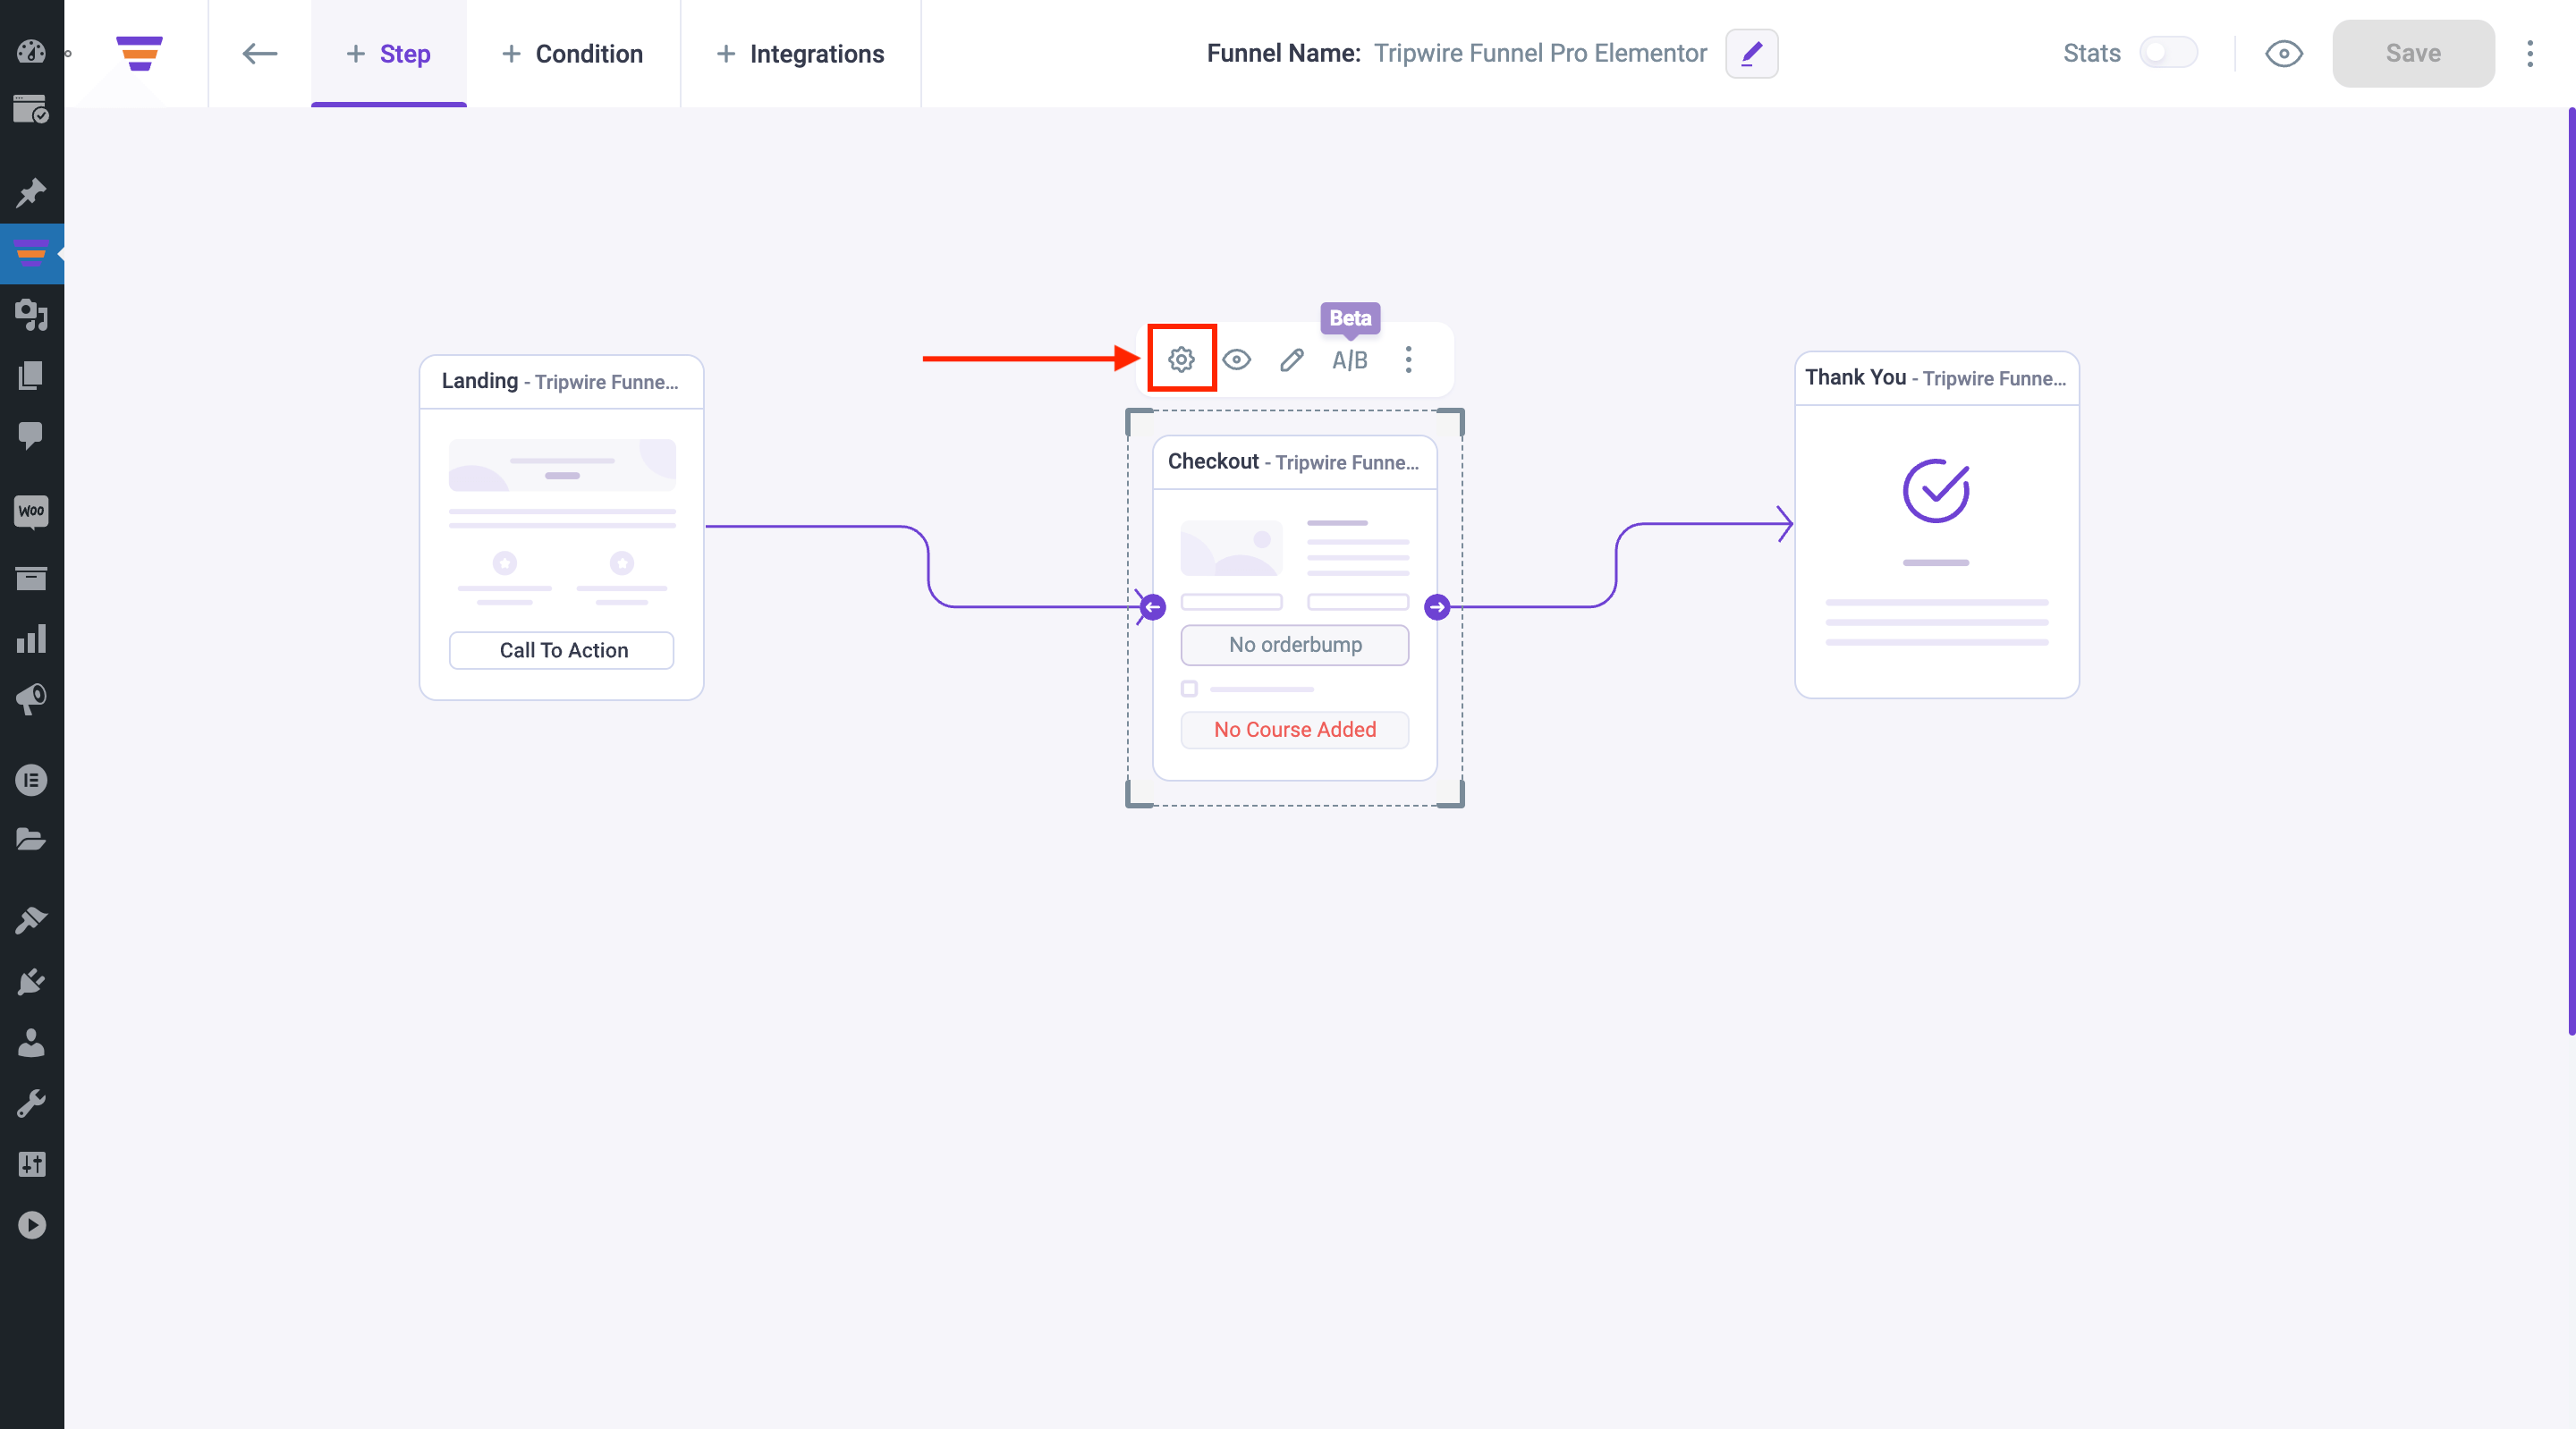
Once you click on the Checkout step, you will see four new options on the top of the Checkout step. The first one is the Settings option, the second option is the View option, the third option is the Edit option, and the last option is the Configure option.
To assign a course to your Checkout step, click on the Configure option.
Once you click on the Configure option, the Checkout step settings drawer will slide in from the right side of the window.
3. Start typing your course name, and you will get the course suggestion.
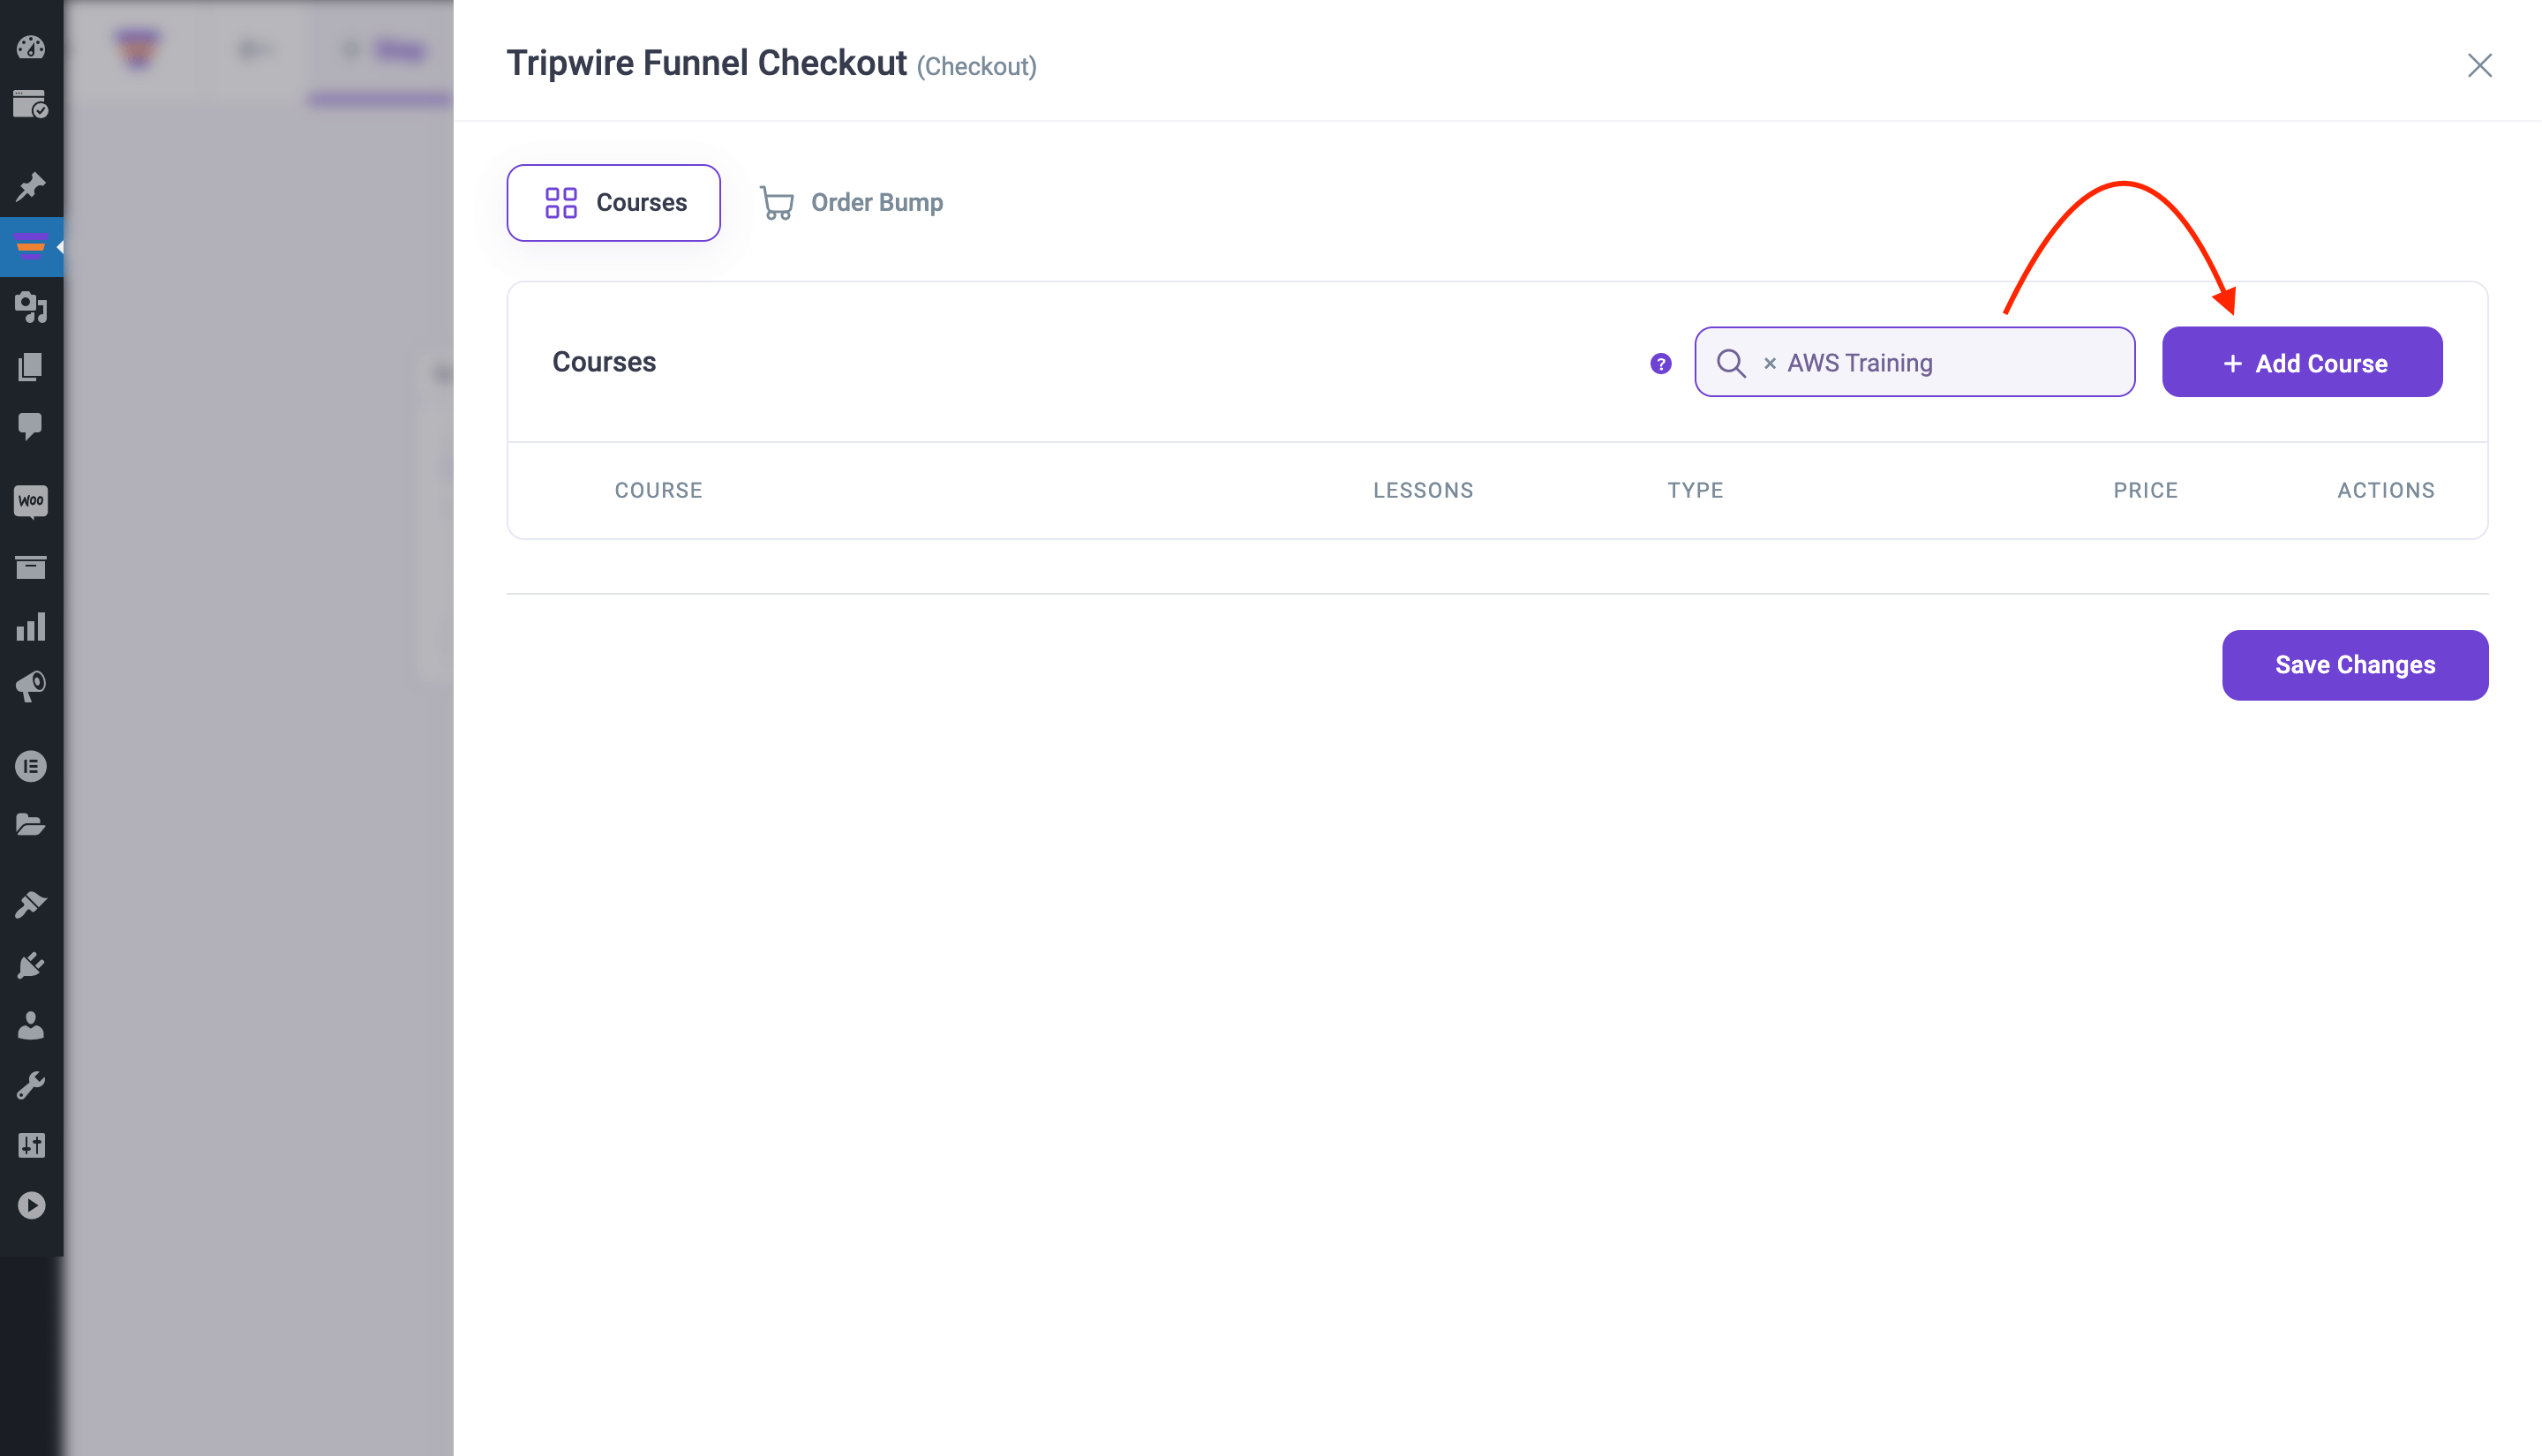
Select the course and click on the +Add Course button, and the course will be added in the Checkout step.
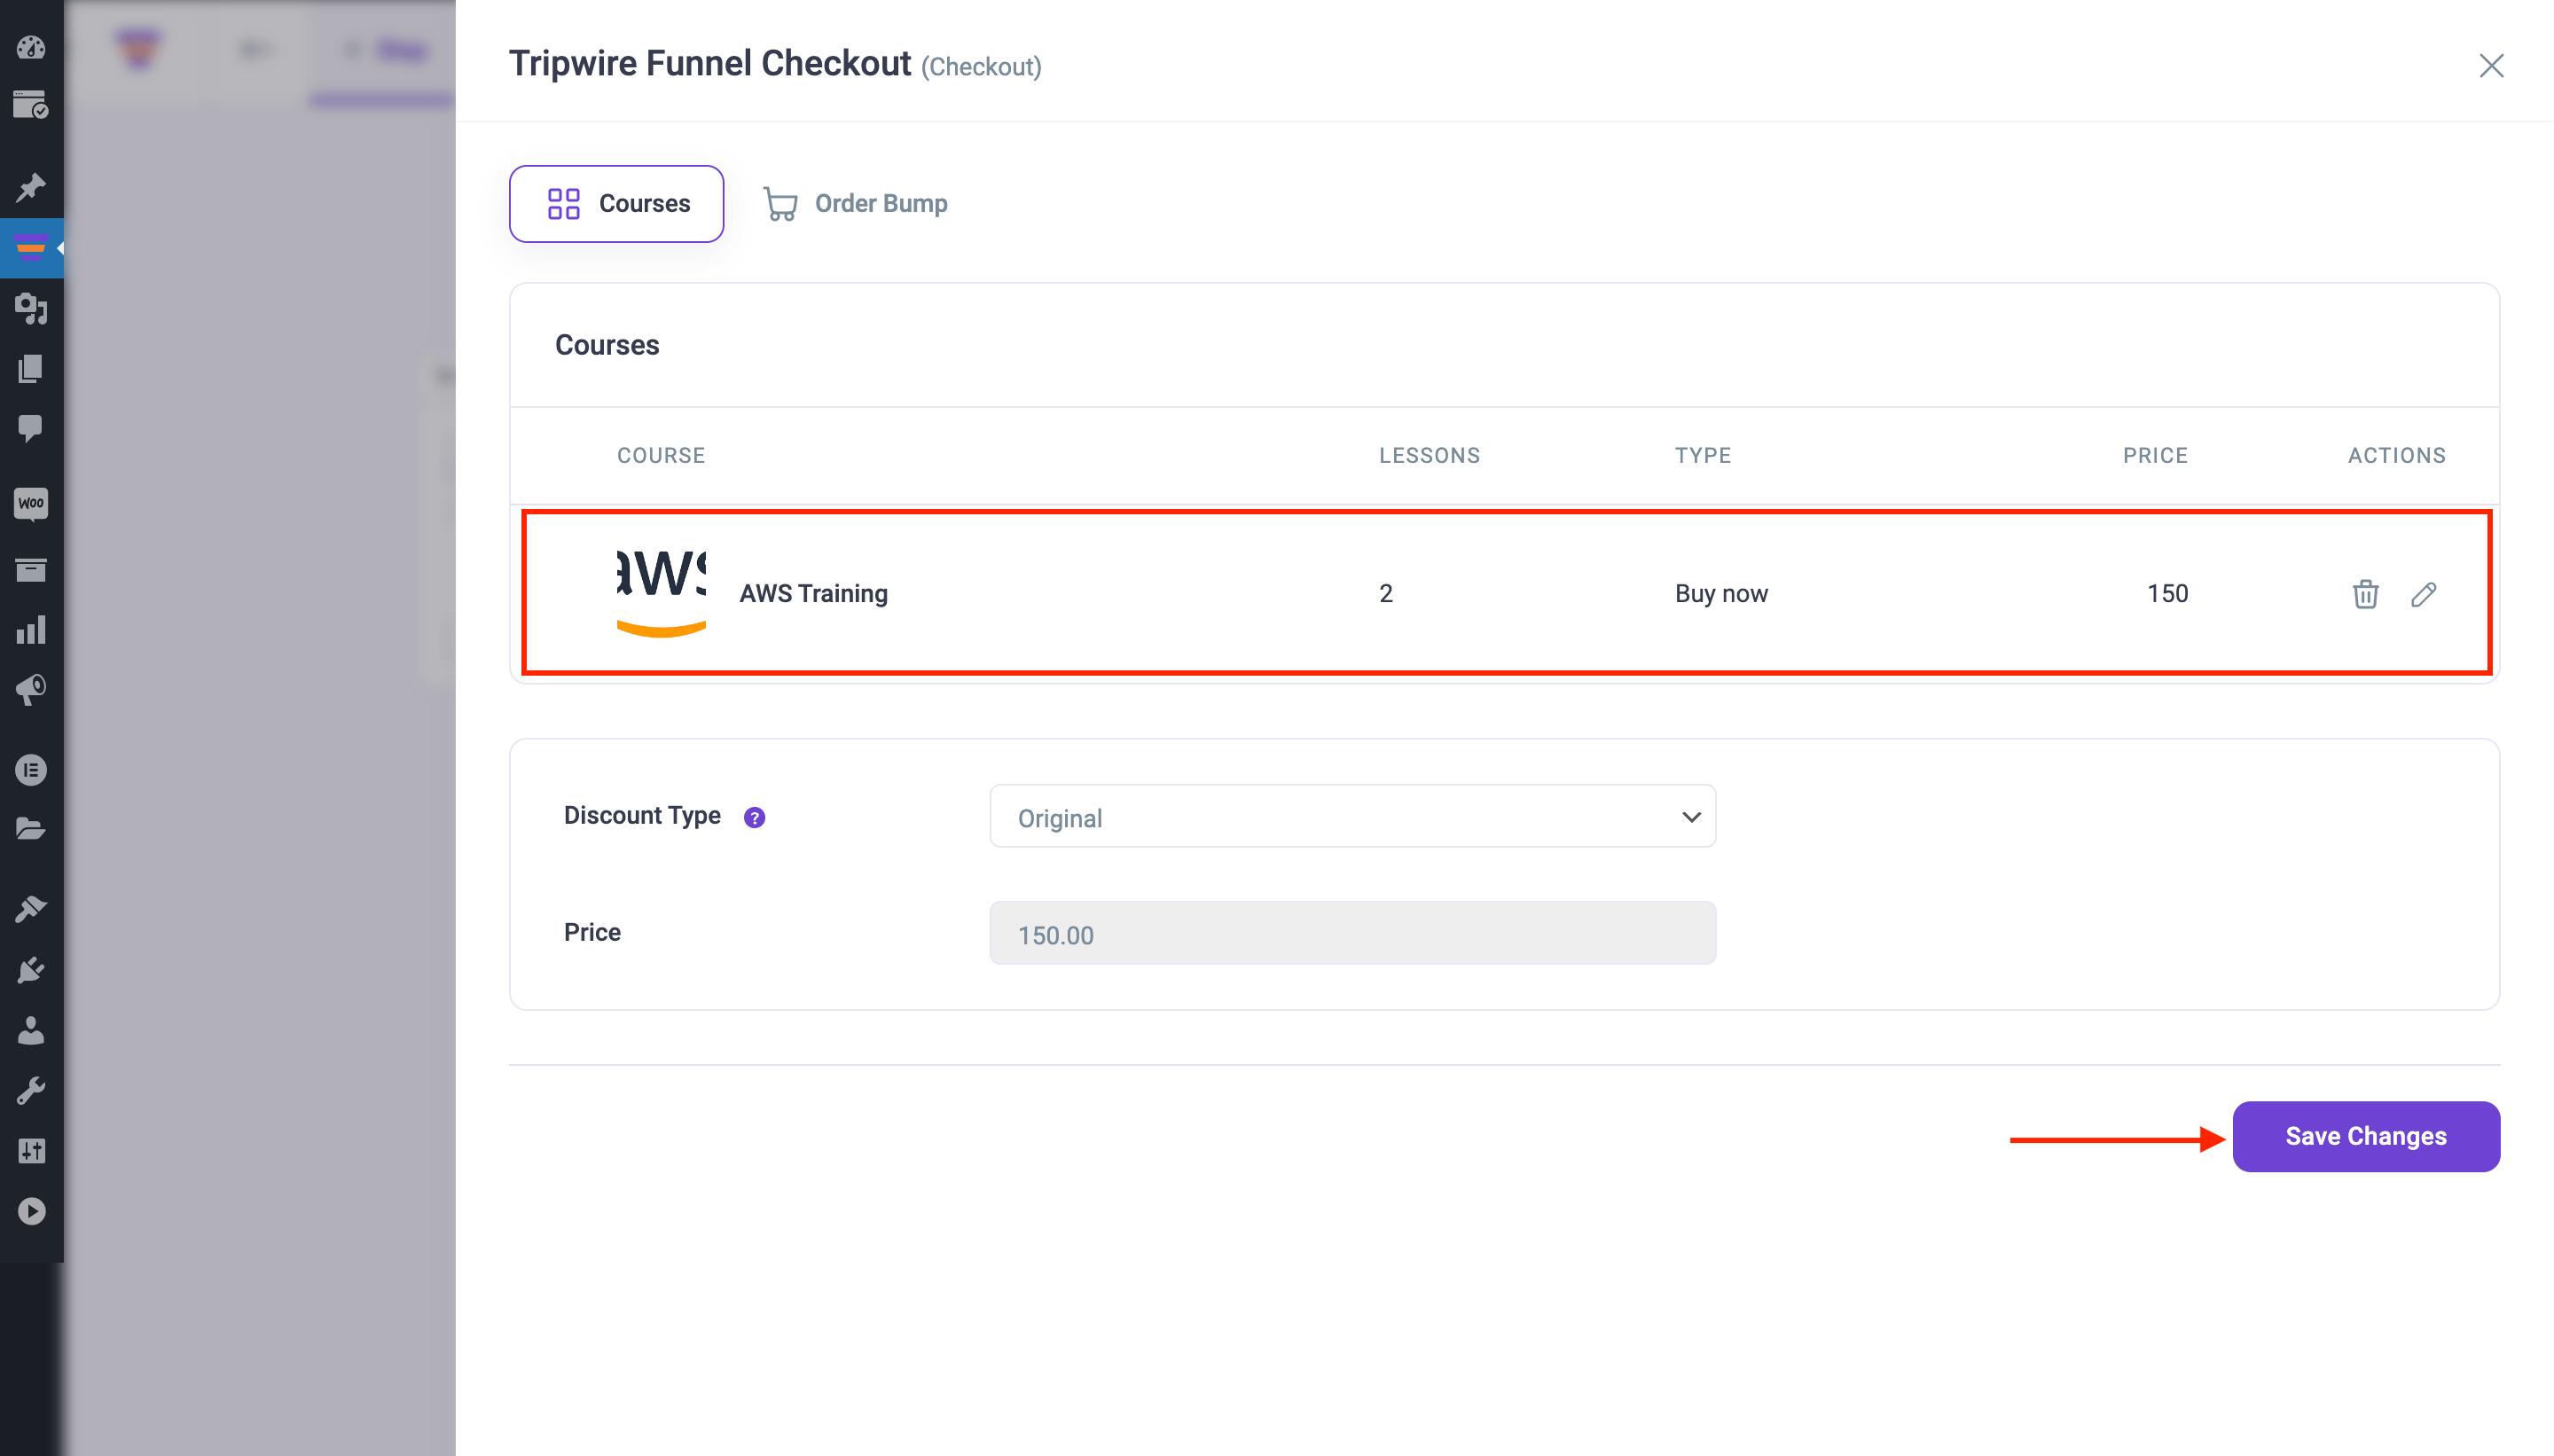
Click on the Save Changes button and save the changes you made.
Step 2: Insert the WPFunnels LMS Checkout widget into the Checkout Step
Once a course is added in the Checkout step, now you need to insert the WPFunnels LMS Checkout widget on the Checkout page. To do so:
1. Select the Checkout step and click on the Edit option of the Checkout page.
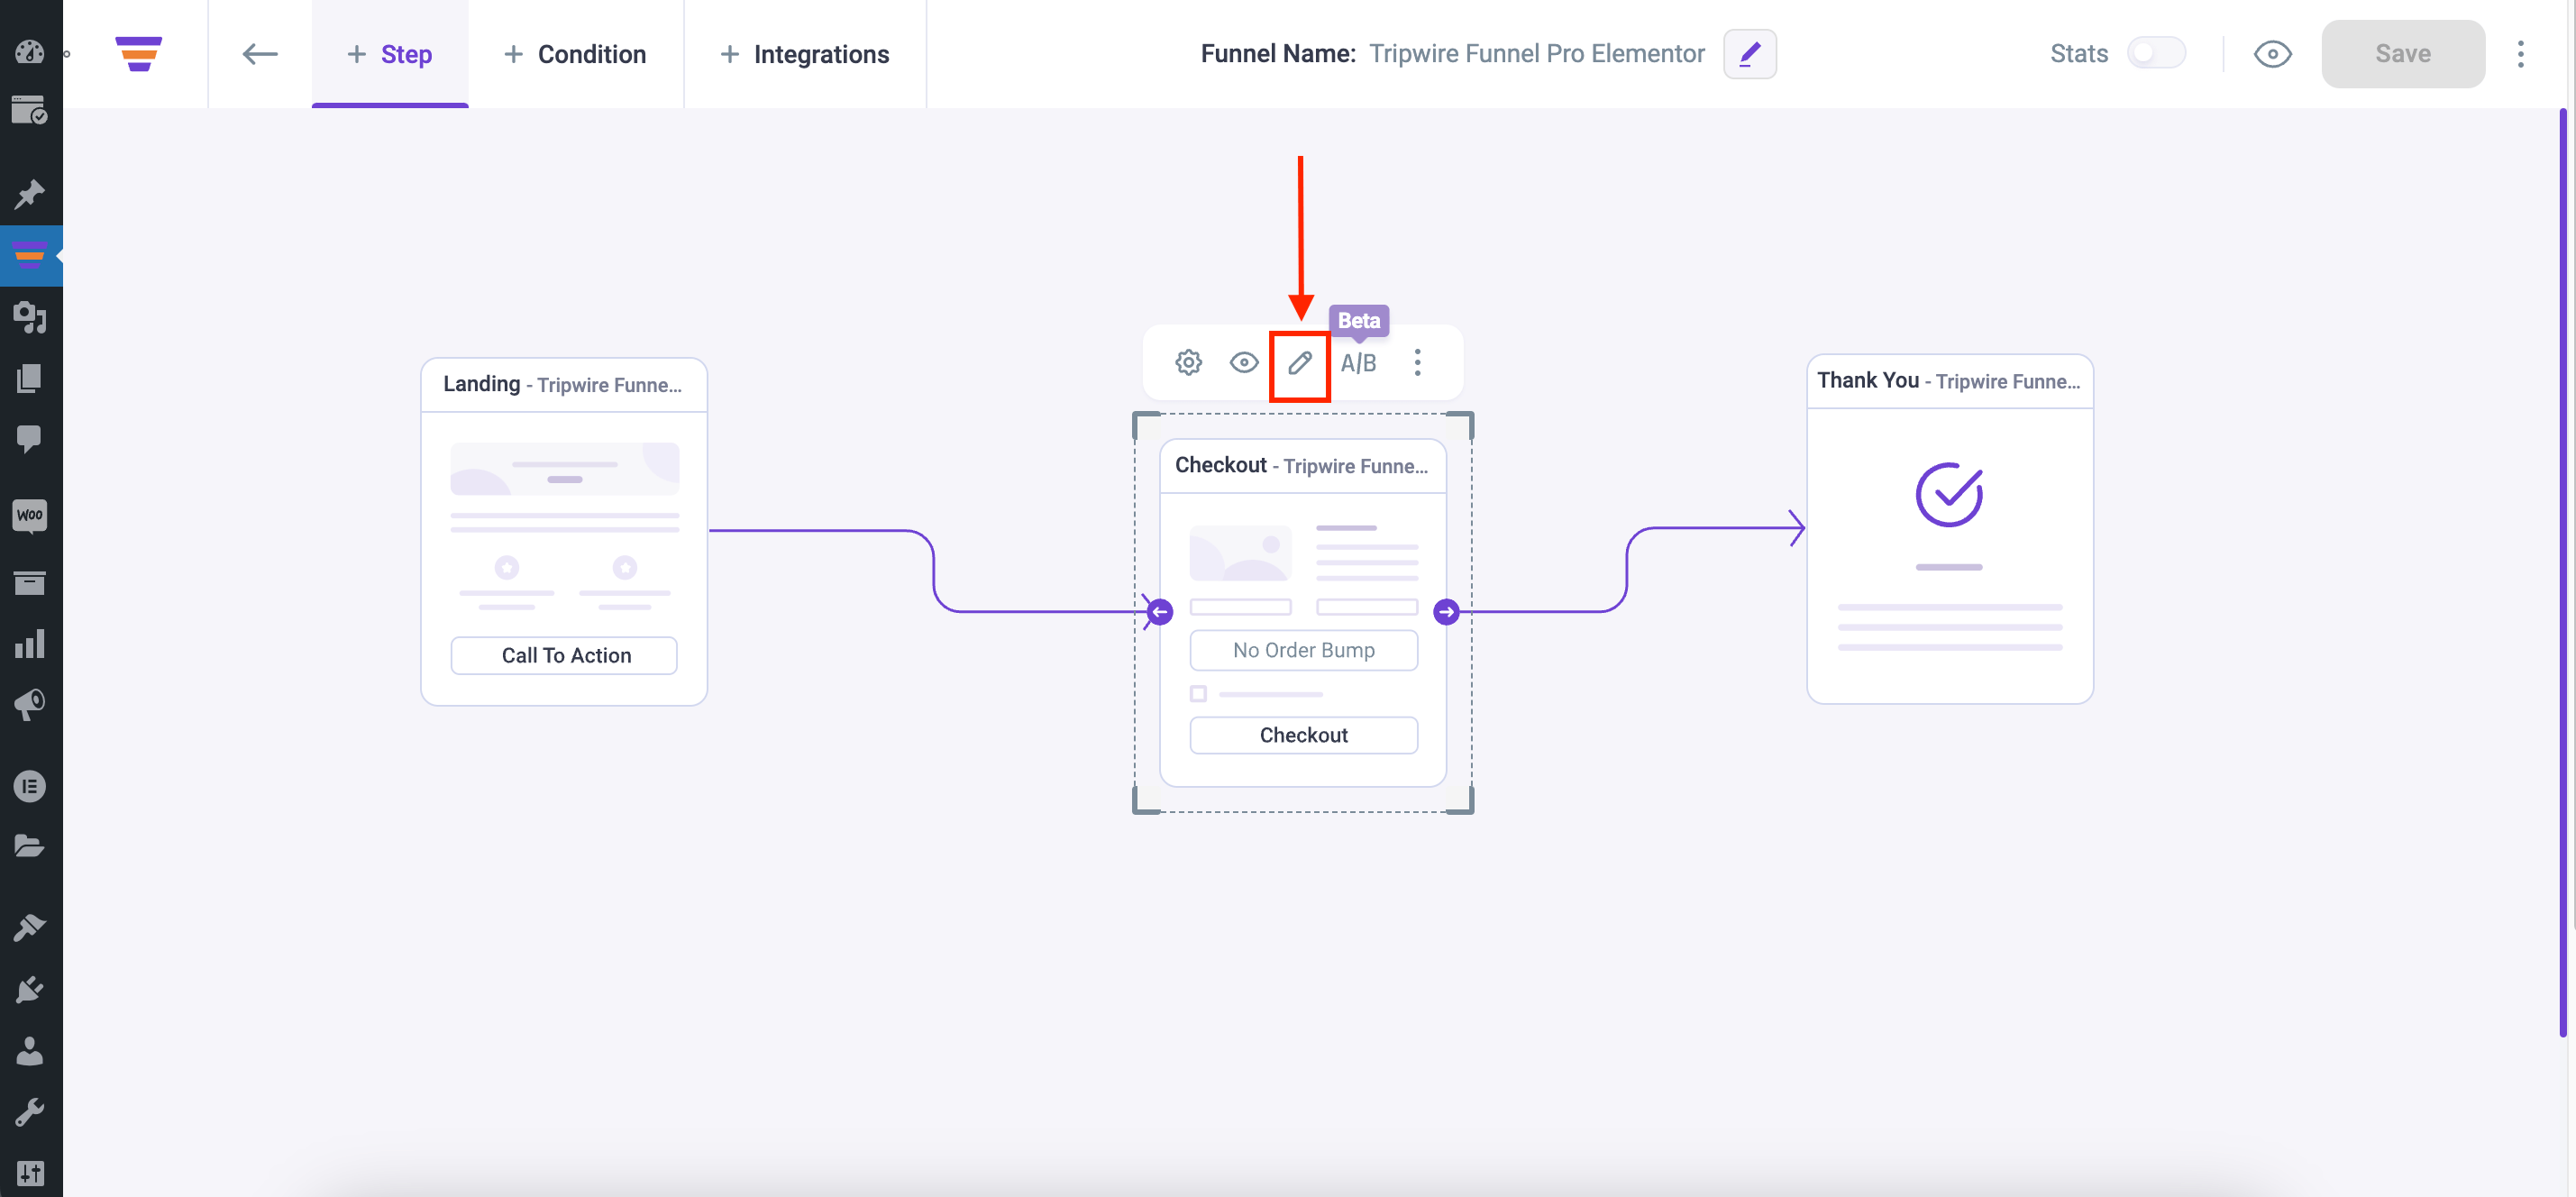
2. Once you click on the Edit icon, a new tab will open with the Elementor page builder plugin, through which you can edit your Checkout page.
Note: If you set Elementor as the default page builder the Checkout page will open with Elementor. You can change the default page builder from the WPFunnels Settings.
Once the page is open with Elementor, you will get the following view if you’ve started creating the checkout page from scratch:
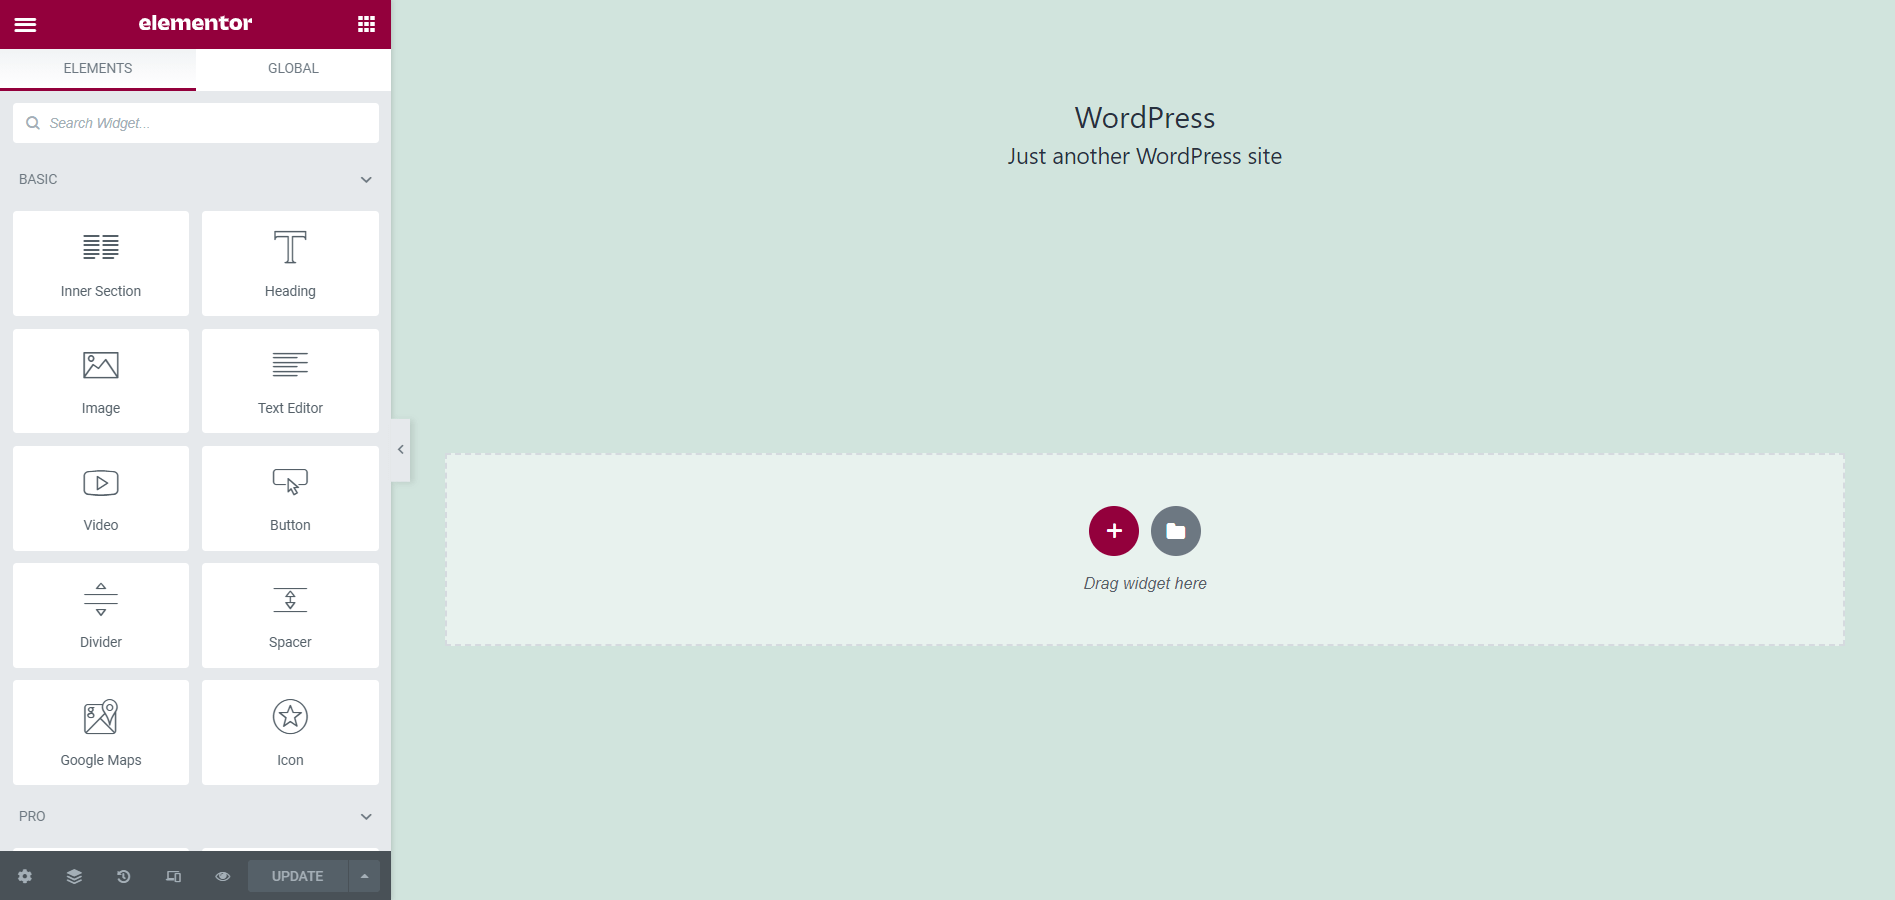
Now, you can edit the Checkout page from scratch, or if you’ve selected a checkout template, your selected template will be loaded with Elementor.
For example, a pre-made template is opened with the Elementor page builder:
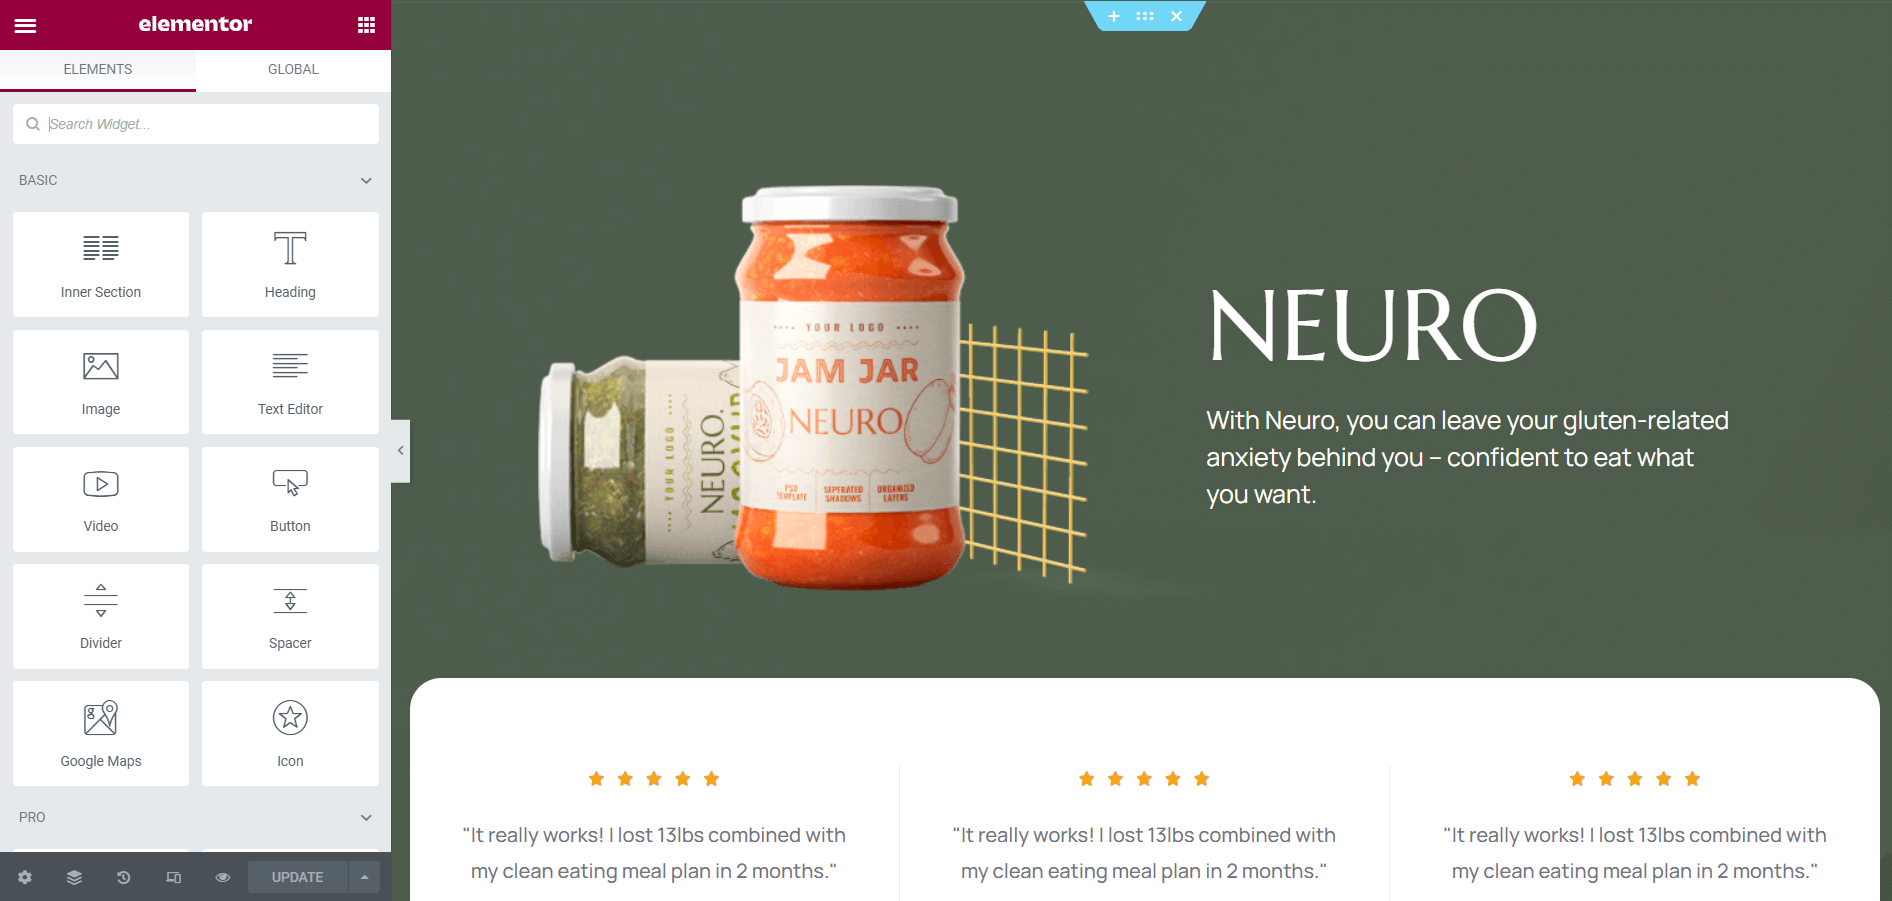
3. On the left, you will find Elementor widgets, just drag and drop the widgets into the Elementor Sections or Columns and edit them, or you can search the widgets from the widget bar.
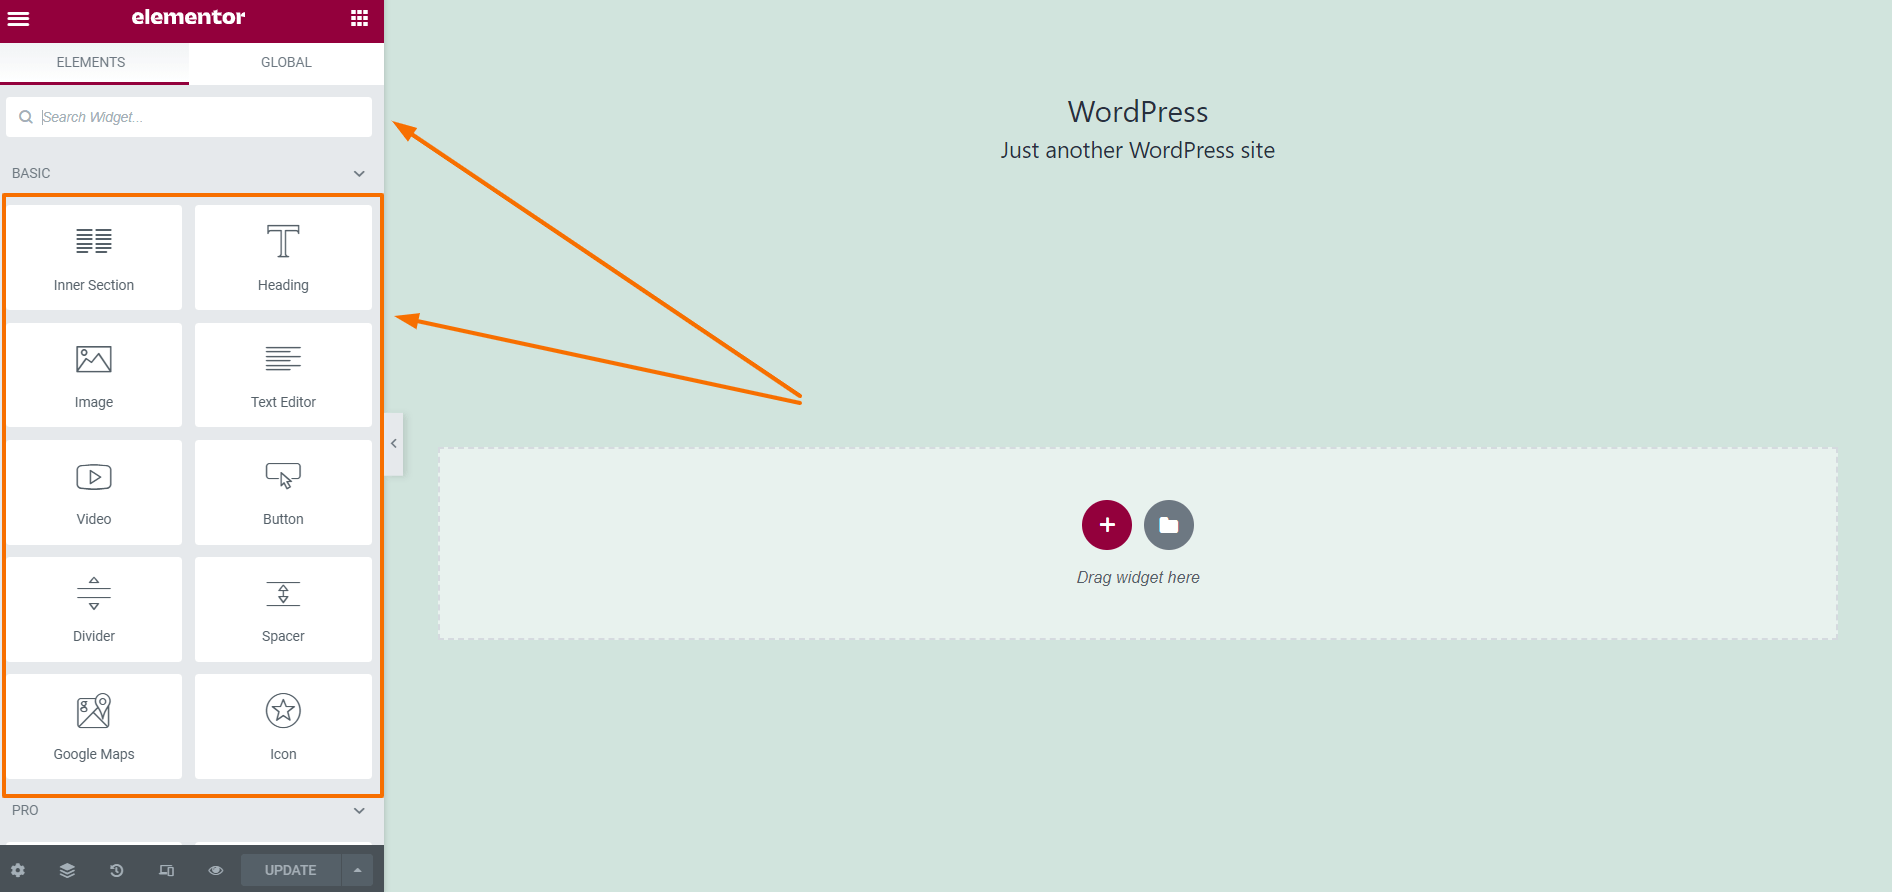
To add the LMS Widget to your Checkout page, scroll down to the bottom of the widget bar and find LMS Checkout, or search for the LMS Checkout widget.
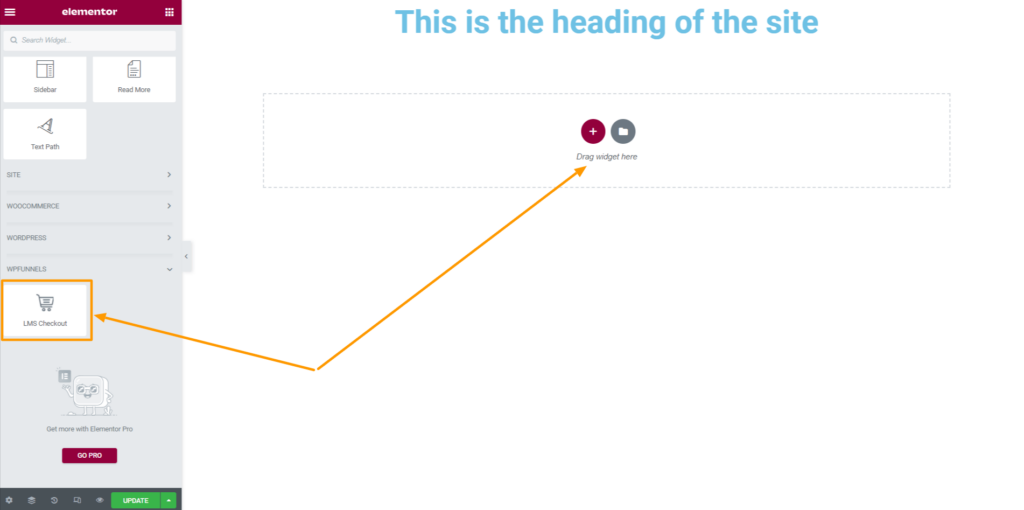
Drag and drop the LMS Checkout widget to your template.
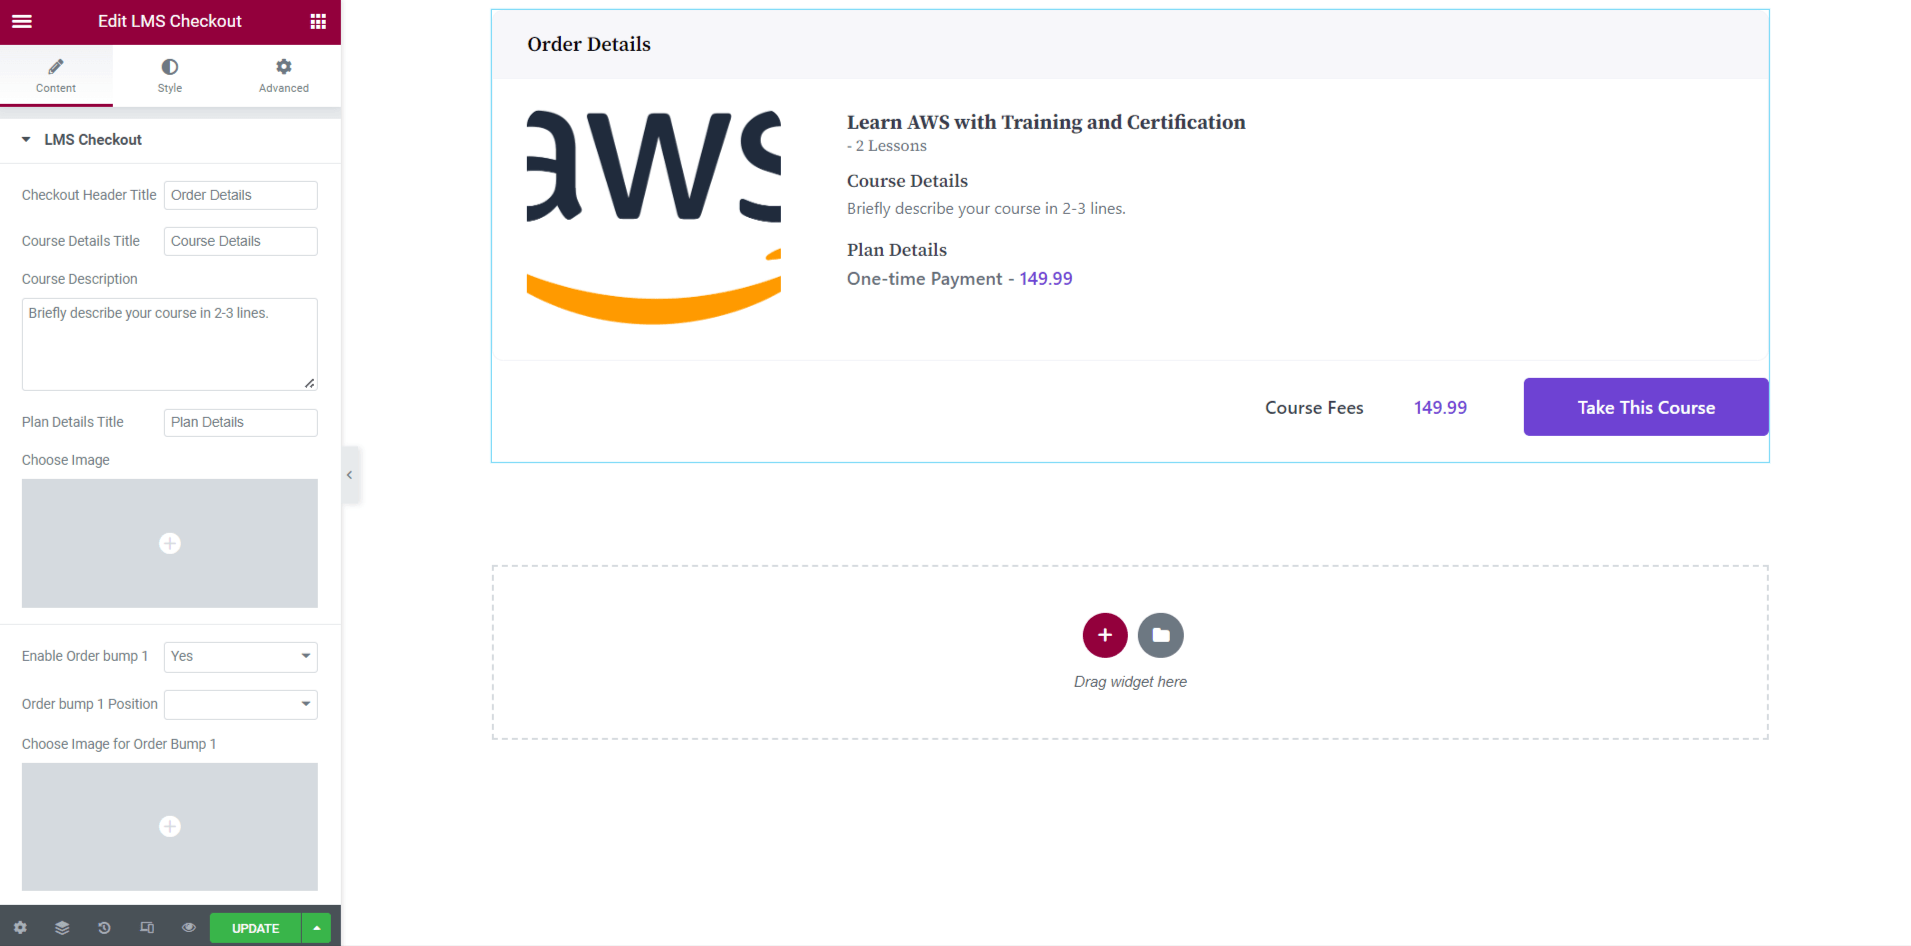
4. Once you drop the LMS Checkout Widget, you will get a preview of the Checkout step.
You can make any other changes and then click on the Update button.
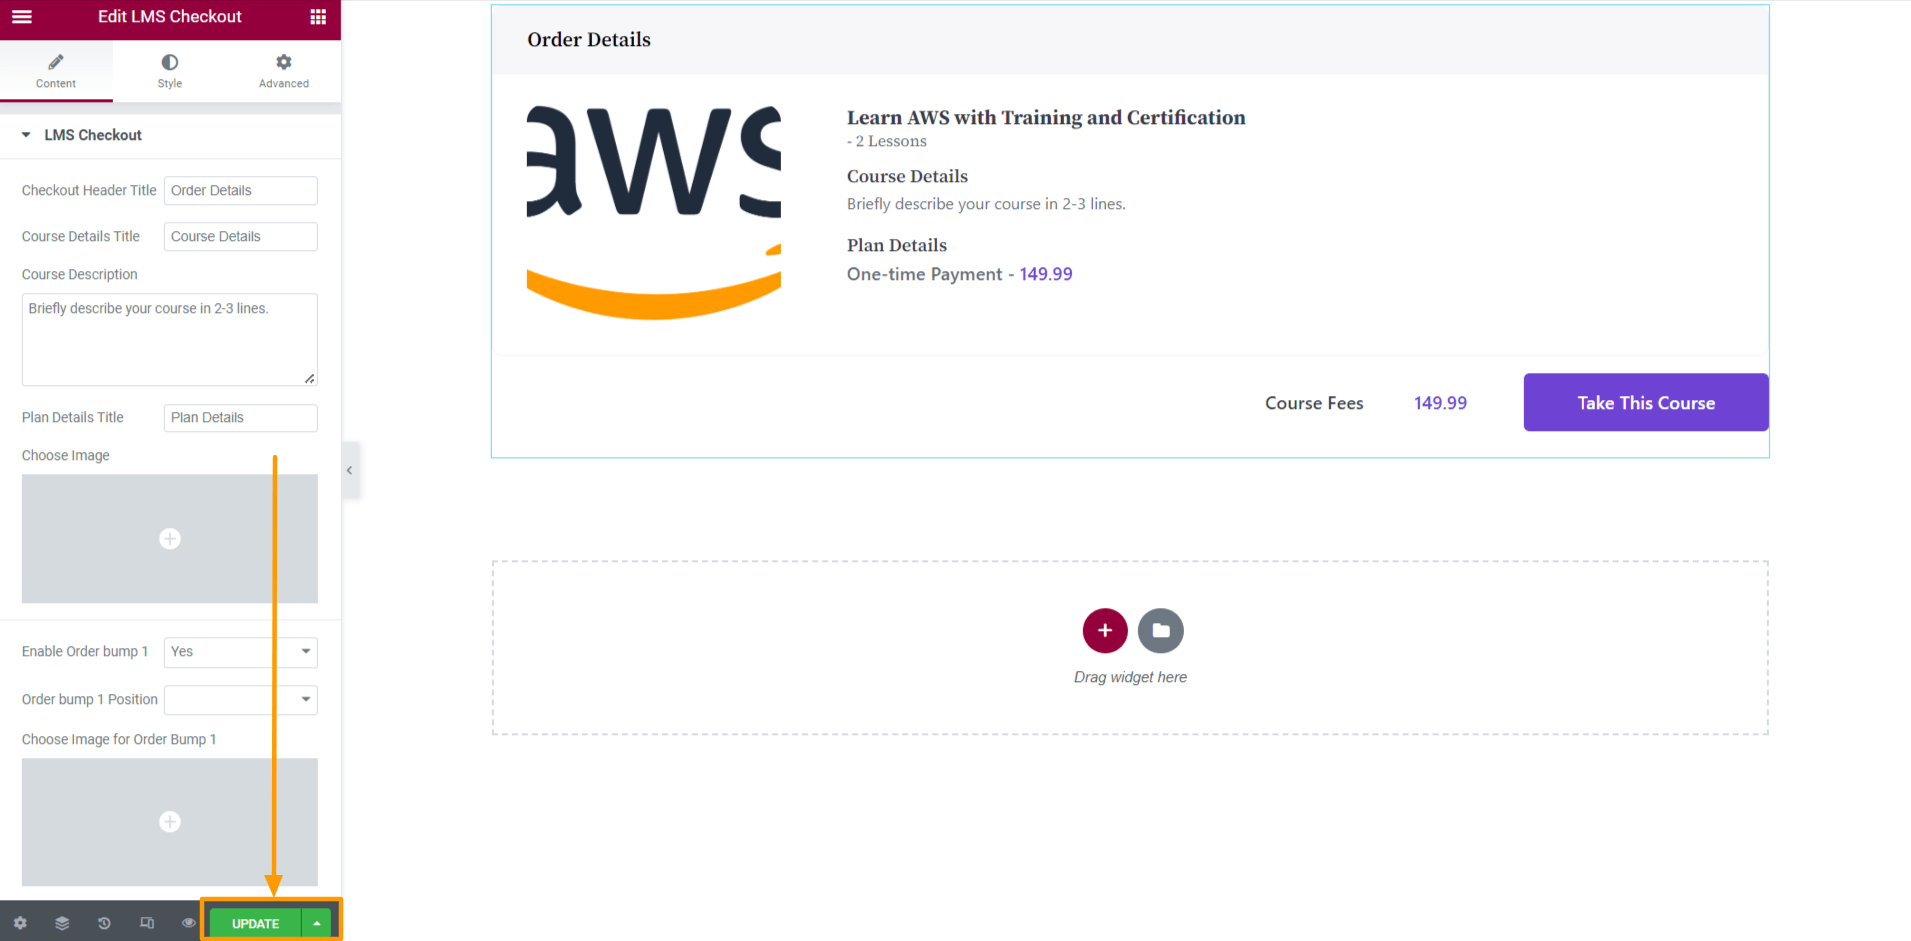
That’s it. Your Checkout Page is now ready.
Now, to see your Checkout Page in action, click on the View option next to the update button, or you can go back to your funnel canvas, click on Checkout step and then click on the view icon.


