You can create and send Email Sequence Campaigns in Mail Mint very easily. And that is also from a single place.
In this guide, we’ll walk you through the simple steps to create and send an email sequence campaign. By leveraging the power of automated email sequences, you can effectively engage your subscribers over time and nurture them toward your desired goals.
Let’s get started,
Step 1: Create A Sequence Campaign
First, go to Campaigns Module and Select “+ New Campaign“.

Once you click on this, a popup will appear.
You’ll find three options there,
- Regular Email Campaign
- Email Sequence Campaign
- Sequence For Automation
In the campaign creation window, select the “Email Sequence” campaign type. This will allow you to send a series of emails to your subscribers over a predefined period.

Step 2: Set Up the Campaign Details
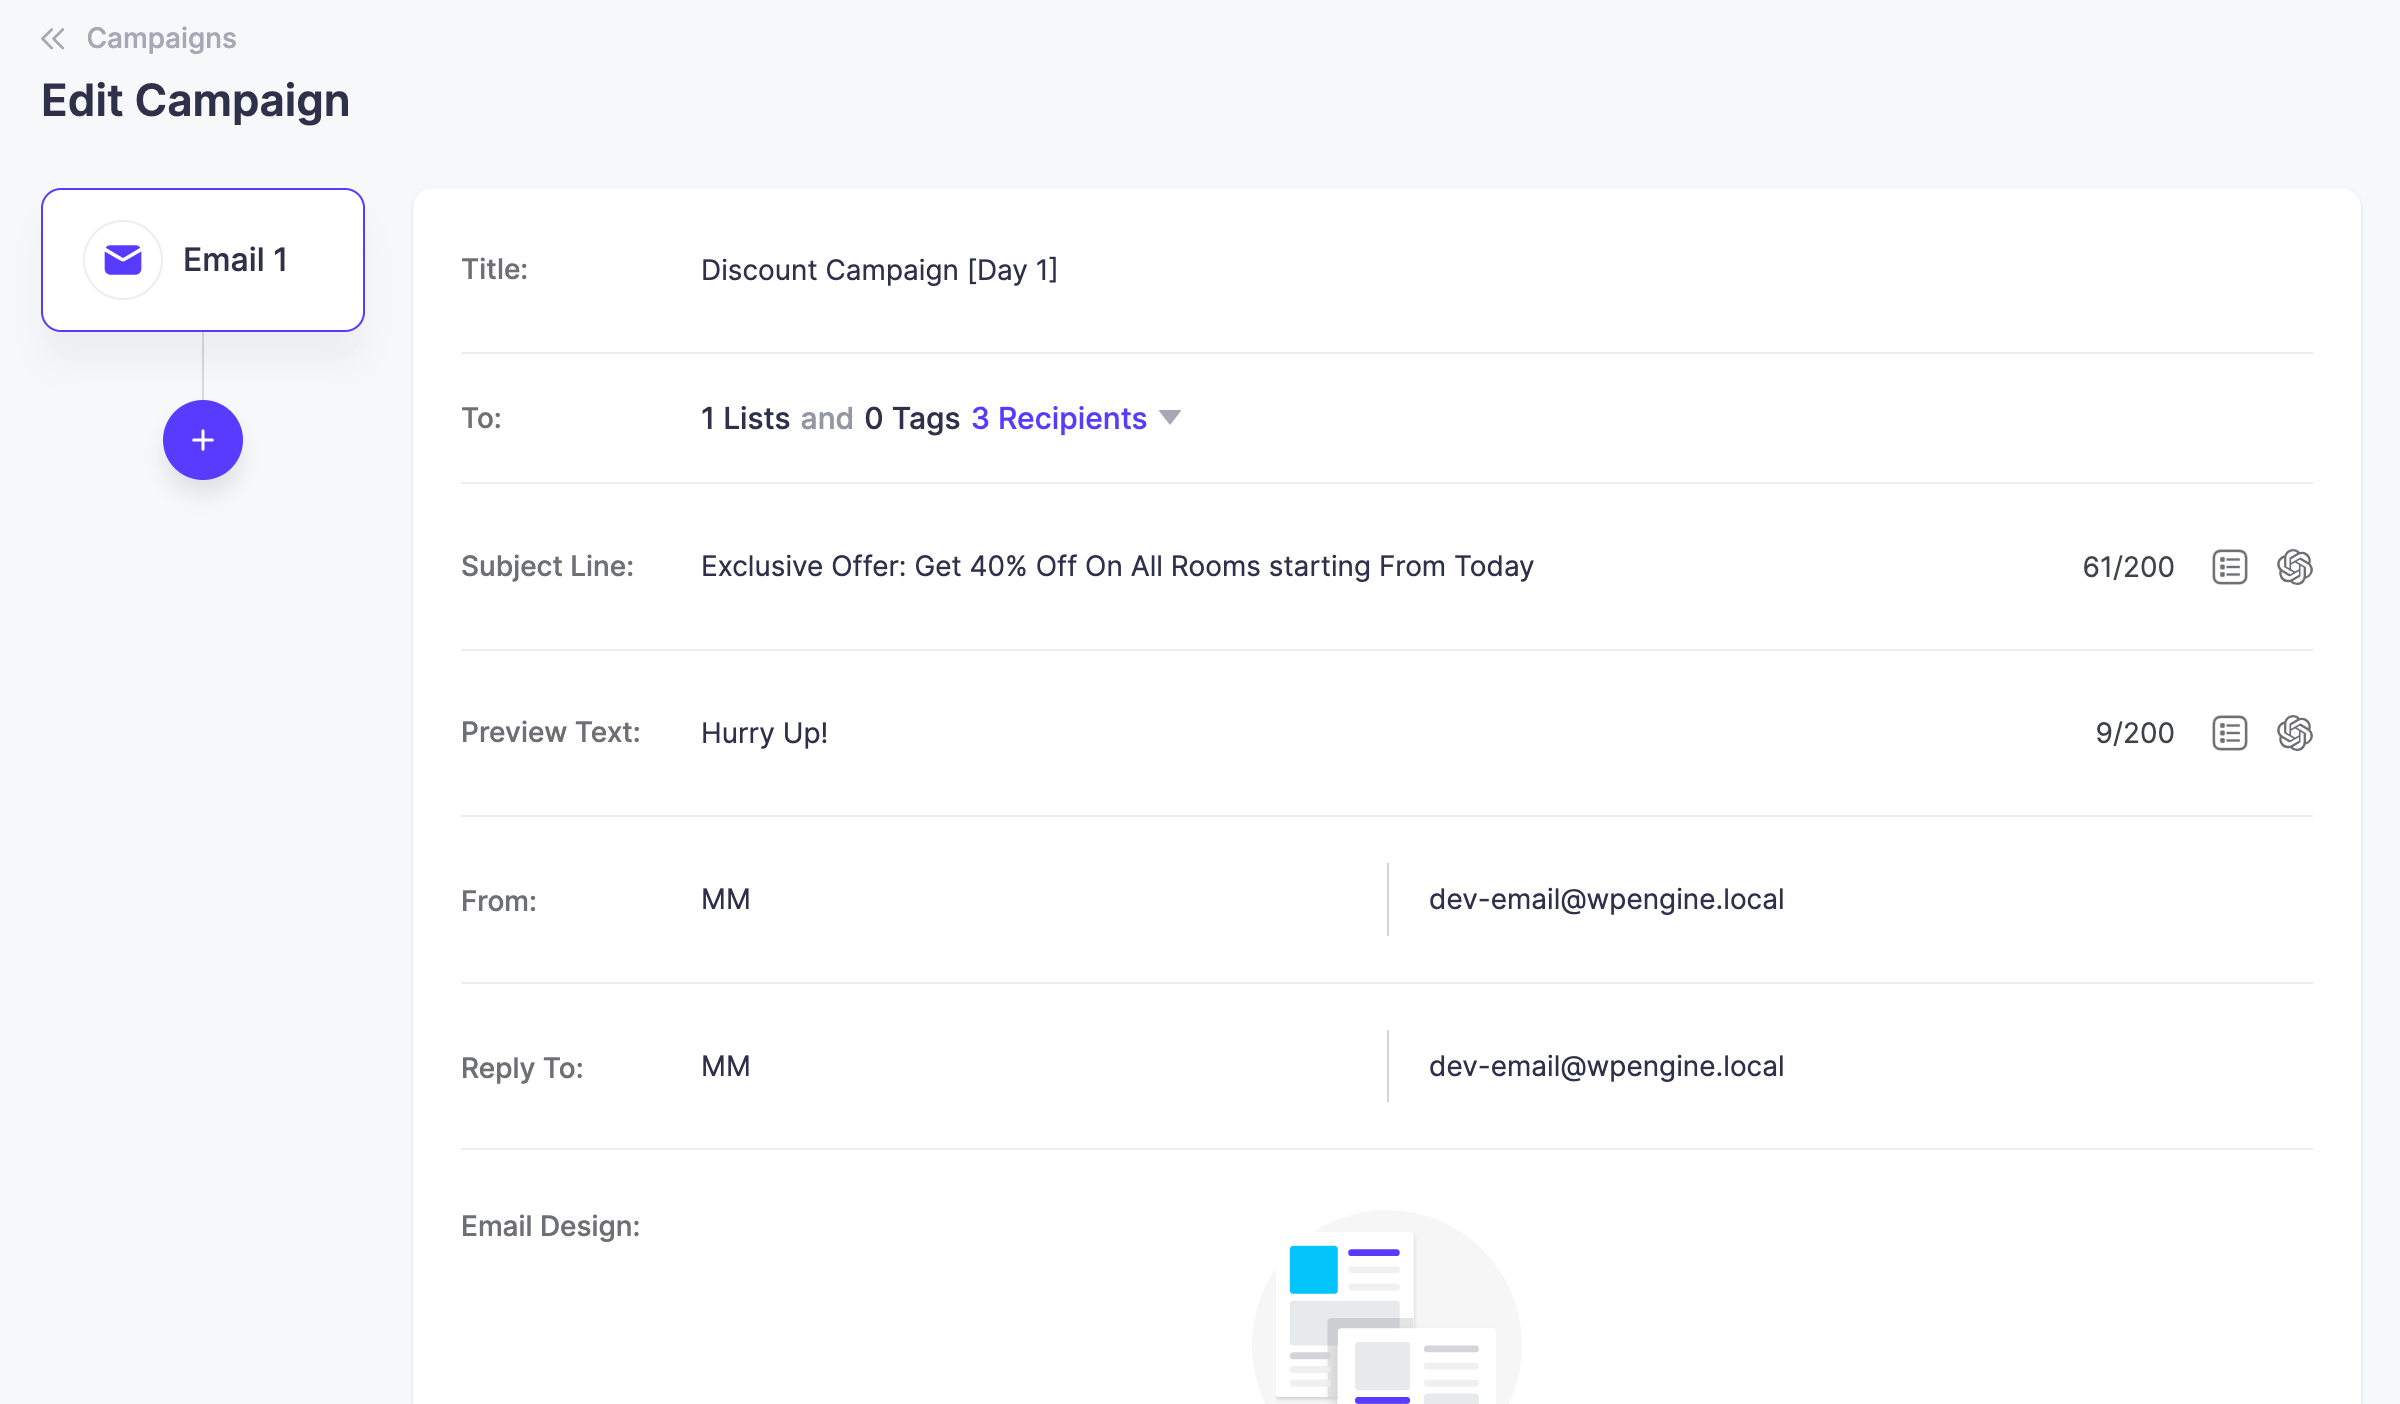
Provide a name for your campaign to help you identify it later. And then add the necessary information for your campaign,

Now, design your email according to your needs and click on “Next”

Once you are back on the canvas, from then you can schedule your other emails.
Step 3: Define the Schedule and Triggers
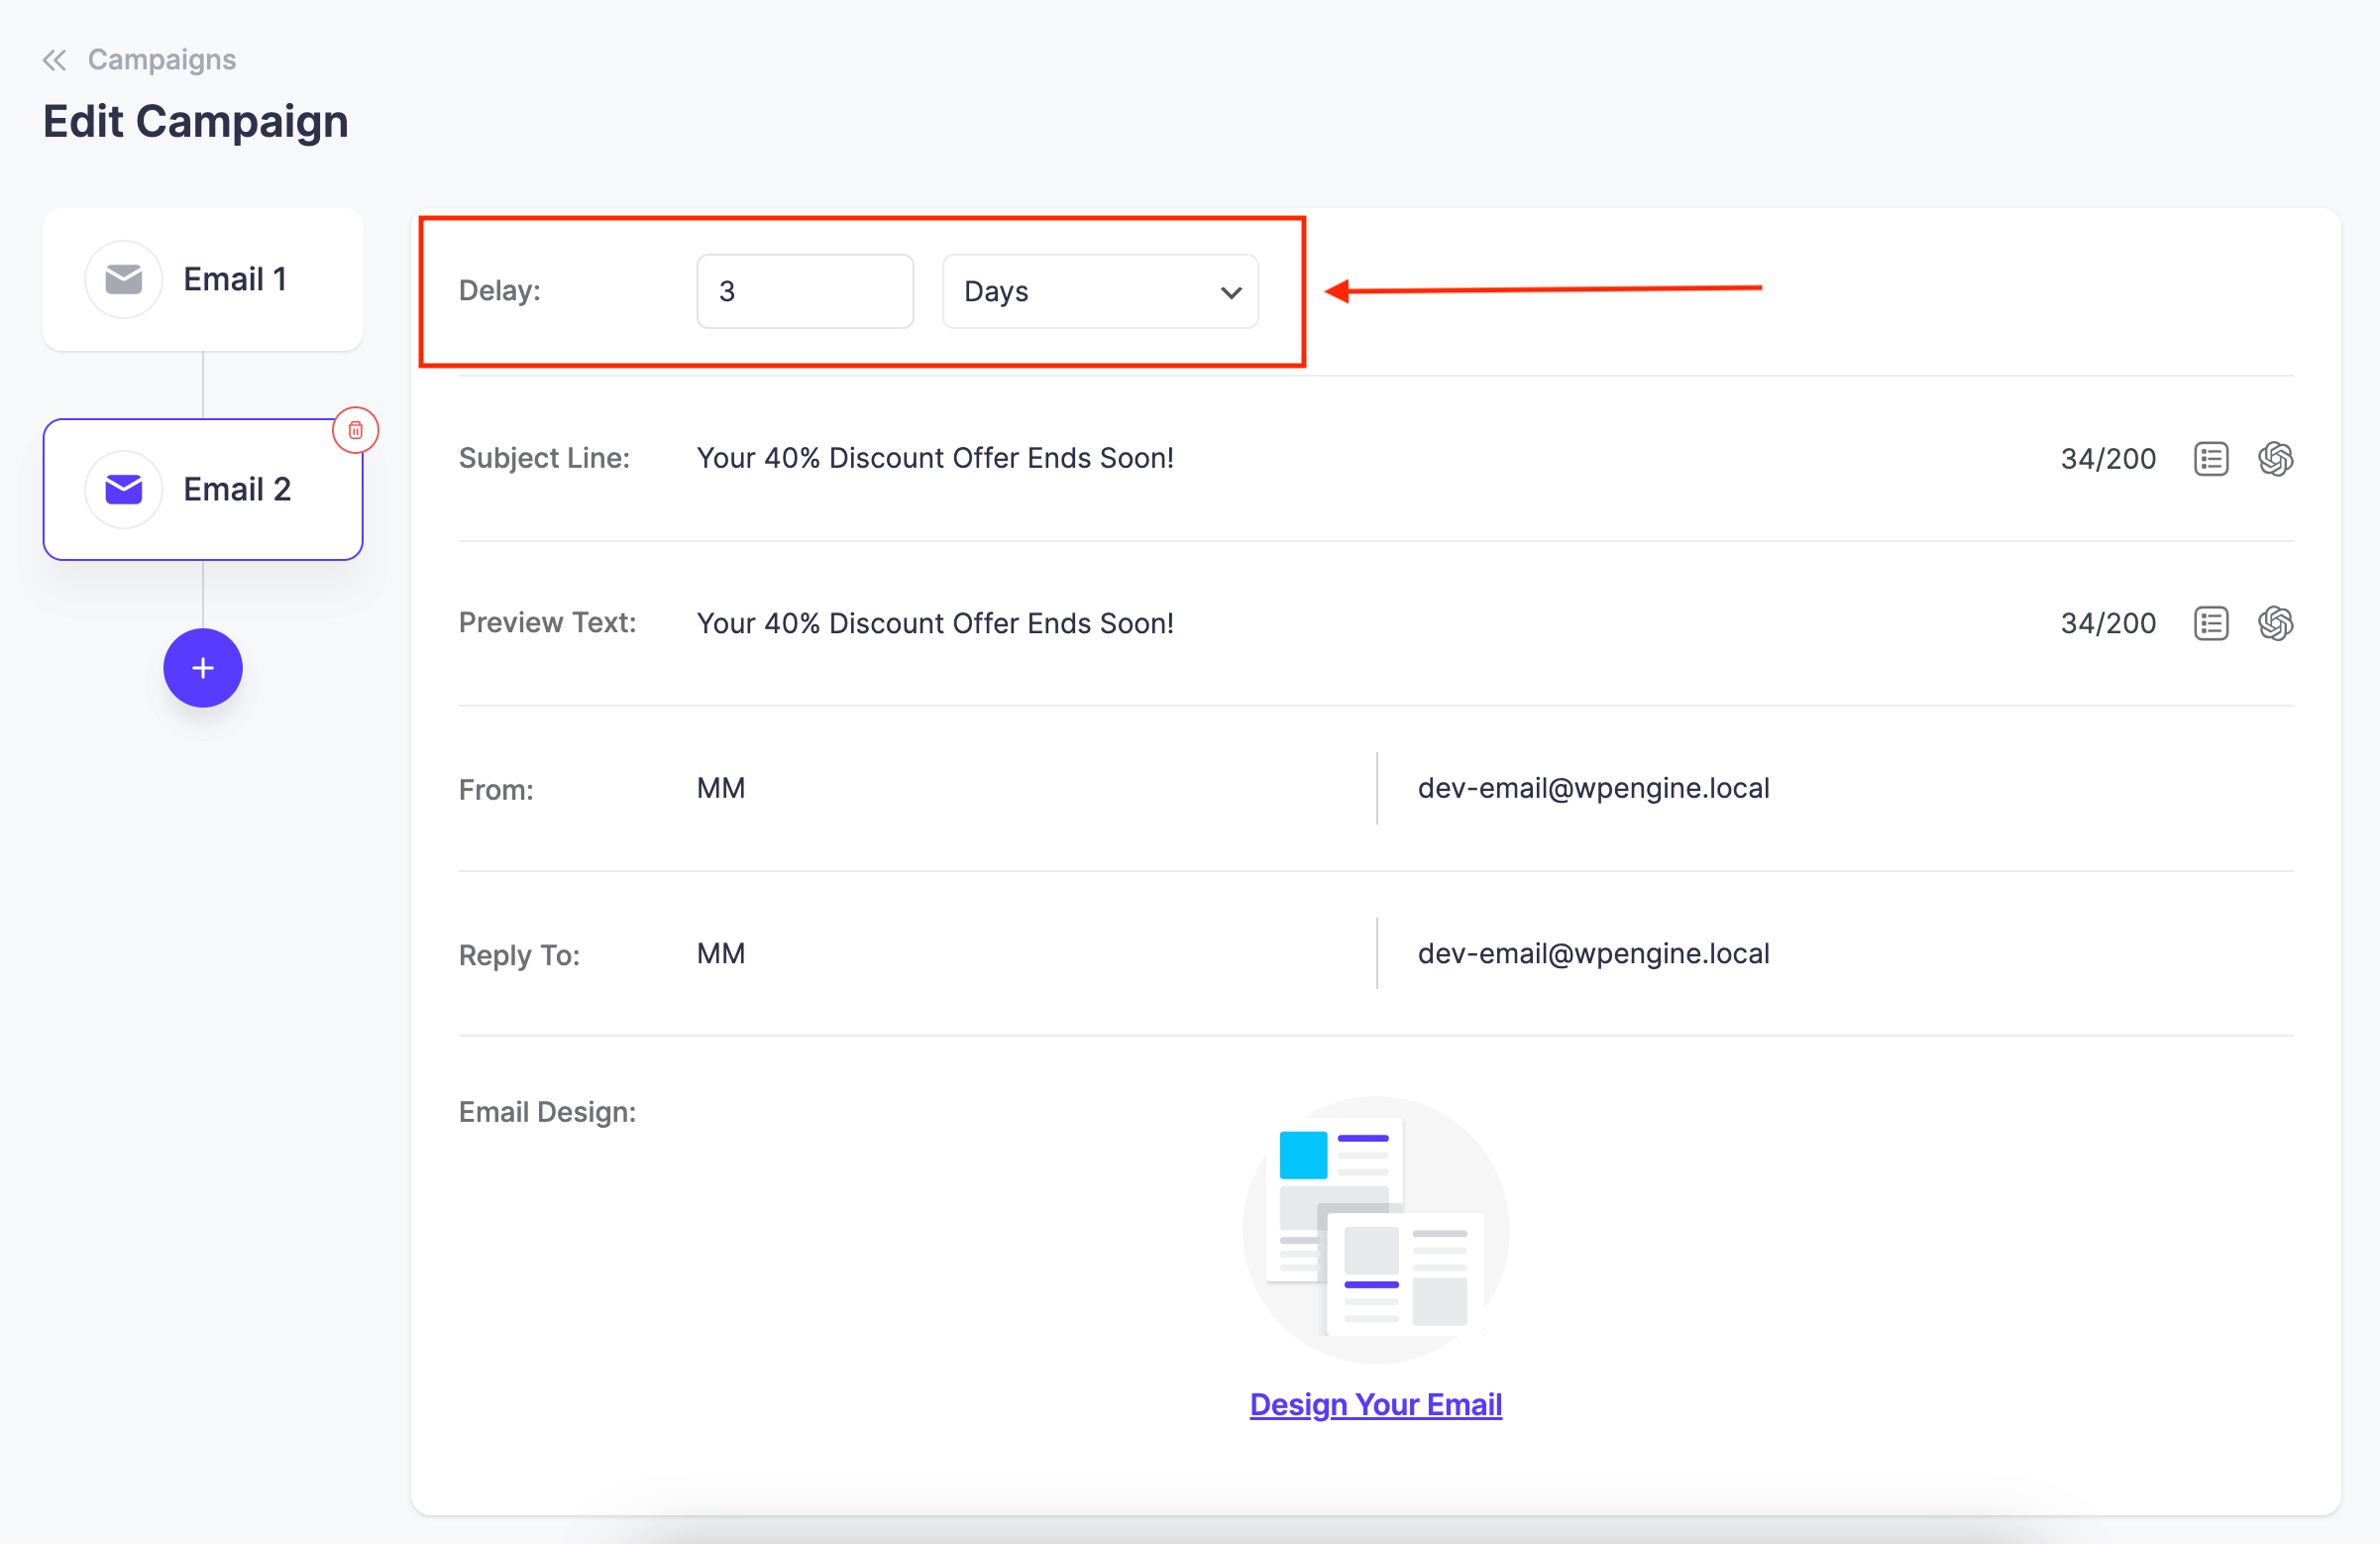
Next, once you’re back on the Campaign Module, click on the plus icon to create your second email.

Set the schedule for your sequence campaign by specifying the interval between each email in the sequence. For example, you can choose to send an email every day, every other day, or on specific dates.

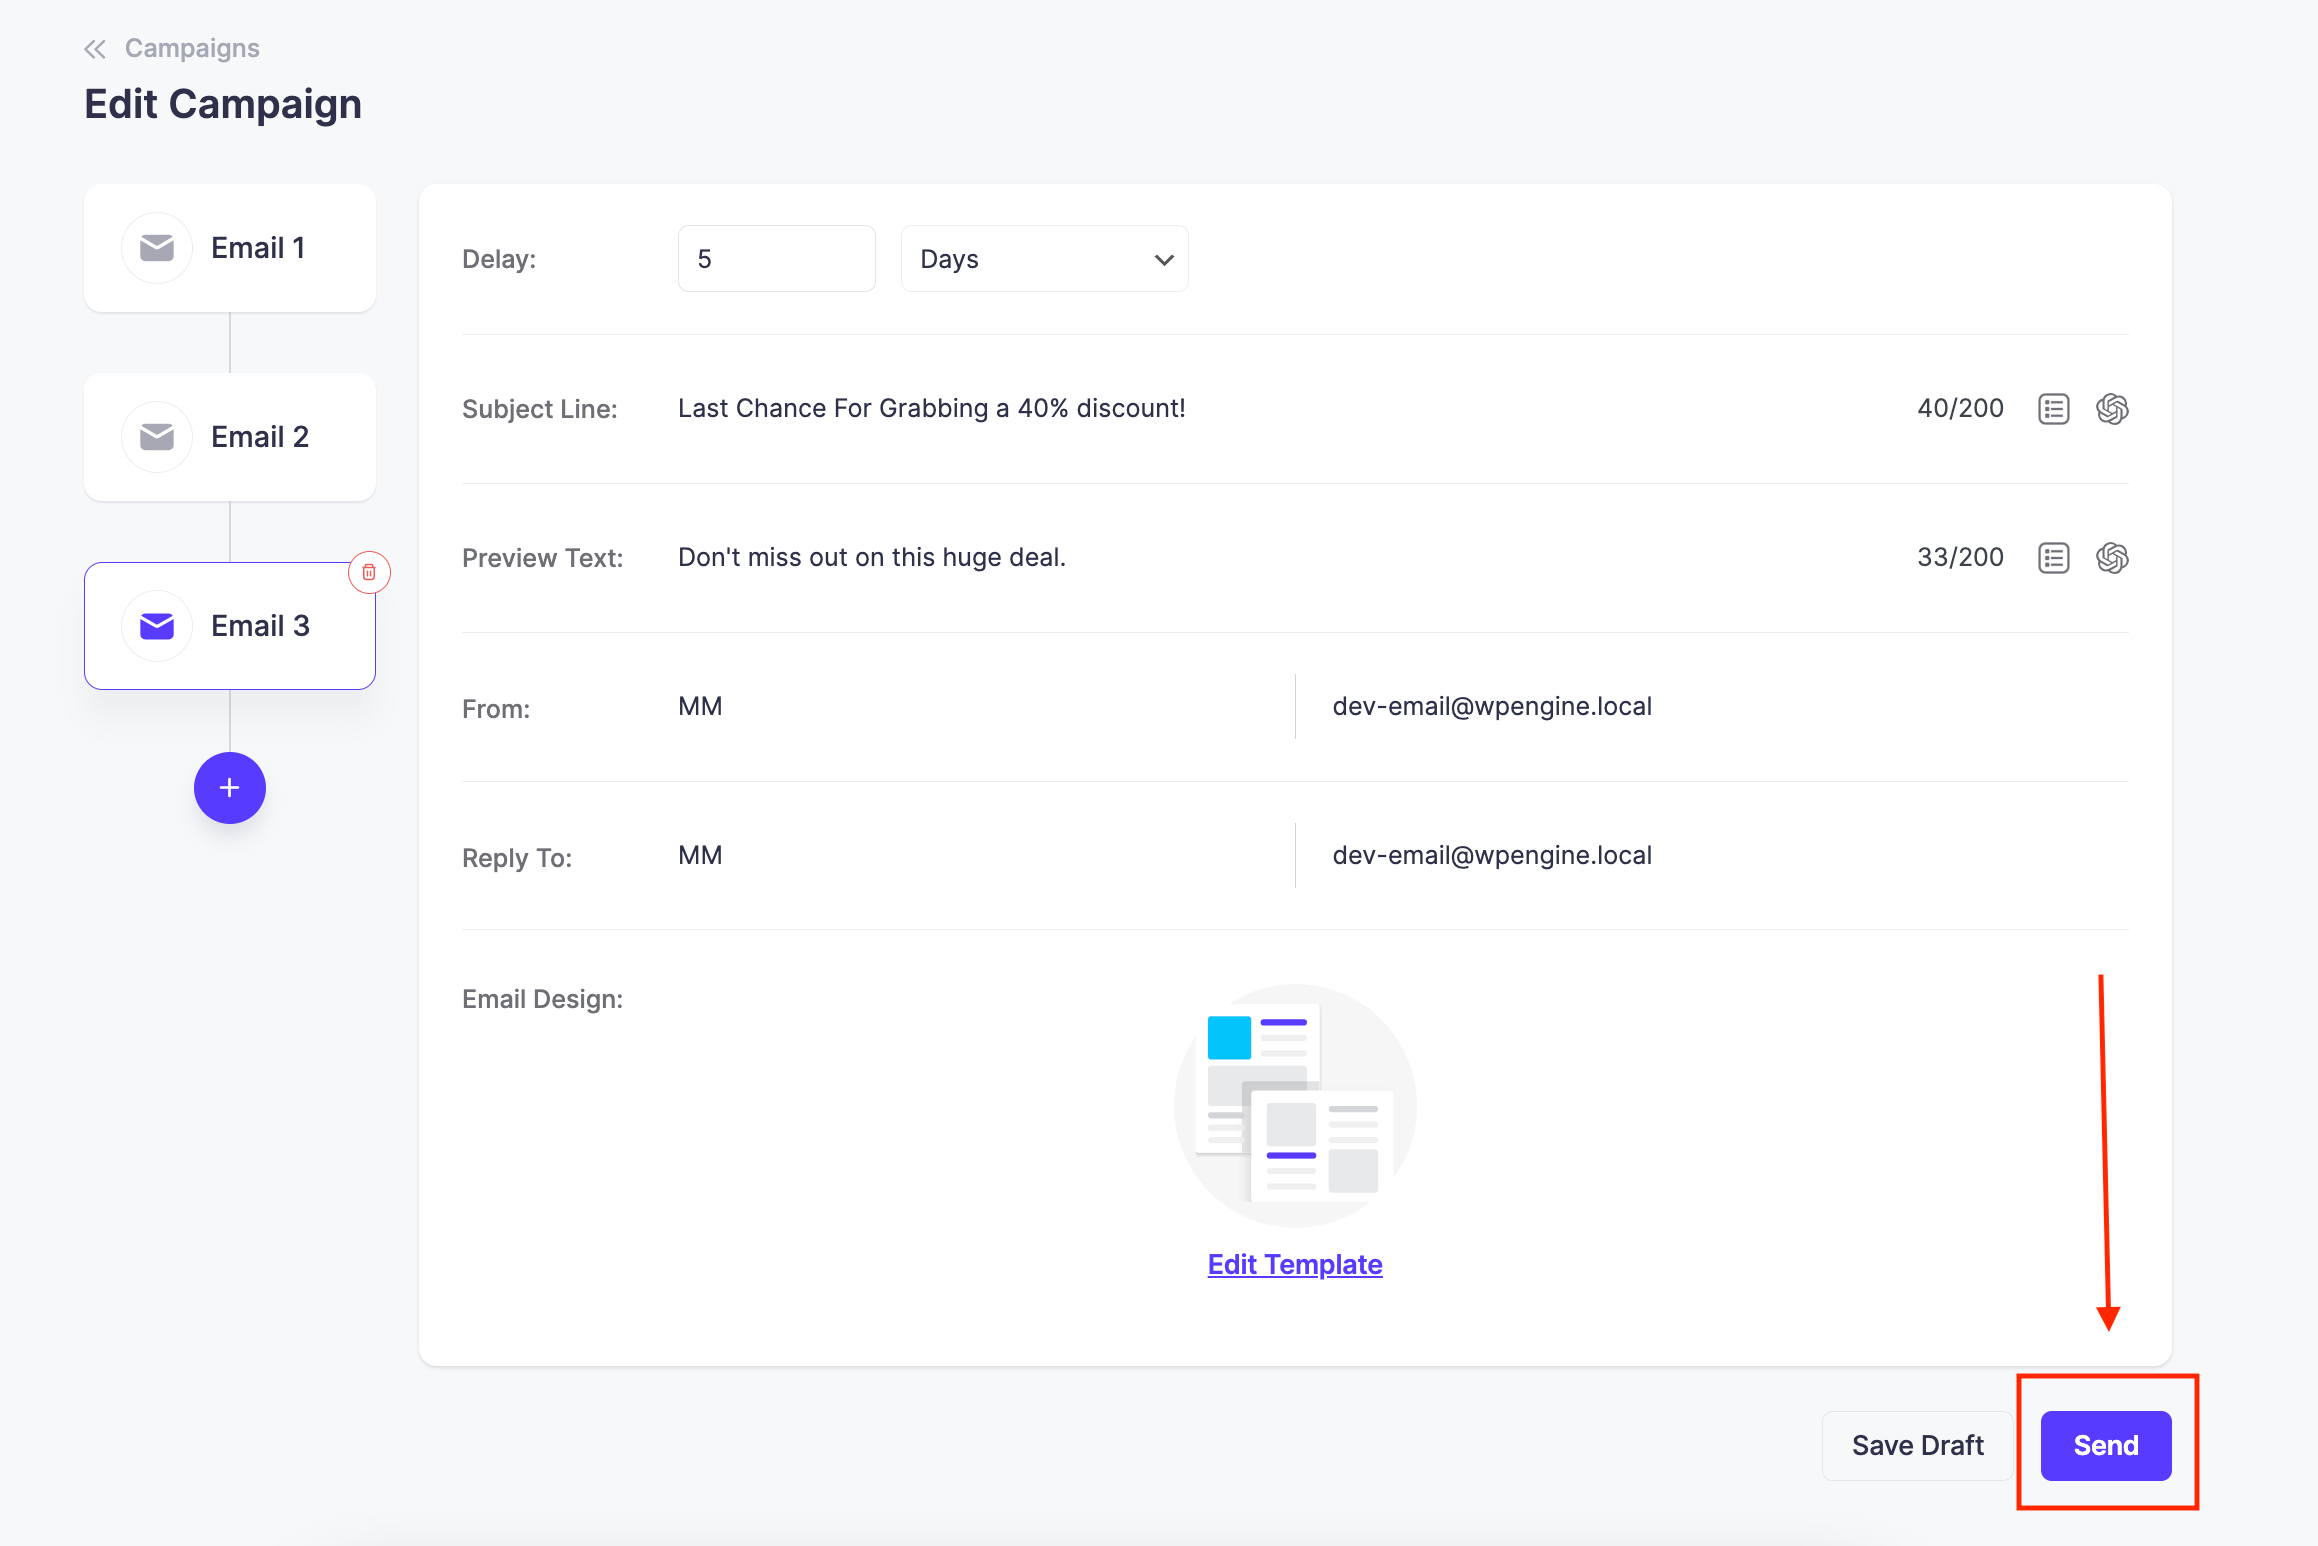
You can add as many emails as you want.
Step 4: Review and Send the Sequence Campaign
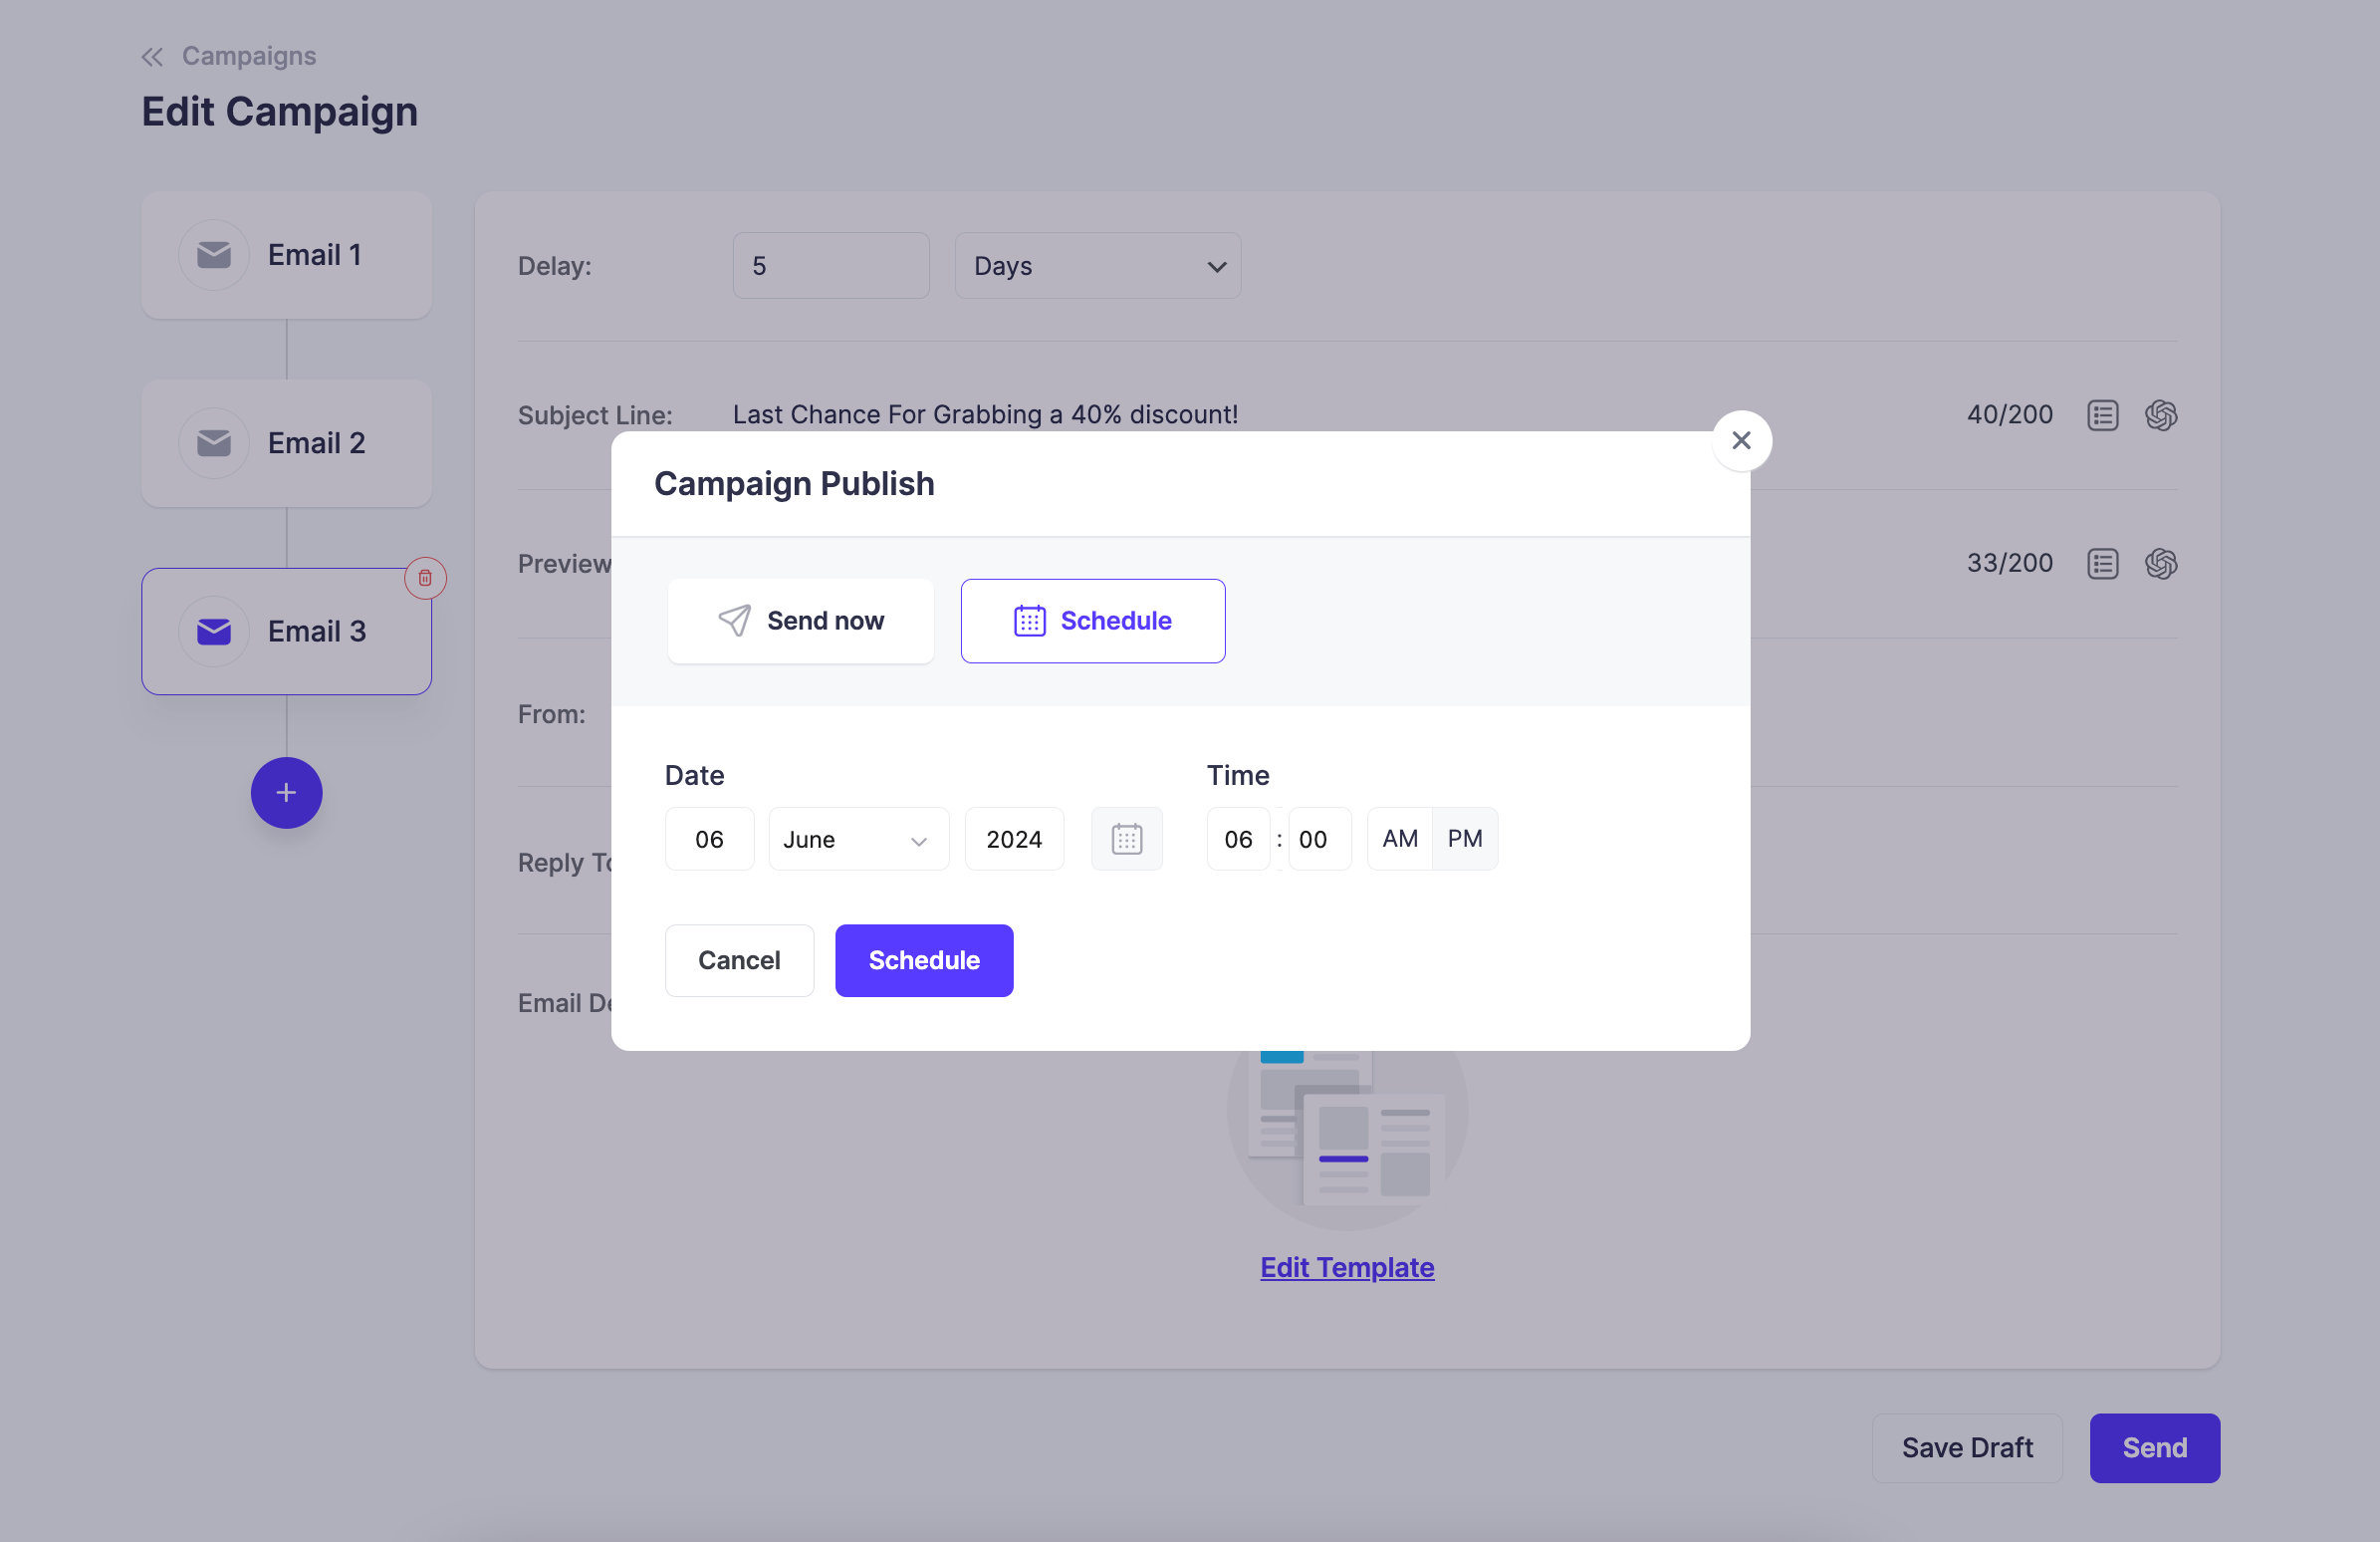
Once you are satisfied with the content, schedule, and settings of your sequence campaign, review everything one final time. If everything looks good, click on the “Send” or “Schedule” button to activate your campaign.

Mail Mint will automatically send the emails according to the schedule you defined.

That’s it! You have successfully created and sent an email sequence campaign in Mail Mint. Your subscribers will receive the emails based on the intervals you set, helping you engage with them over time.
