Before you create a Course Funnel for Thrive Apprentice courses, make sure you have set up all the basic requirements properly.
In this guide, you will learn how to create a complete course funnel for your Thrive Apprentice courses (with WooCommerce).
Step 1 – Create a course product
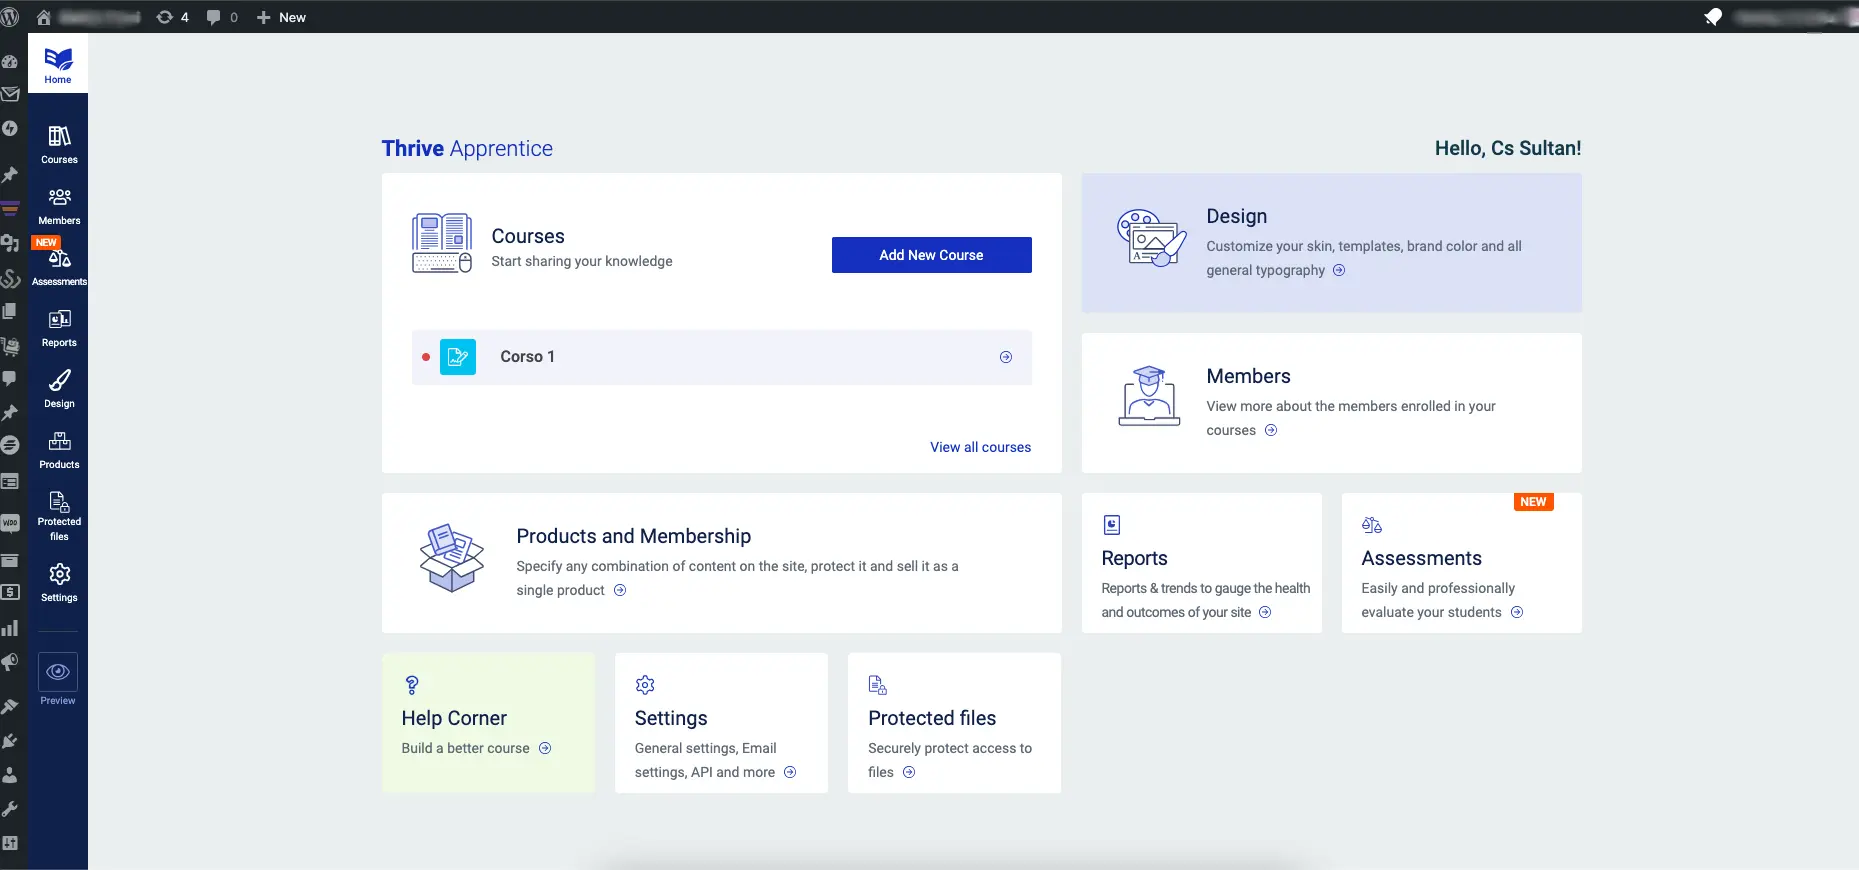
1. Create a course in Thrive Apprentice
- Here’s a guide on how you can create a course with Thrive Apprentice easily.
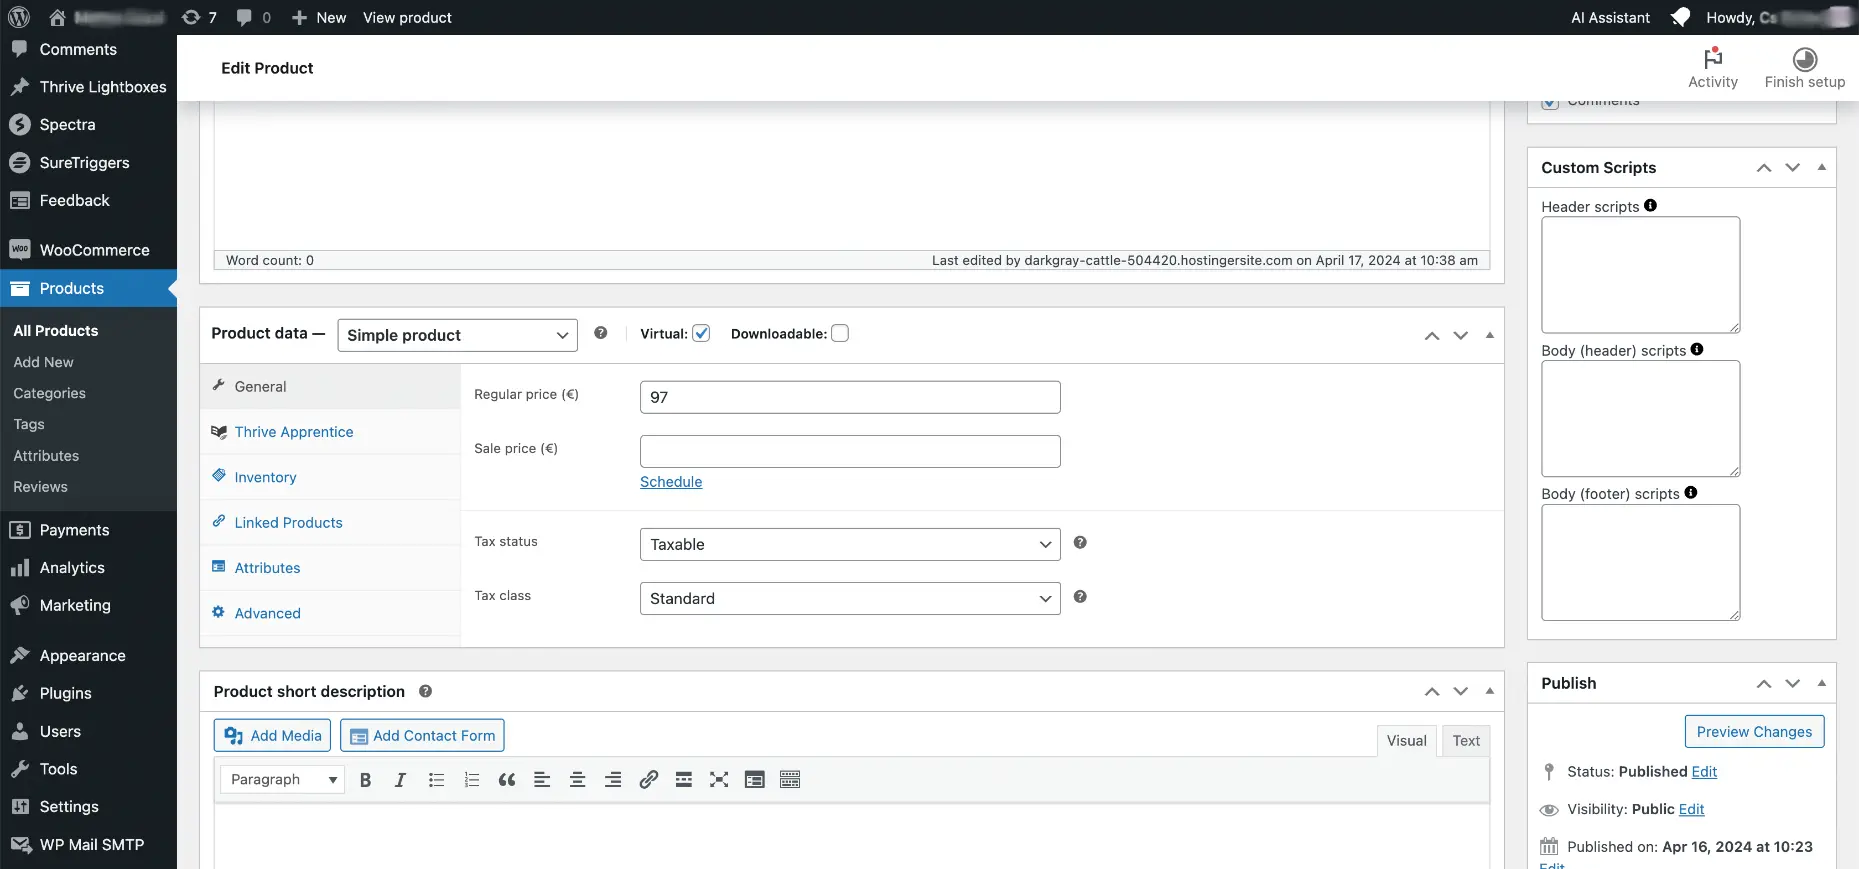
2. Create a product in WooCommerce and mark it as virtual.
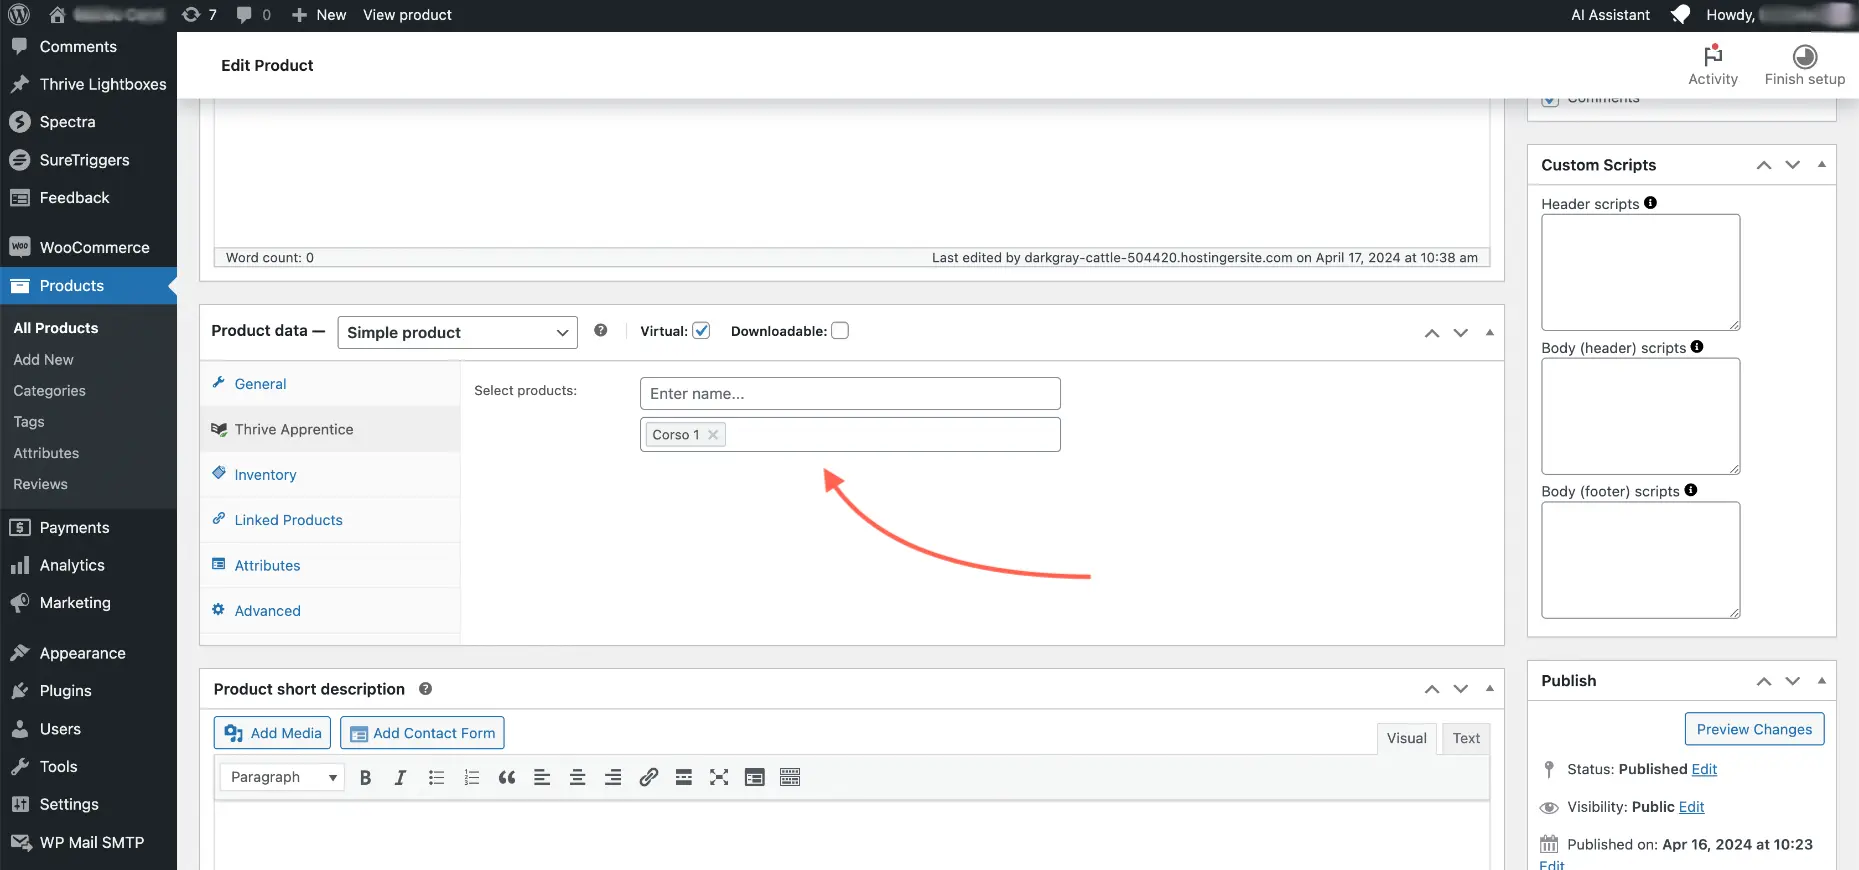
3. Assign a course to the product.
Step 2 – Create A Landing Page
1. Go to WPFunnels.
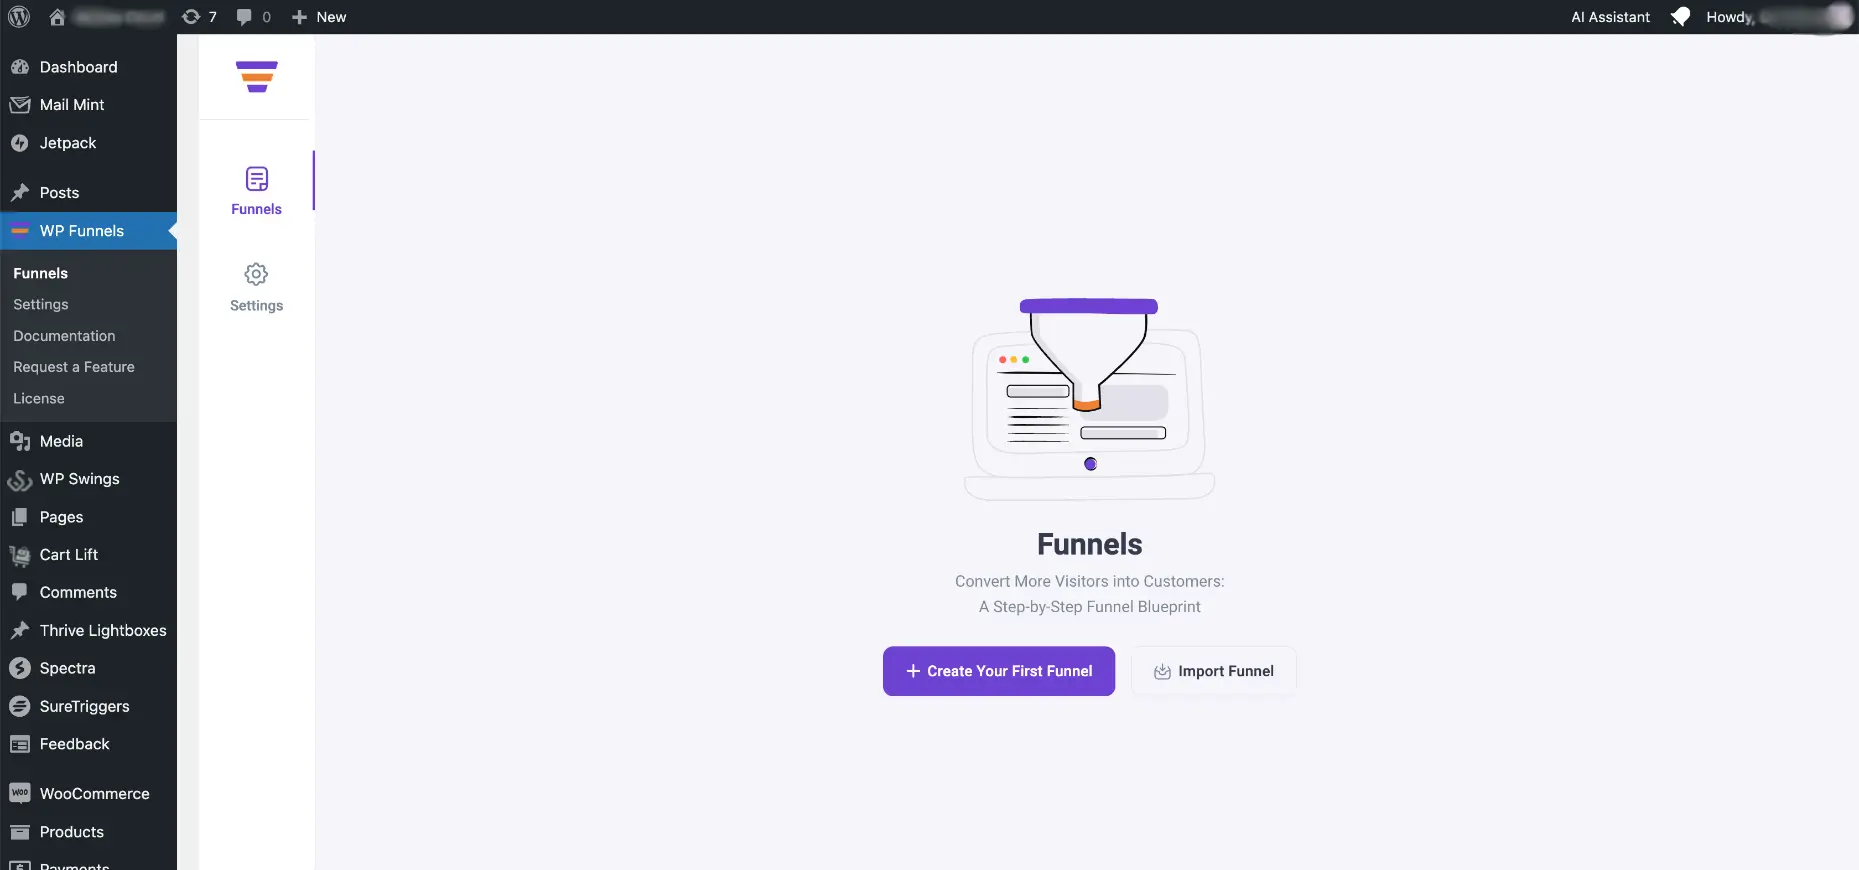
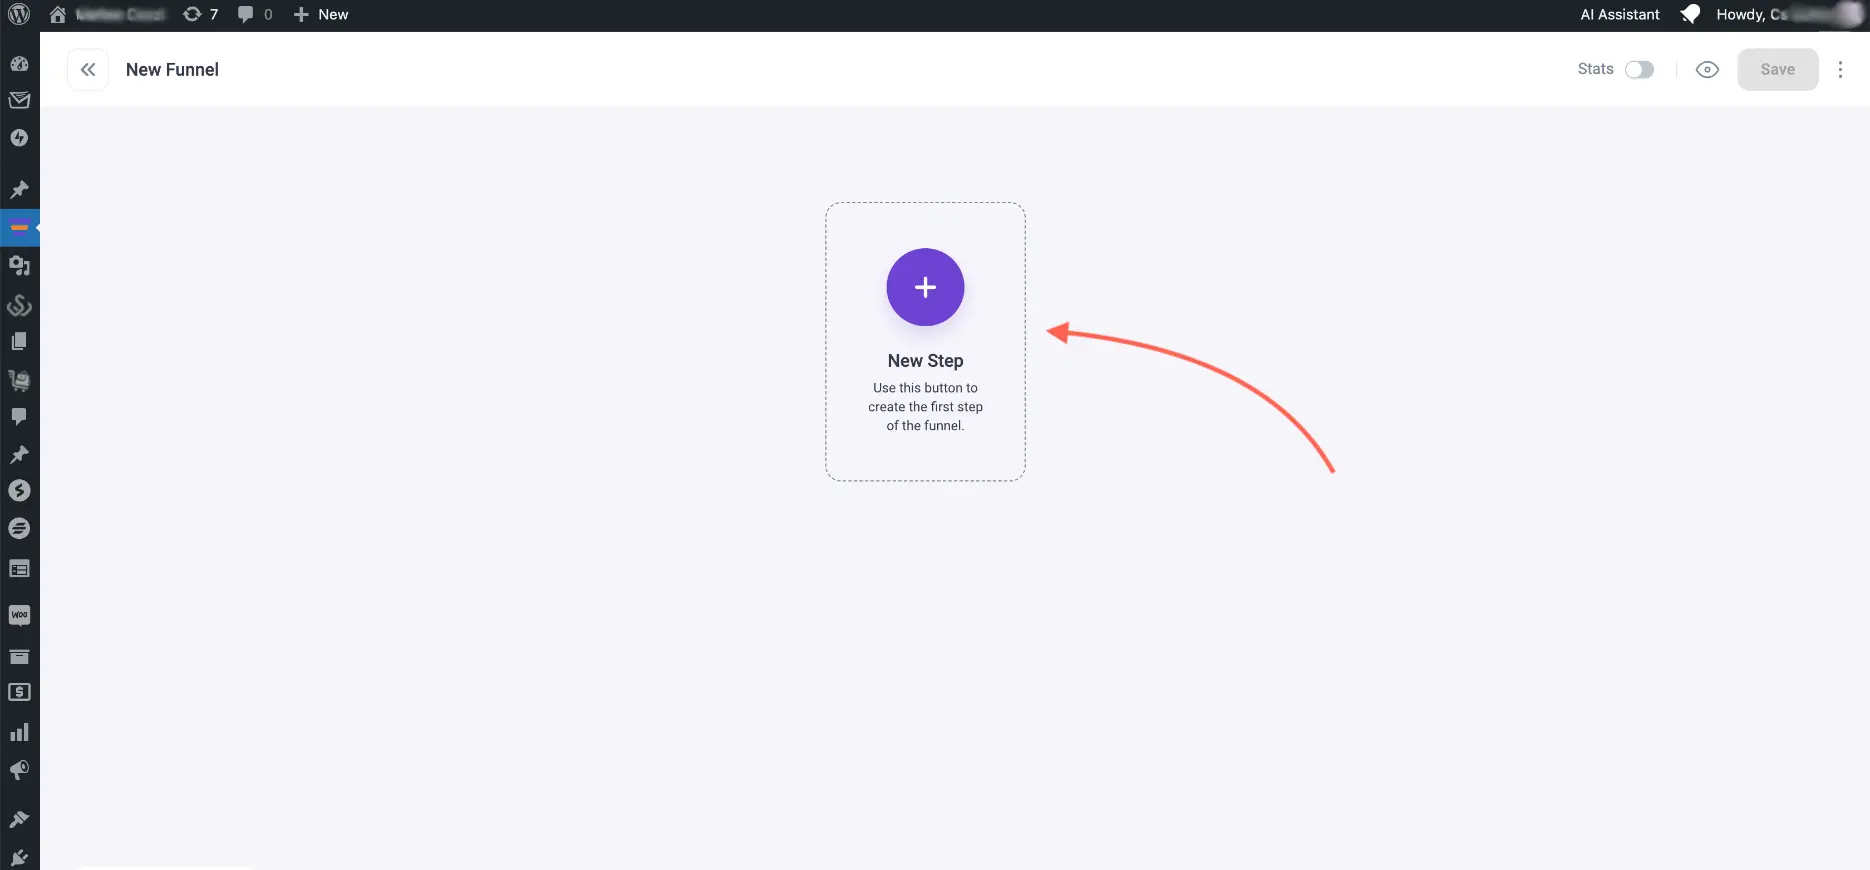
2. Create a Funnel from scratch.

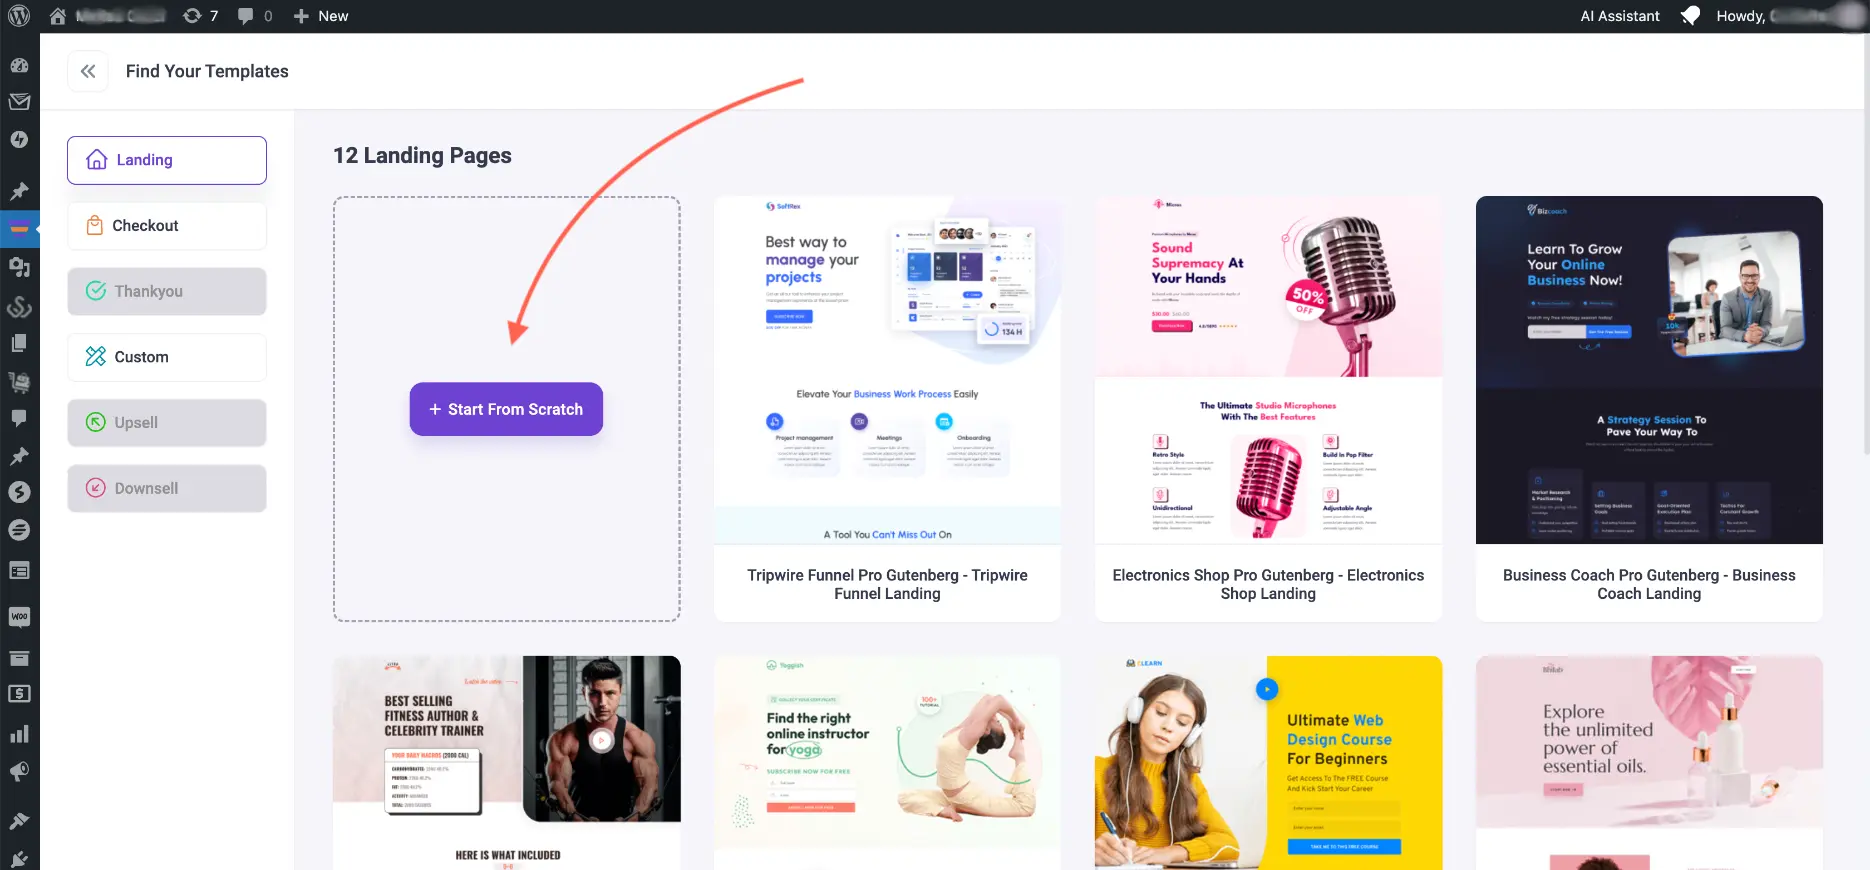
3. Add a Landing step from scratch.
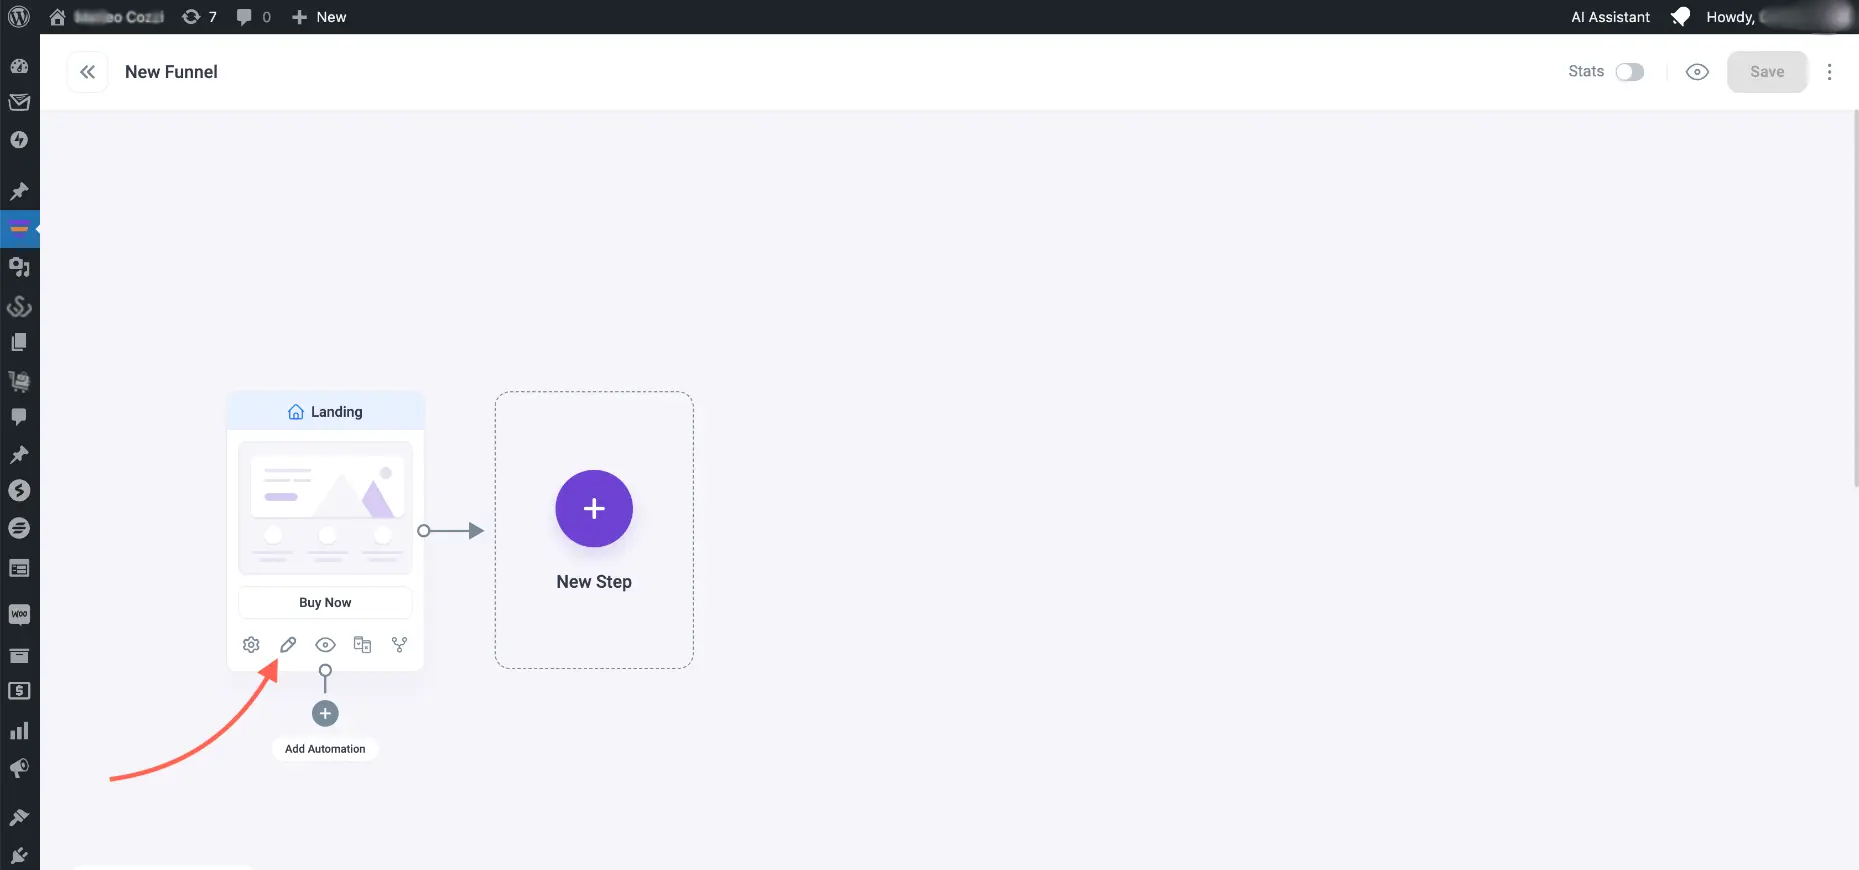
4. Edit your Landing page and it will open in Gutenberg edit mode.
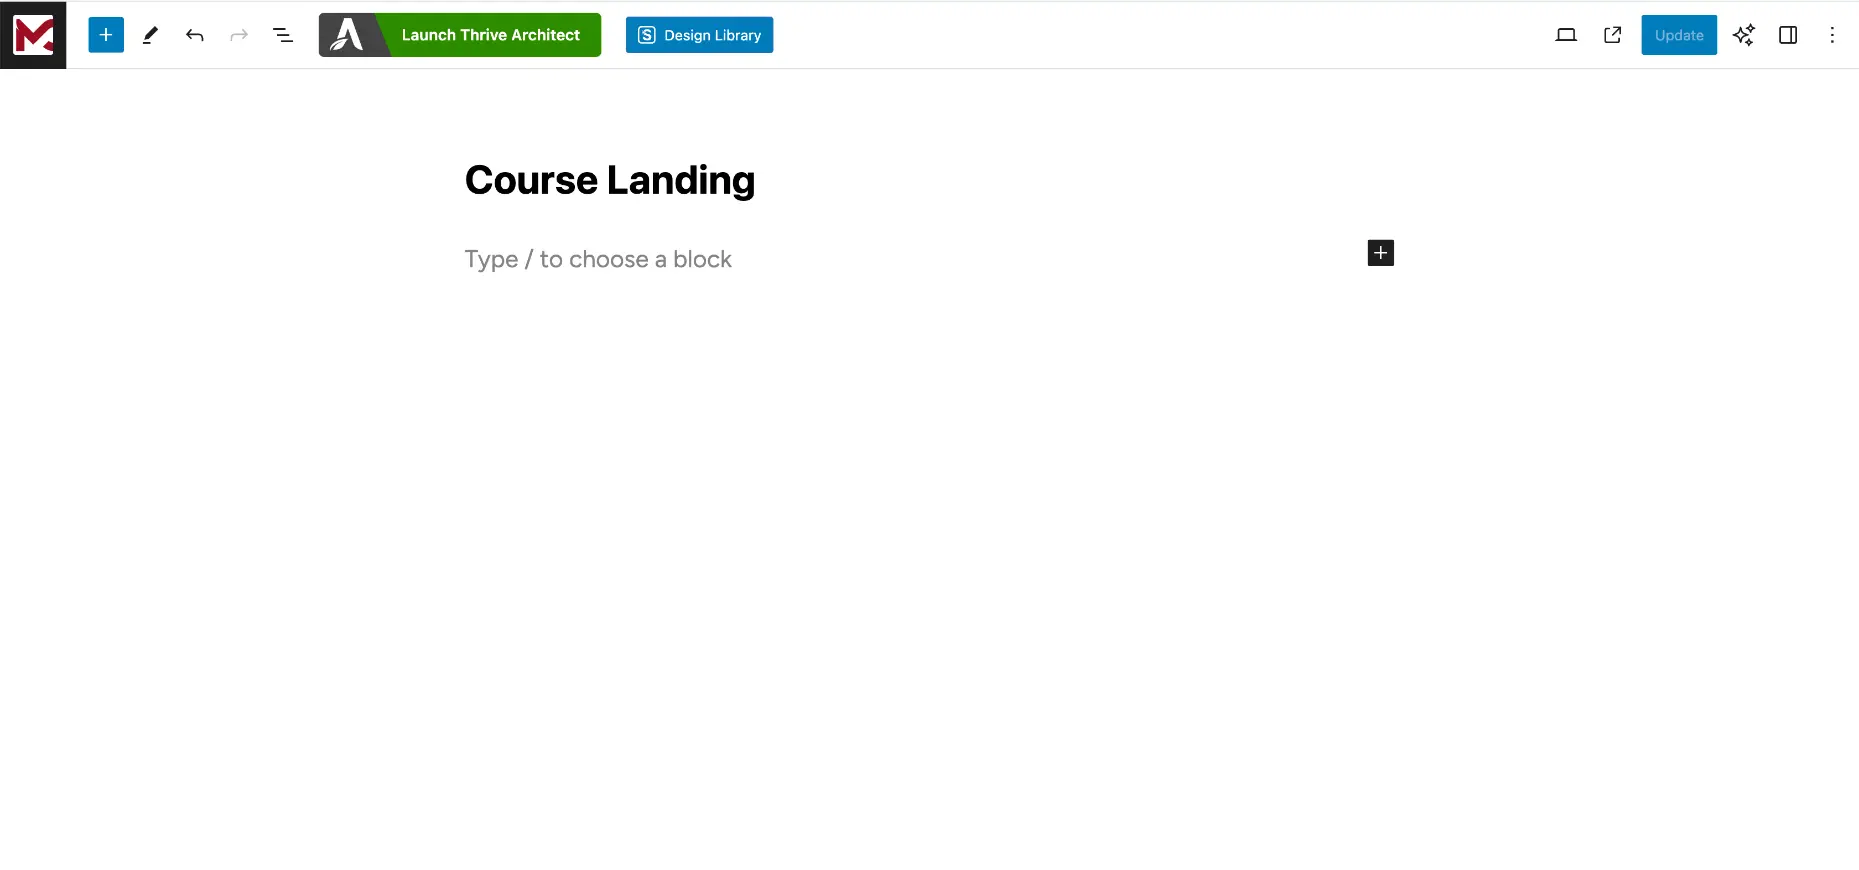
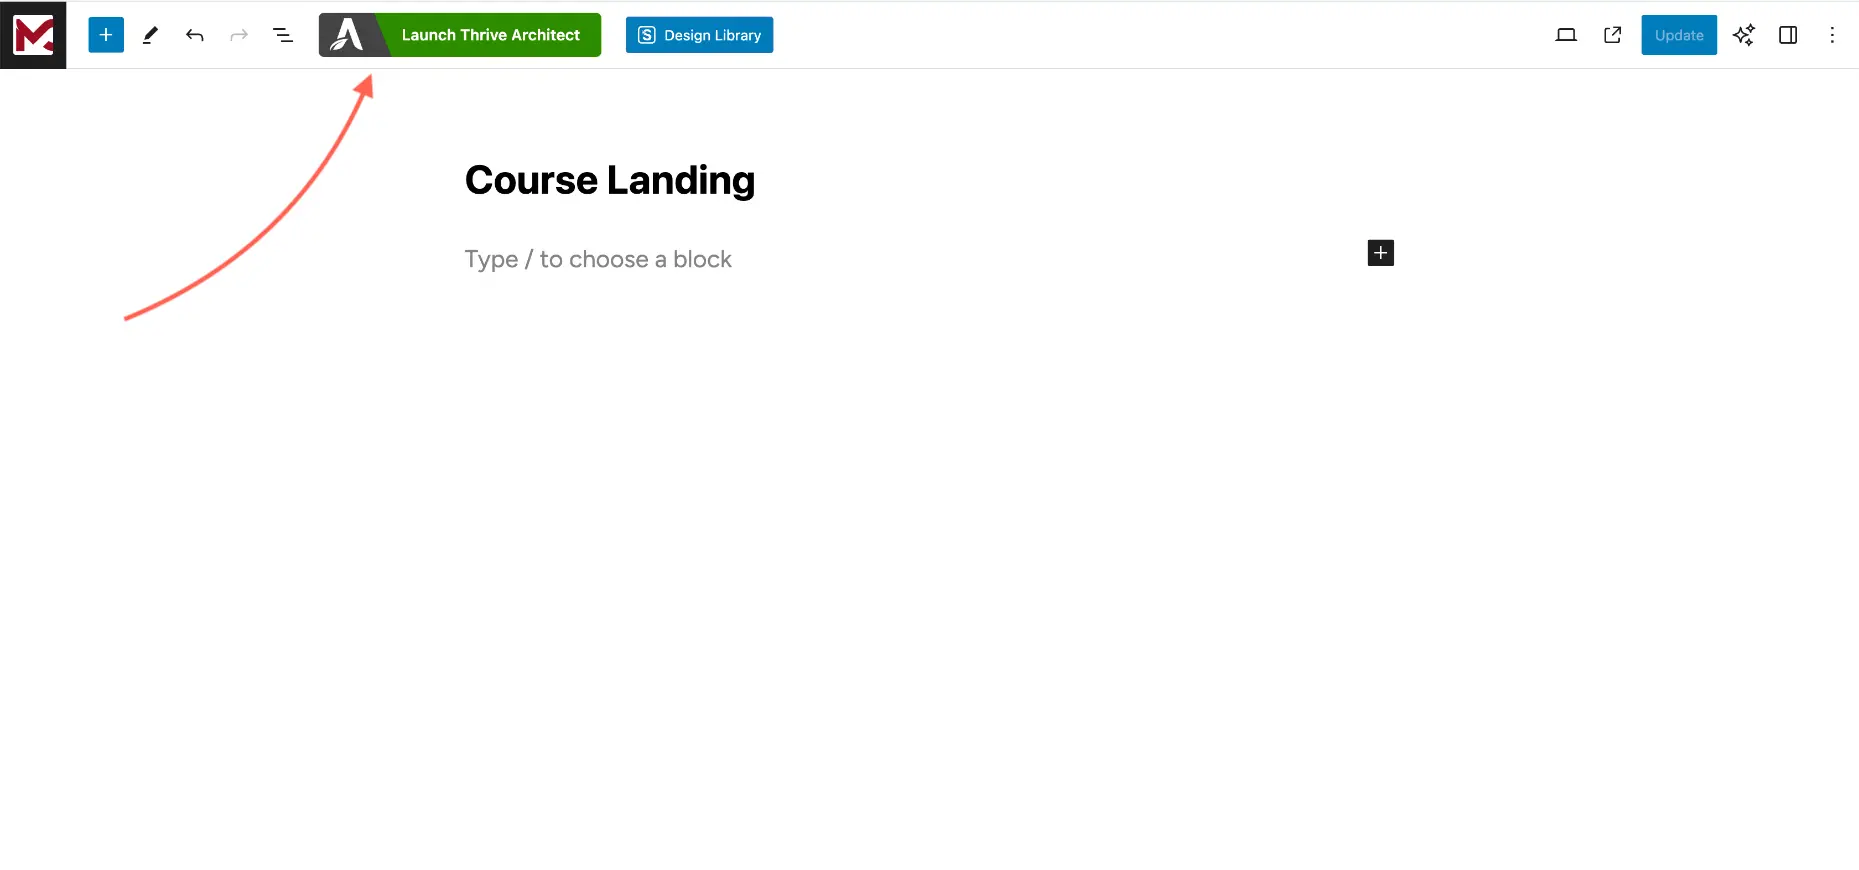
5. Click On Launch Thrive Architect for the landing page.
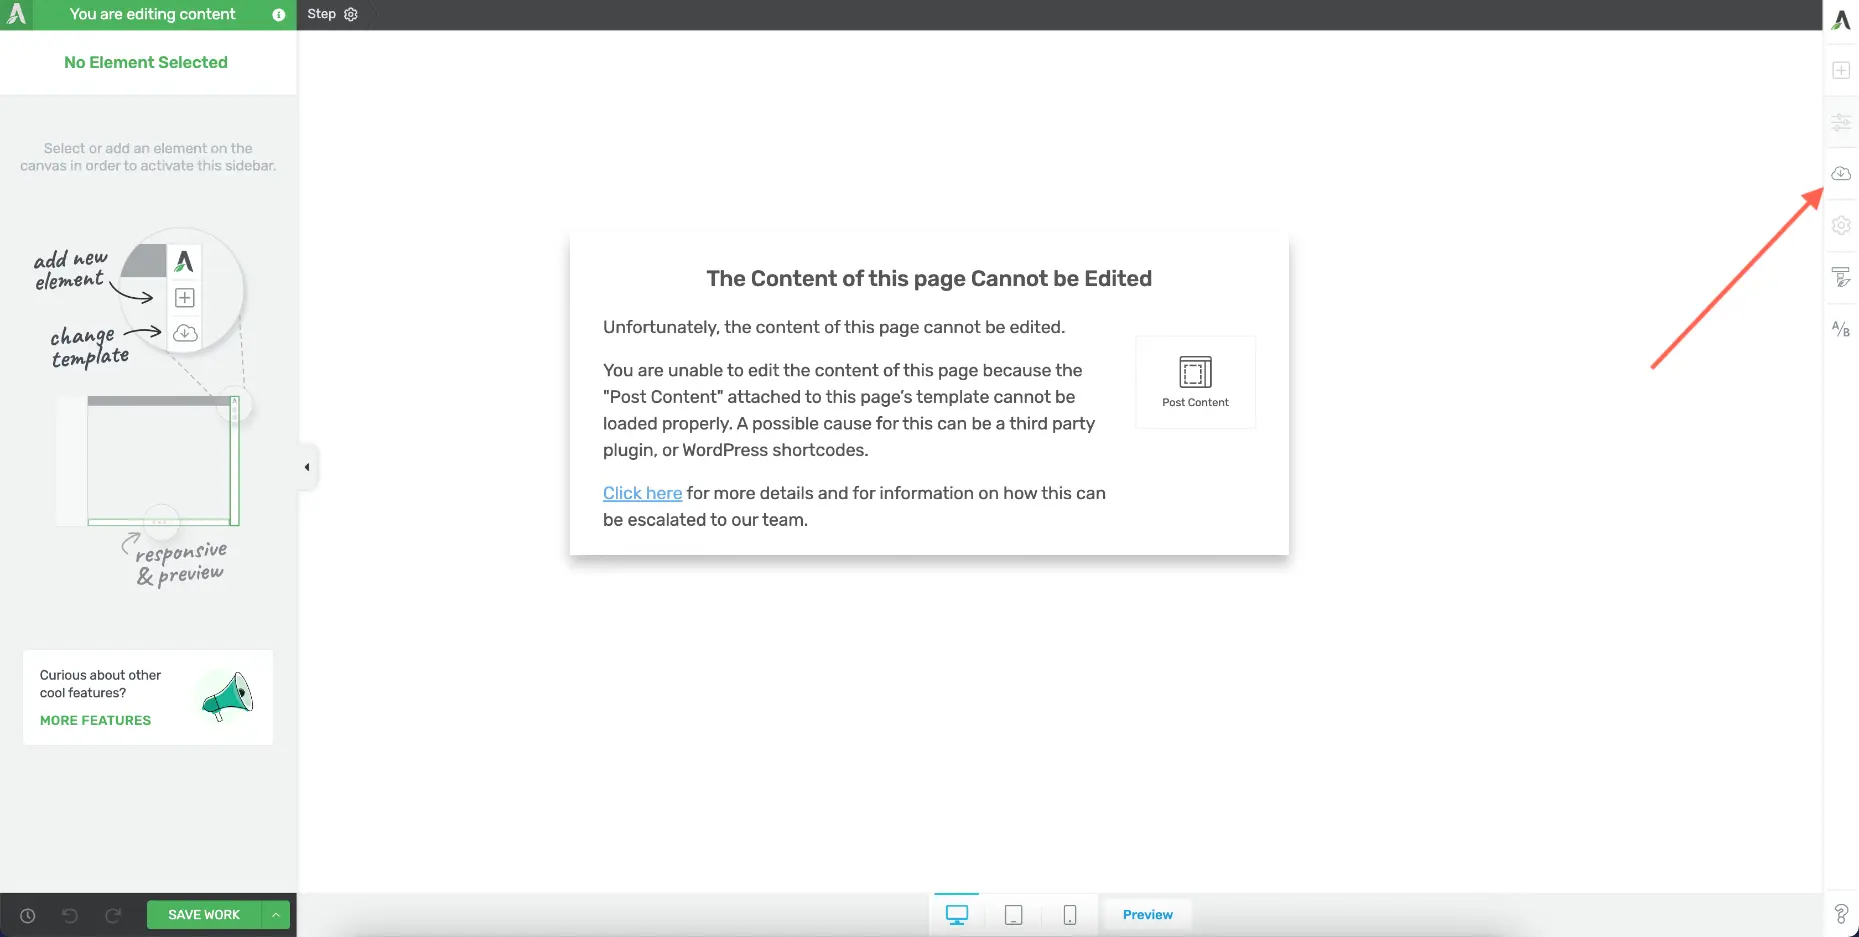
6. On Thrive Editor, on the right side, click on Replace Template
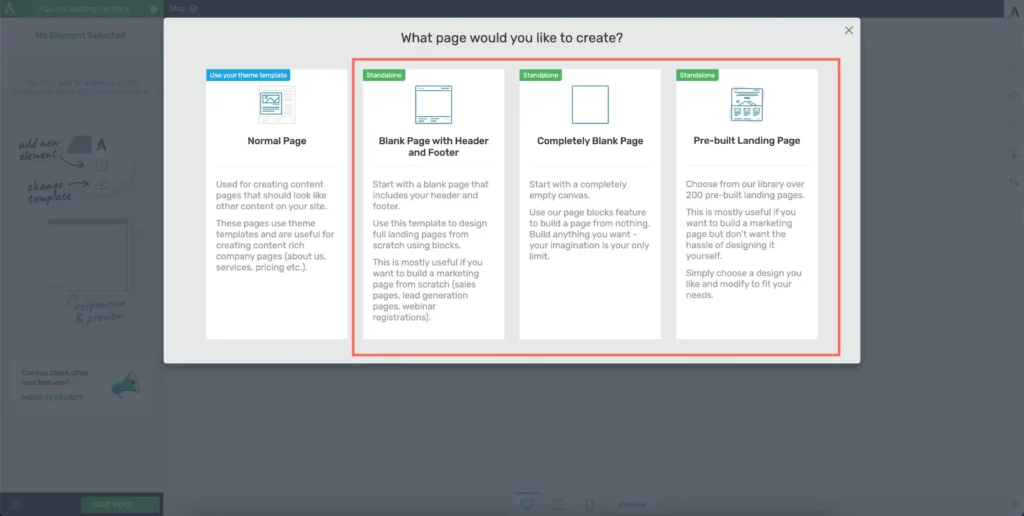
7. Choose one of the standalone options and then you will be able to customize the page.
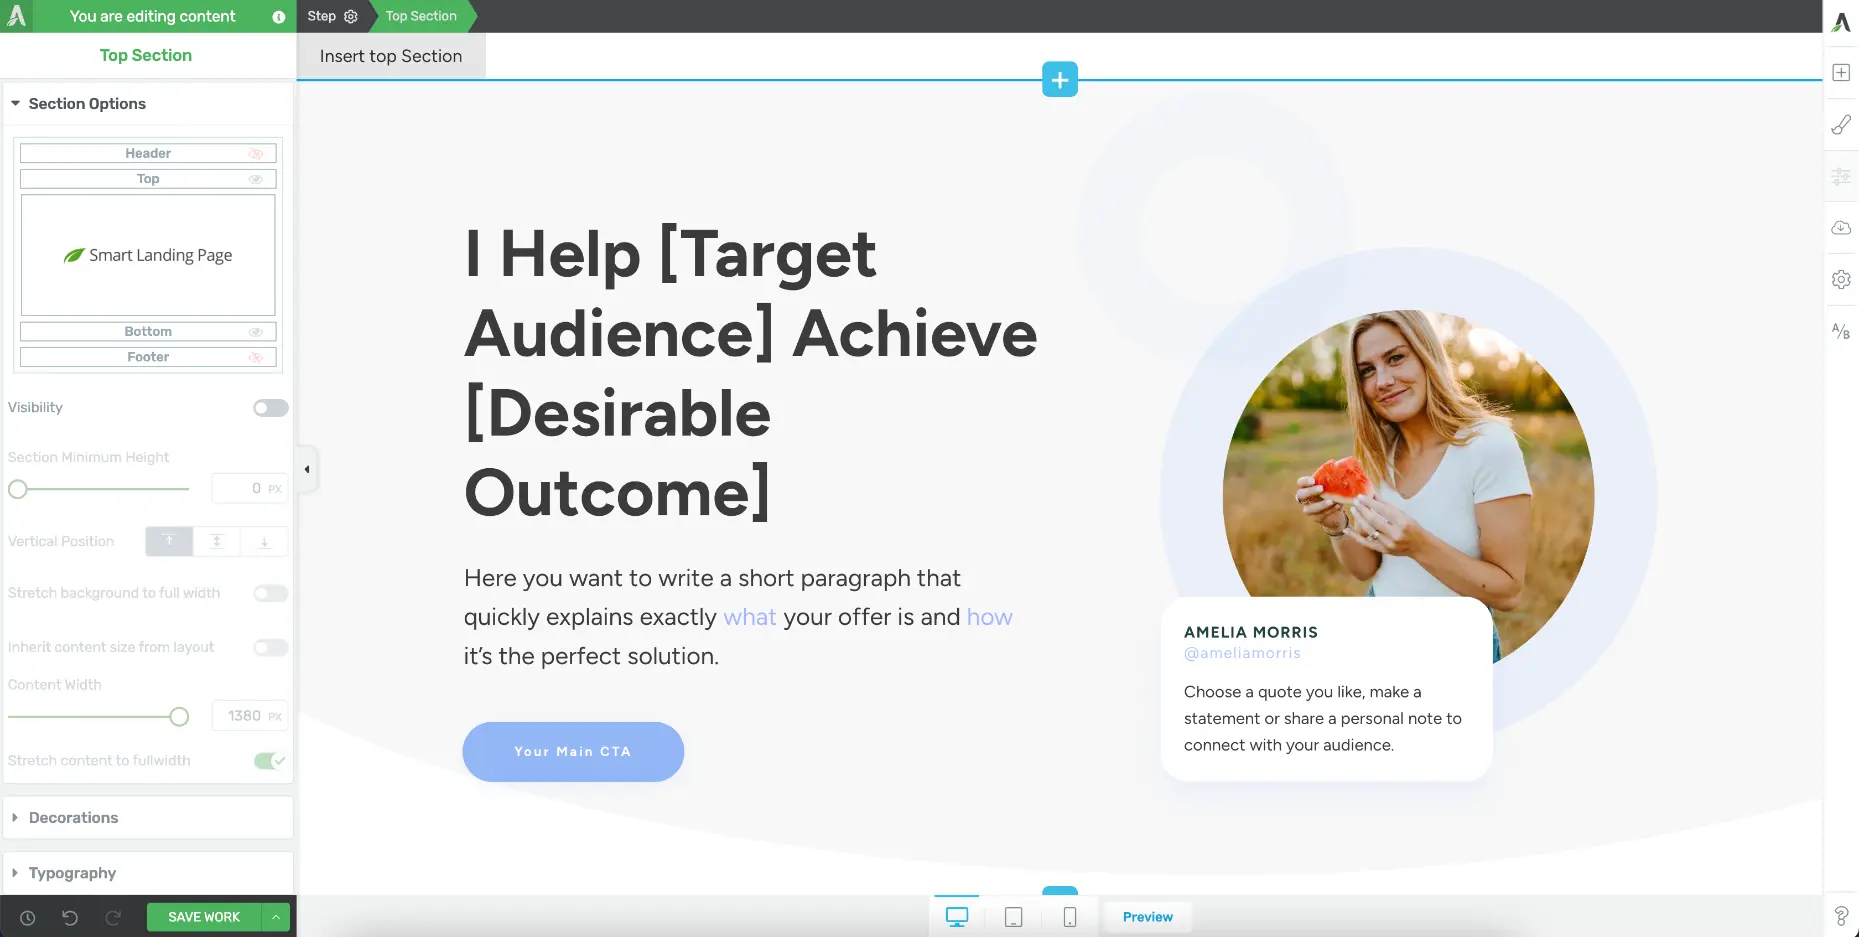
8. Replace CTA buttons and opt-in forms with WPFunnels Shortcodes
Use a Custom HTML block and place the shortcode. Save the page and view the page to see the effect.


Then customize it using the shortcode parameters to design it.
9. Once done, save the page and go back to the canvas to add the next step.
Step 3 – Create A Course Funnel Checkout Page
1. Add a Checkout step from scratch.
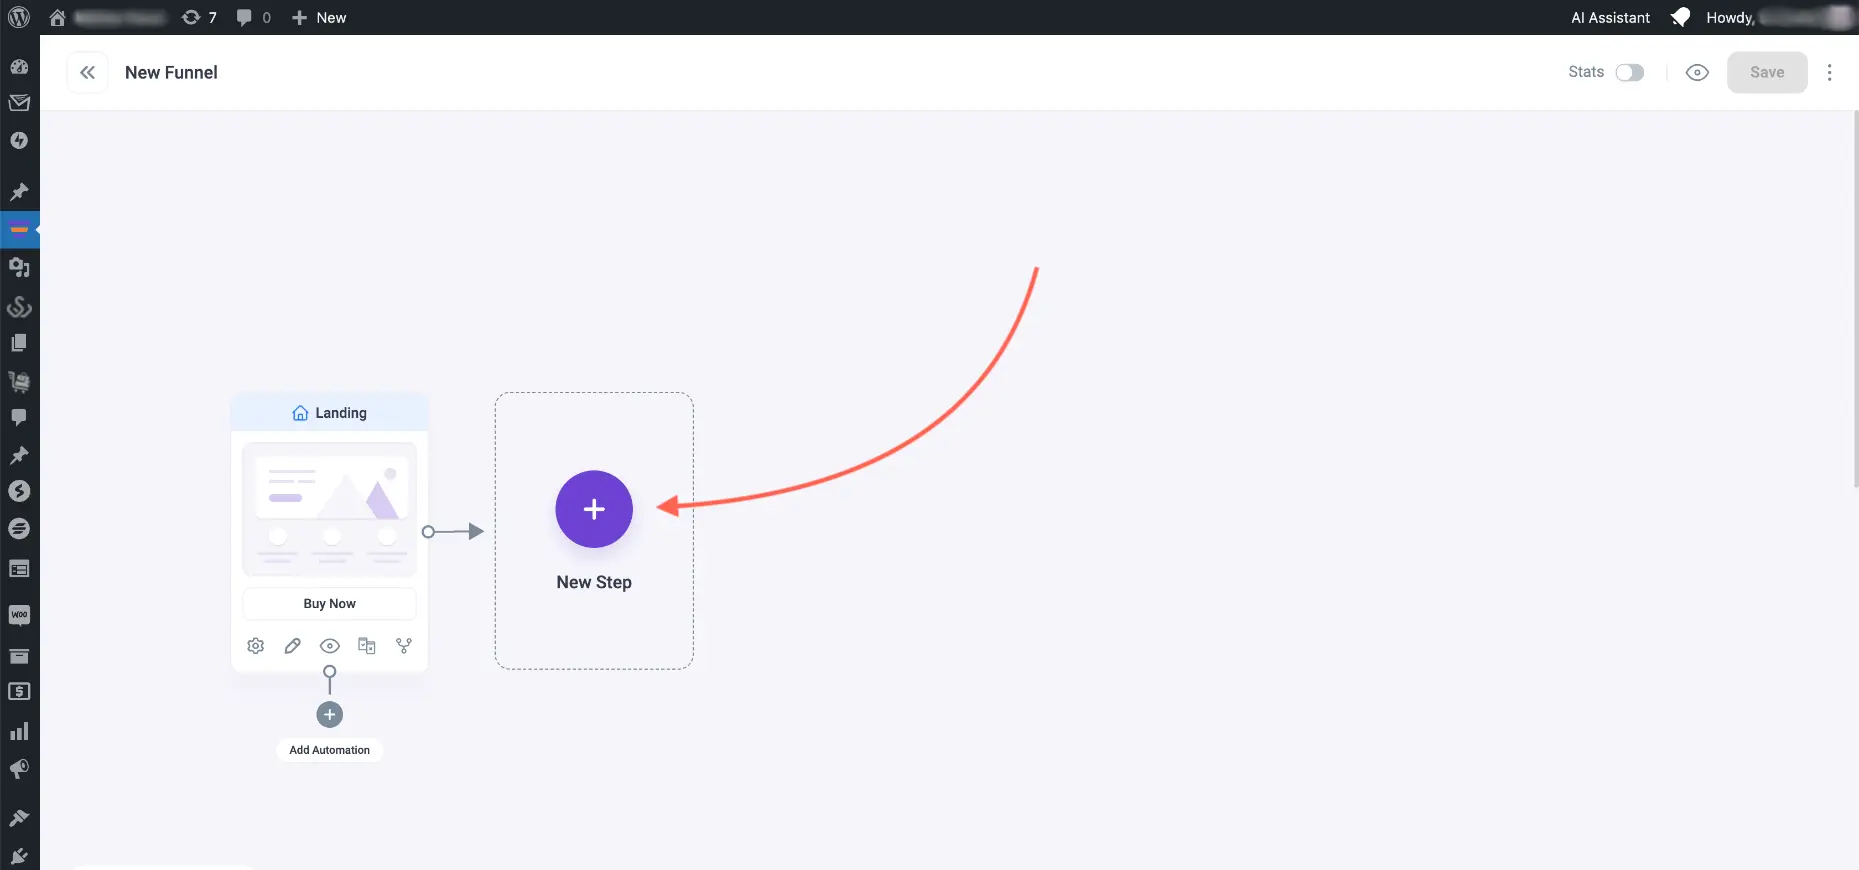
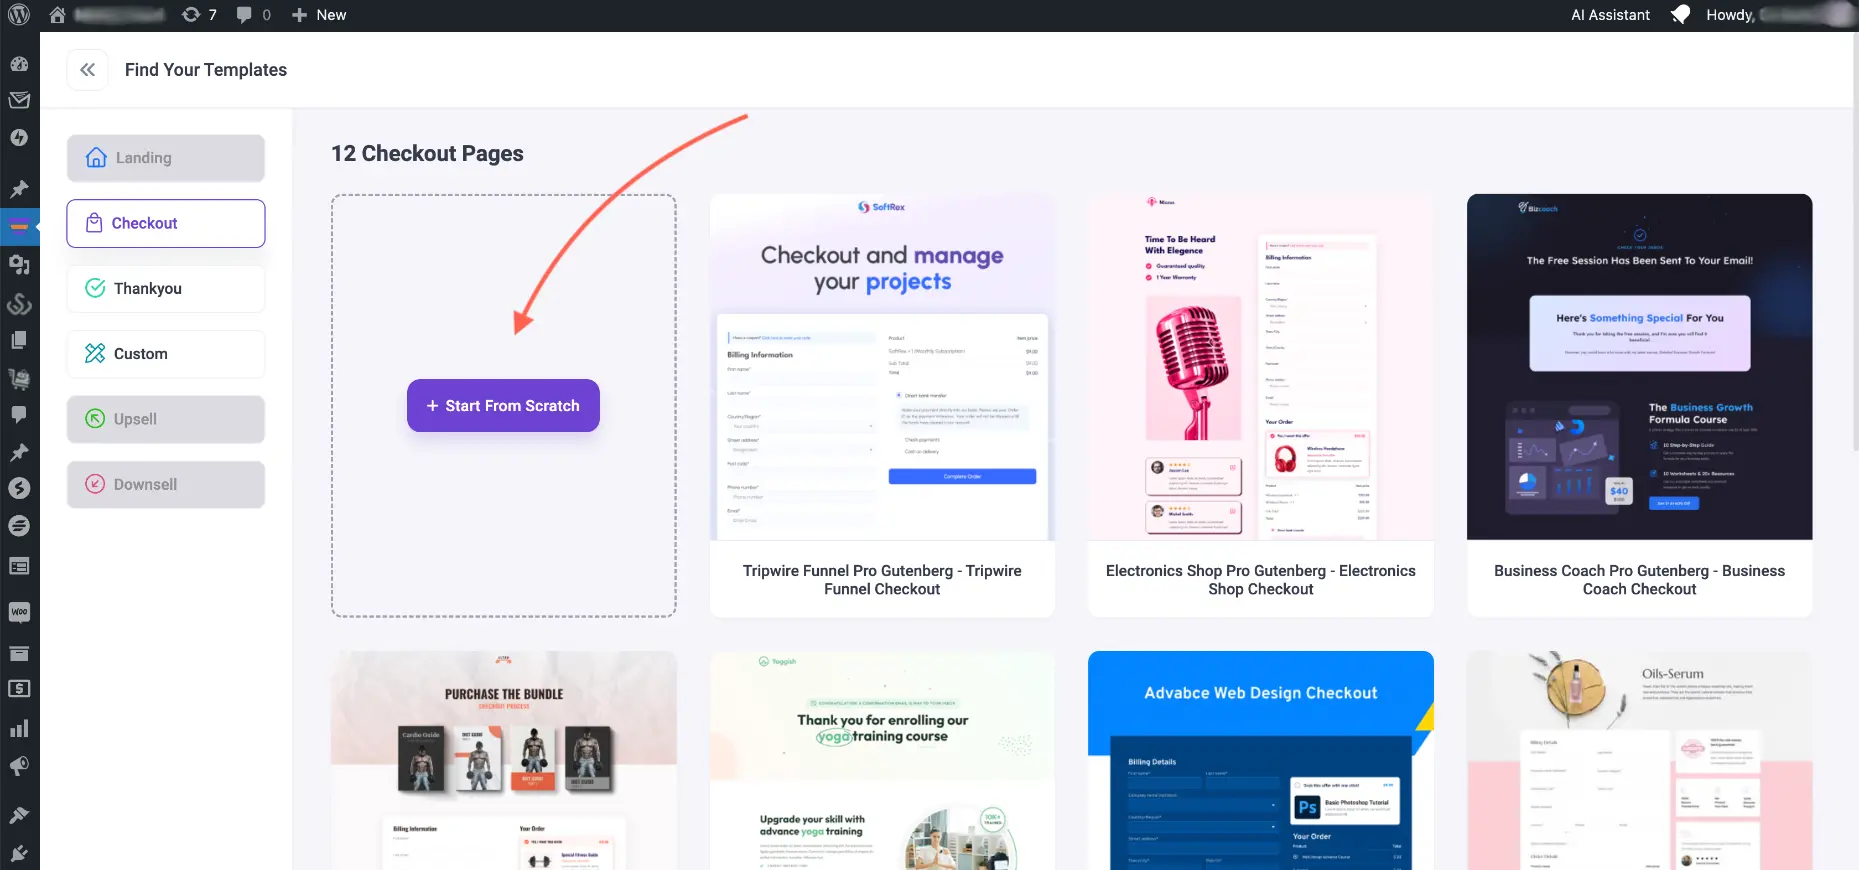
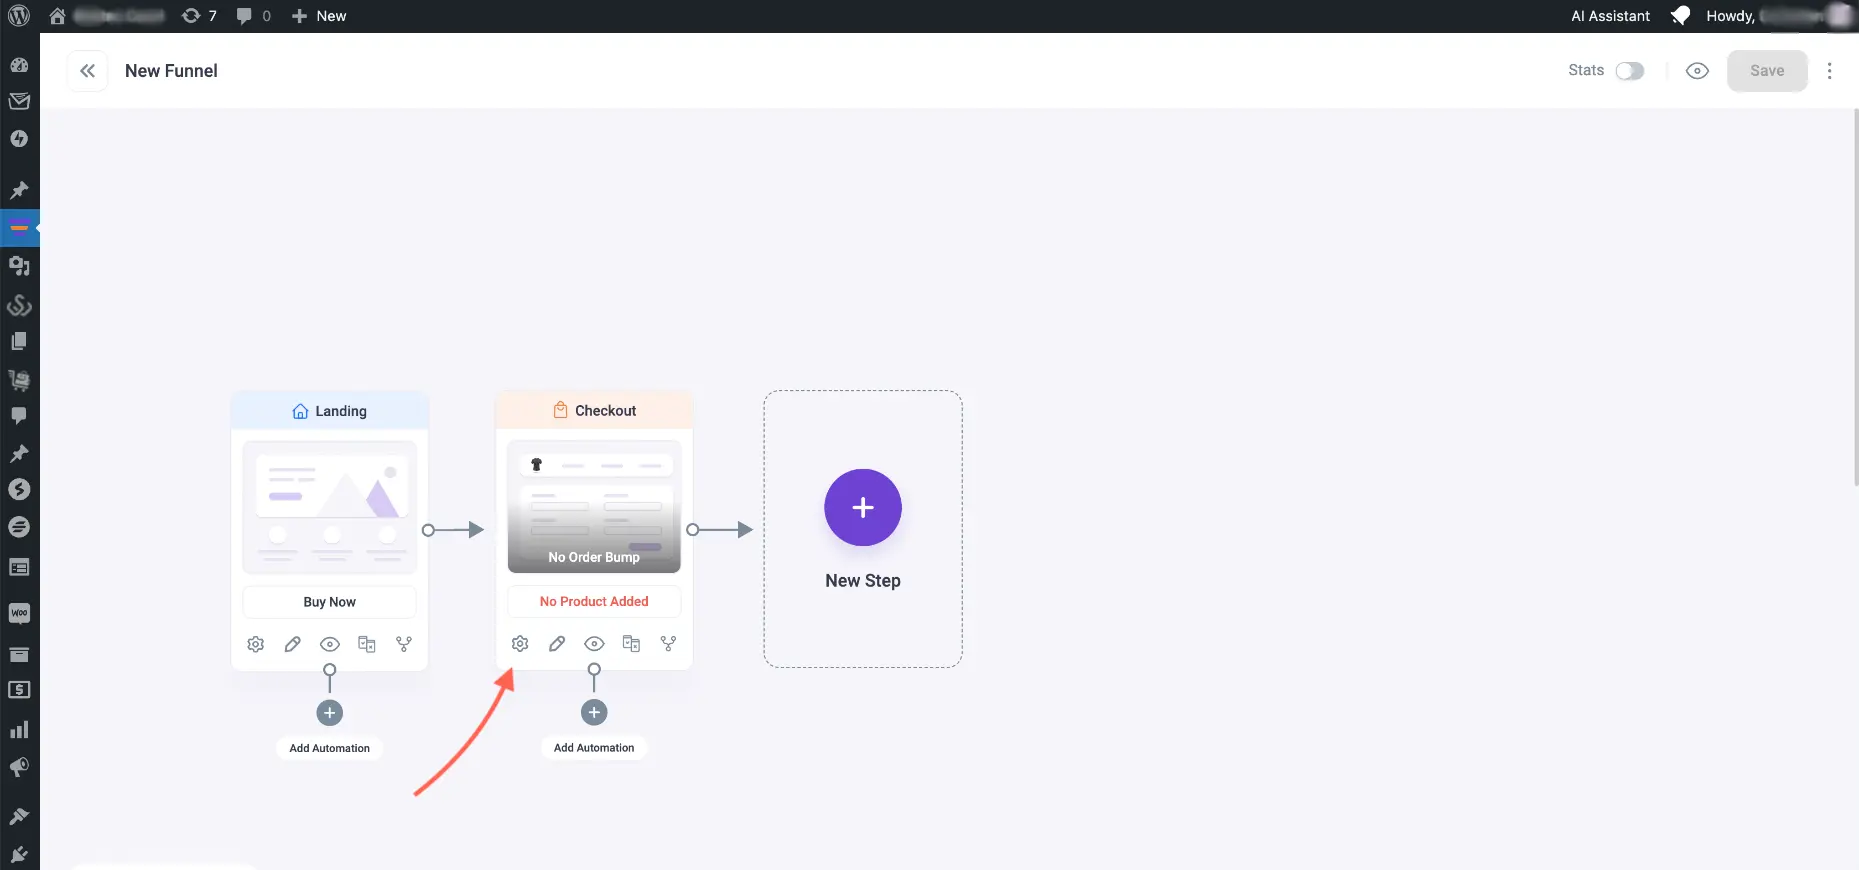
2. Click on the configure icon for the Checkout step.
3. Search for the course product you created earlier and on the search bar and Add it.

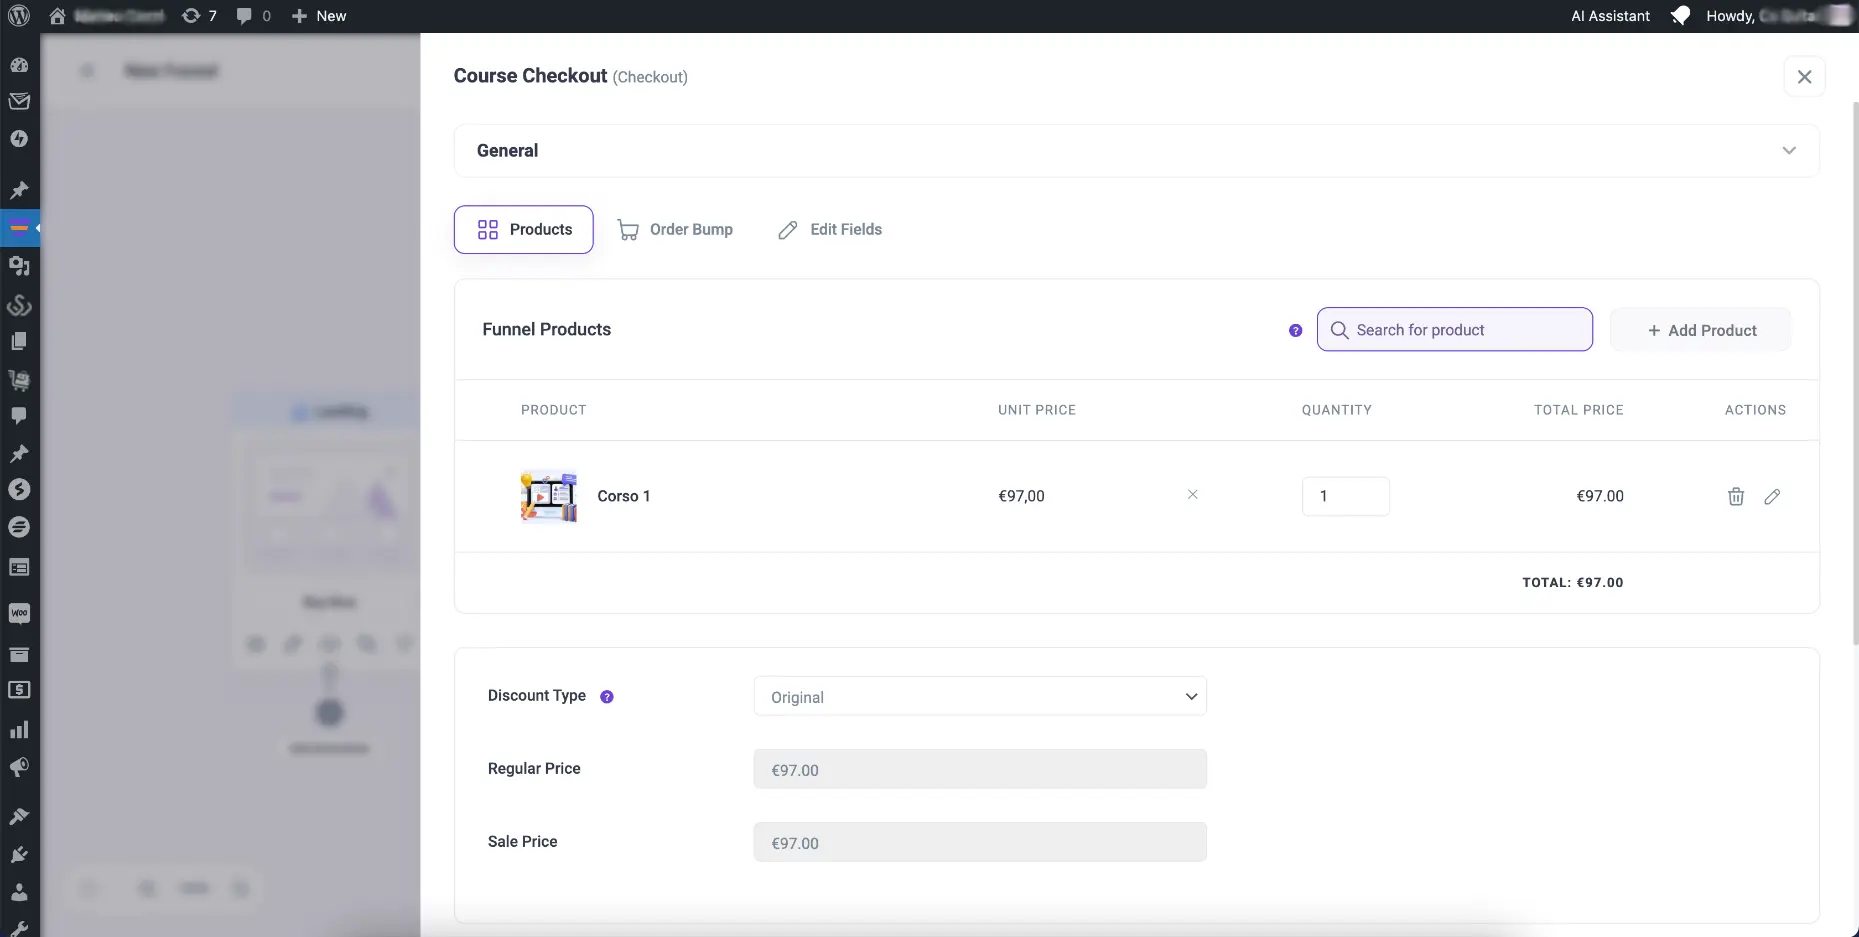
- Above, you have the option to add order bump offers.
- Below you have the option to add an exclusive discount.
Once done, Click on the Save Changes button below and go back to the canvas. You will notice the checkout step no longer has the text “No product added.”
4. Edit your Checkout page and it will open in Gutenberg edit mode.
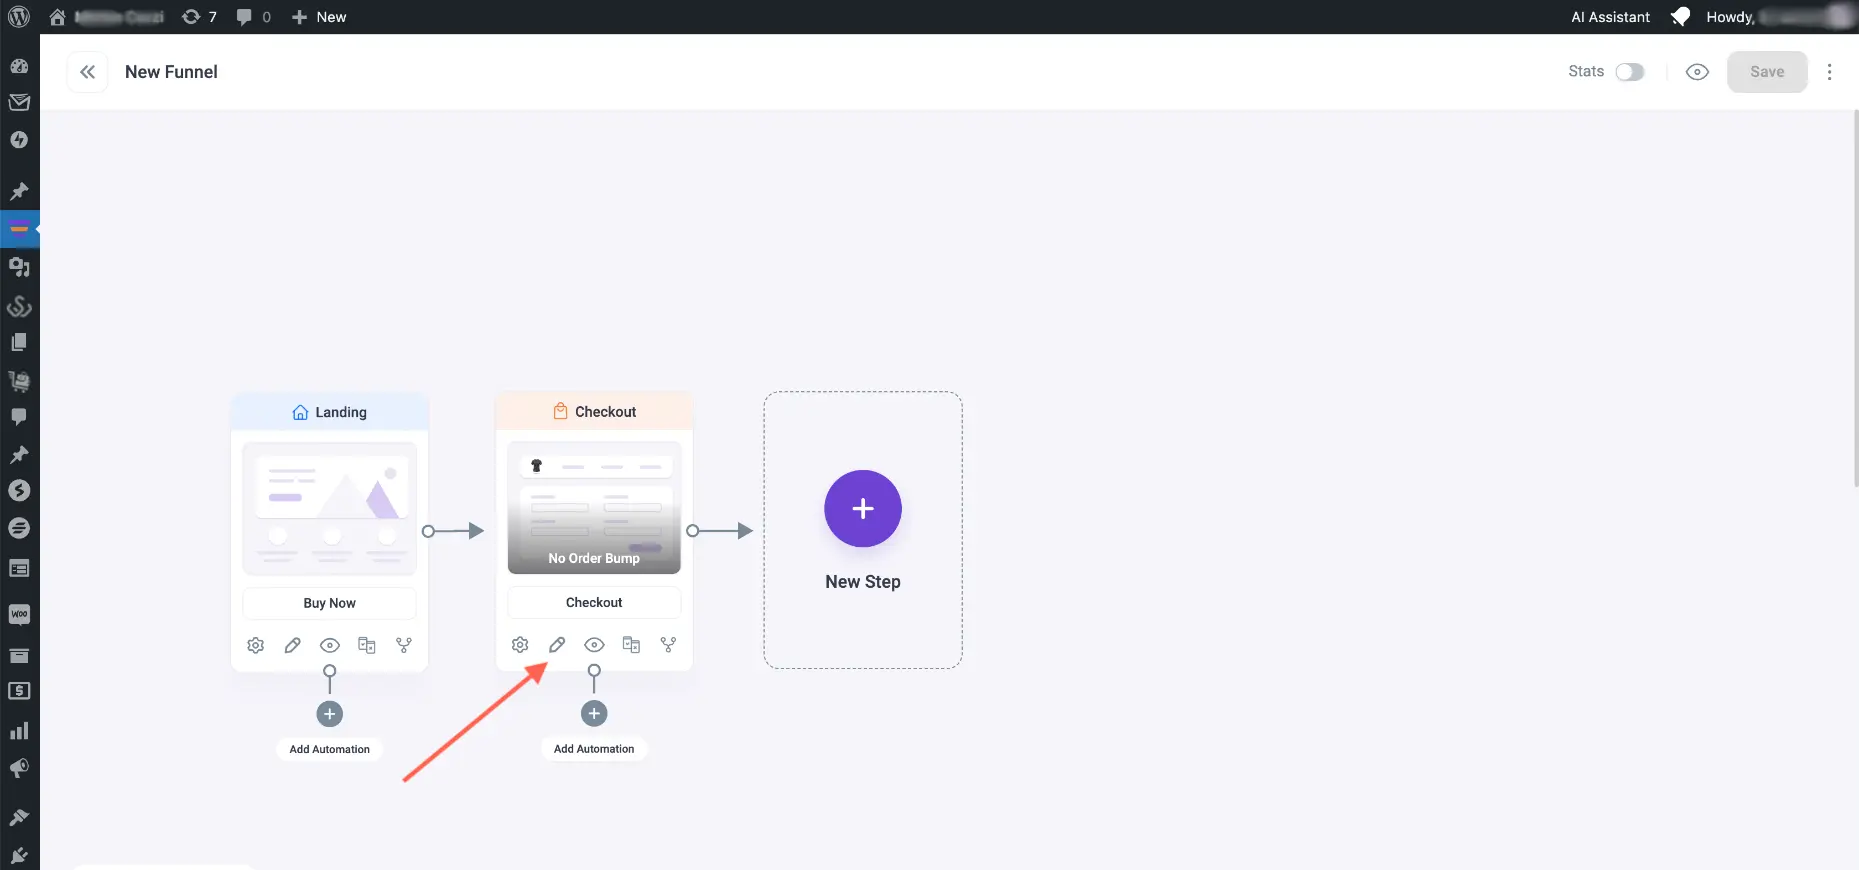
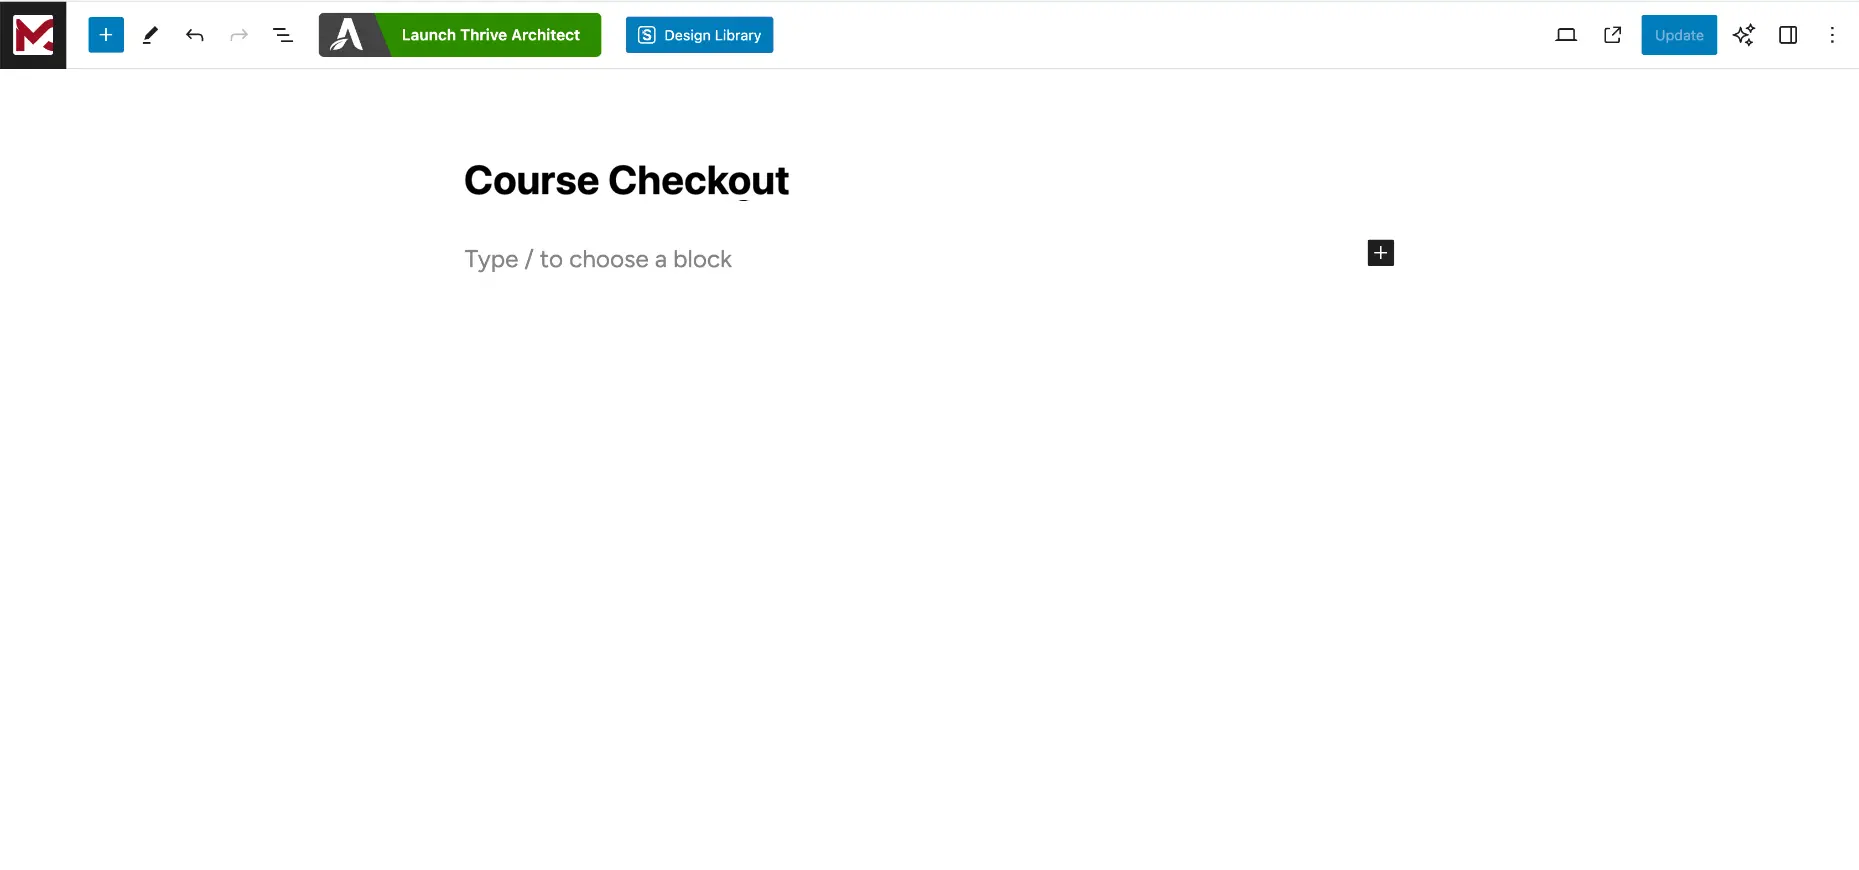
5. Click On Launch Thrive Architect for the checkout page.
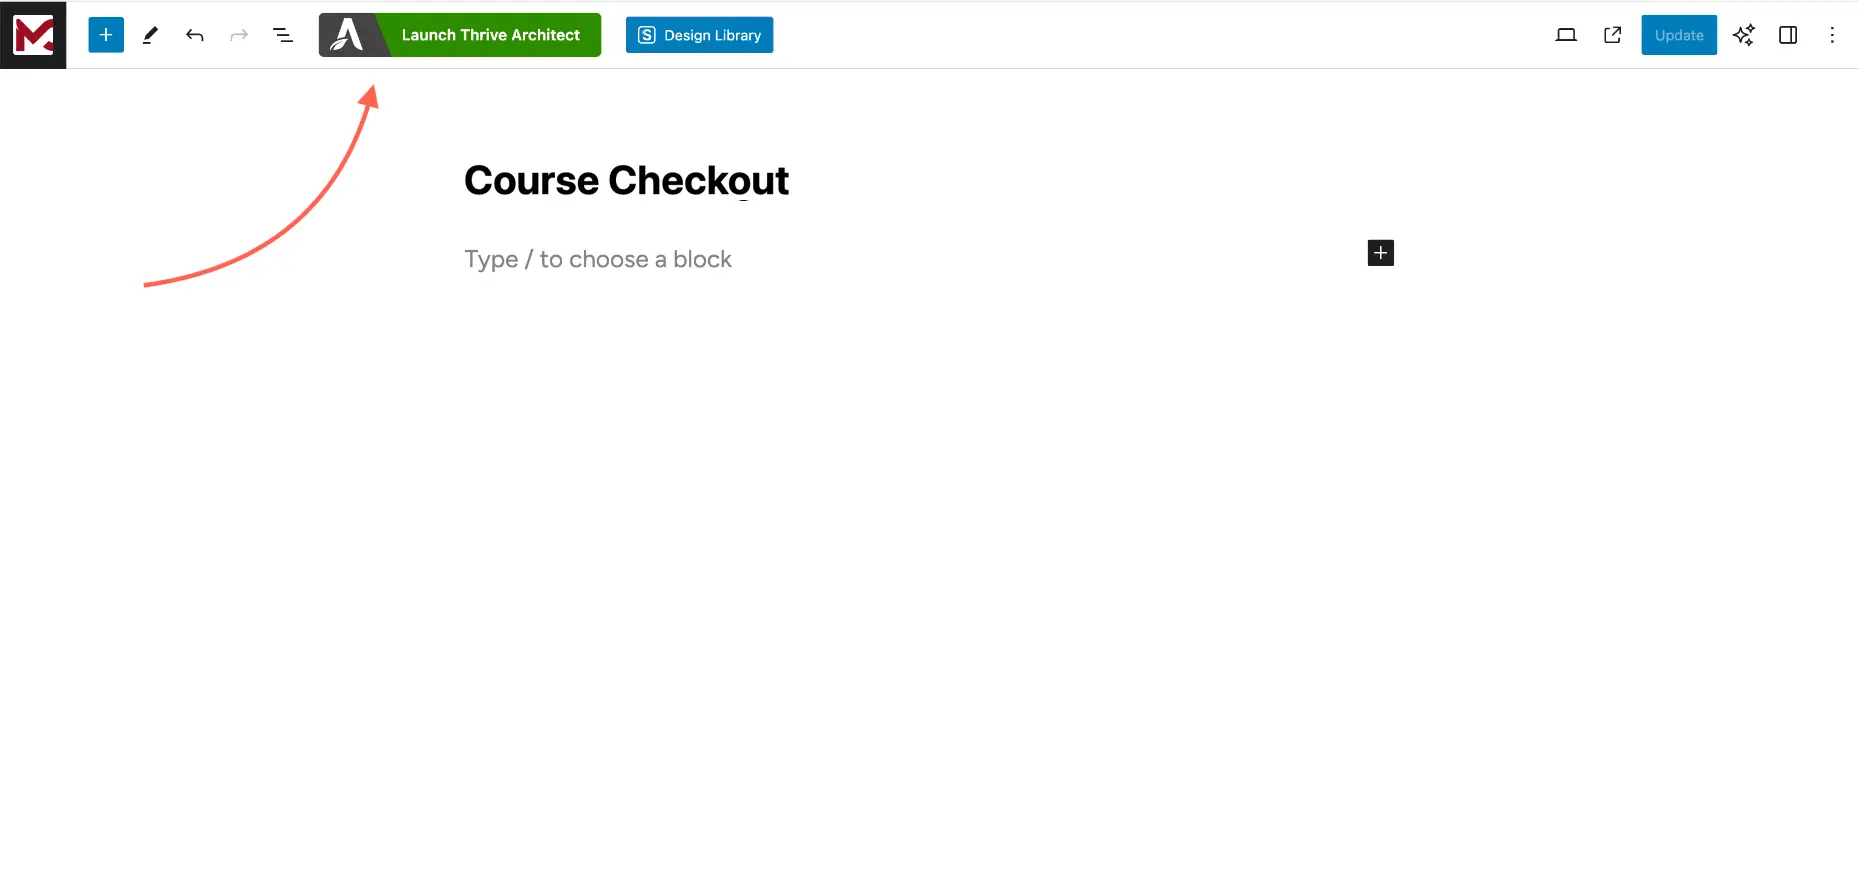
6. On Thrive Editor, on the right side, click on Replace Template

7. Choose one of the standalone options and then you will be able to customize the page.

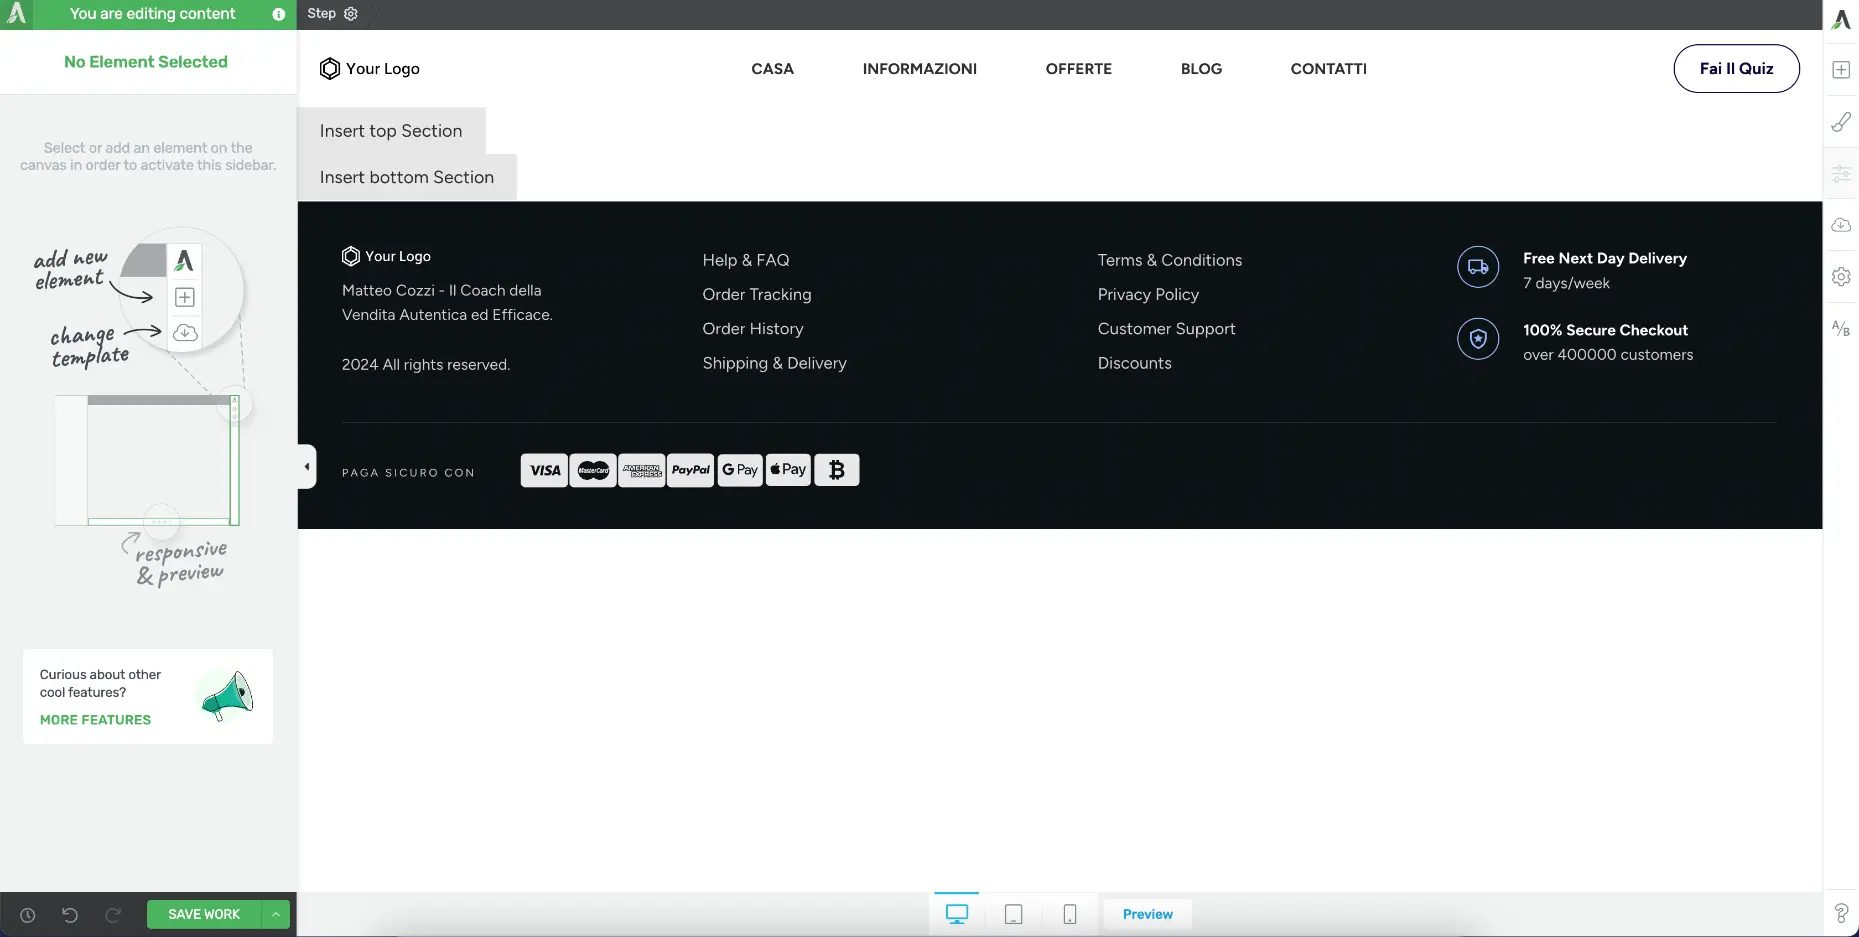
8. Add the checkout form using the WPFunnels Checkout shortcode or use Checkoutify to design a checkout form and drop the shortcode.
Use a Custom HTML block and place the shortcode. Save the page and view the page to see the effect.
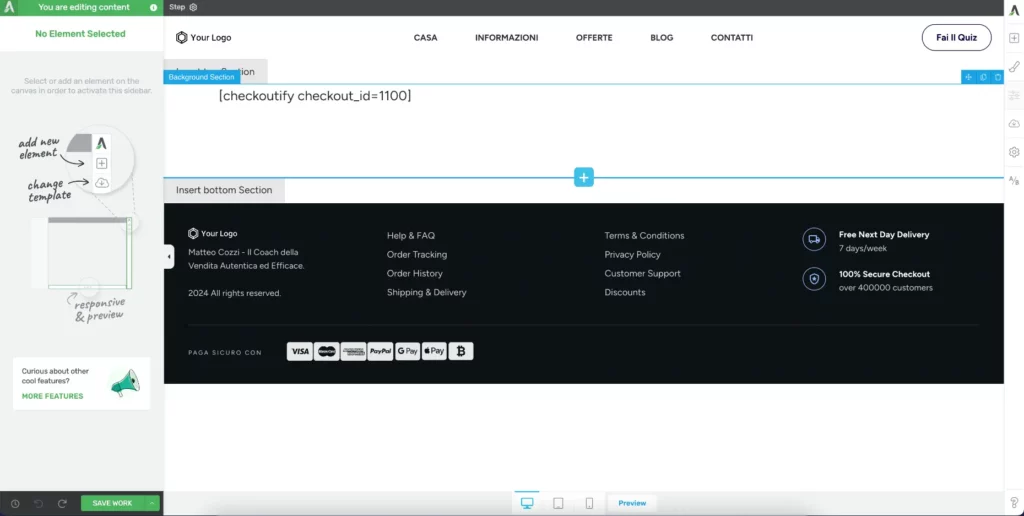
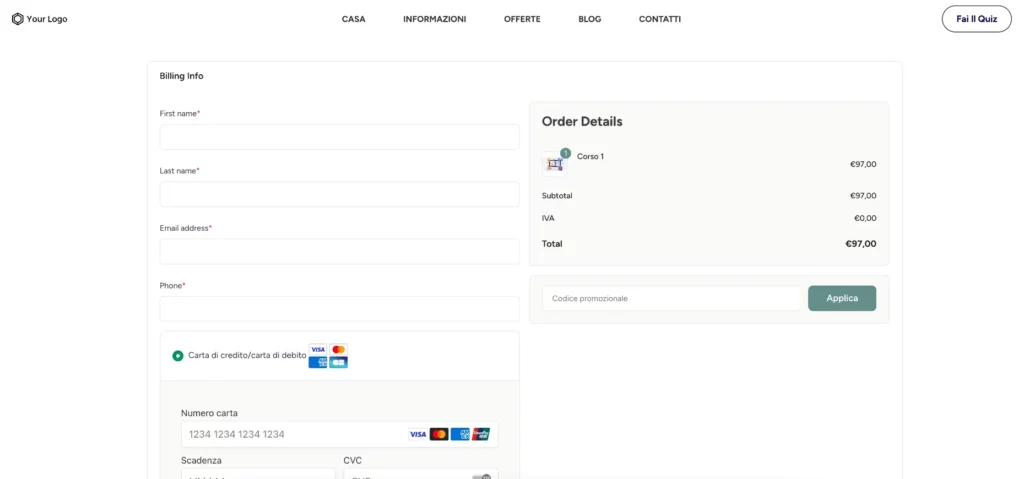
Then customize it using the shortcode parameters to design it. And if you used Checkoutify, then you can customize it there.
9. Once done, save the page and go back to the canvas to add the next step.
Step 4 – Create An Upsell Offer Page (Optional)
If you want you can make upsell offers with higher-level courses instead or maybe additional courses right after the checkout.
1. Add an Upsell step from scratch.
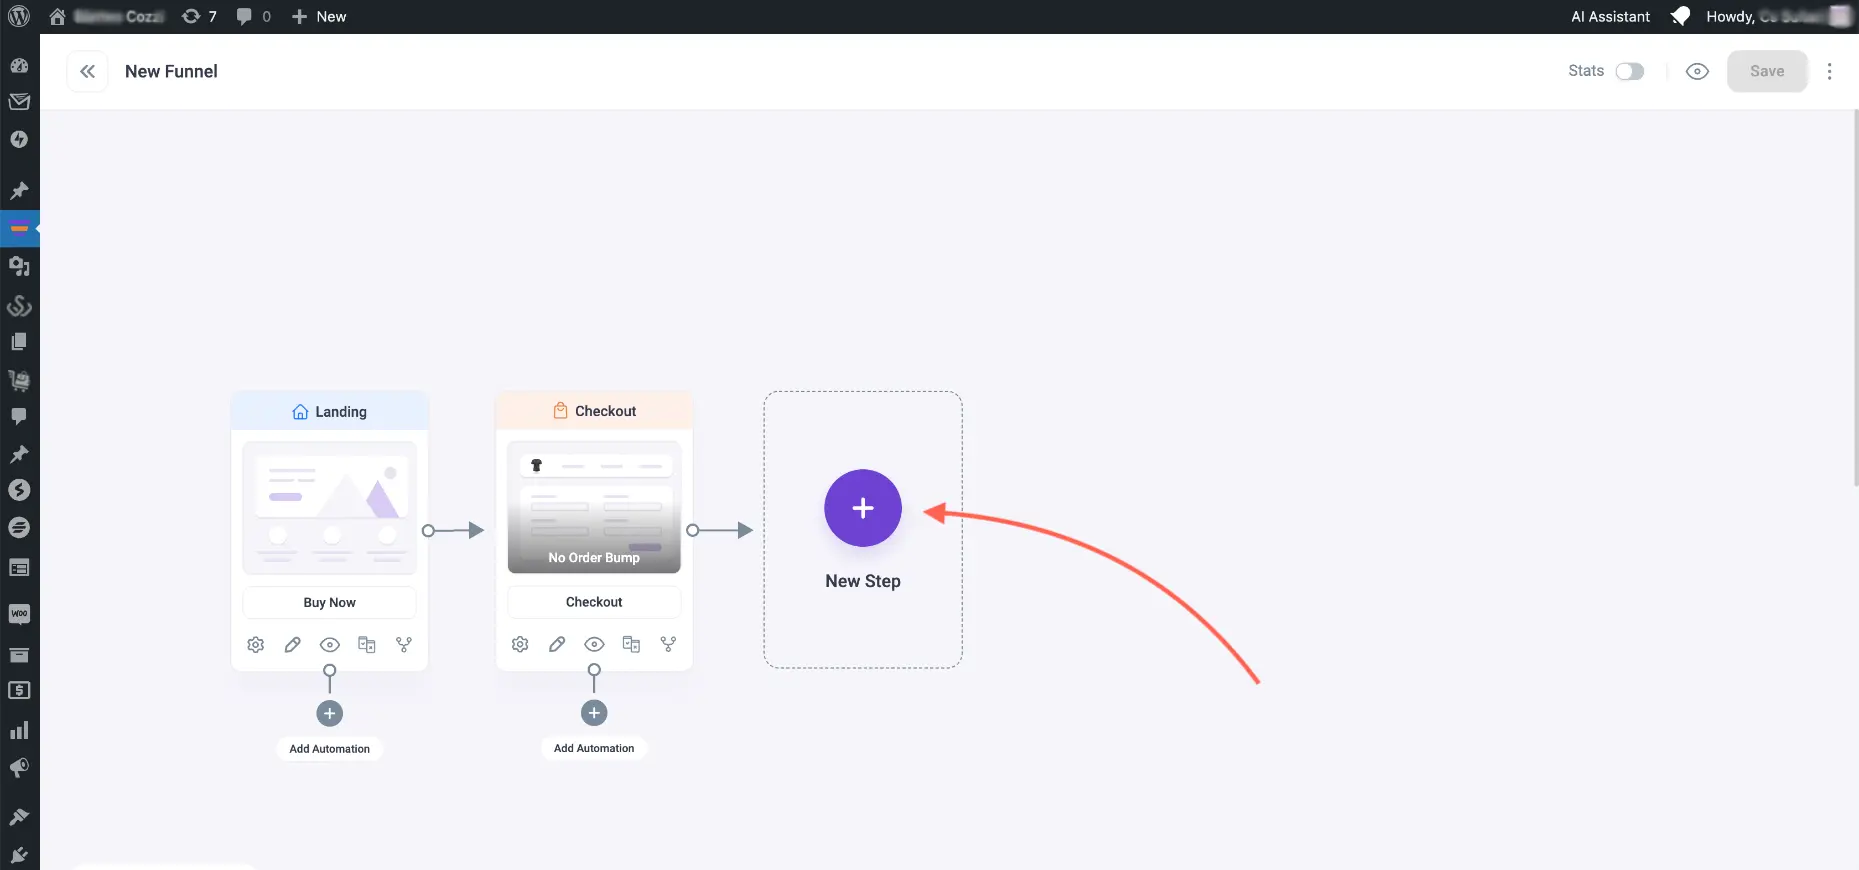
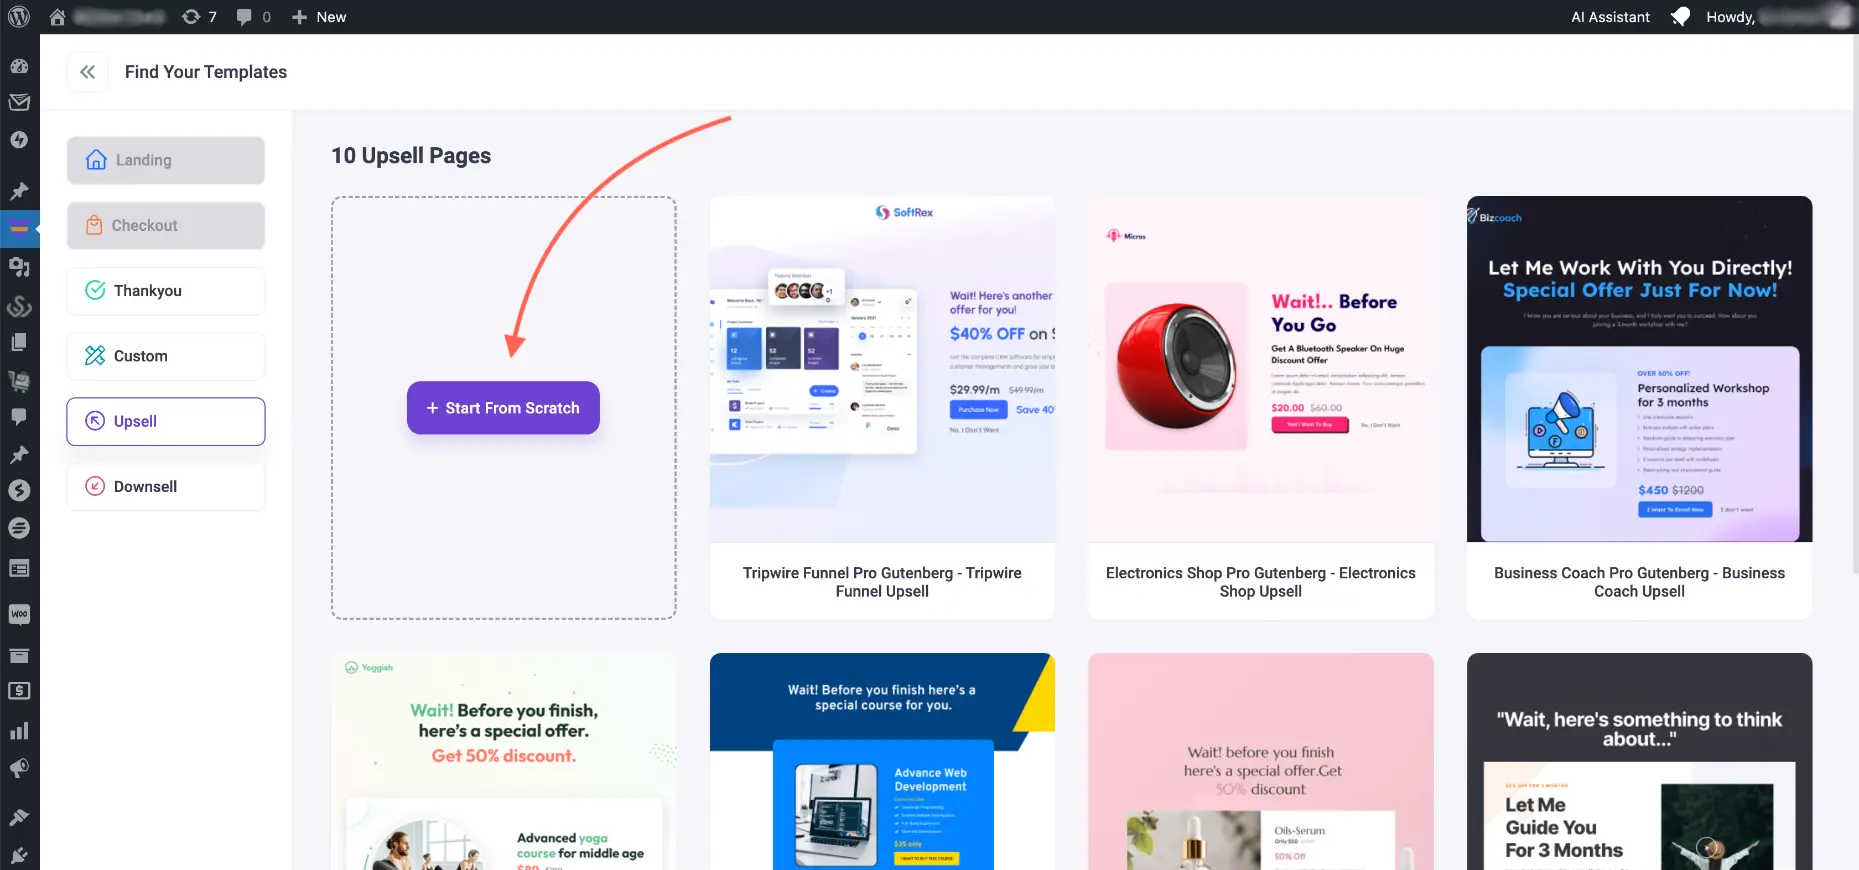
2. Click on the configure icon for the Upsell step.
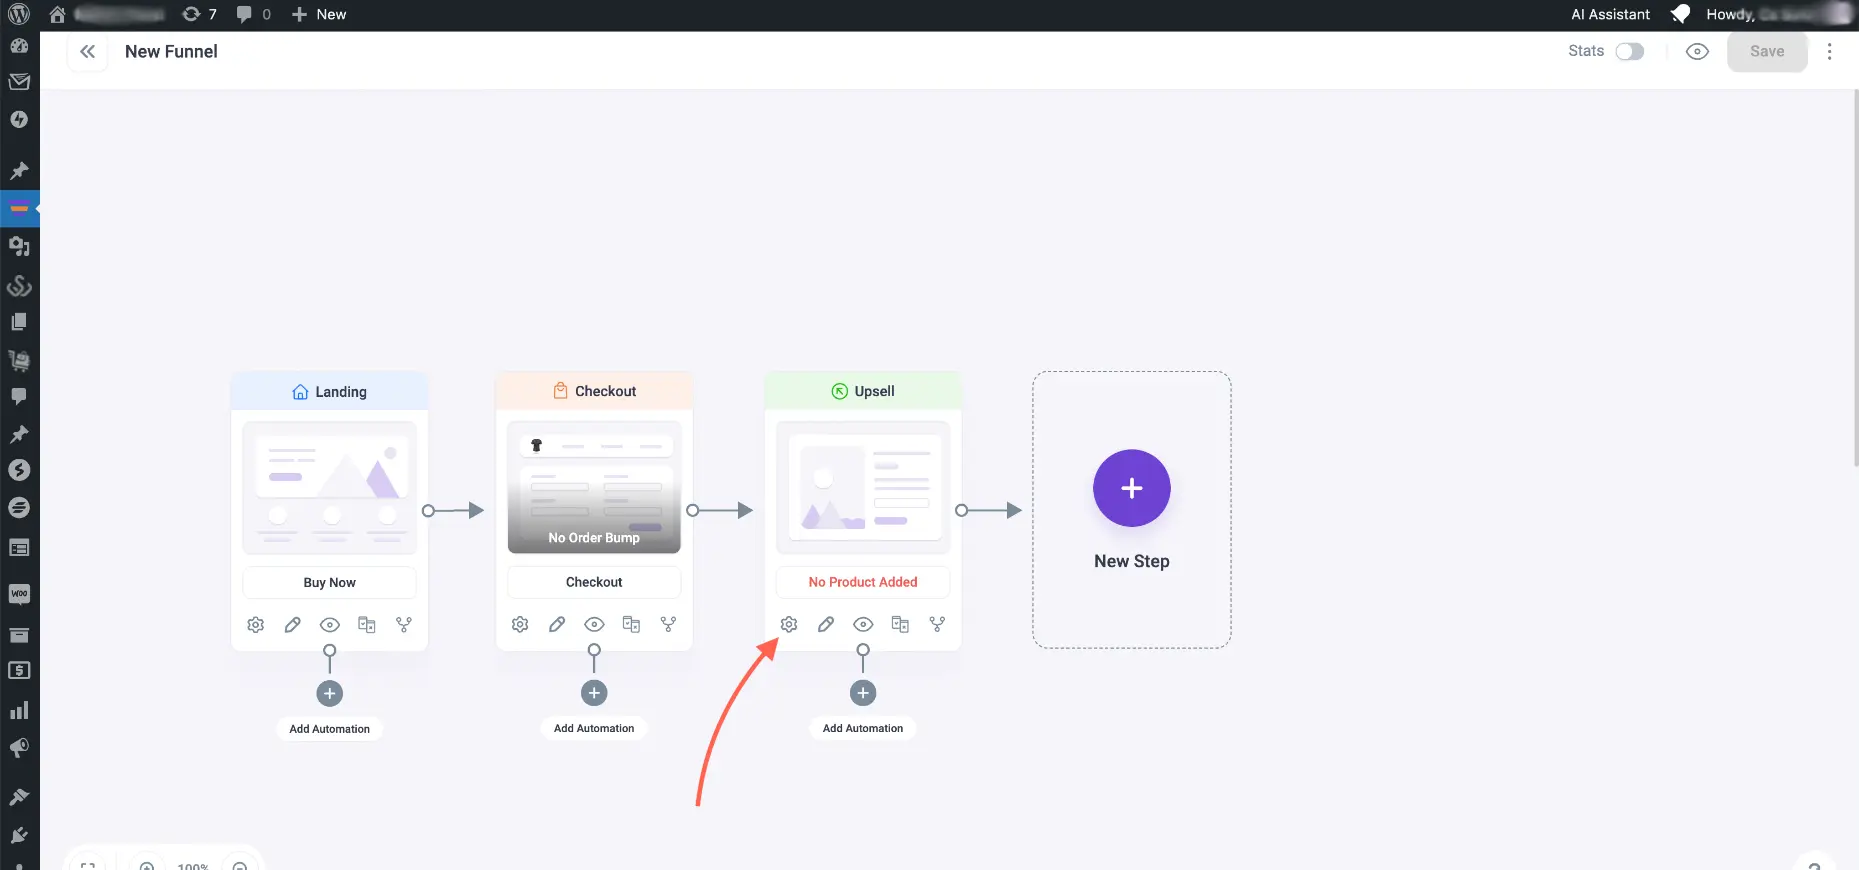
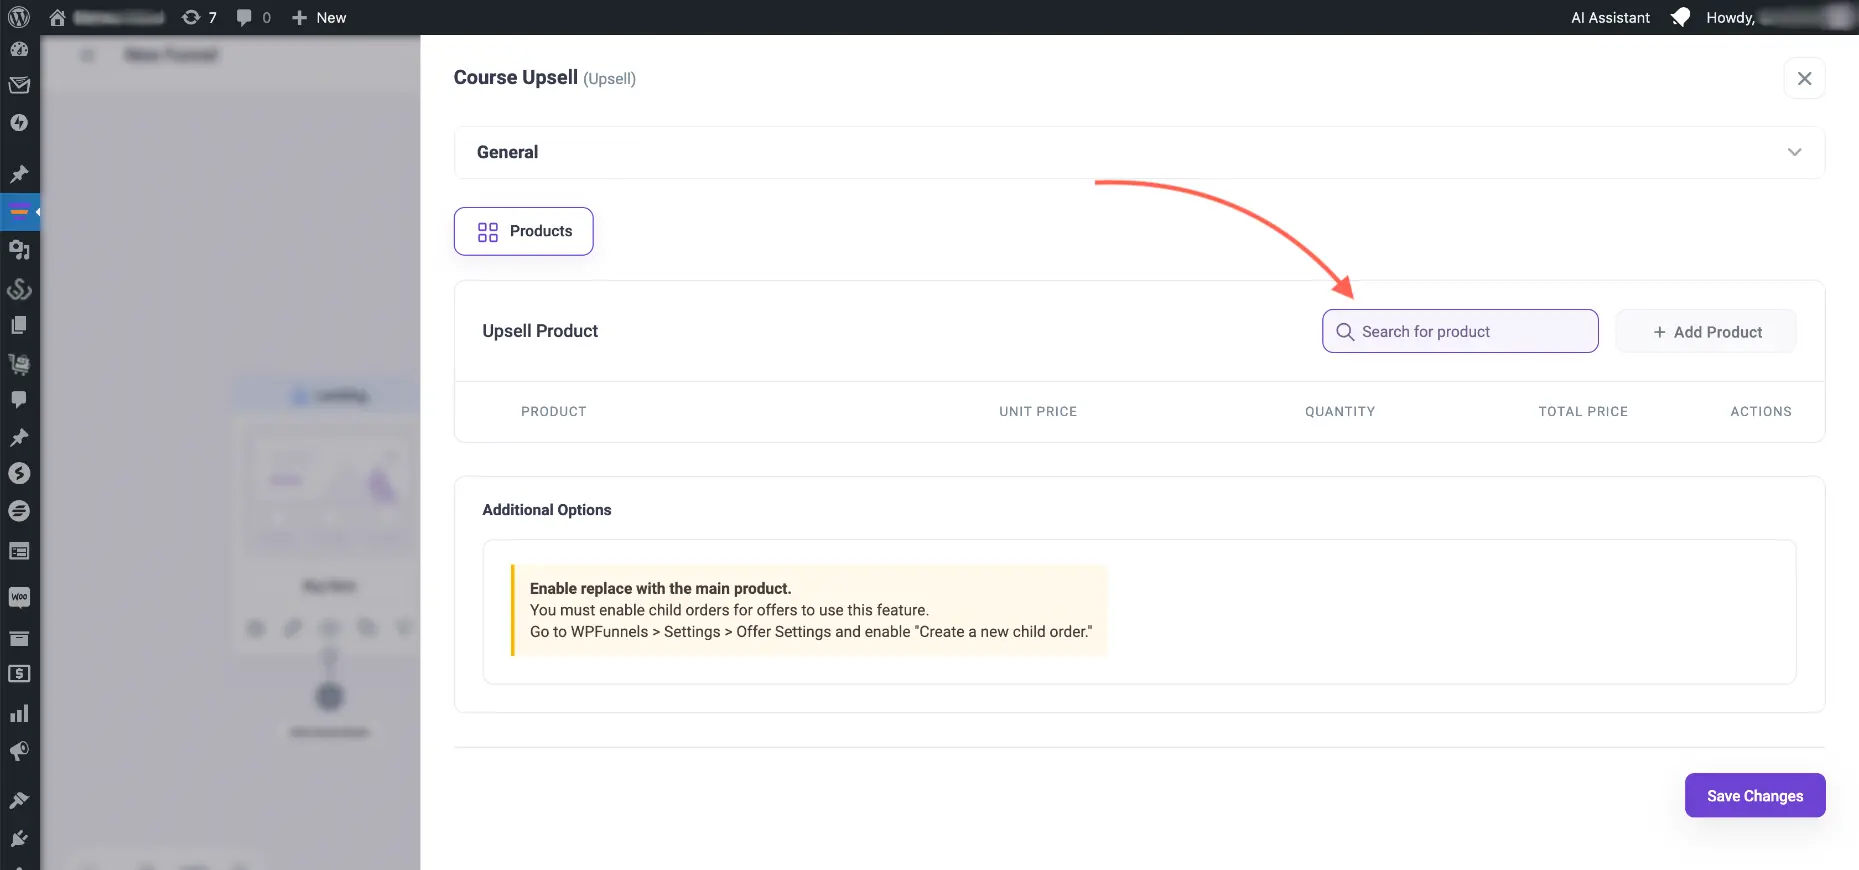
3. Search for a course product that you want to offer as Upsell on the search bar and Add it.
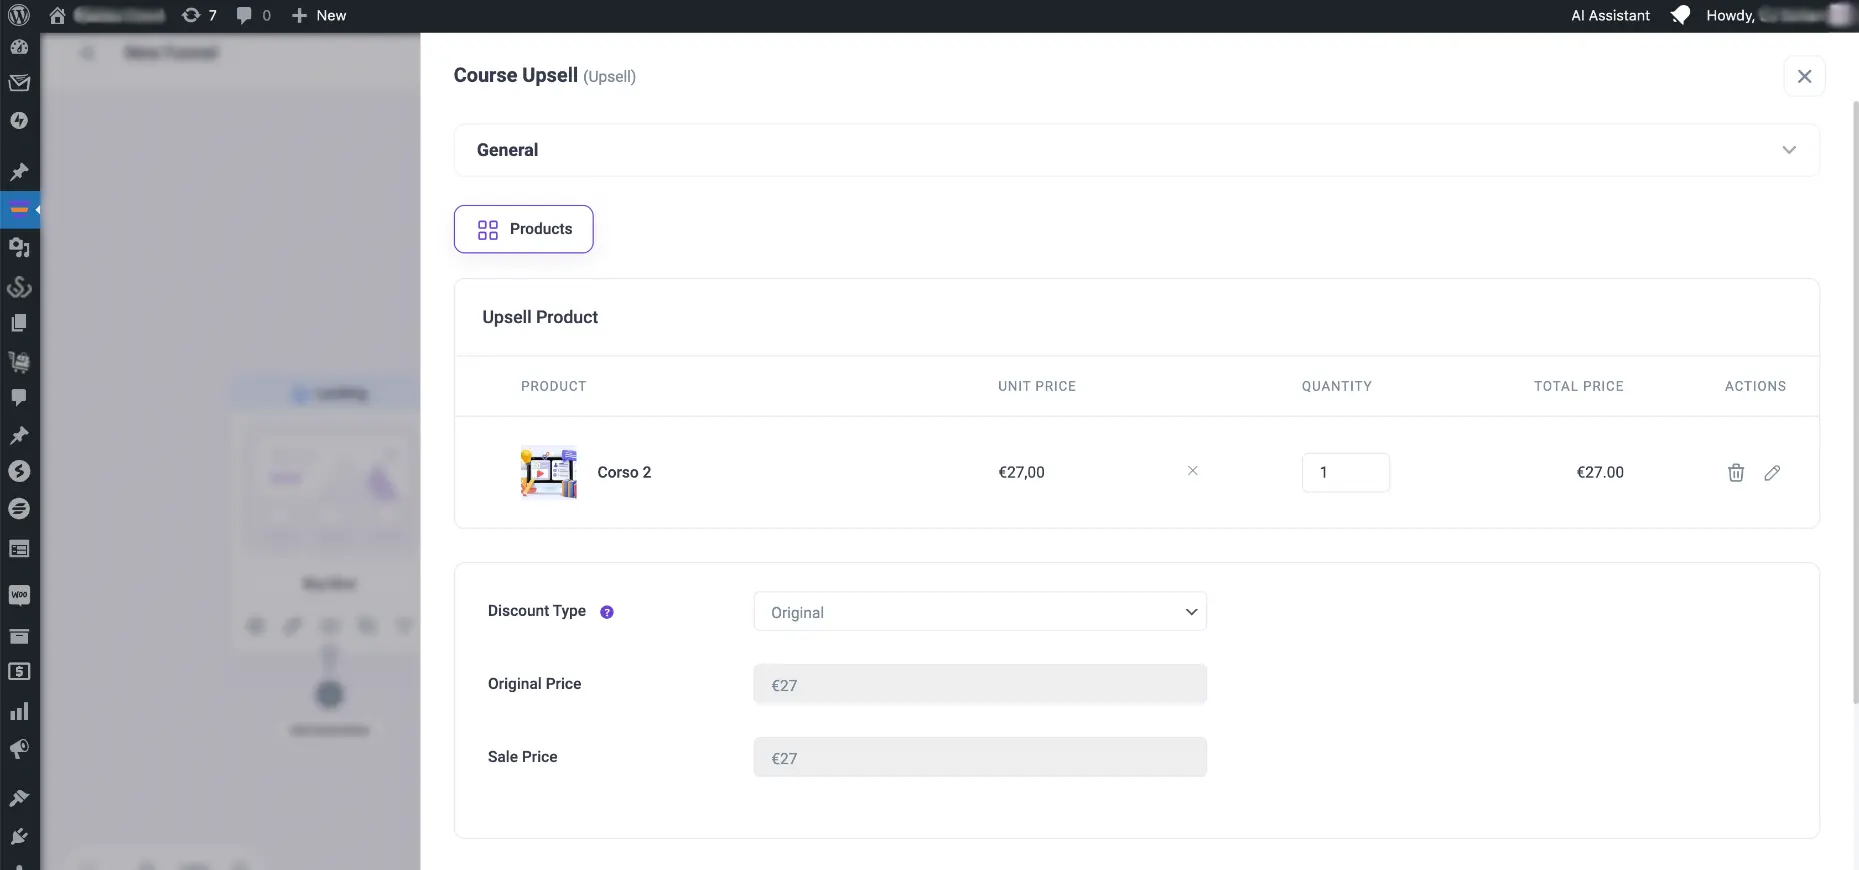
- Below you have the option to add an exclusive discount.
Once done, Click on the Save Changes button below and go back to the canvas. You will notice the upsell step no longer has the text “No product added.”
4. Edit your Upsell page and it will open in Gutenberg edit mode.
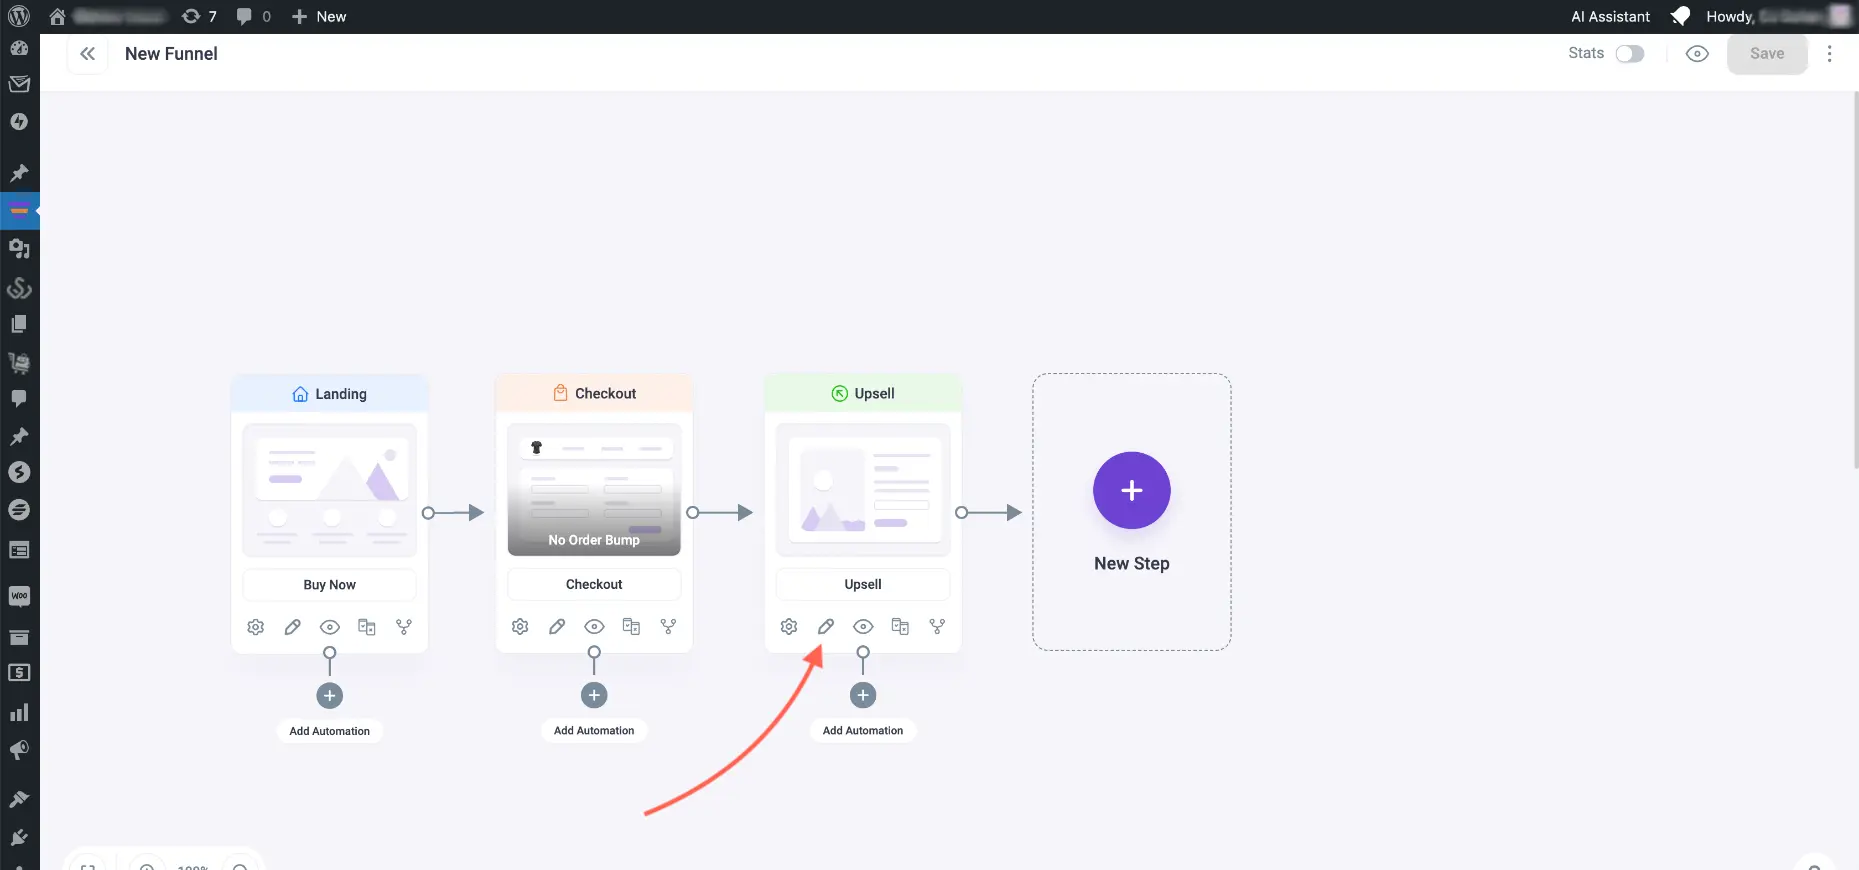
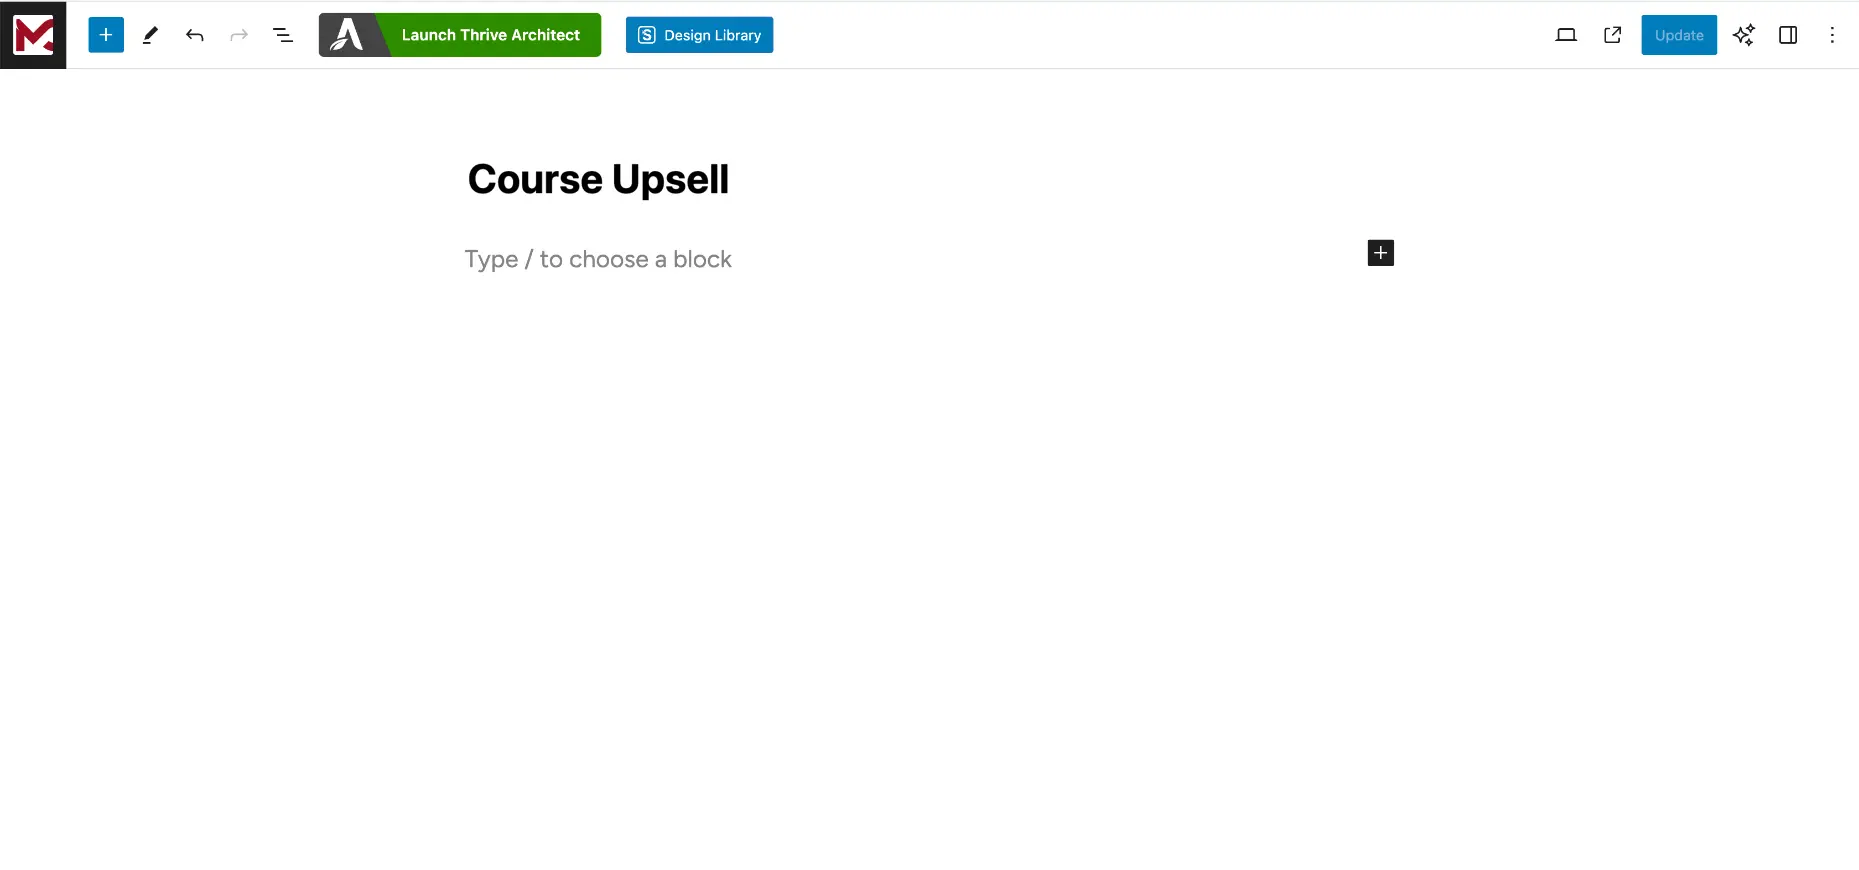
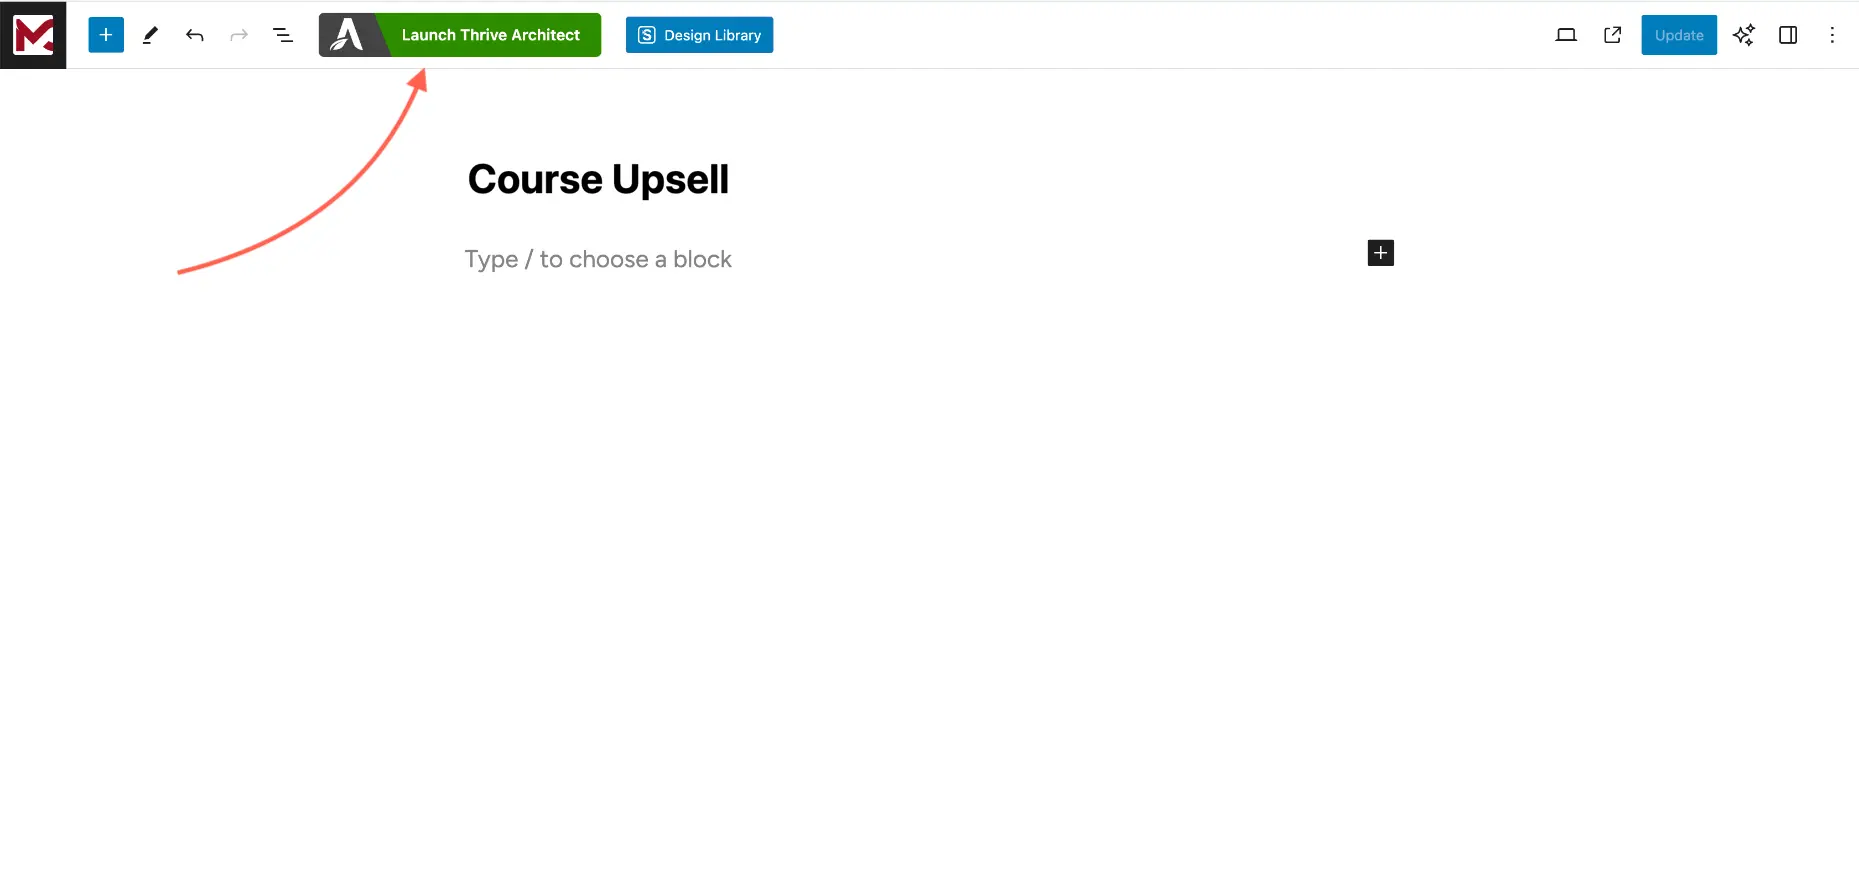
5. Click On Launch Thrive Architect for the upsell page.
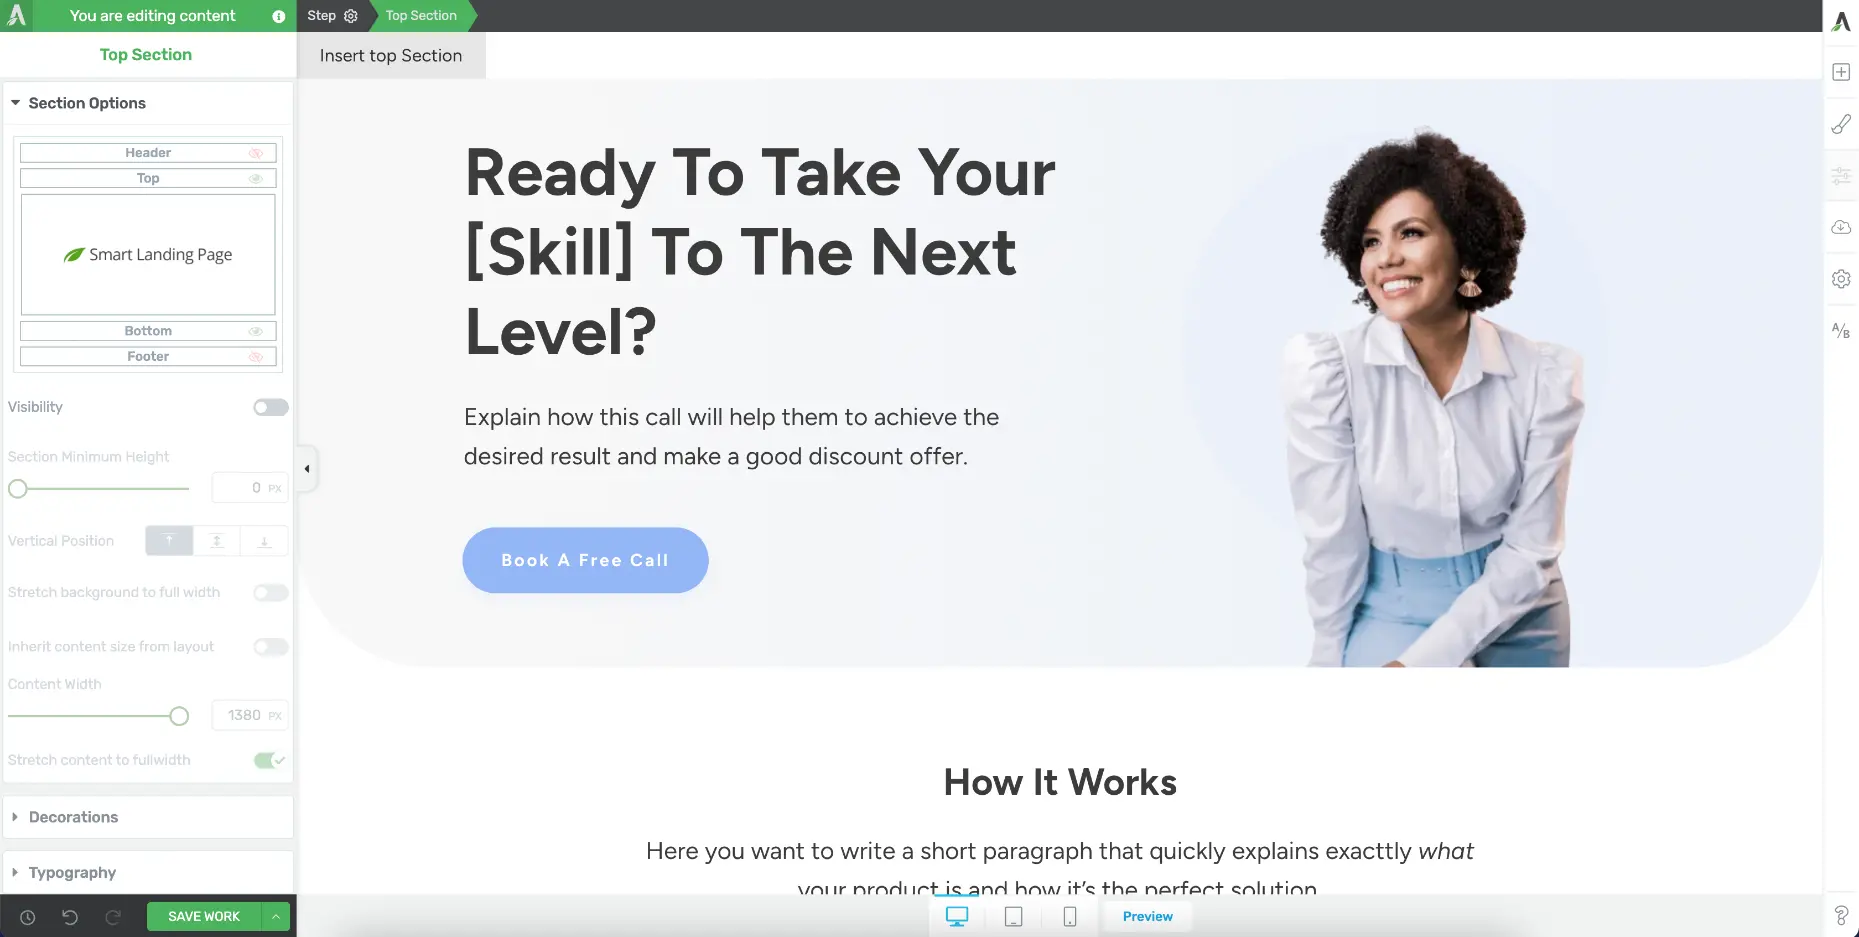
6. On Thrive Editor, on the right side, click on Replace Template

7. Choose one of the standalone options and then you will be able to customize the page.

8. Add the offer button using the WPFunnels Offer button shortcode instead of the CTA buttons.
Use Custom HTML blocks and place the shortcodes. Save the page and view the page to see the effect.
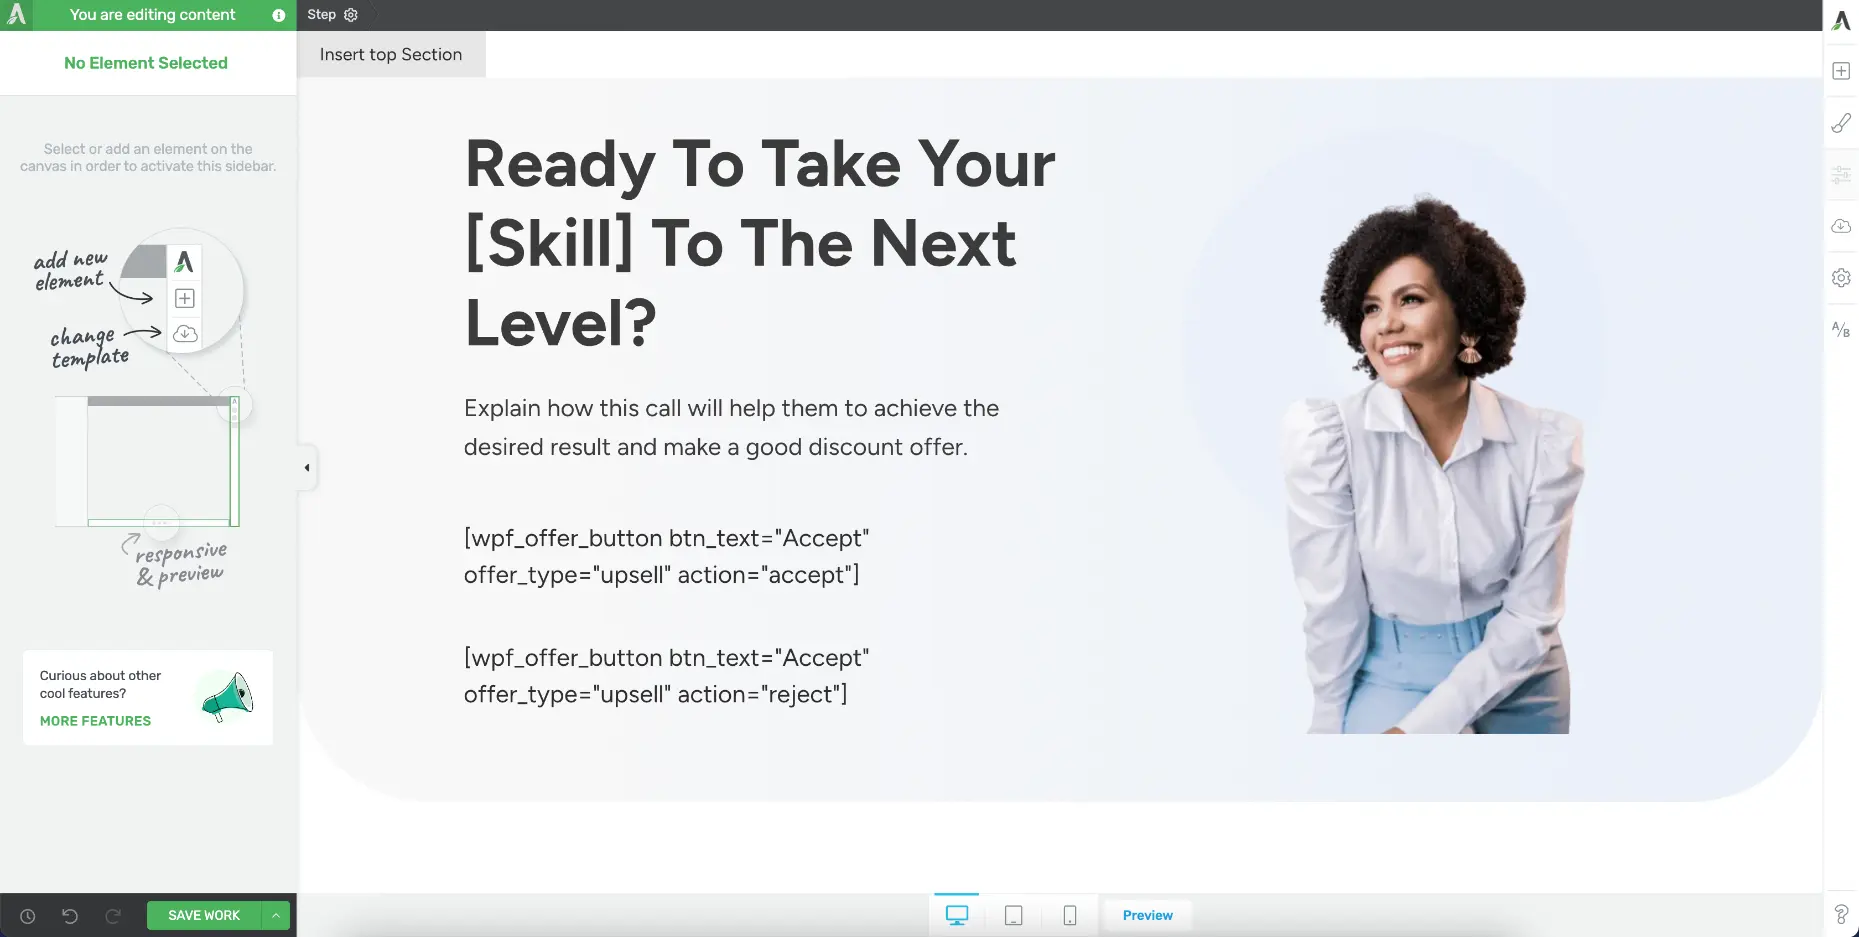

Then customize it using the shortcode parameters to design it.
9. Once done, save the page and go back to the canvas to add the next step.
Step 5 – Create A Thank You Step
1. Add a Thank You step from scratch.
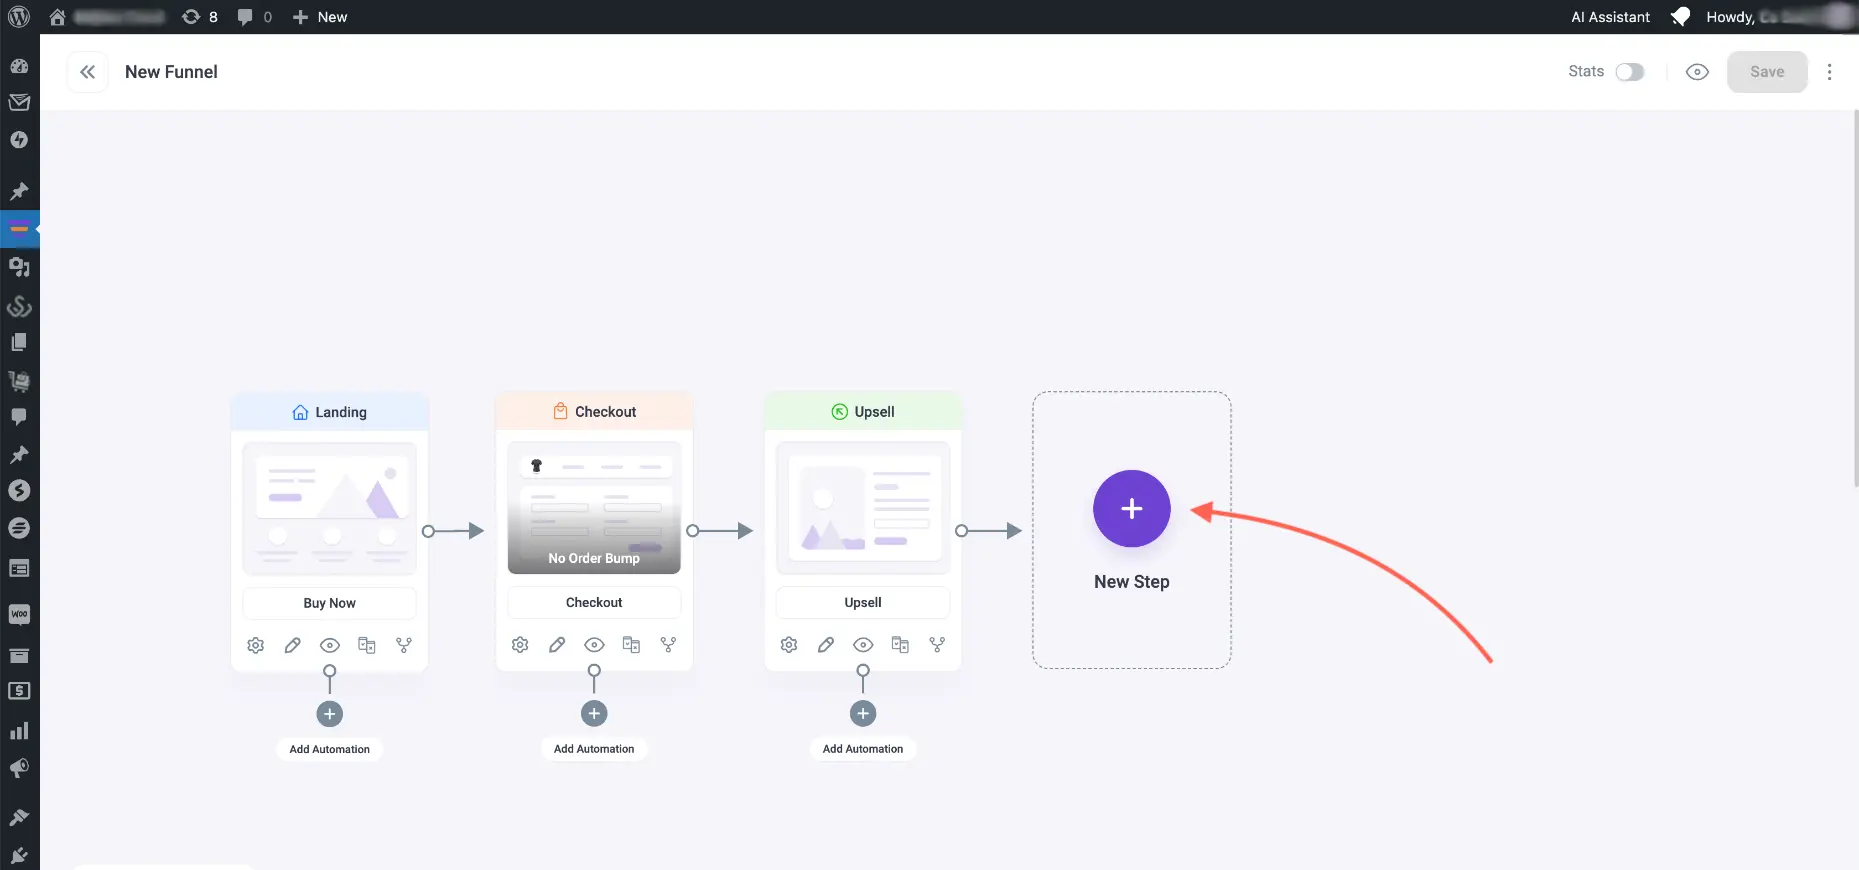
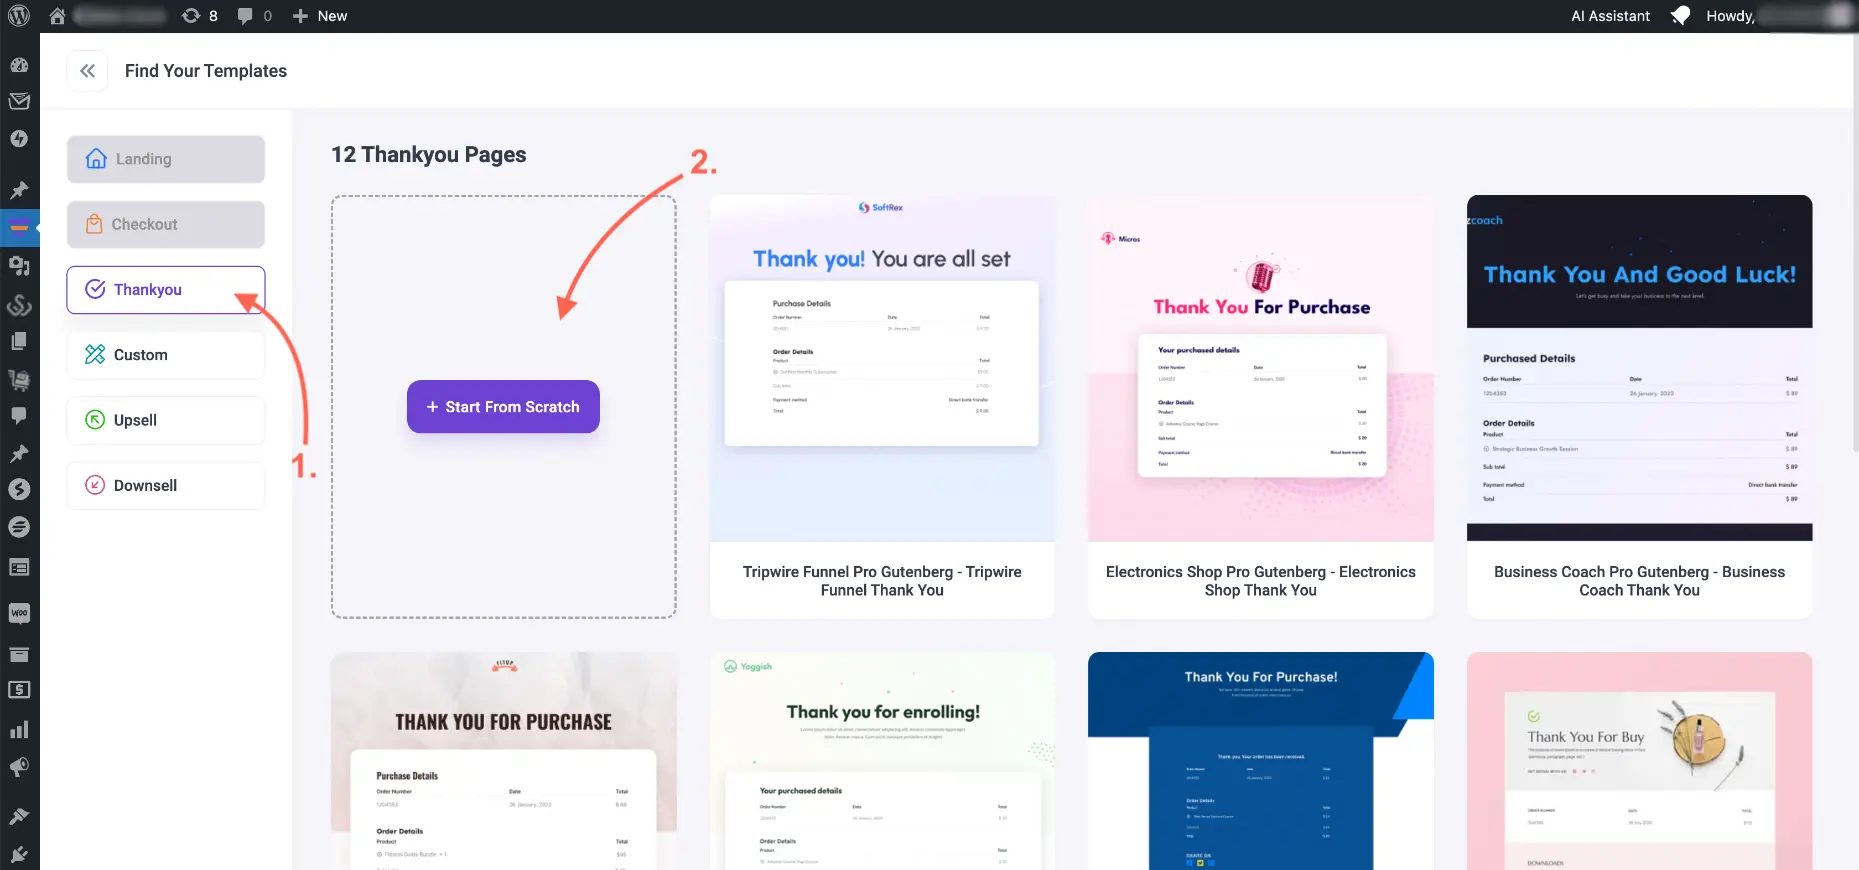
4. Edit your Thank You page and it will open in Gutenberg edit mode.
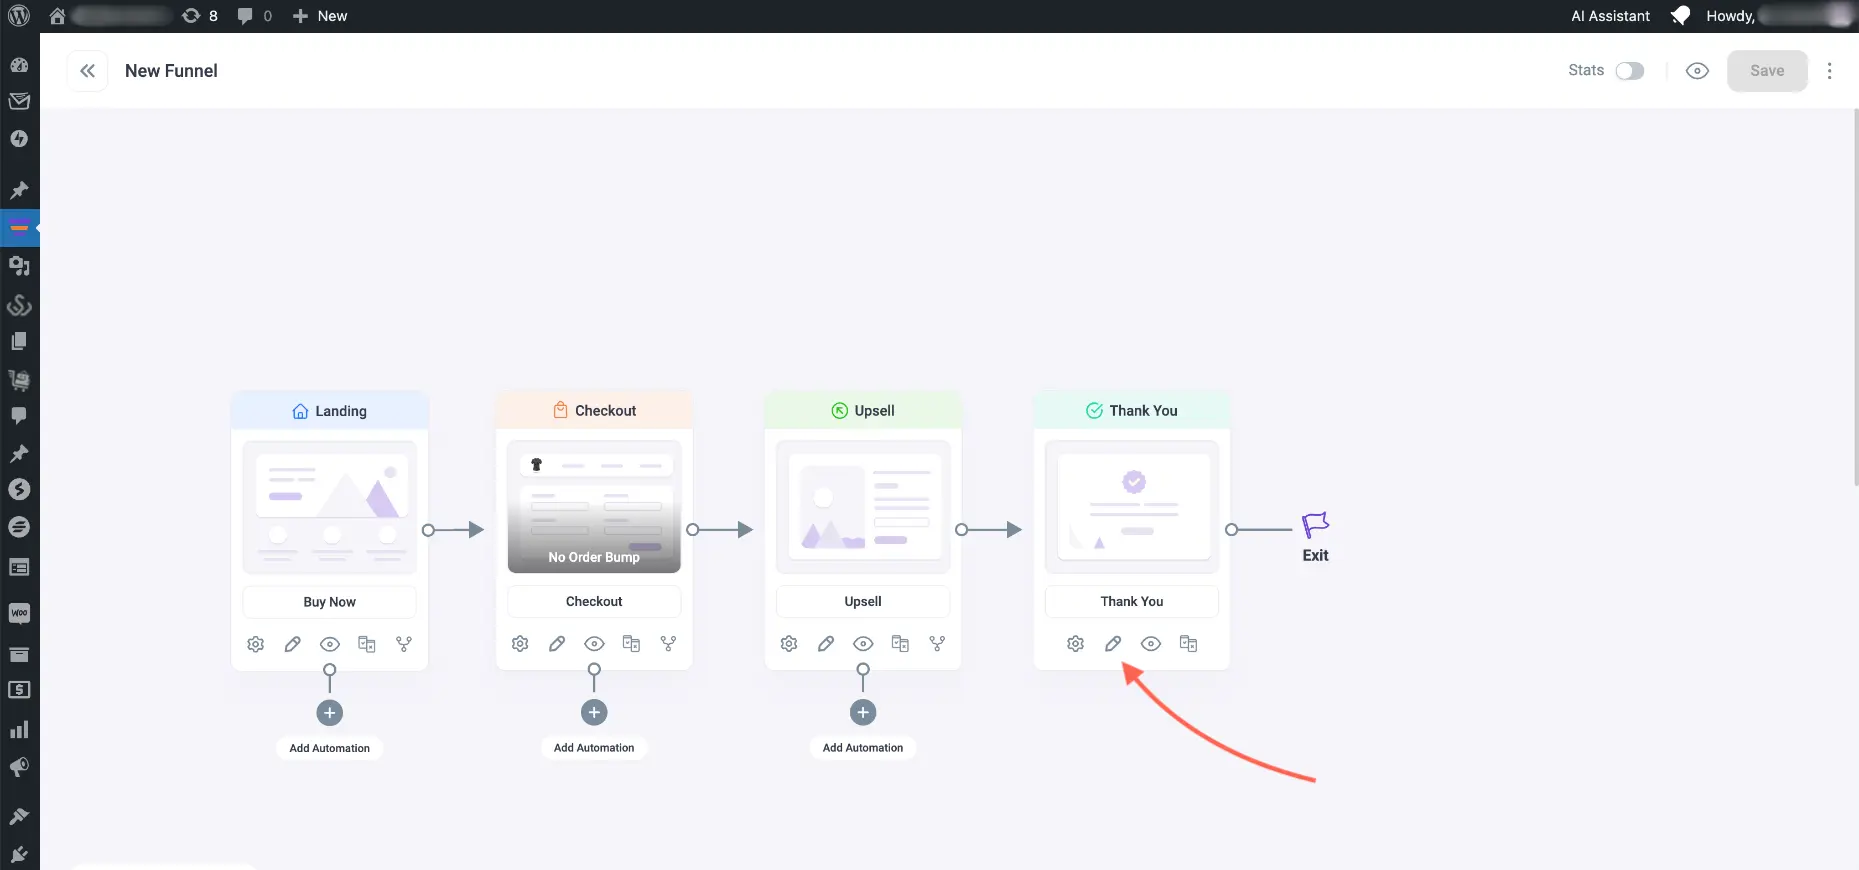
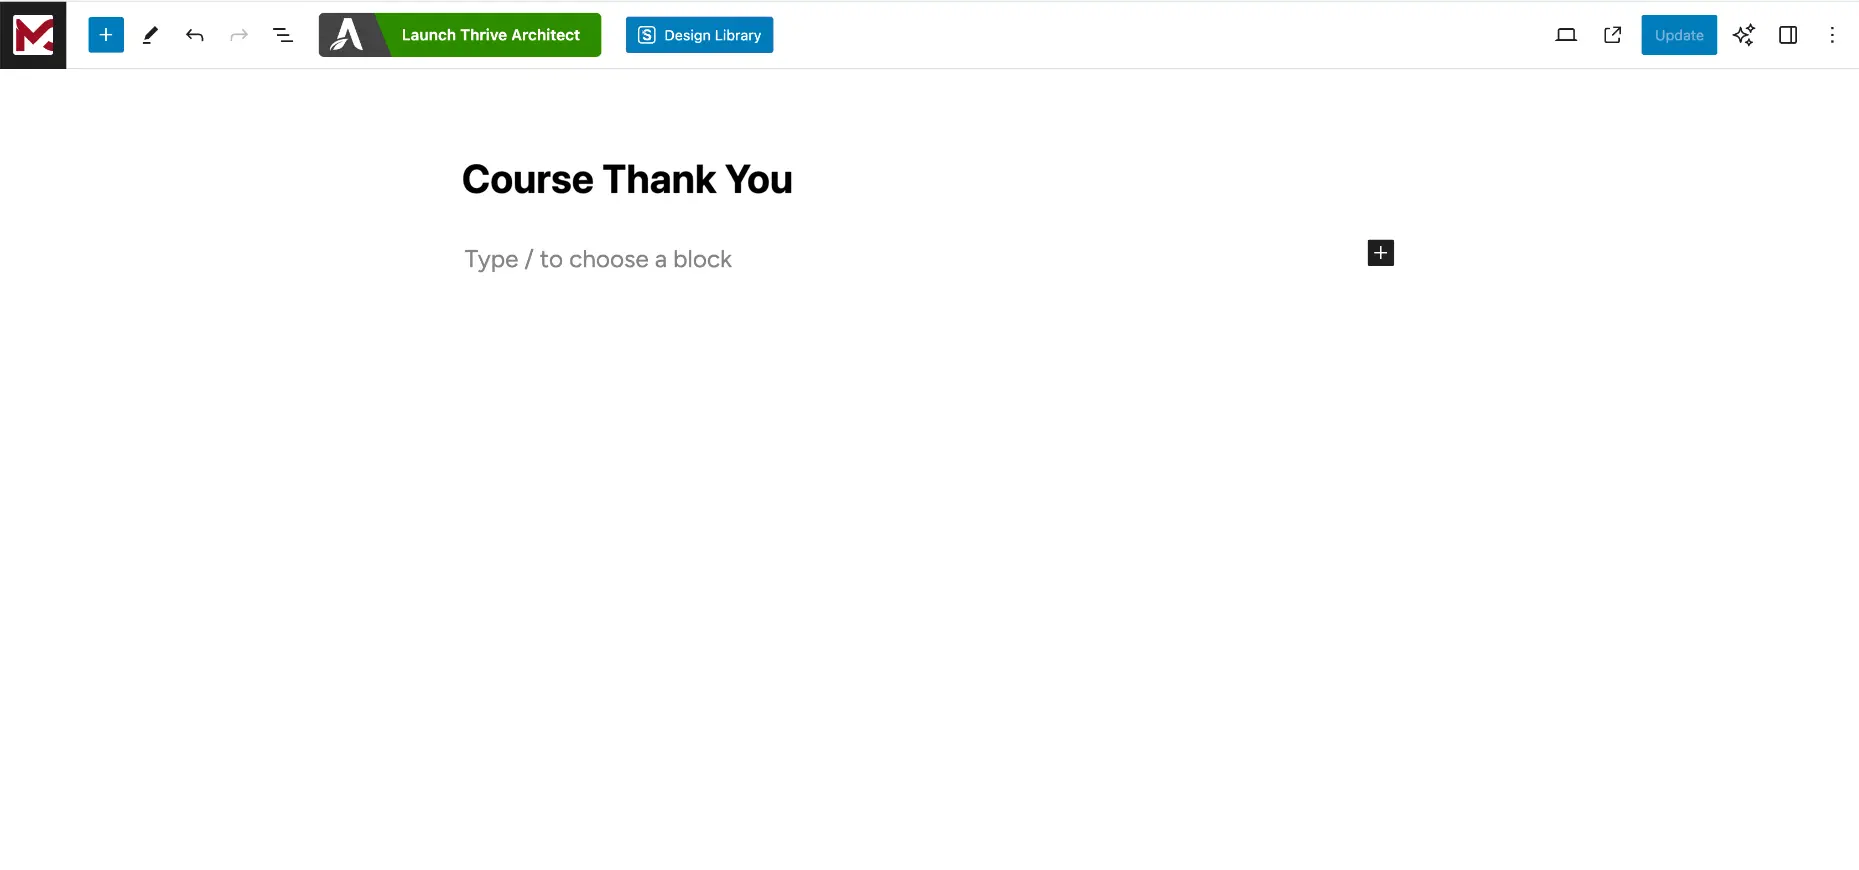
5. Click On Launch Thrive Architect for the thank you page.
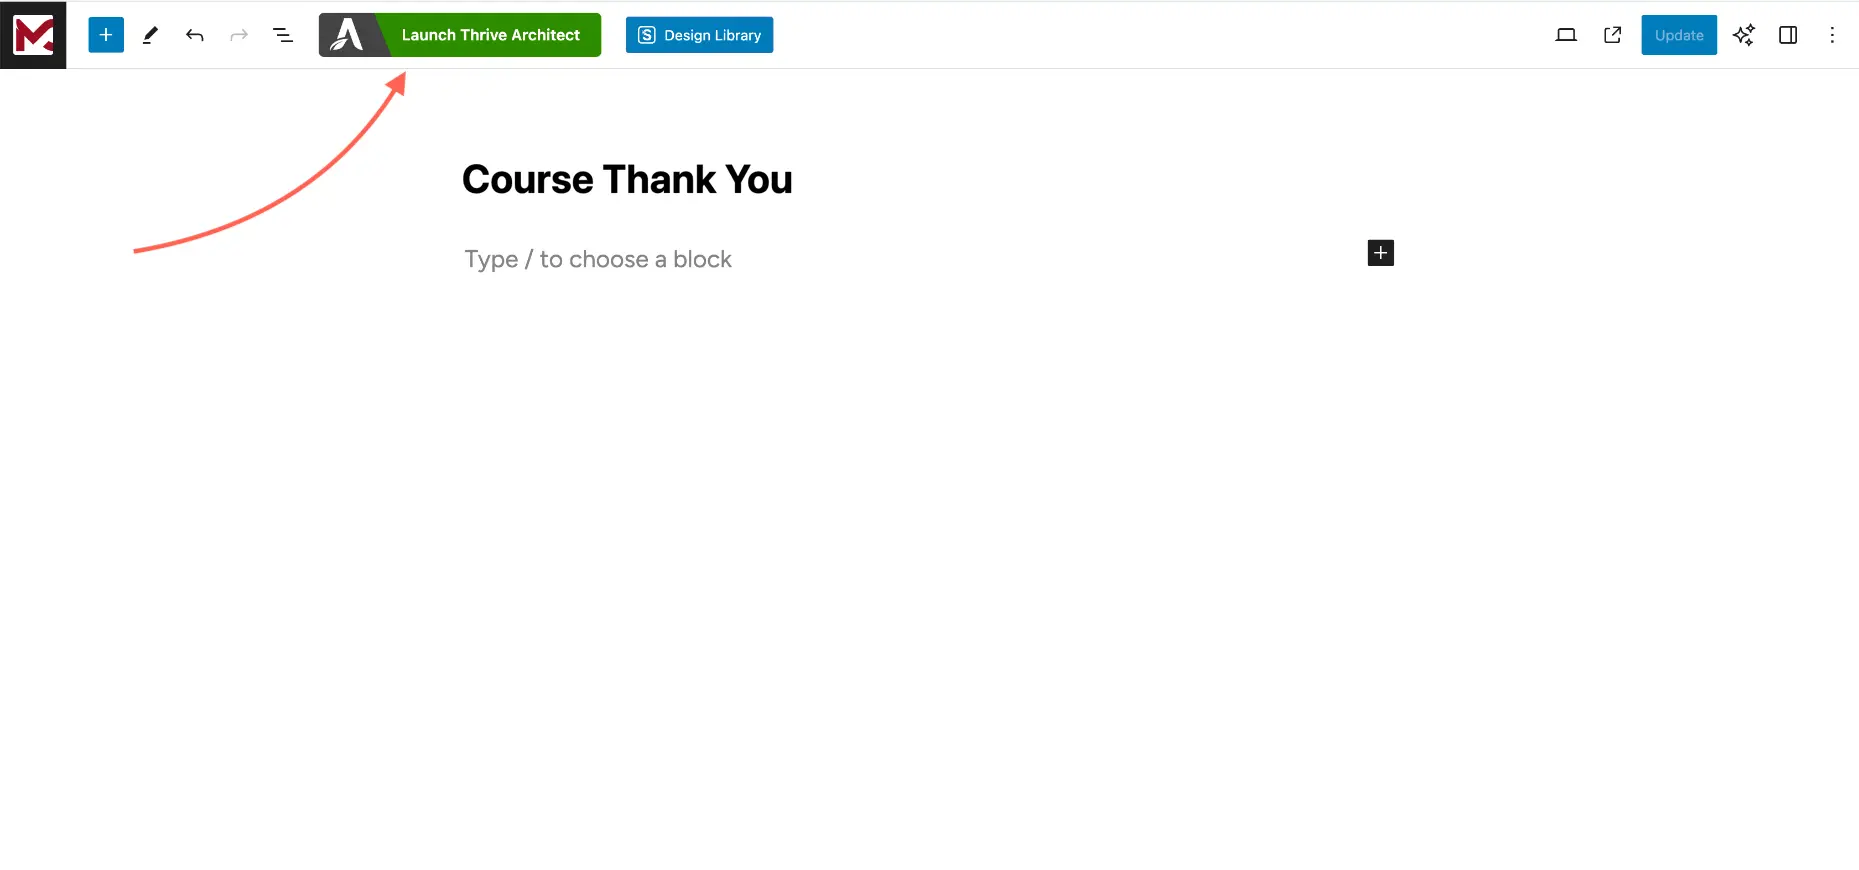
6. On Thrive Editor, on the right side, click on Replace Template

7. Choose one of the standalone options and then you will be able to customize the page.

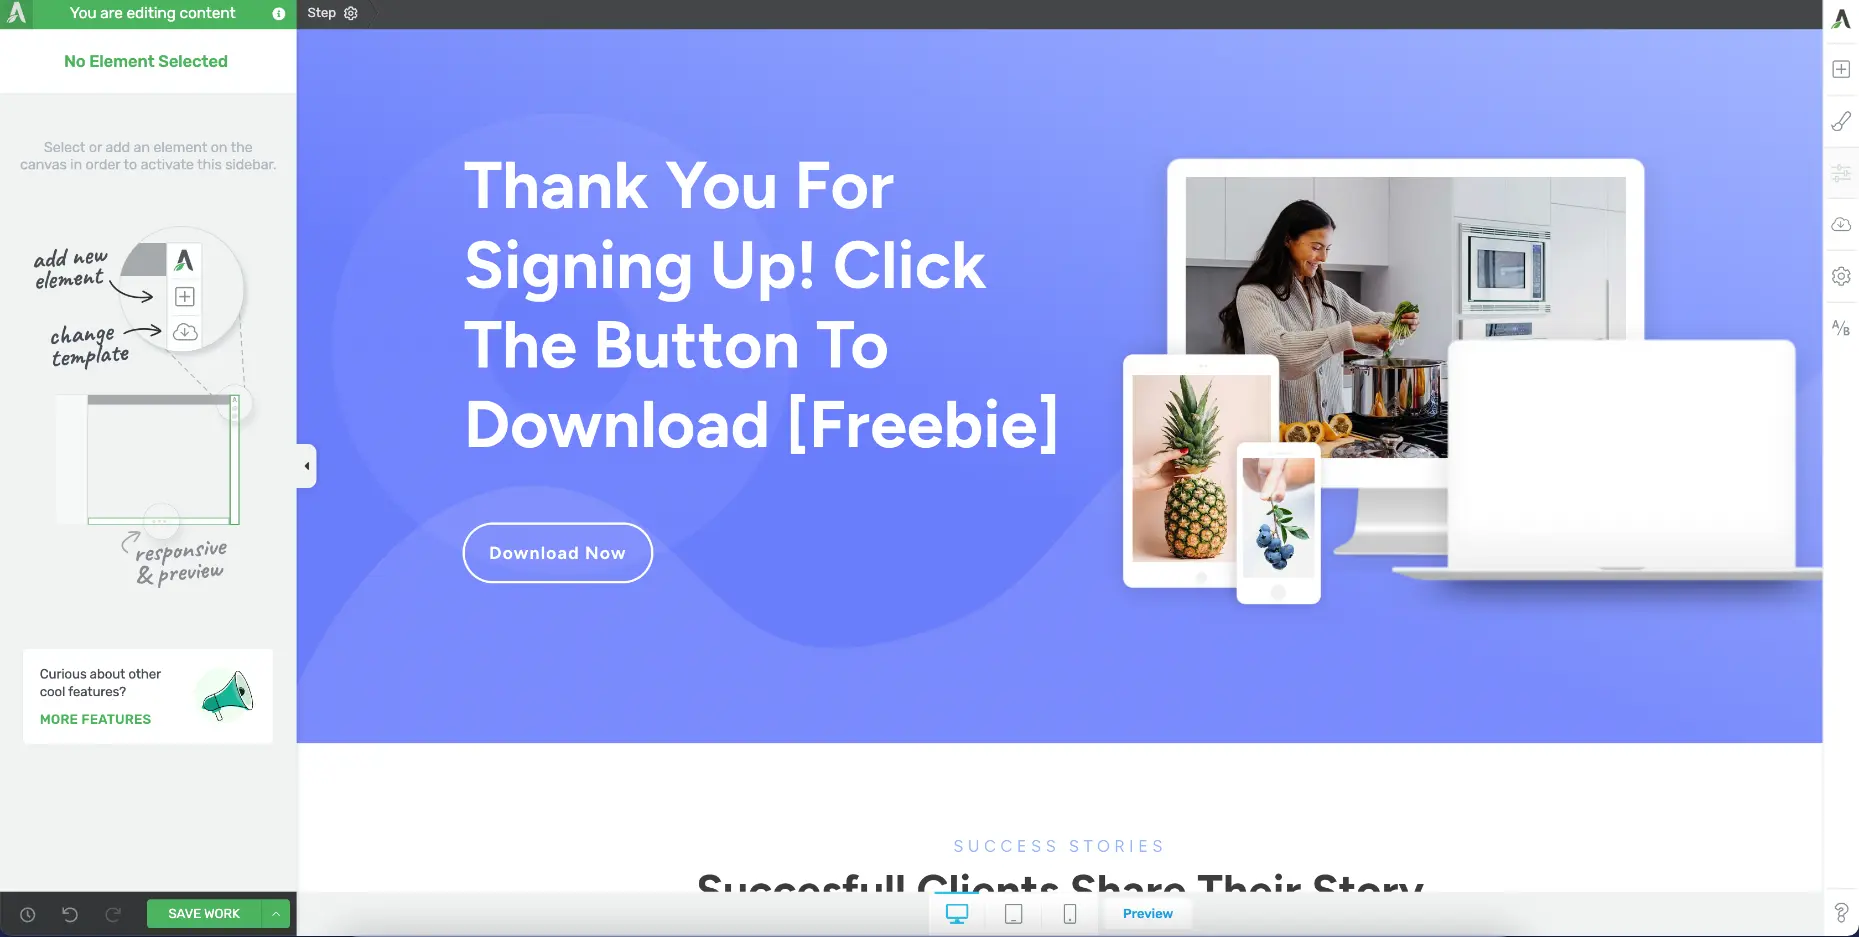
8. If you want to show the order summary in the thank you page, you can use the WPFunnels order details shortcode.
Use Custom HTML blocks and place the shortcodes. Save the page and view the page to see the effect. Then customize it using the shortcode parameters to design it.
9. Once done, save the page.
That’s it. You’ve just created a 4-step sales funnel using WPFunnels, Thrive Apprentice, Thrive Architect, and WooCommerce.


