WPFunnels shortcodes are fully compatible with Thrive Architect.
In this guide, you’ll learn which shortcodes are applicable on which funnel step and how to use them properly.
So let’s begin.
Step 1: Create A Funnel
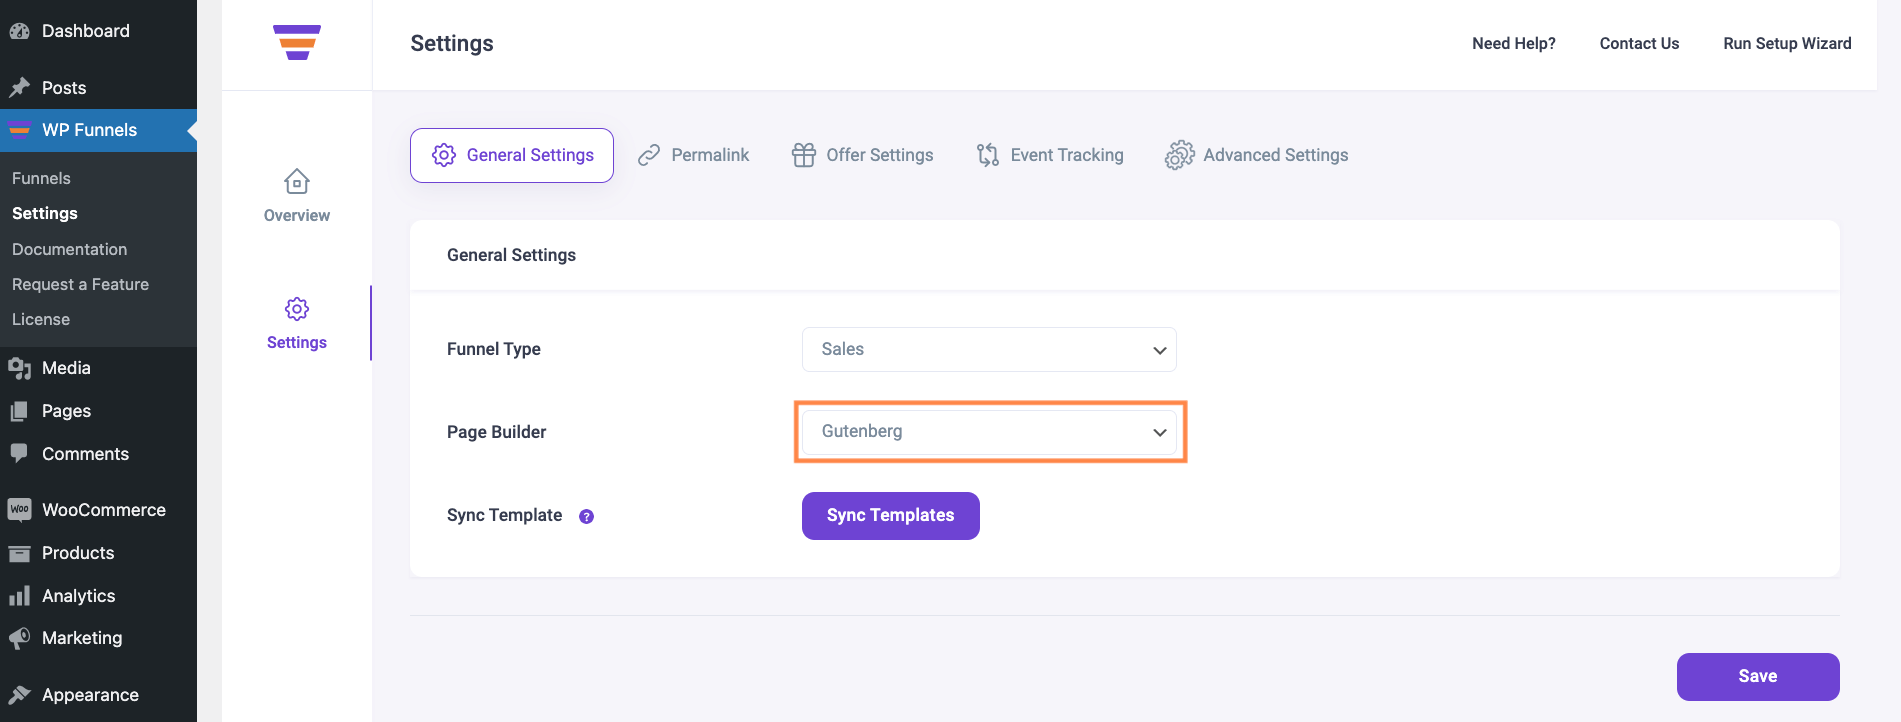
1. Before creating a funnel, make sure your preferred page builder is set to Gutenberg in WPFunnels > Settings.
2. Create a funnel from scratch then add the funnel steps and connect them.
Here I’ve created a 6-step funnel for this guide to show you how shortcodes work on each step.
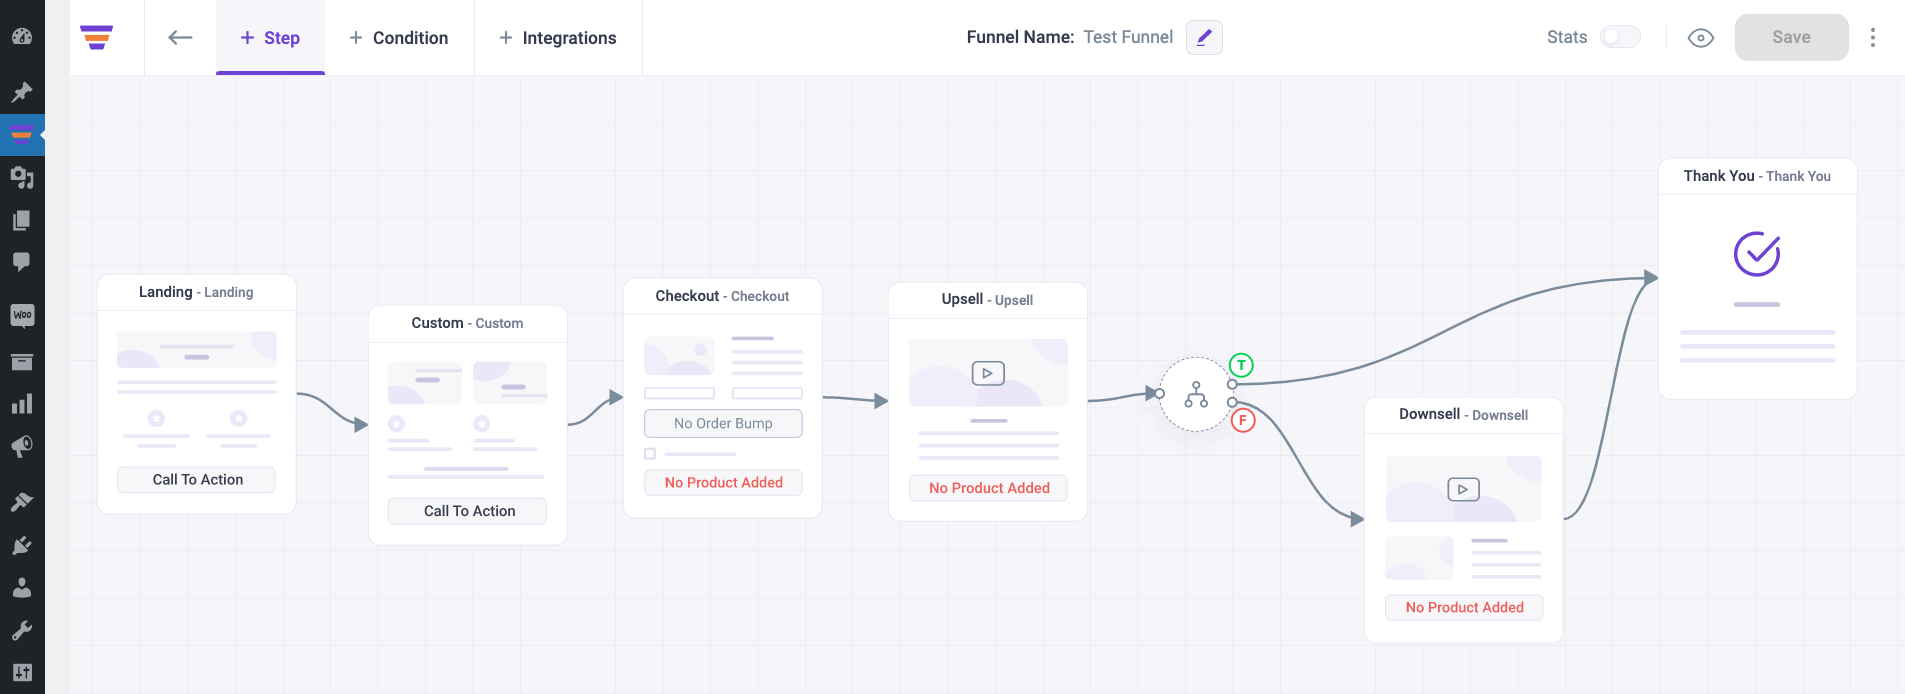
3. Add products to your Checkout, Upsell, and Downsell step.
Now let’s start editing the funnel pages in Thrive Architect.
Step 2: Edit Landing Step
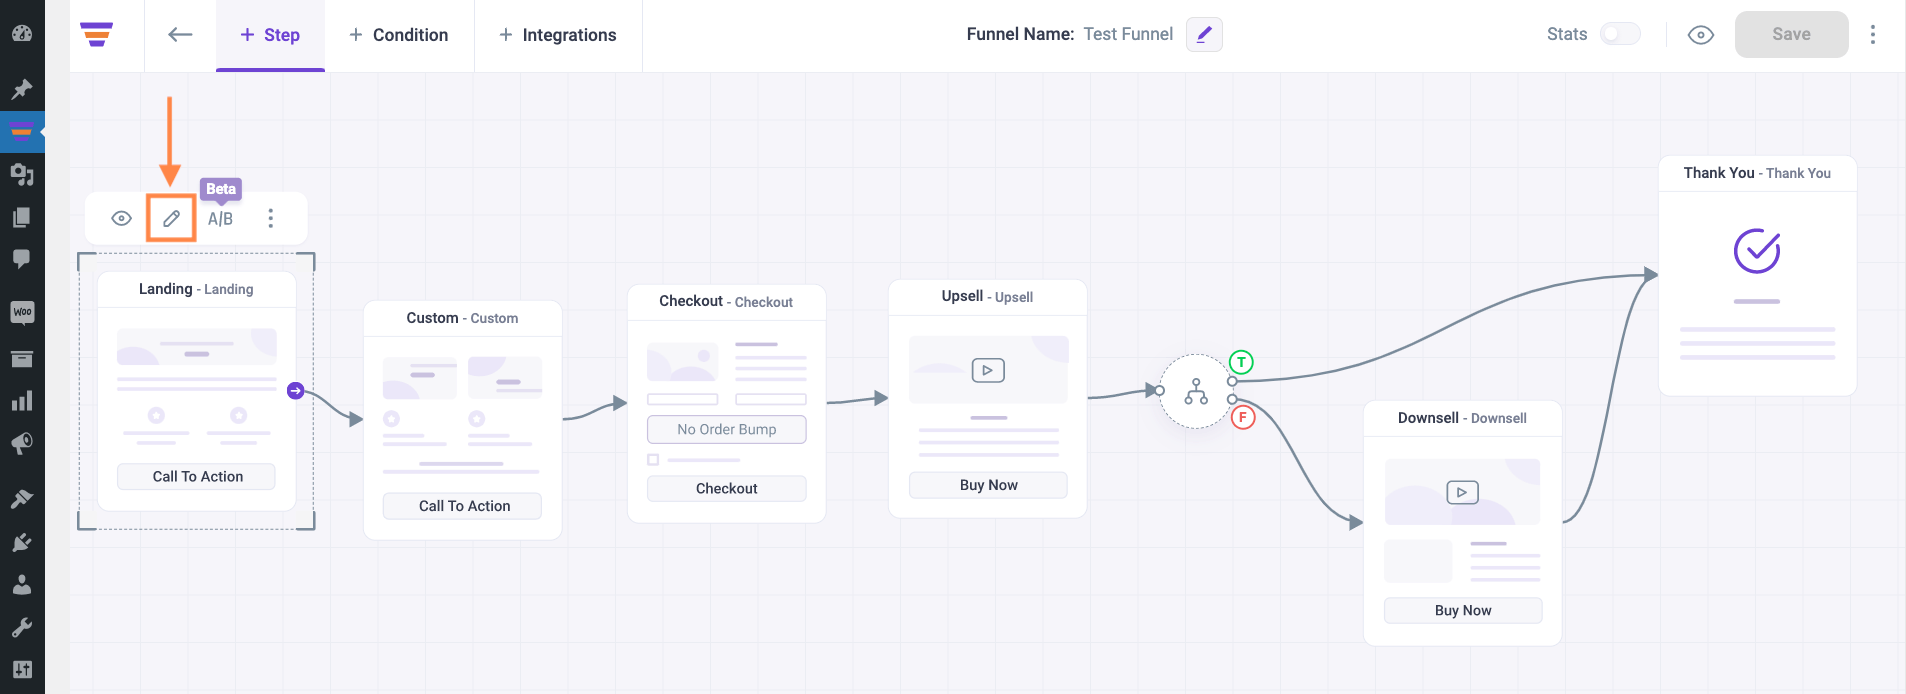
1. Click on the Landing step Edit icon and it will open the landing page in Gutenberg.
2. Then click on Launch Thrive Architect and it will open the landing page in Thrive Architect.

3. Click on the Add Element icon (+) and it will show you all the elements available.

4. Select or drag & drop the WordPress Content element on your landing page.

5. Now clicking on it will open the left sidebar. Click on Edit WordPress Content.

Shortcodes that will work on the Landing step:
6. If you want to take people to the next step then add the WPFunnels Next Step shortcode in the textbox with the parameters you need. Then click on Save.

7. If you want to have an Optin form on the landing page, add the WPFunnels Optin Form shortcode in the textbox with the parameters you need. Then click on Save.

8. After that click on Save & Preview to view the Landing page.

9. Here you can see the Next Step button on Landing page.

And here’s the Optin Form preview on Landing page

Now go ahead and design your landing page as you want. Then move on to editing the next step.
Step 3: Edit Custom Step
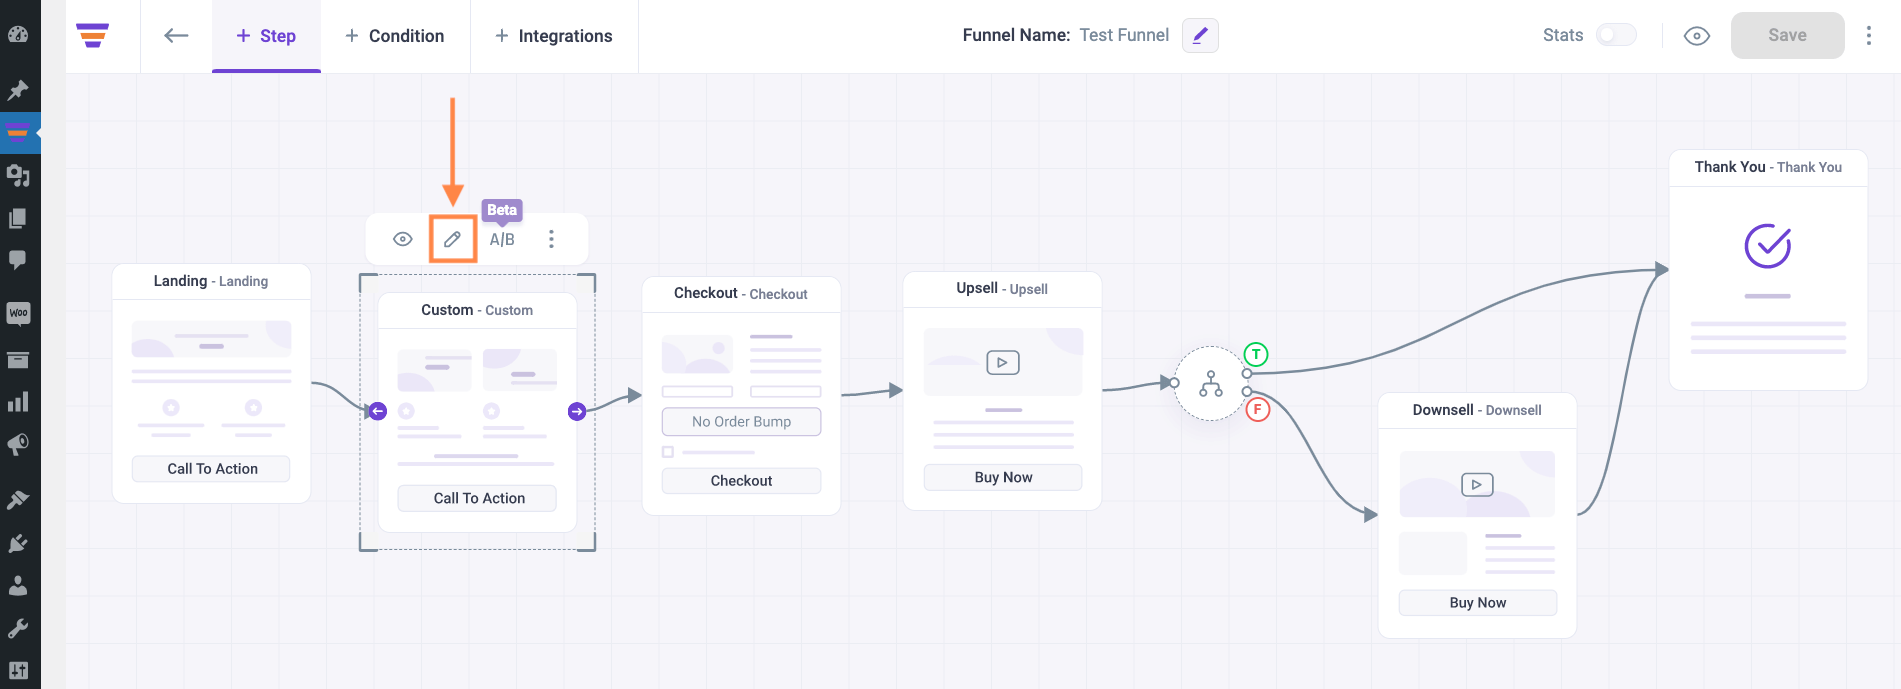
1. Click on the Custom step Edit icon and follow “Step 2”.
Shortcodes that will work on the Custom step are the same as Landing step:
Step 4: Edit Checkout Step
1. Click on the Checkout step Edit icon and follow “Step 2”.
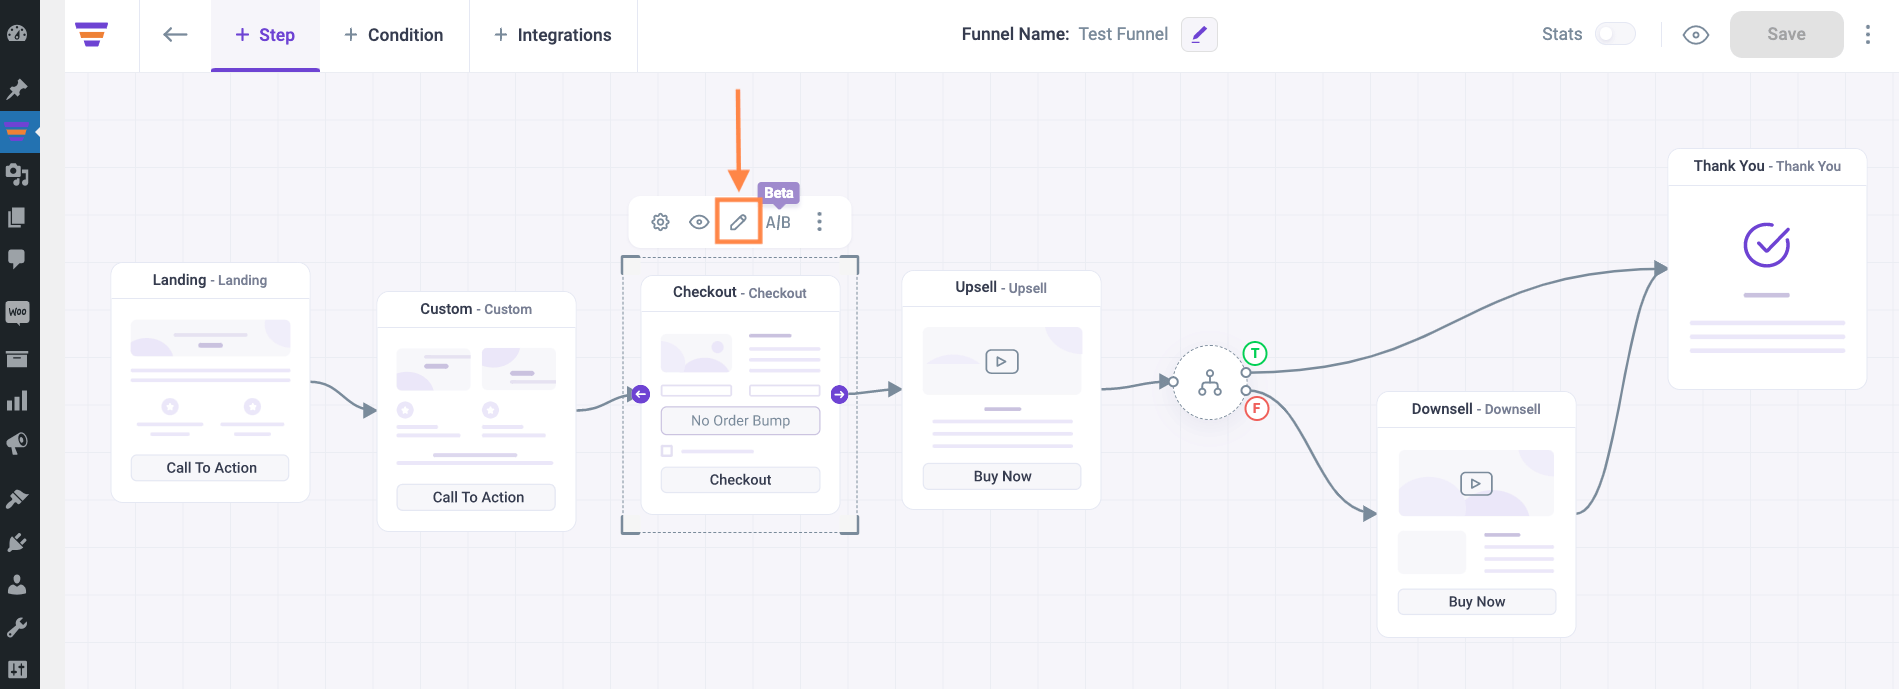
Shortcodes that will work on the Checkout step:
2. Once you place the checkout shortcode in WordPress Content, click on Save.

3. After that click on Save & Preview to view the Checkout page.

Step 5: Edit Upsell or Downsell Step
1. Click on the Upsell or Downsell step Edit icon and follow “Step 2”.
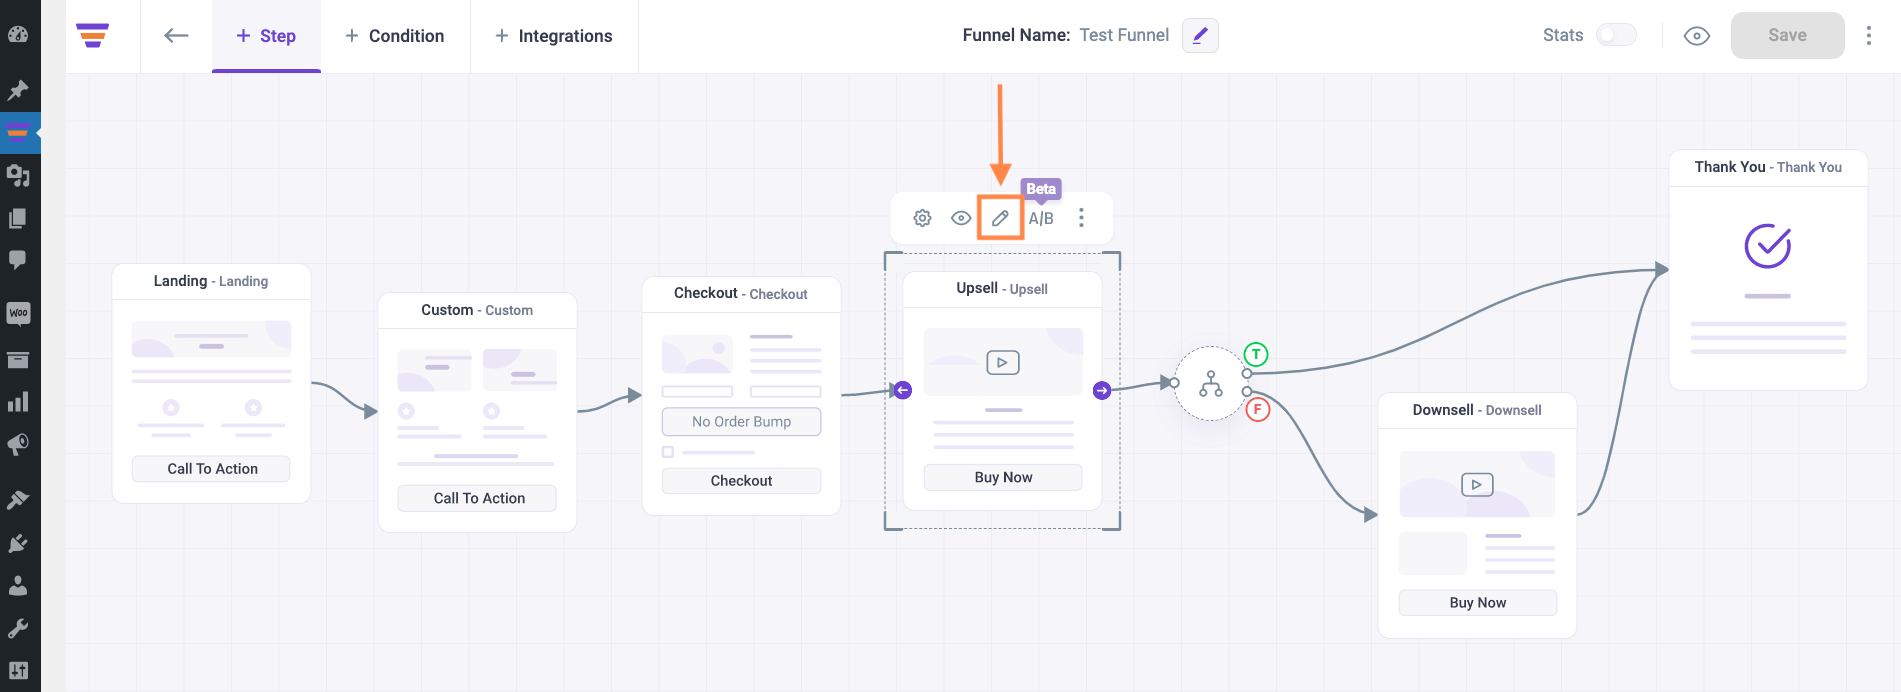
Shortcodes that will work on the Upsell or Downsell step:
2. Configure the Offer Button shortcode to Accept the offer and click on Save.

3. Add another WordPress Content and use the same shortcode again, but this time configure it to Reject the offer. Then click on Save.

4. After that click on Save & Preview to view the Upsell page. You’ll see the Accept Offer button & Reject Offer button in action.

The Offer Button shortcode works the same way on the Downsell page also.
Step 6: Edit Thank You Step
1. Click on the Thank You step Edit icon and follow “Step 2”.
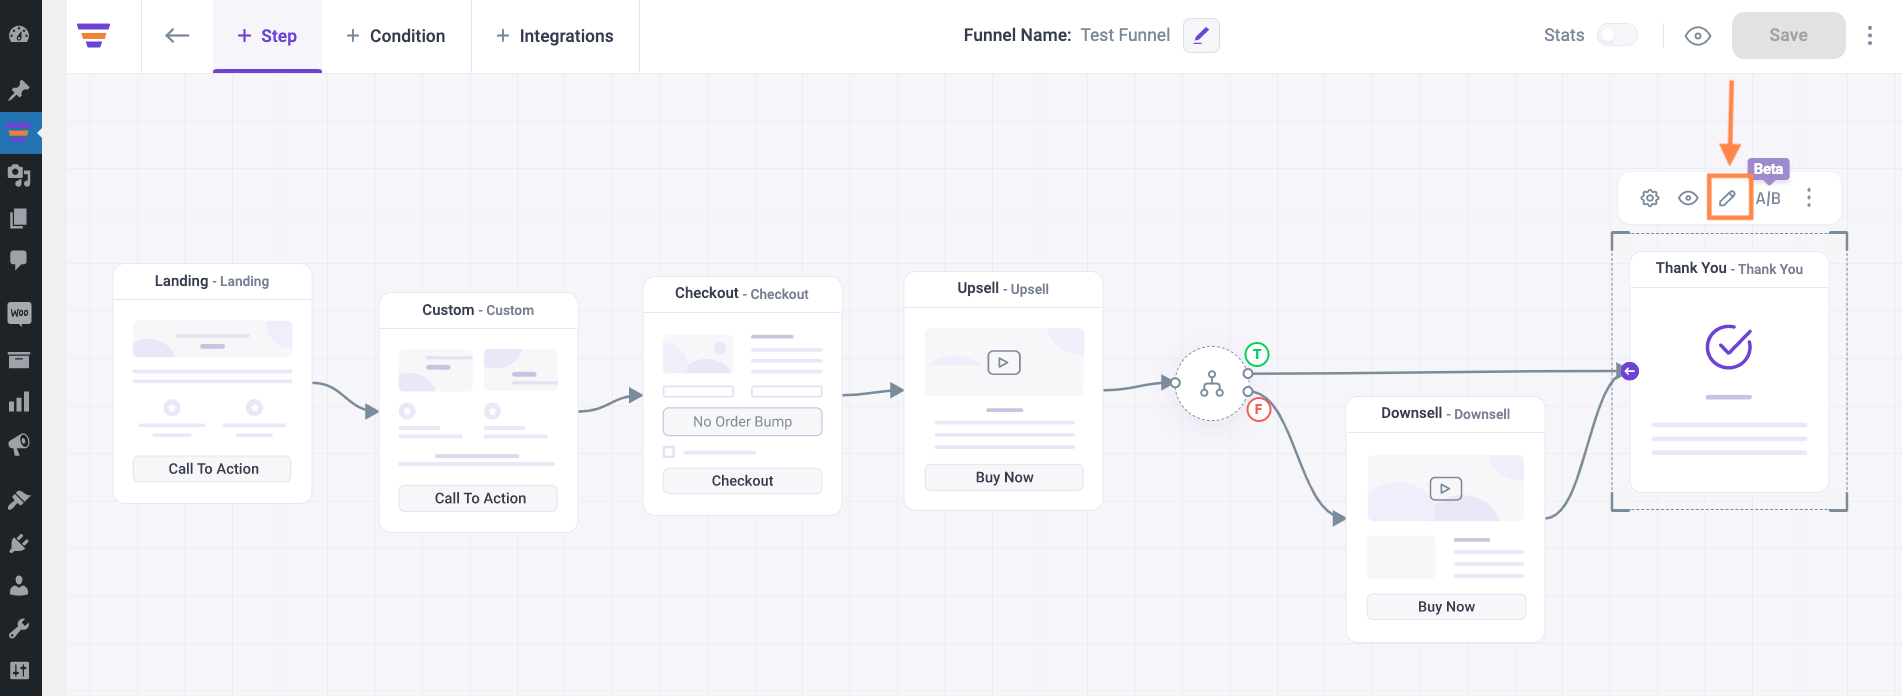
Shortcodes that will work on the Thank You step:
2. Once you place the shortcode in WordPress Content, click on Save.

3. Then click on Save & Preview to view the Thank you page and see the order details.

Make sure you place the correct shortcode on the correct step to create functional sales funnels.
Now go ahead and design your funnels with Thrive Architect.
