If you are new to WPFunnels, the first thing to do is to create a simple sales funnel to understand how the plugin works.
Let us guide you through creating your first sales funnel within only 15 minutes.
Here, you will learn how to create a simple sales funnel using Elementor page builder and a pre-made funnel template. (If you don’t use Elementor, you can still follow most parts of this guide except the design part, which will naturally be different for Gutenberg.)
Later, on upcoming documentation, you will get instructions on using all the other exclusive features to create any types of sales funnels you desire.
So let’s take the first step.
Create A Simple Sales Funnel
Watch this video or follow the steps below to create a simple sales funnel.
Initially, let us follow the very basic steps, without worrying about extra features.
It’s simple, you just need to
- Choose And Import A Funnel Template
- Configure And Setup Landing Page Real Quick
- Setup The Funnel Checkout Page Easily
- Get The Thank You Page Ready In A Minute
And that’s it.
Now let us elaborate on these steps to make it easier for you.
Step 1 – Choosing and Importing A Funnel Template
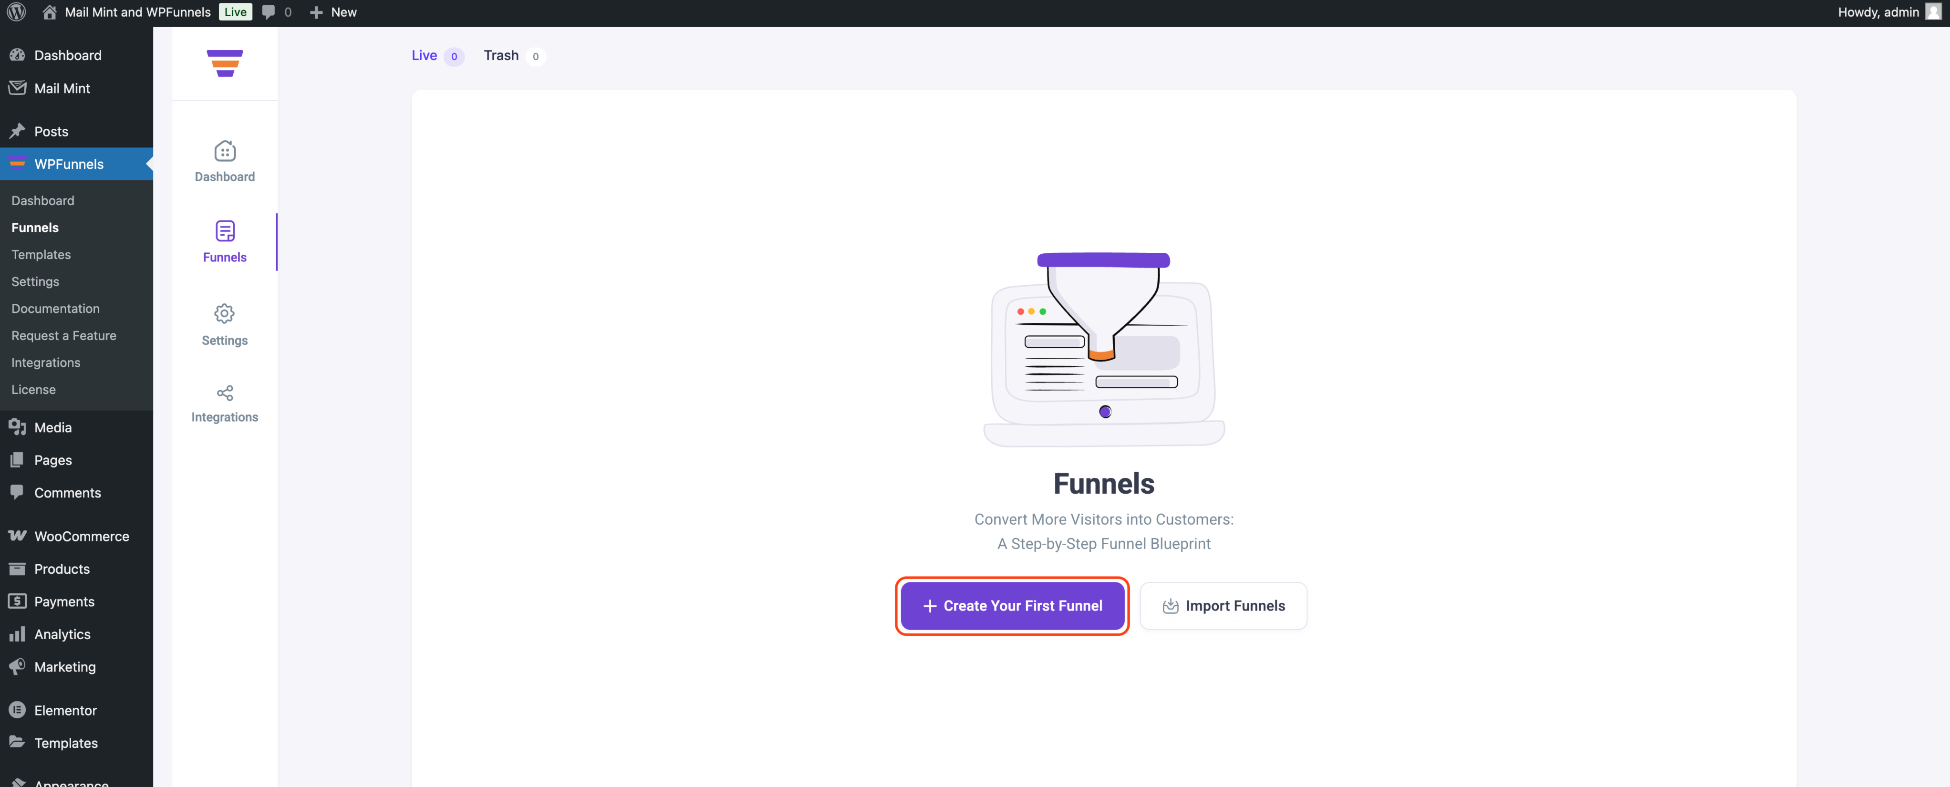
- Go to the Dashboard > WP Funnels and click on the ‘Create Your First Funnel‘ button to start creating a funnel.
- Either choose a funnel template with pre-built steps or start from scratch. For now, let’s work with a premade template.

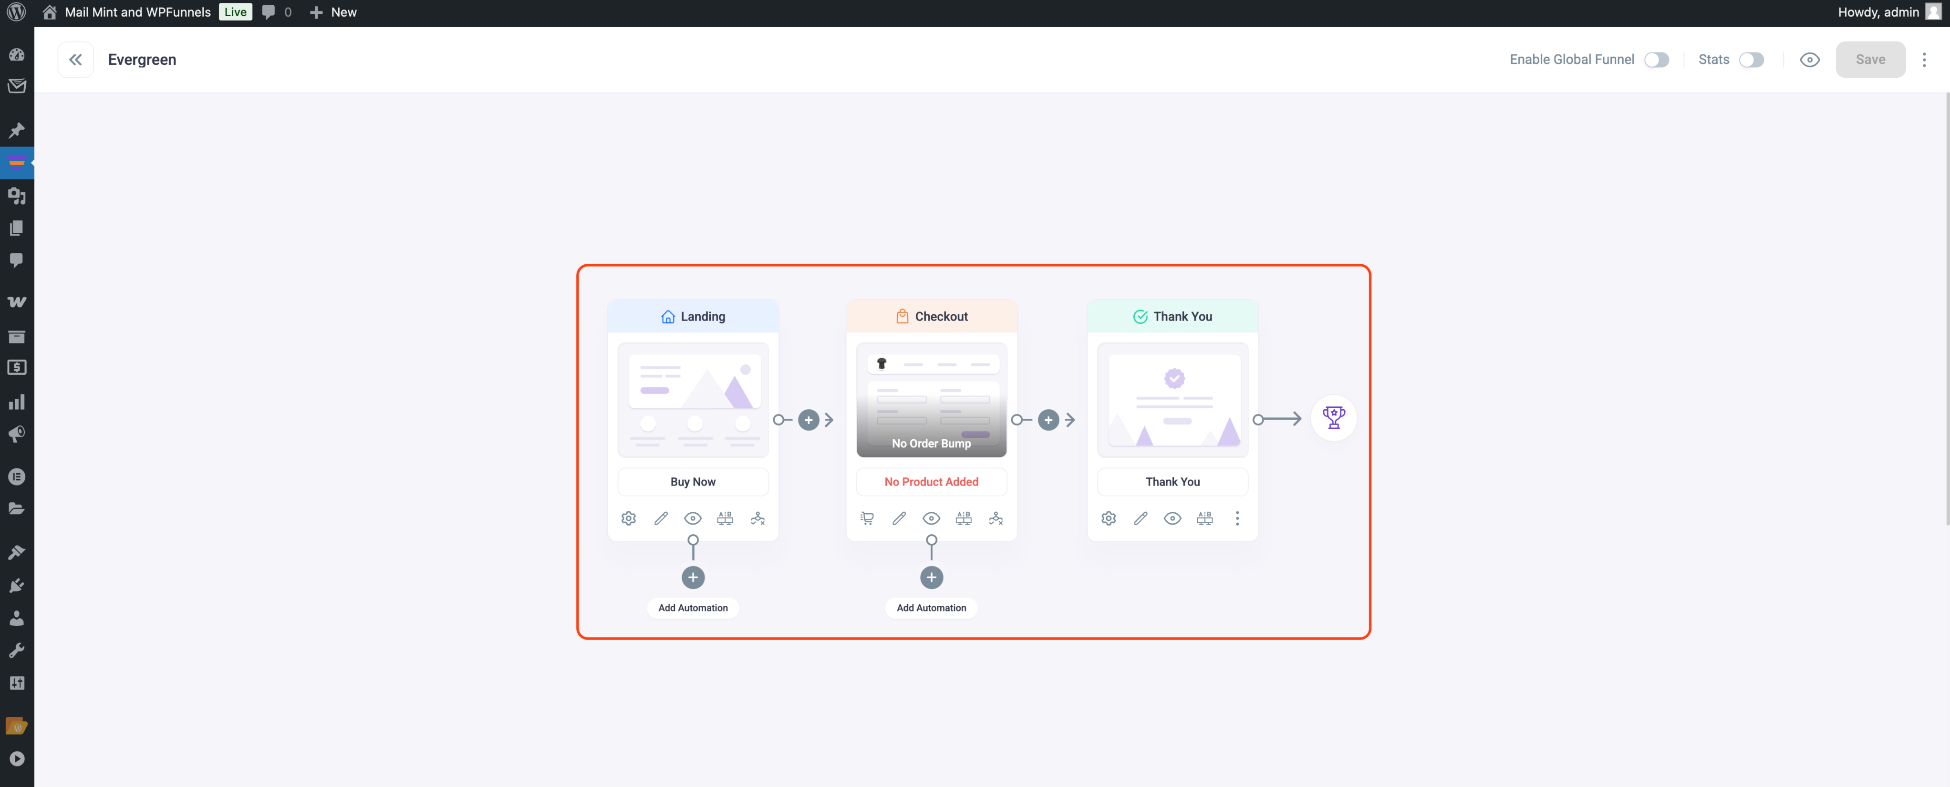
- Hover on the template and click on Import. Then you will see that the funnel has been imported with the Pre-made template. (I am using a pro template with three steps – Landing, Checkout, and Thank you – for this guide.)
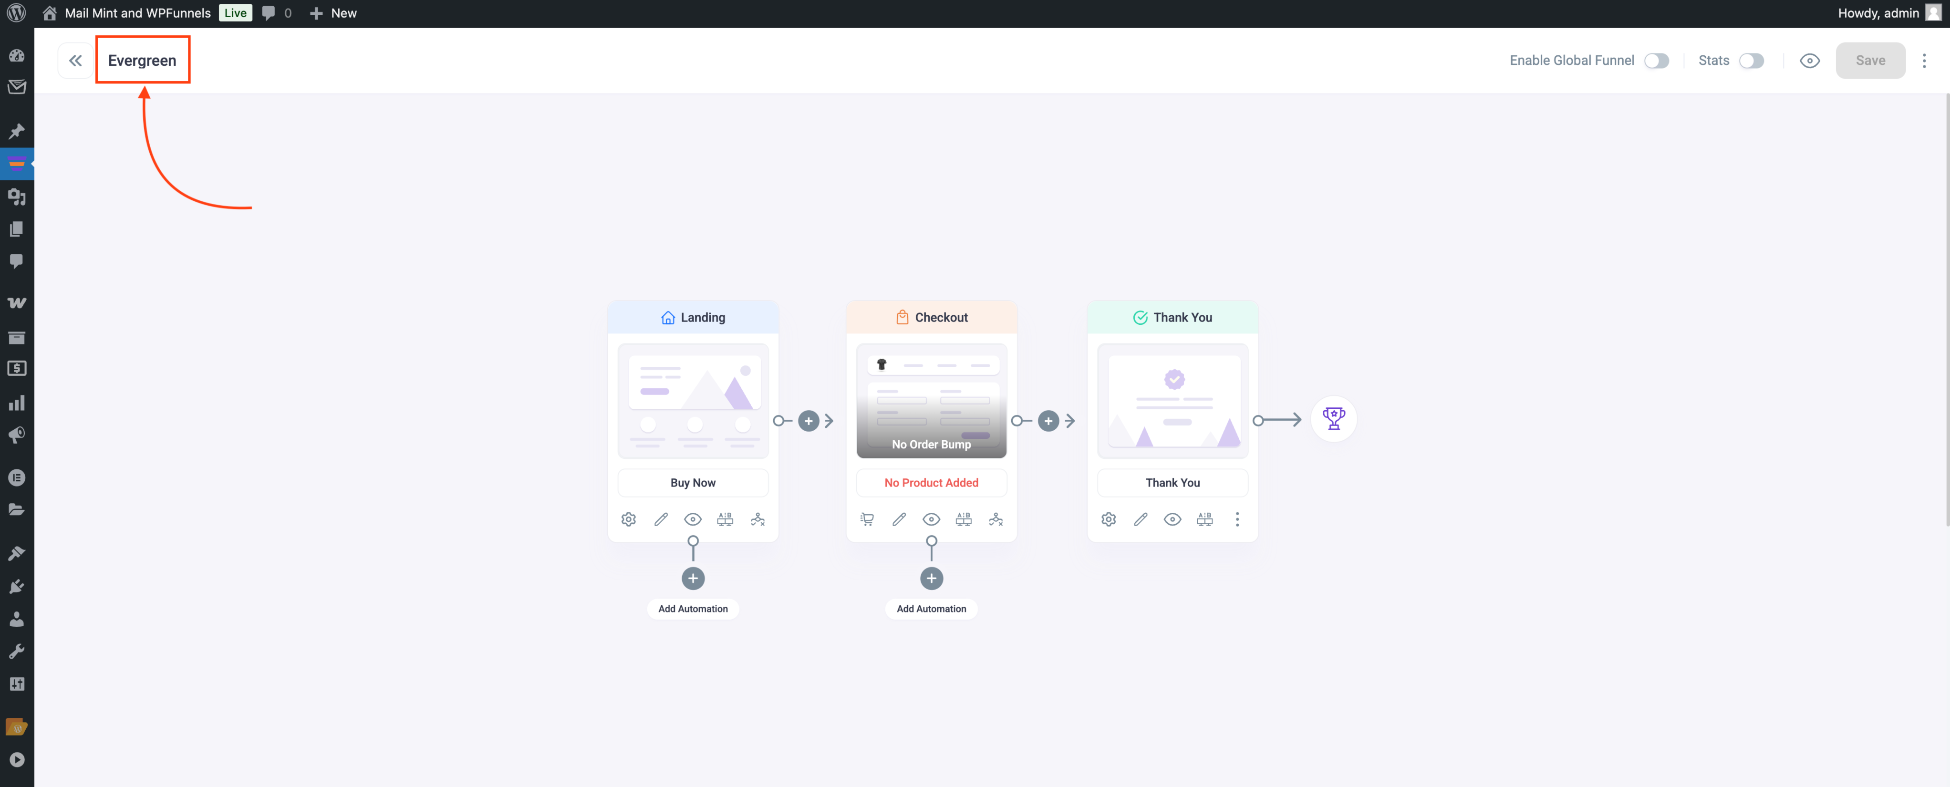
- Assign a suitable title to your funnel.
Step 2 – Configuring And Setting Up Landing Page Real Quick
Now that you have imported the funnel steps, let us move on to configuring it and getting it ready for use, starting with the Landing Page.
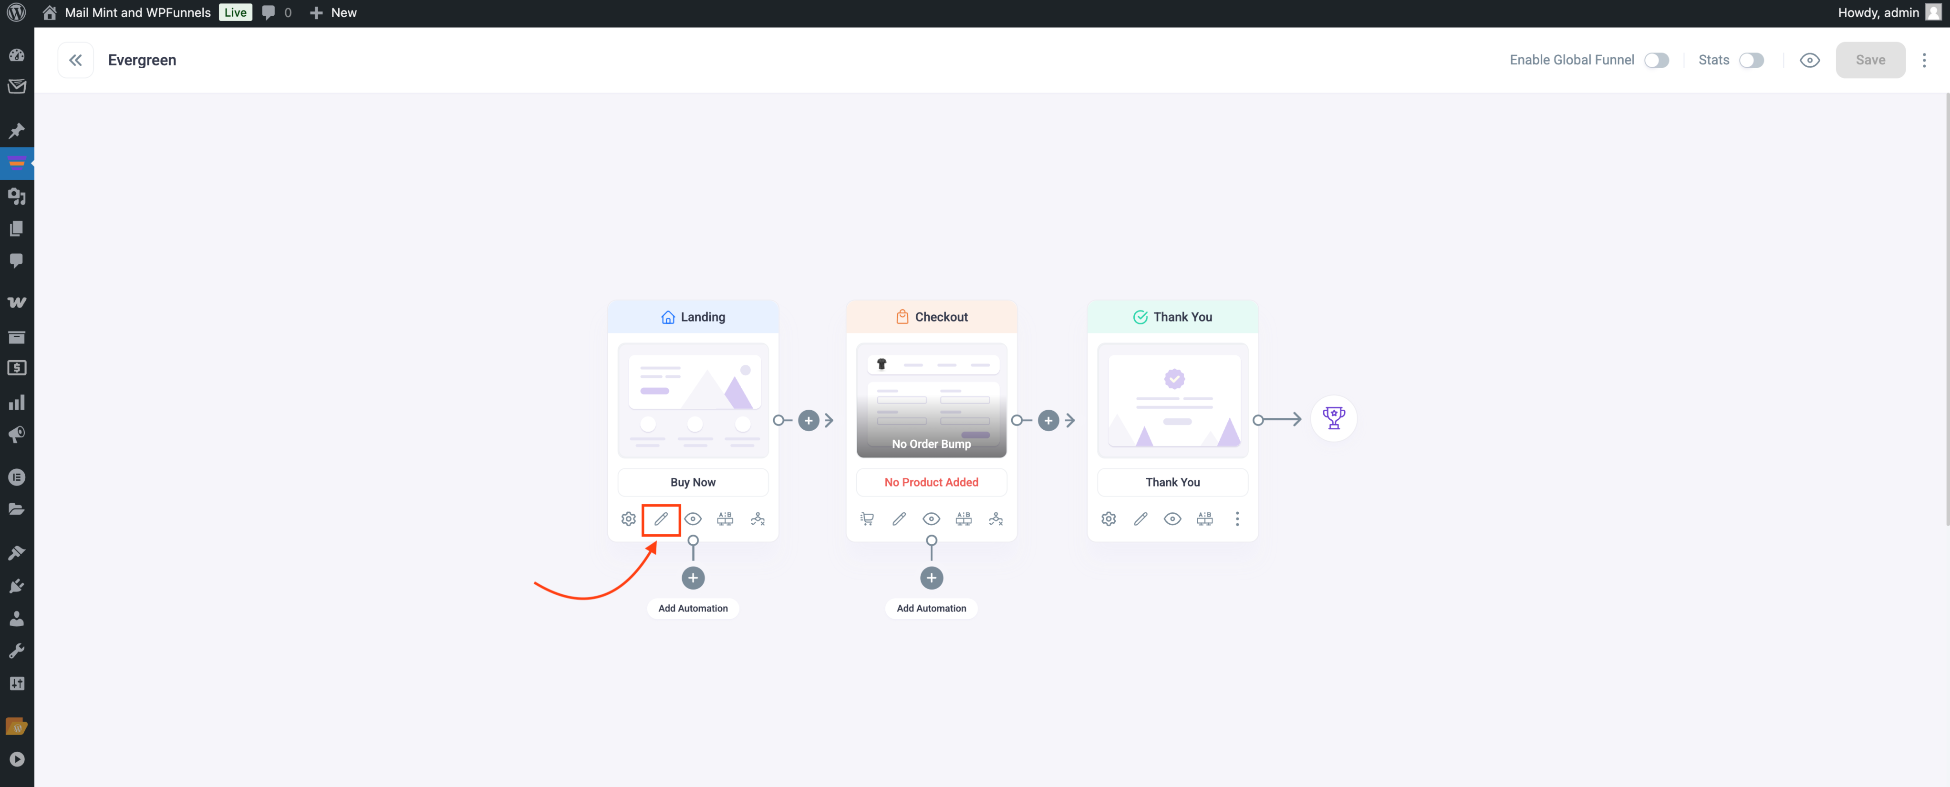
- Click on the Landing step to access five options: Settings, Edit Step, A/B Split Test, and Conditions.
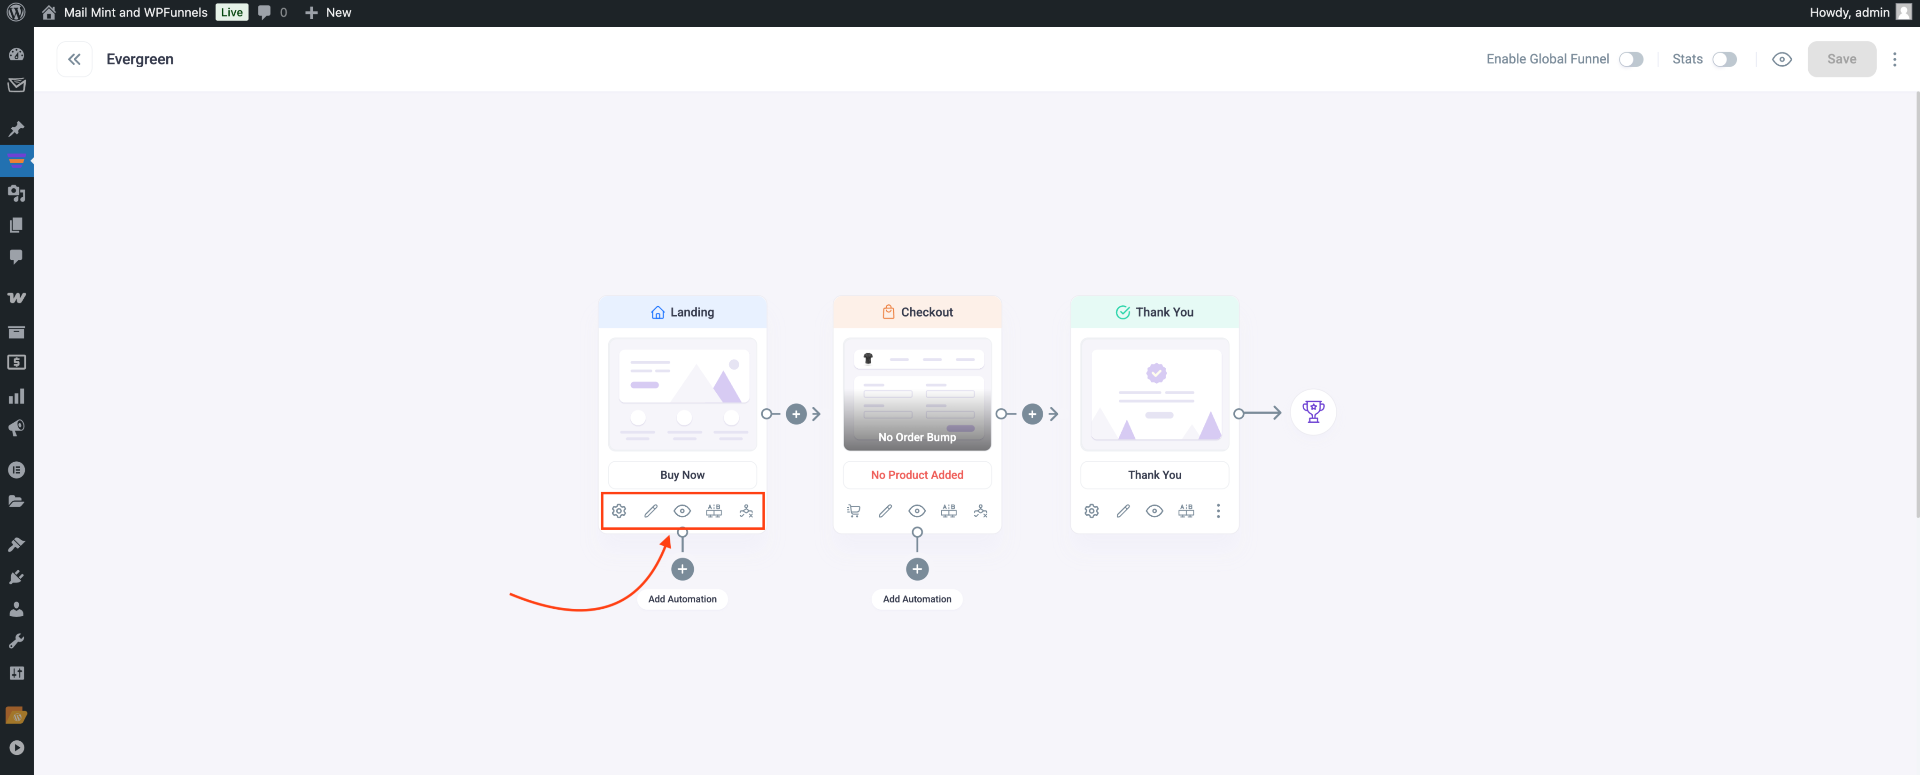
- Click on the Settings icon.
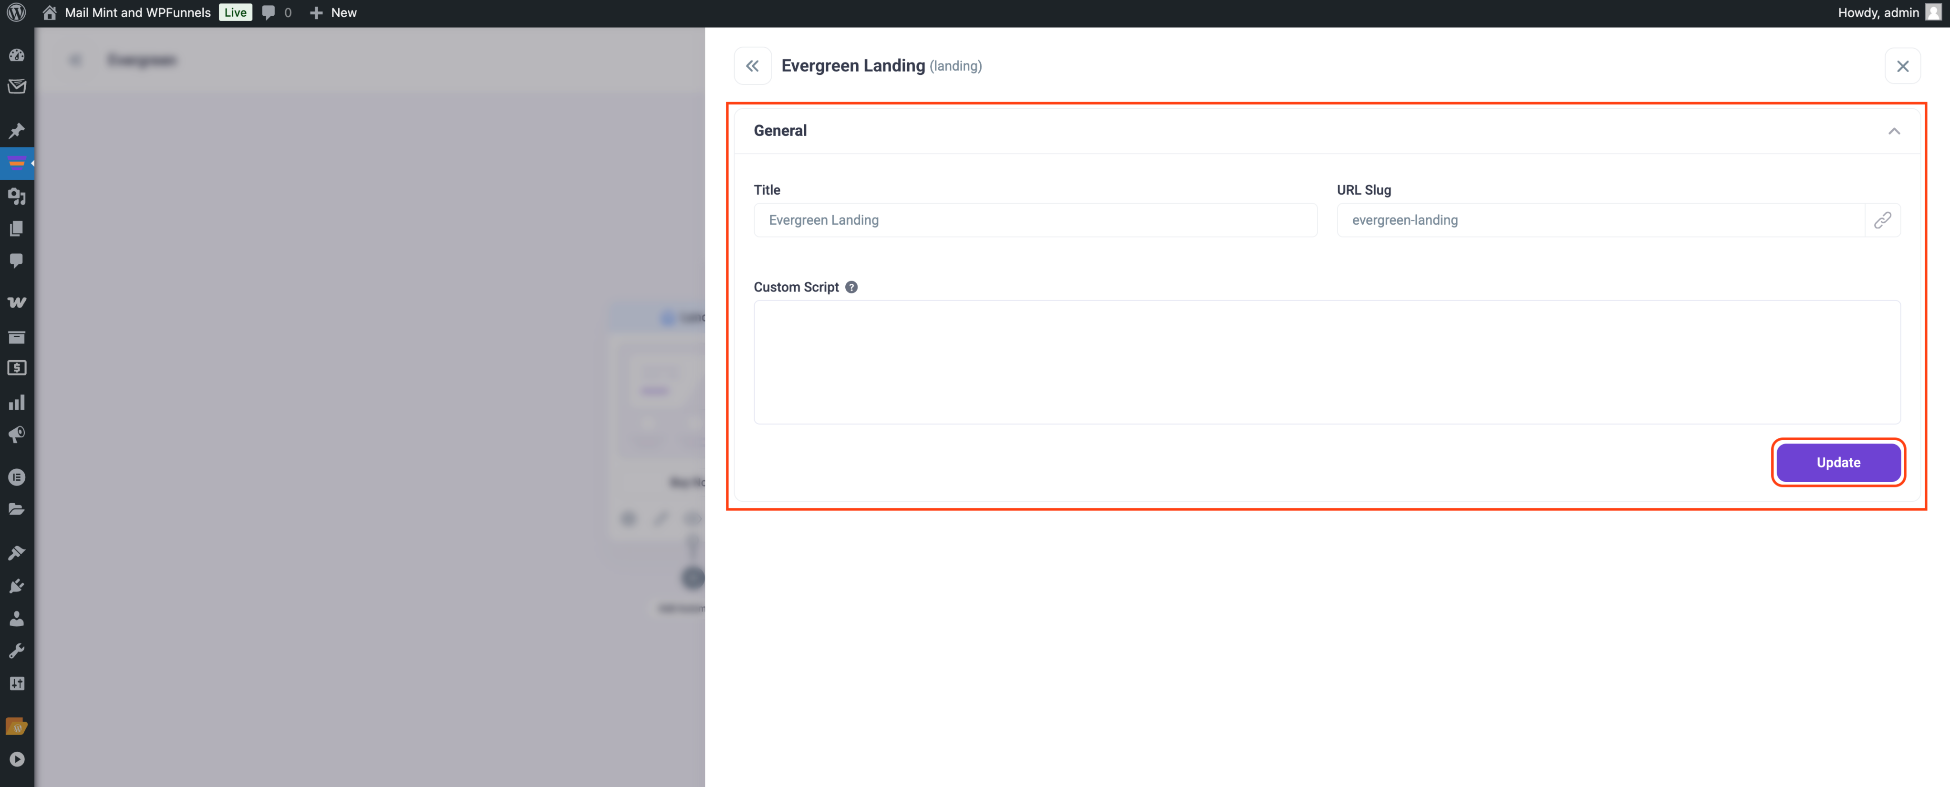
Here, you can change the step name and the slug as per your requirement.
- Next, click on the Edit step option (the pencil icon) and it will take you to Elementor page edit mode for your landing page.
- Edit and replace the content as per your requirements to match your product and brand.
- On this page, all the Call To Action buttons are WPFunnels widgets. Click on one of them to get its widget settings on the left side.
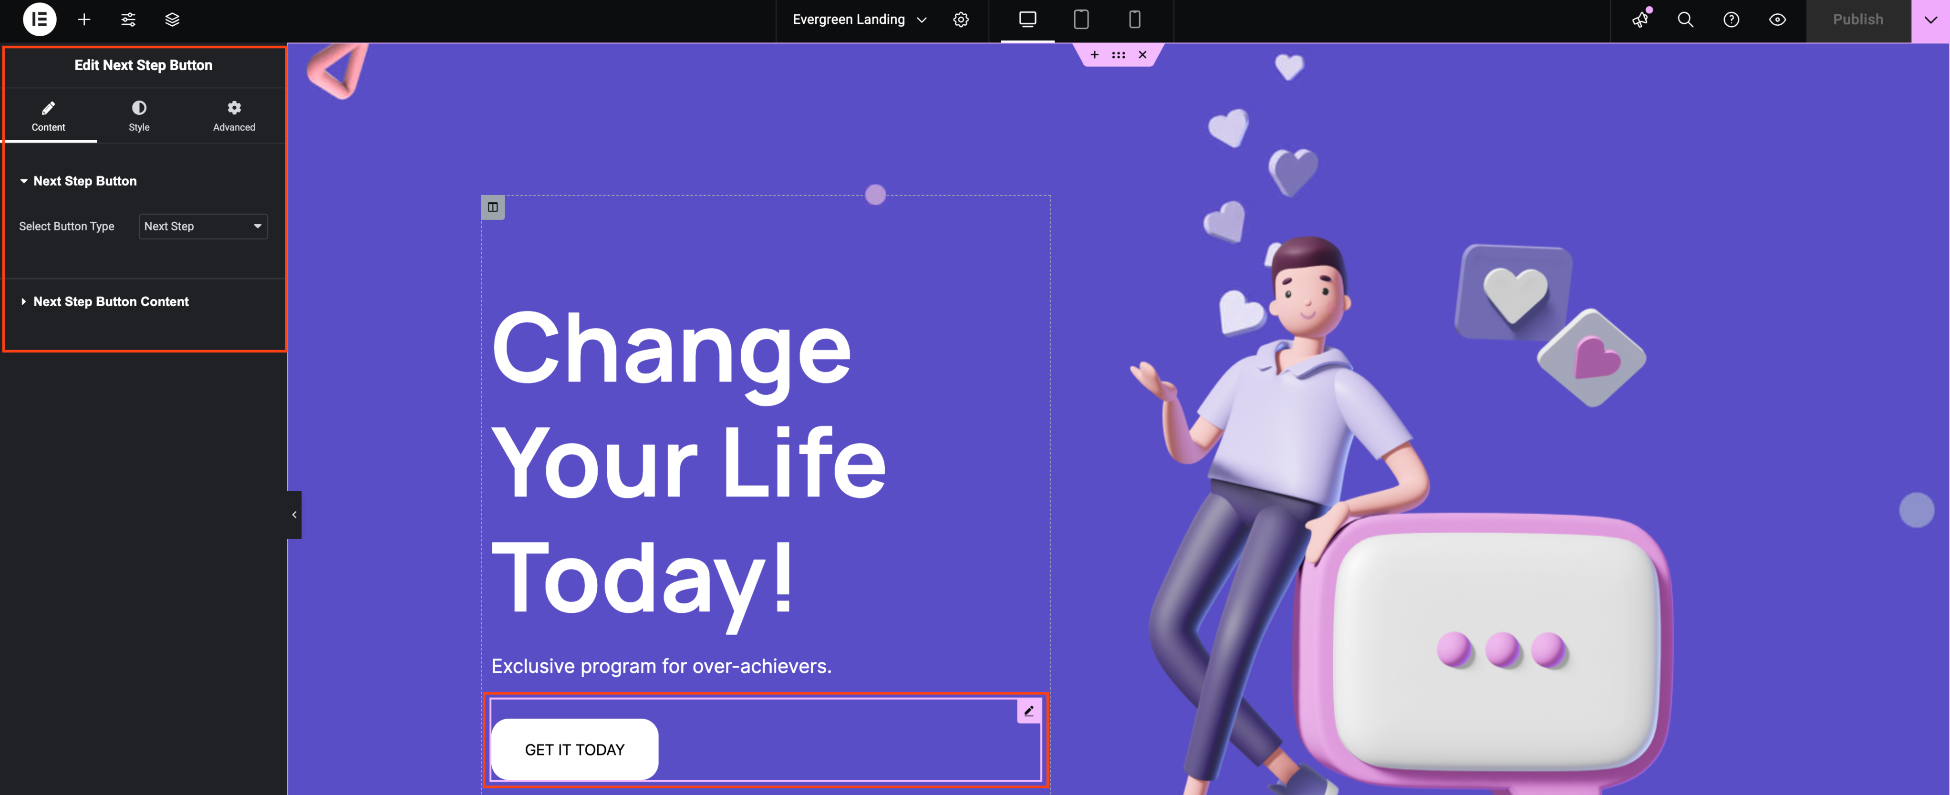
You can customize this button easily. Simply, click on the Next Step Button Content to change the Button Text, add/remove icon, set text alignment, and icon spacing. You can also use the Elementors default Style and Advanced tabs to design the button further.
Now, once you are done designing the Landing page, update it below. Then preview it to see how it looks. If you are happy with it, then your Landing page is set. Go back to the canvas.
**You can also preview the page from the canvas by Selecting the landing step and clicking on the preview icon (i.e. the small eye icon).
Step 3 – Setup The Funnel Checkout Page Easily
Now that the Landing Page is good to go, let’s set up the Checkout Page.
- On the canvas, click on the Checkout step, and you will see five options – Settings, Edit Step, A/B Split Test, and Conditions.
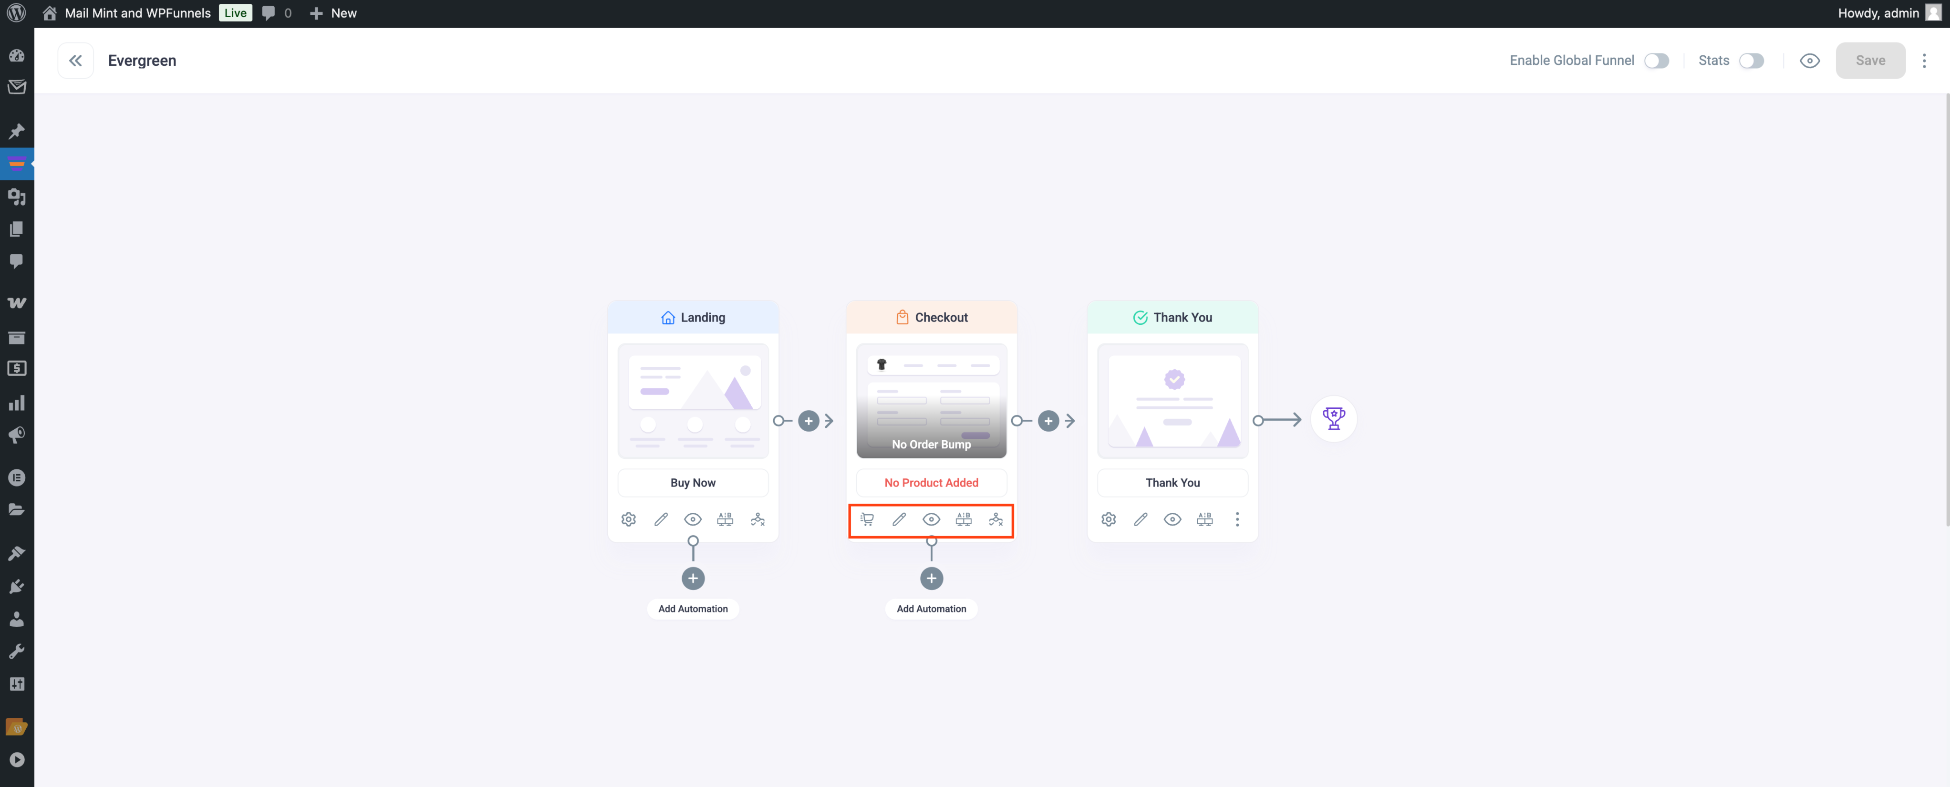
- Click on the Settings icon to set your custom checkout step slug.
In the same settings icon, you will find an option to add Products.

- Here, Search for the product and select it. Then click on the “+ Add Product” button and the product will be added.

This is the main offer product for your funnel.
**On top, you can see there are two more tabs, Order bump, and Edit Fields. We will not use them in this guide but you can learn about them here:
- How to use an order bump at the checkout of your sales funnel
- How to customize the checkout page fields for your sales funnel
- Now click on Save Changes below, and then click on the ‘X’ icon on the top right corner to close the drawer.
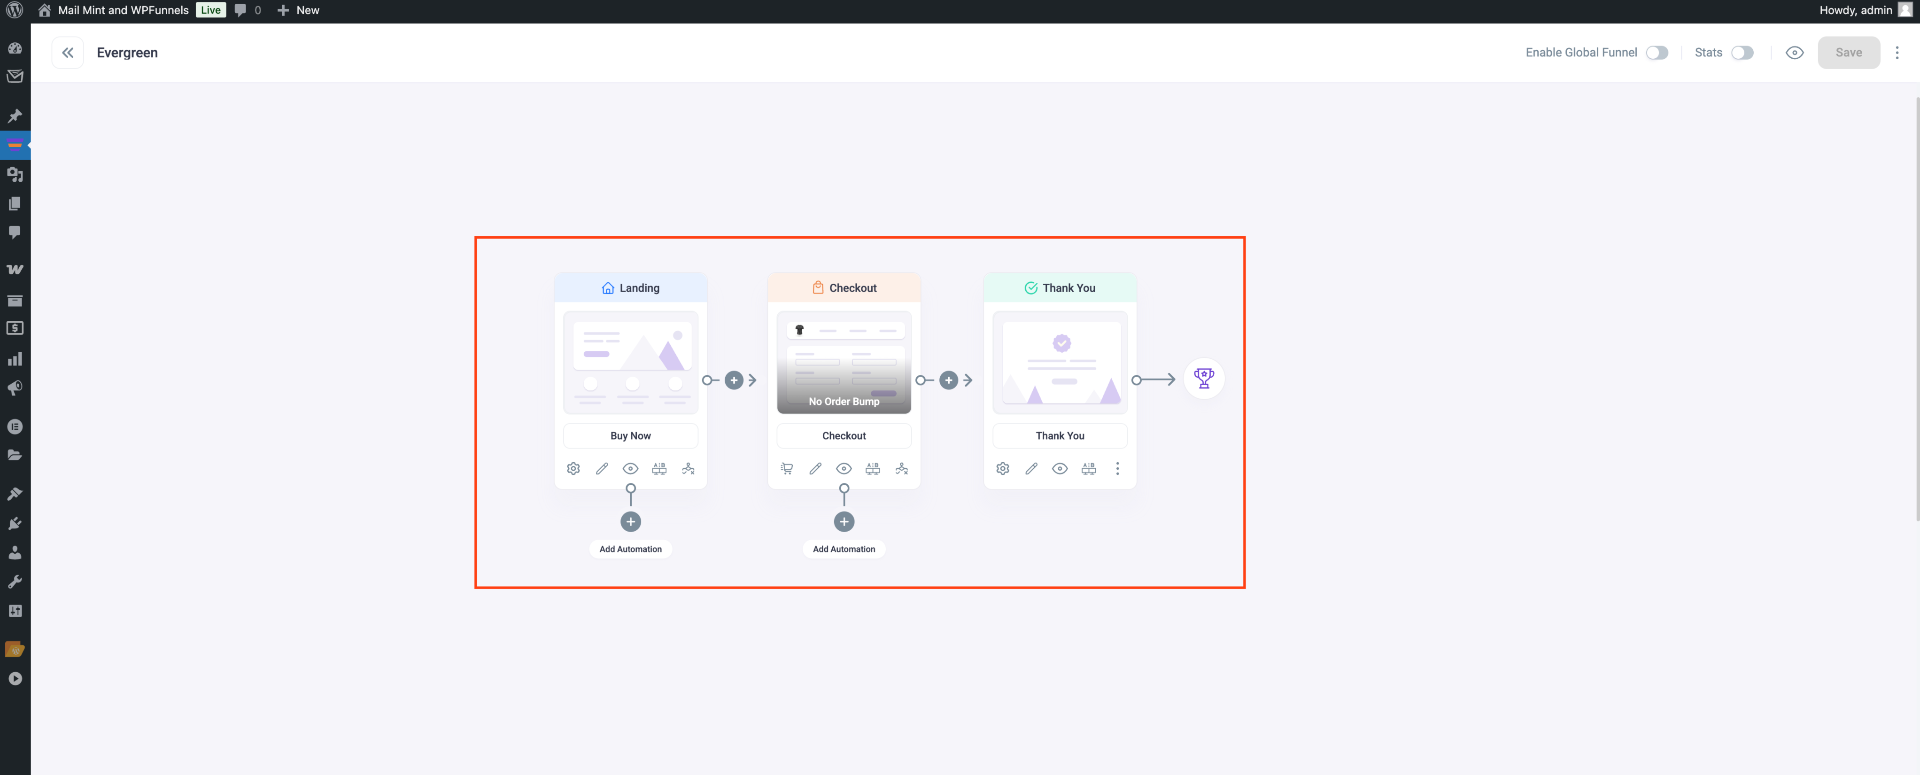
You will notice that the red label “No product added” is no longer there. This confirms that you have assigned the main offer product(s) for your sales funnel.
- Next, click on the edit icon on the checkout step to open it in the Elementor edit mode. Here, you can change the content to match your brand.
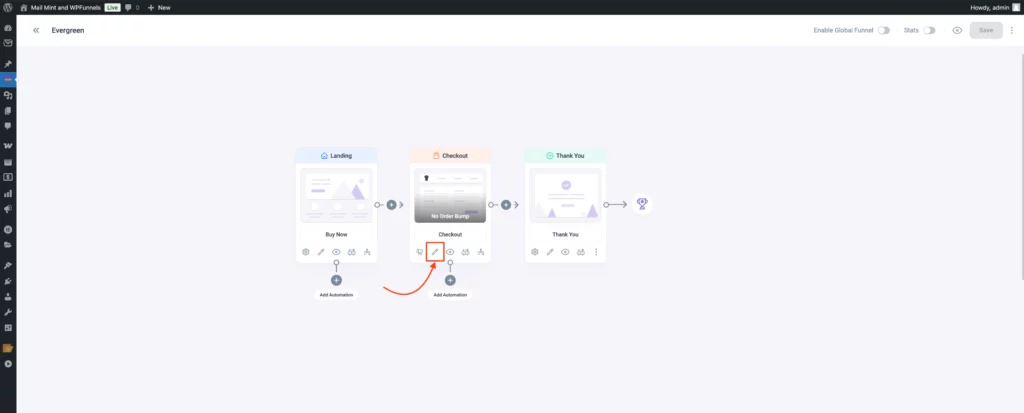
- Scroll down to the checkout form. This checkout form is the WPFunnels checkout widget.
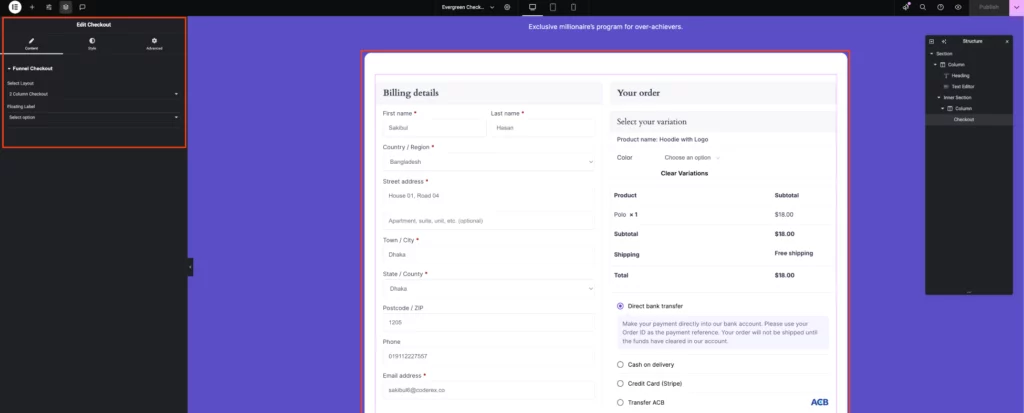
If you click on it, you will find the widget options on the left where you can choose the form layout between 1-column and 2-column. And you can edit your order bump offer if you have used any.
You can also go to the Style tab to customize each section of the Checkout form which includes changing the color of the heading, label, border, field, and also the typography of the text. You may use the Advanced options to further customize this widget.
Once you are happy with your checkout step, you may update it and go back to the canvas. There, you may select the Checkout step and click on the preview icon to get a frontend view of the checkout page.
Step 4 – Get The Thank You Page Ready In A Minute
You are almost done. Now, just the Thank You page is remaining.
- On the canvas, click on the Thank you step, and you will see five options – Settings, Edit Step, A/B Split Test, and Conditions.
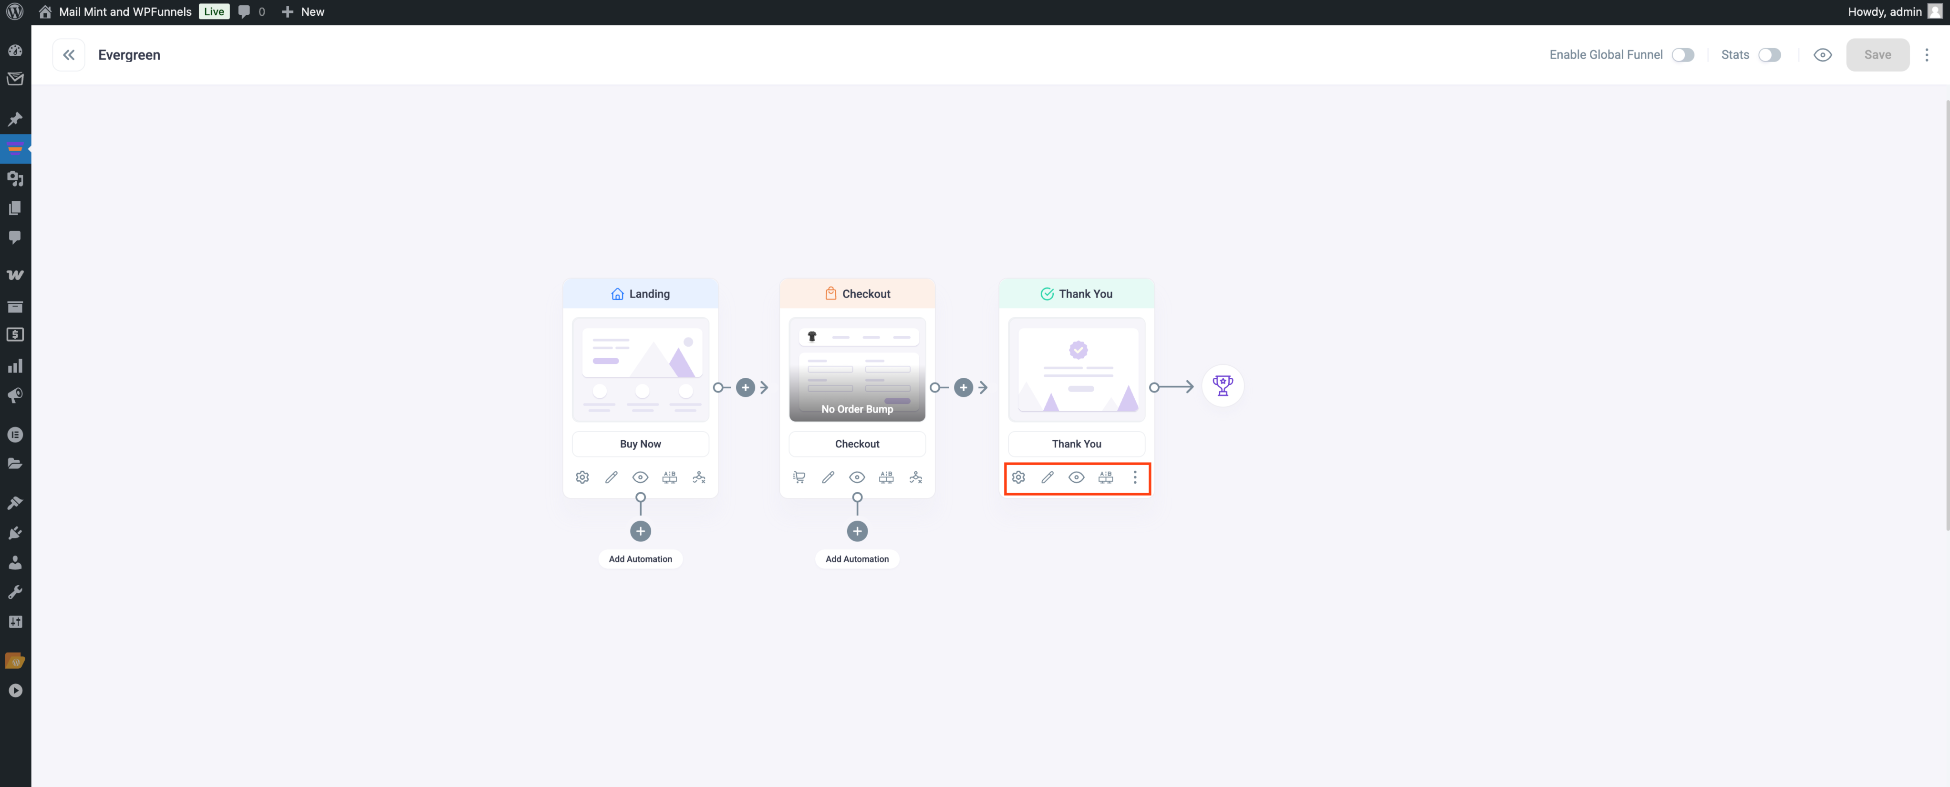
- Click on the Settings icon to set your custom thank you step slug.
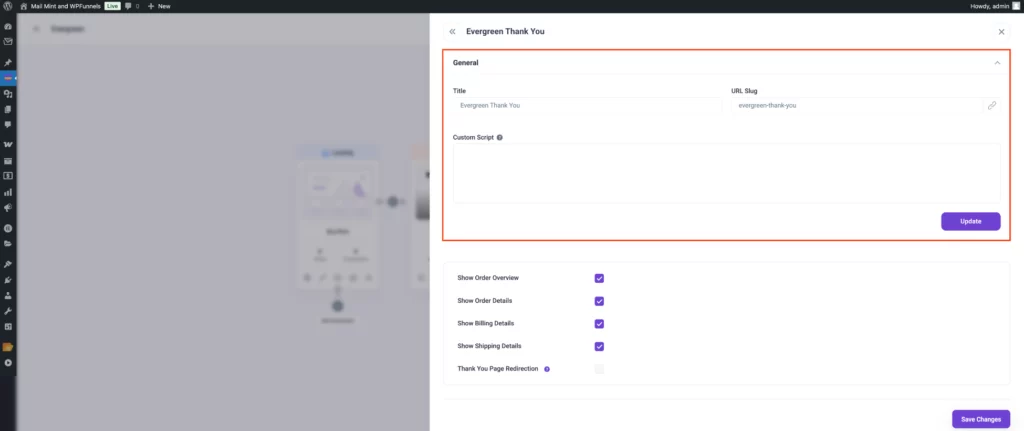
- Here, you will also find five options:
- Show Order Overview
- Show Order Details
- Show Billing Details
- Show Shipping Details
- Thank You Page Redirection
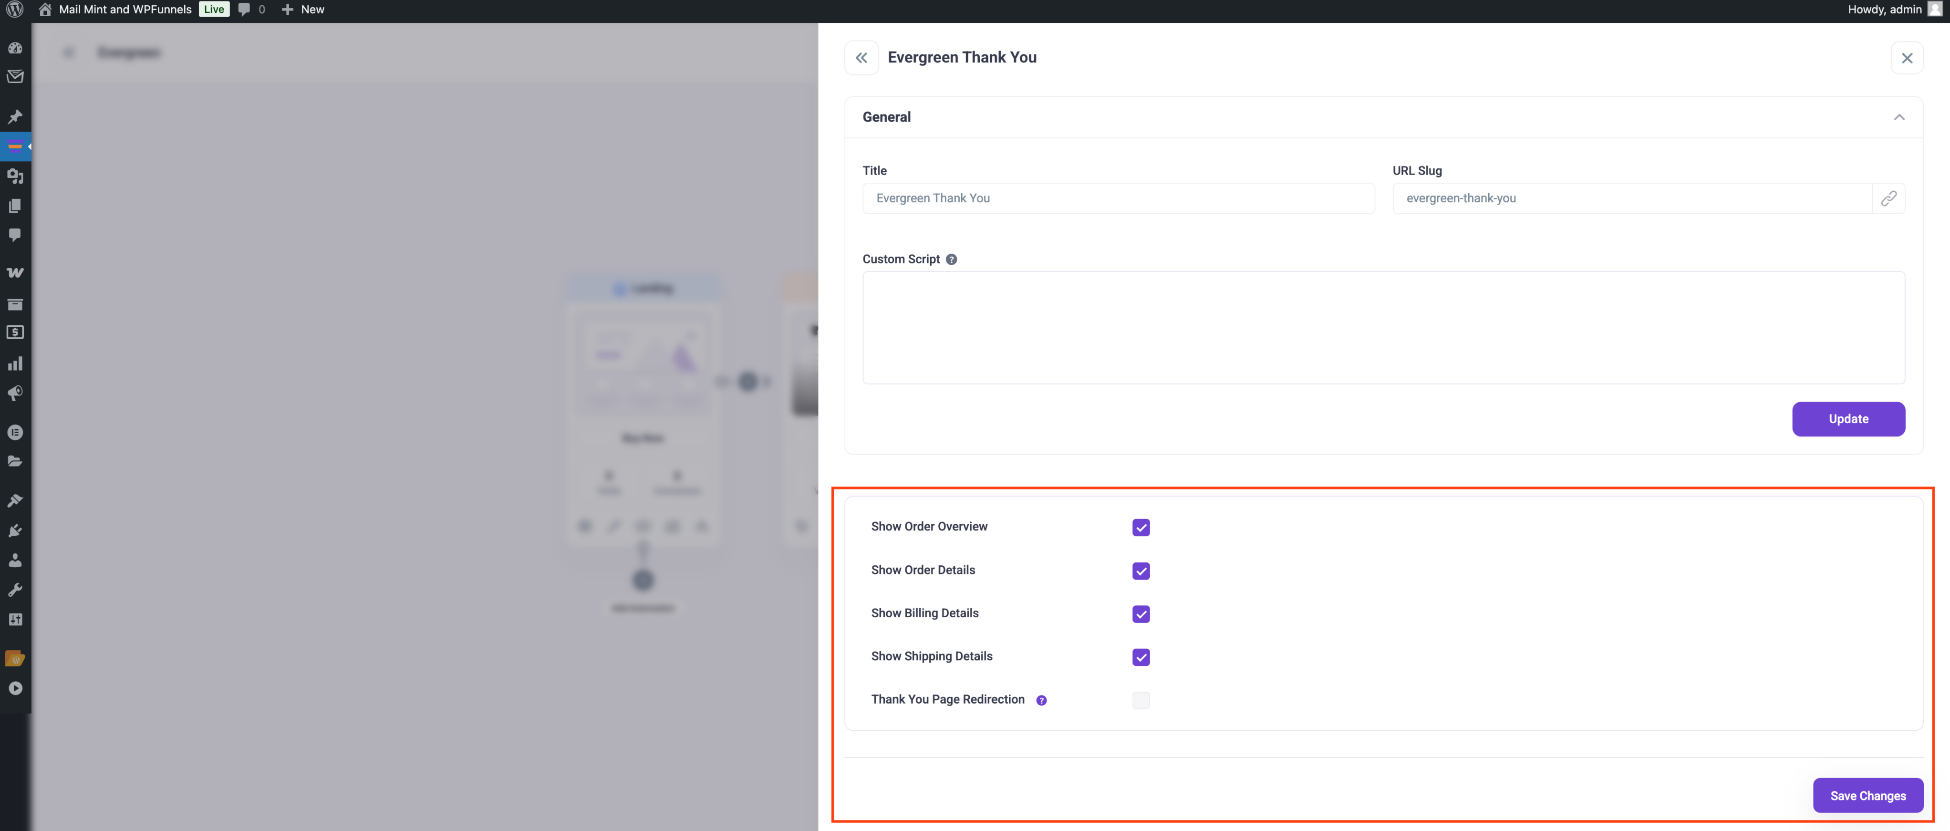
- Choose what details you want to view on the Thank You Page and click on Save changes. Then click on the ‘X’ icon on the top right corner to close the drawer.
- Now, click on the Edit icon for the Thank you step to open it in Elementor edit mode.
Make any changes to the content you want to match it to your brand.
5. Scroll down to the Order details section. This section is actually the WPFunnels Order Details widget.
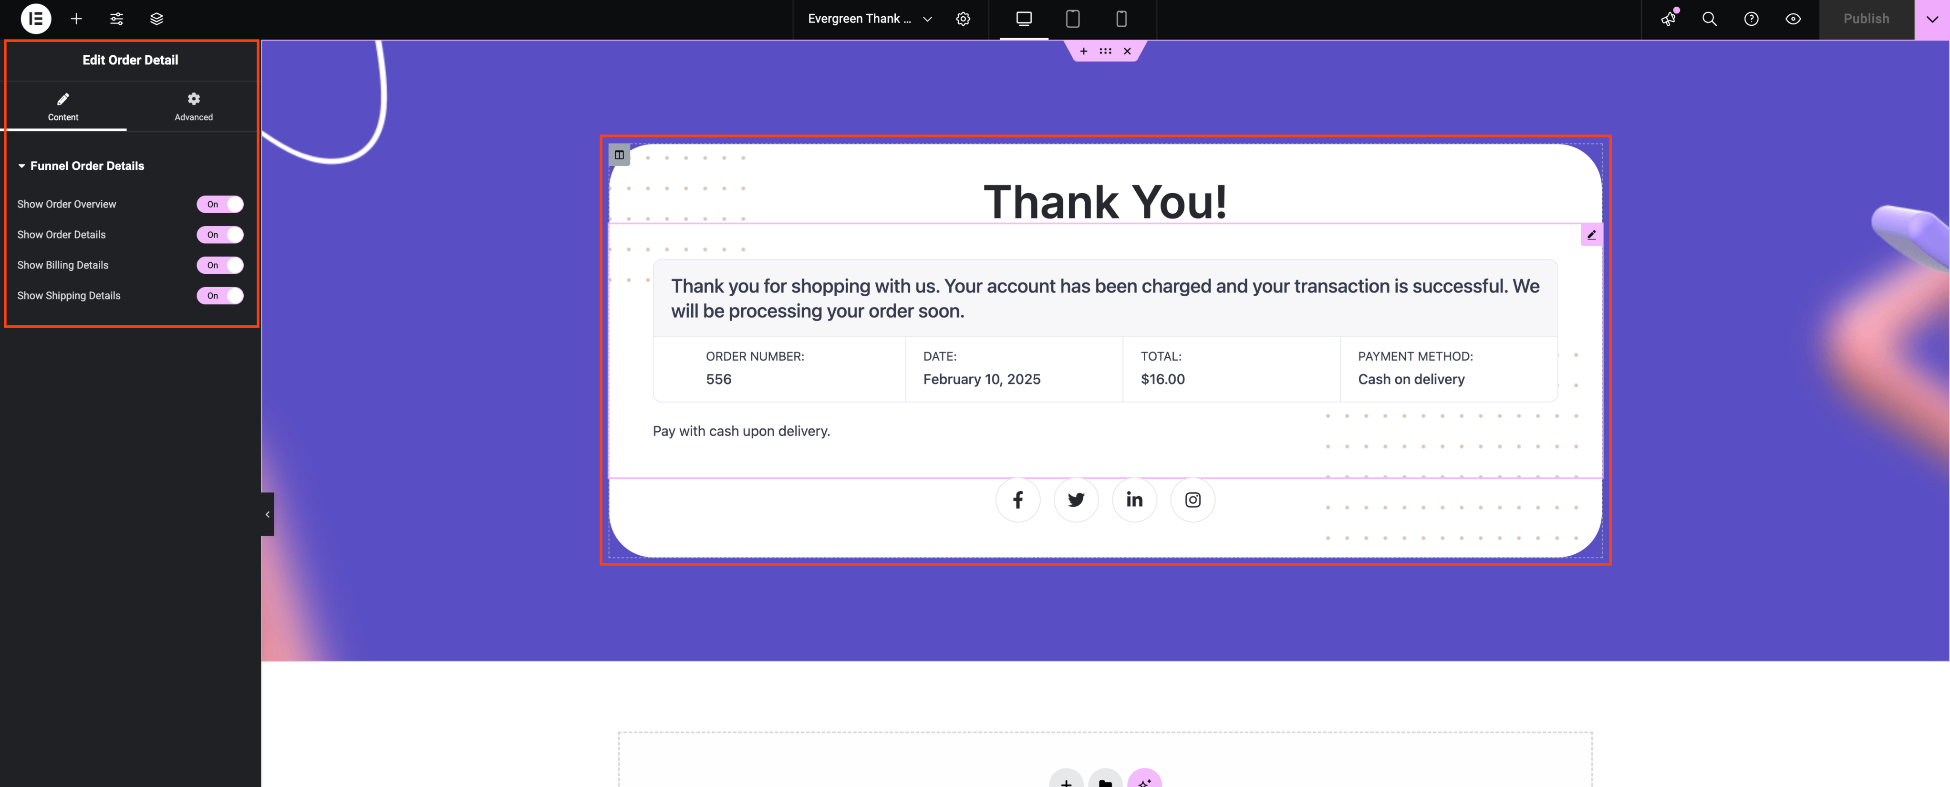
When you click on the widget, you will get the widget options on the left side, which will be the same as the ones you saw in the Settings drawer for the Thank you step earlier. Both the settings are in sync, so you may change in either way and it will be effective.
6. Once you are satisfied with the design, update the page and go back to the canvas. You can then click on the preview icon to get a frontend view of the Thank you page.
Step 5 – View Your First Sales Funnel In Action
Your sales funnel is now ready with all the basic steps. You can view the funnel by clicking on the View icon in the top right corner.
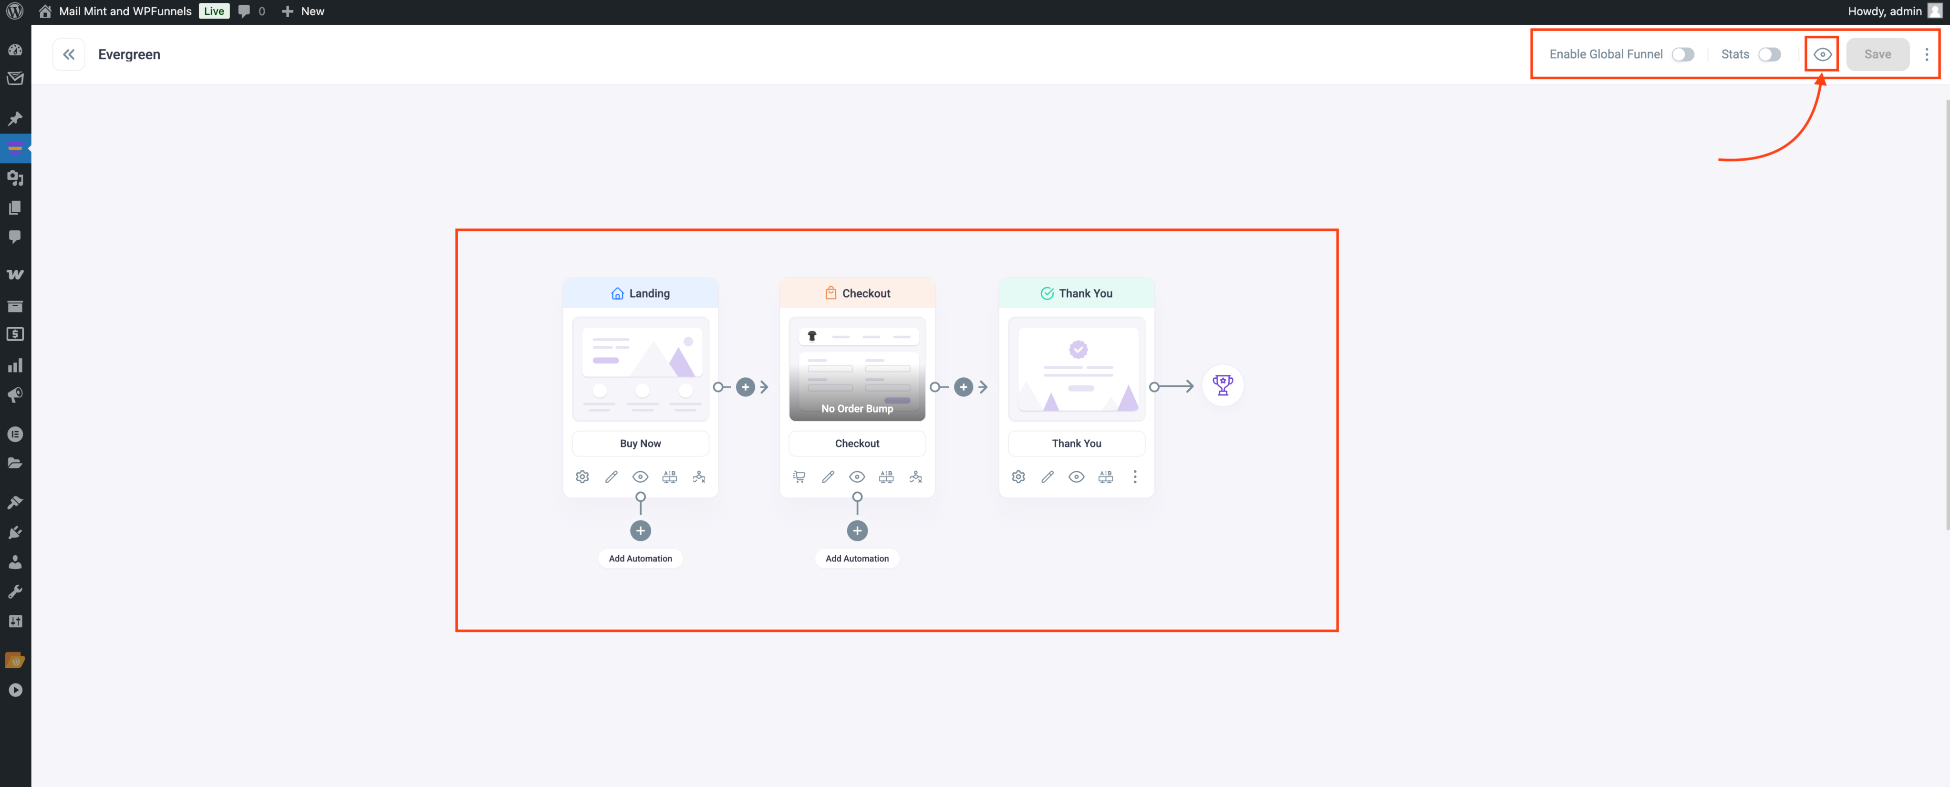
That’s it. You have just created your first sales funnel. As you can see, it didn’t take you more than 15 minutes. In fact, if you view the template and prepare your content prior to funnel creation, then creating the funnel doesn’t even take 10 minutes.
Now, this was a quick guide to create a simple funnel using WPFunnels. You can then further enhance this funnel with order bump, upsell & downsell offers.
Go ahead and take help from our Funnel Guides and Resources to use all the exclusive features the plugin has to make your funnel more effective and convert more prospects into high-paying buyers.
