If you want to send data from Mail Mint to any other tool, you can set up an Automation with Outgoing Webhooks and it will be successful.
This documentation will guide you through the step-by-step process of creating the automation.
Step 1: Create An Automation
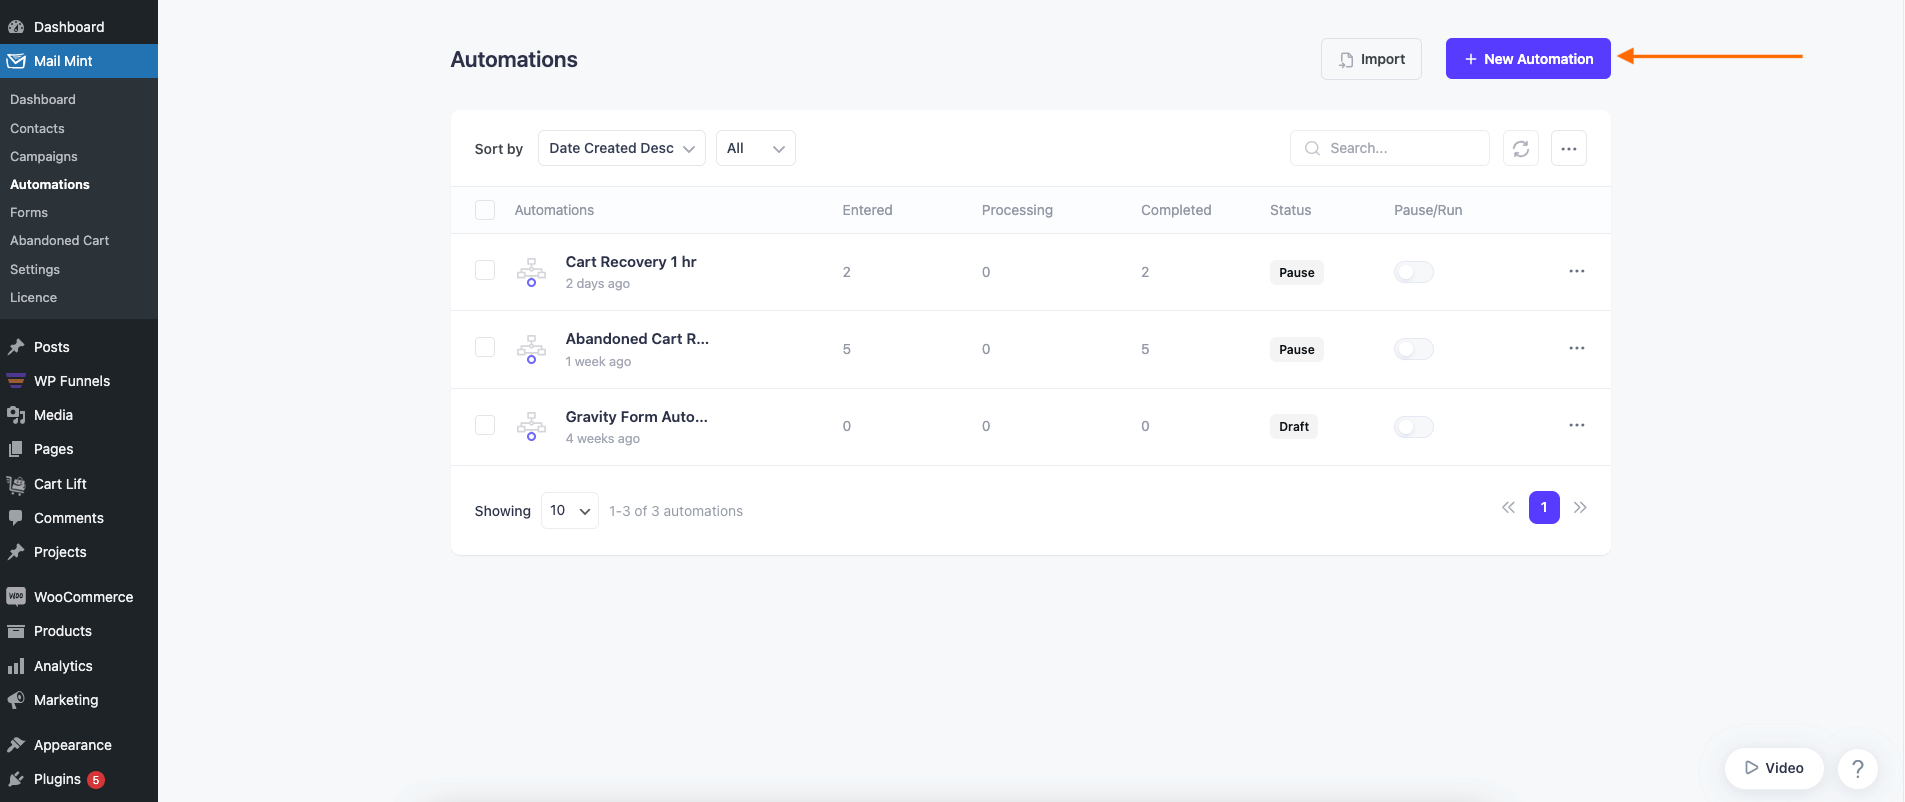
1. Go to Mail Mint > Automations module and click on “+ New Automation”.
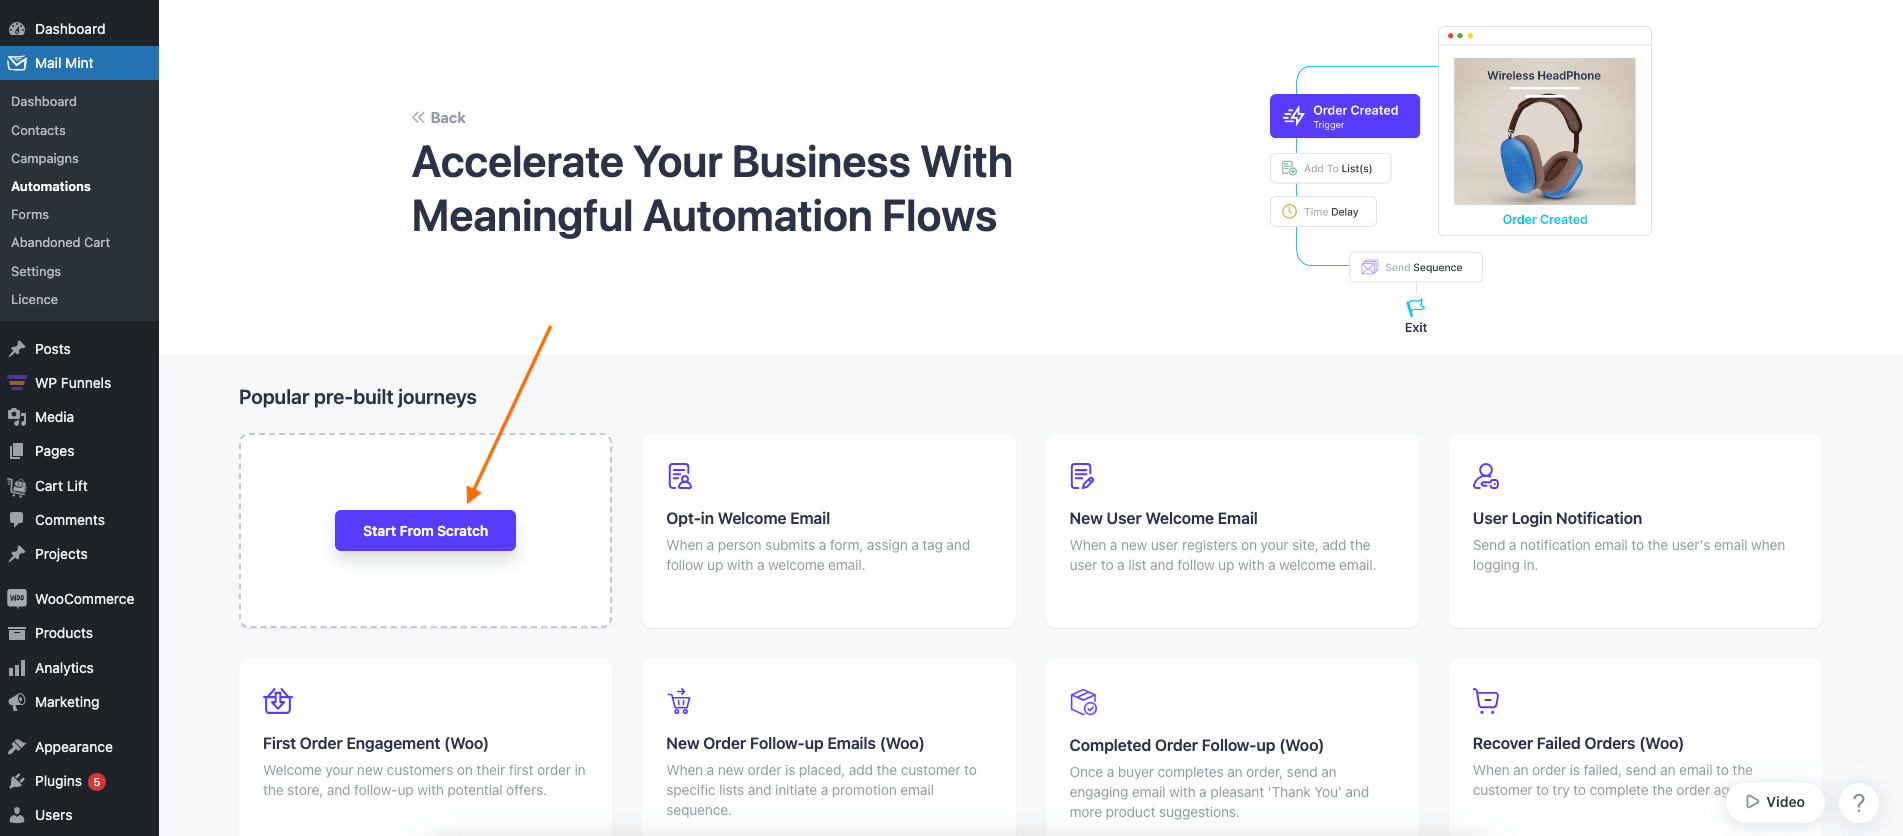
2. Click on “Start From Scratch” and it will take you to the Automation canvas.
Step 2: Select Automation Trigger
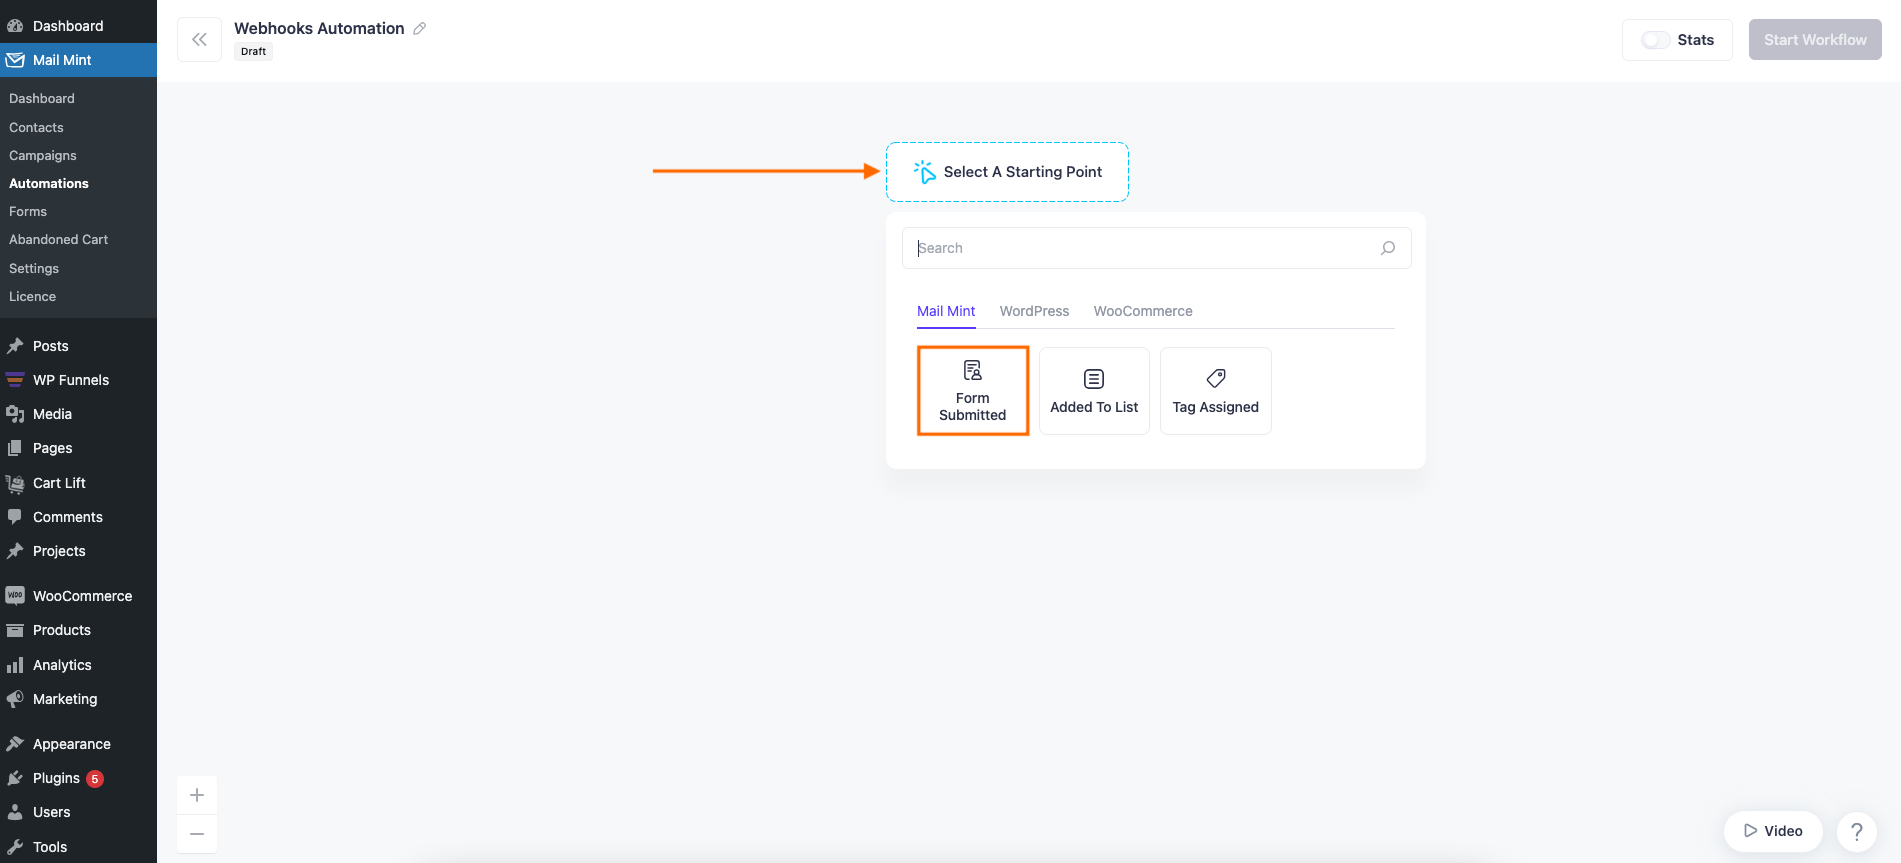
1. When you click on “Select A Starting Point“, you will find different types of Automation Triggers. Select the one you need.
For this guide, we are selecting the Form Submitted trigger.
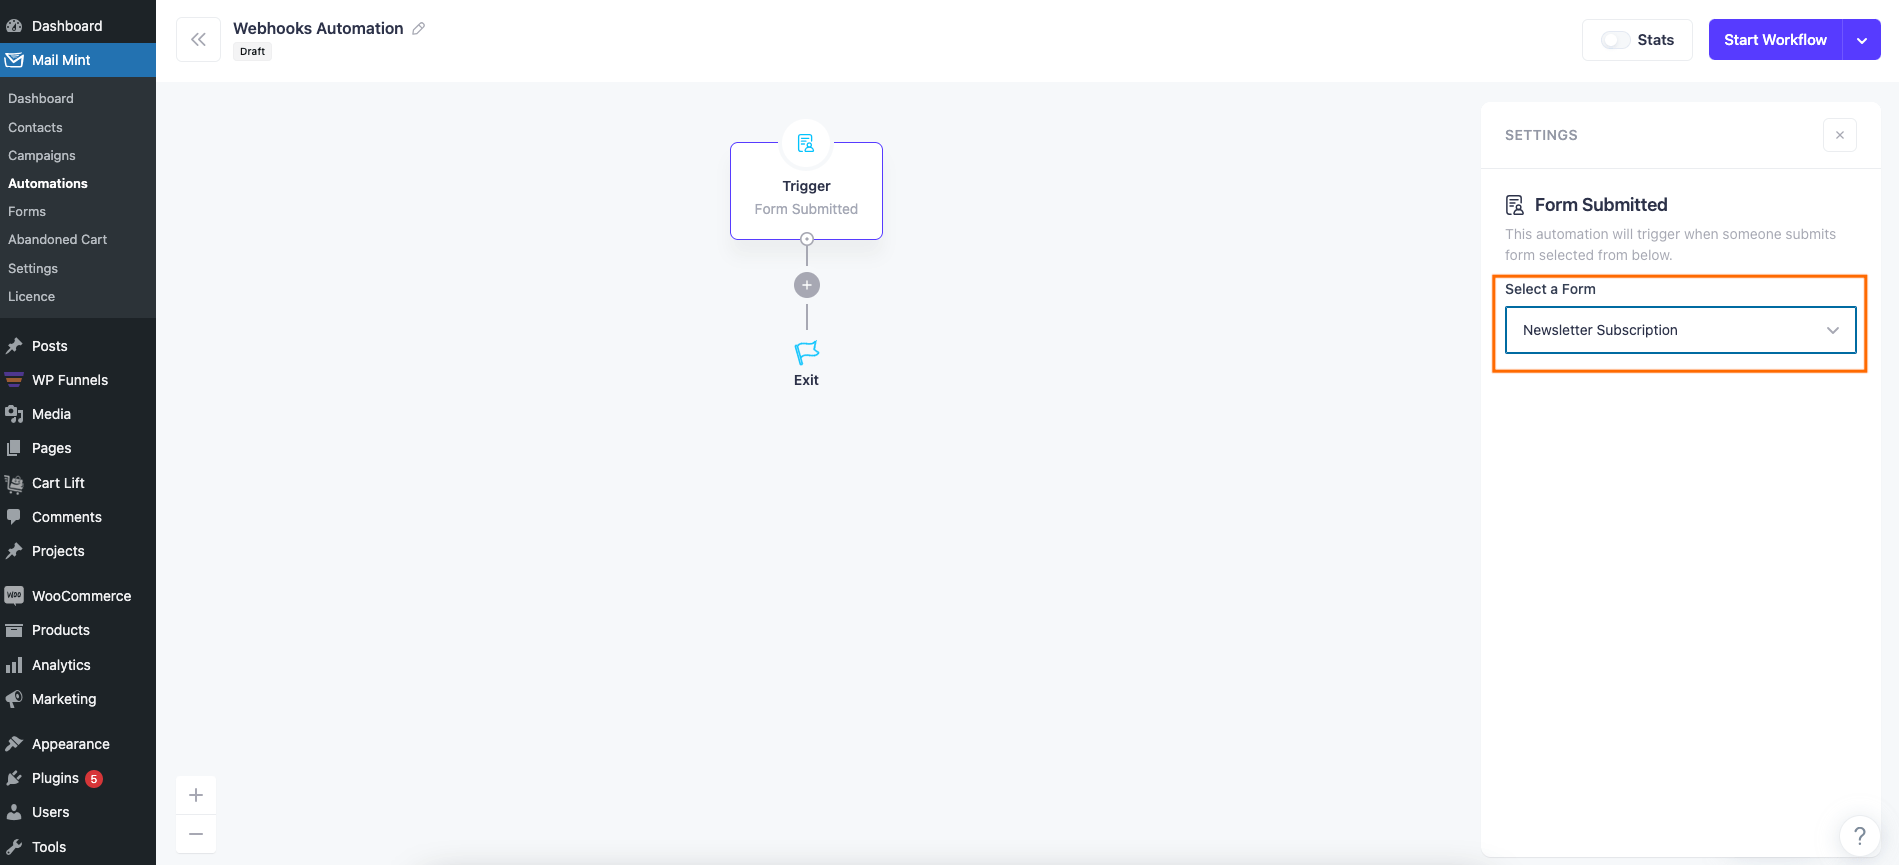
2. Then we’re choosing a form inside the trigger. This means whenever someone submits this specific form, this automation will be triggered.
Step 3: Configure Automation Action
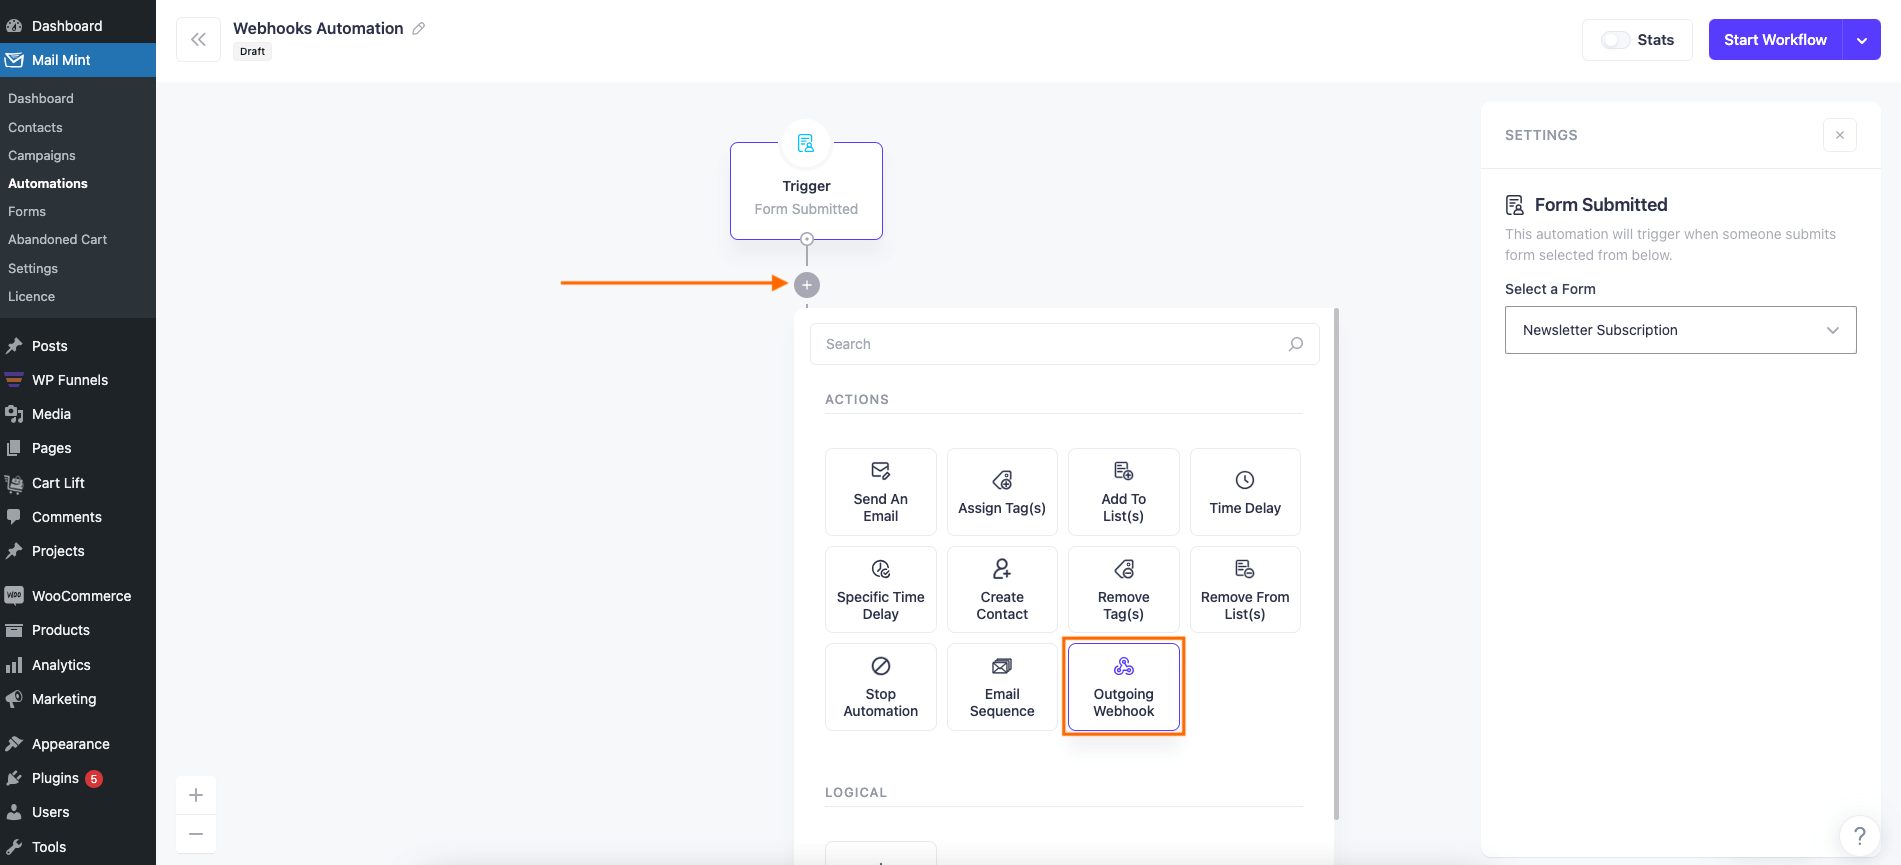
1. Now click on the + sign below and you will find different types of Actions. Select the “Outgoing Webhook“.
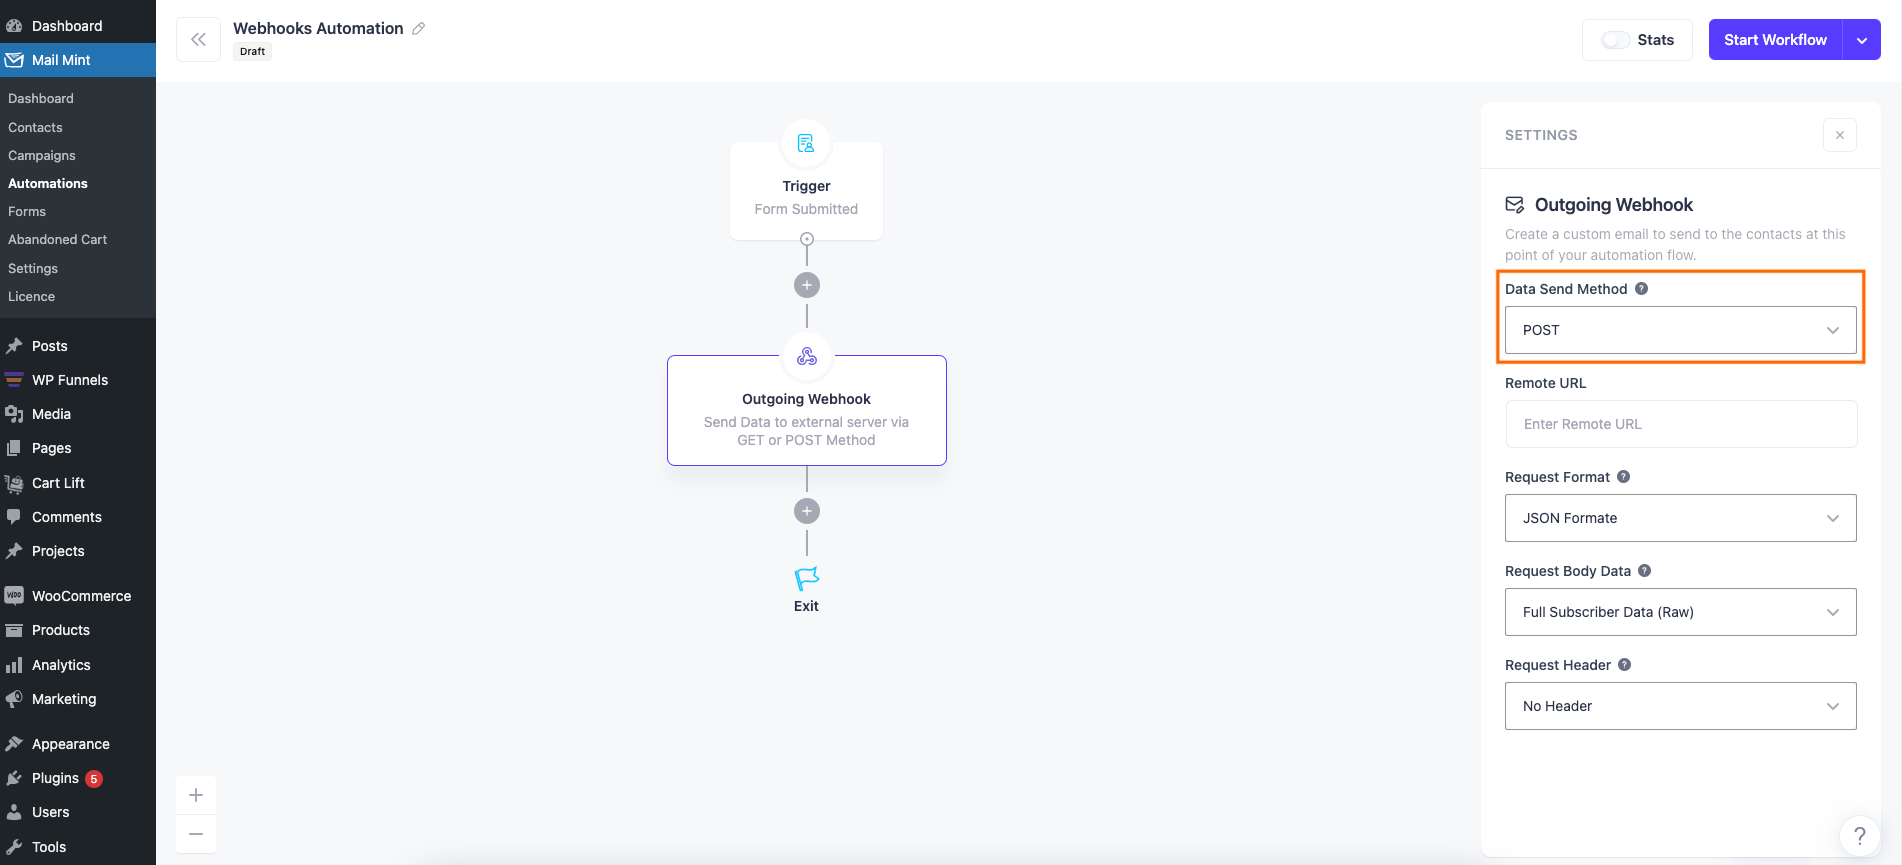
2. On right side of the automation canvas, set the Data Send Method as “Post”.
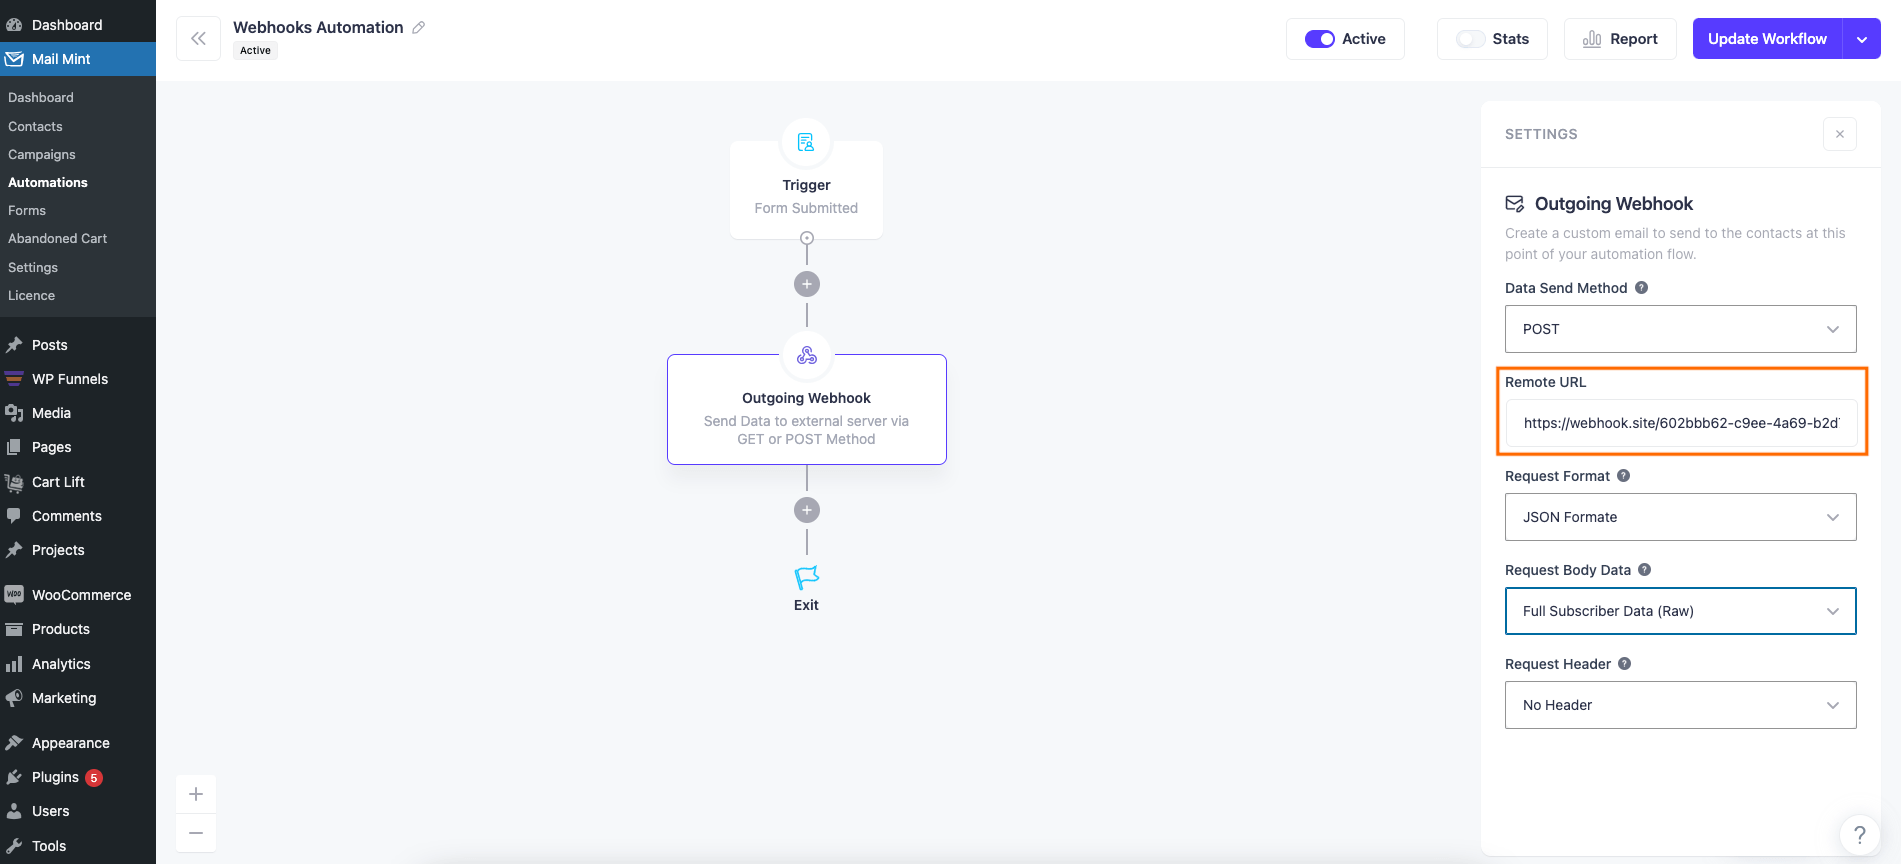
3. You will get a Webhook URL from the tool you want to send data. Paste that Webhook URL in the Remote URL box.
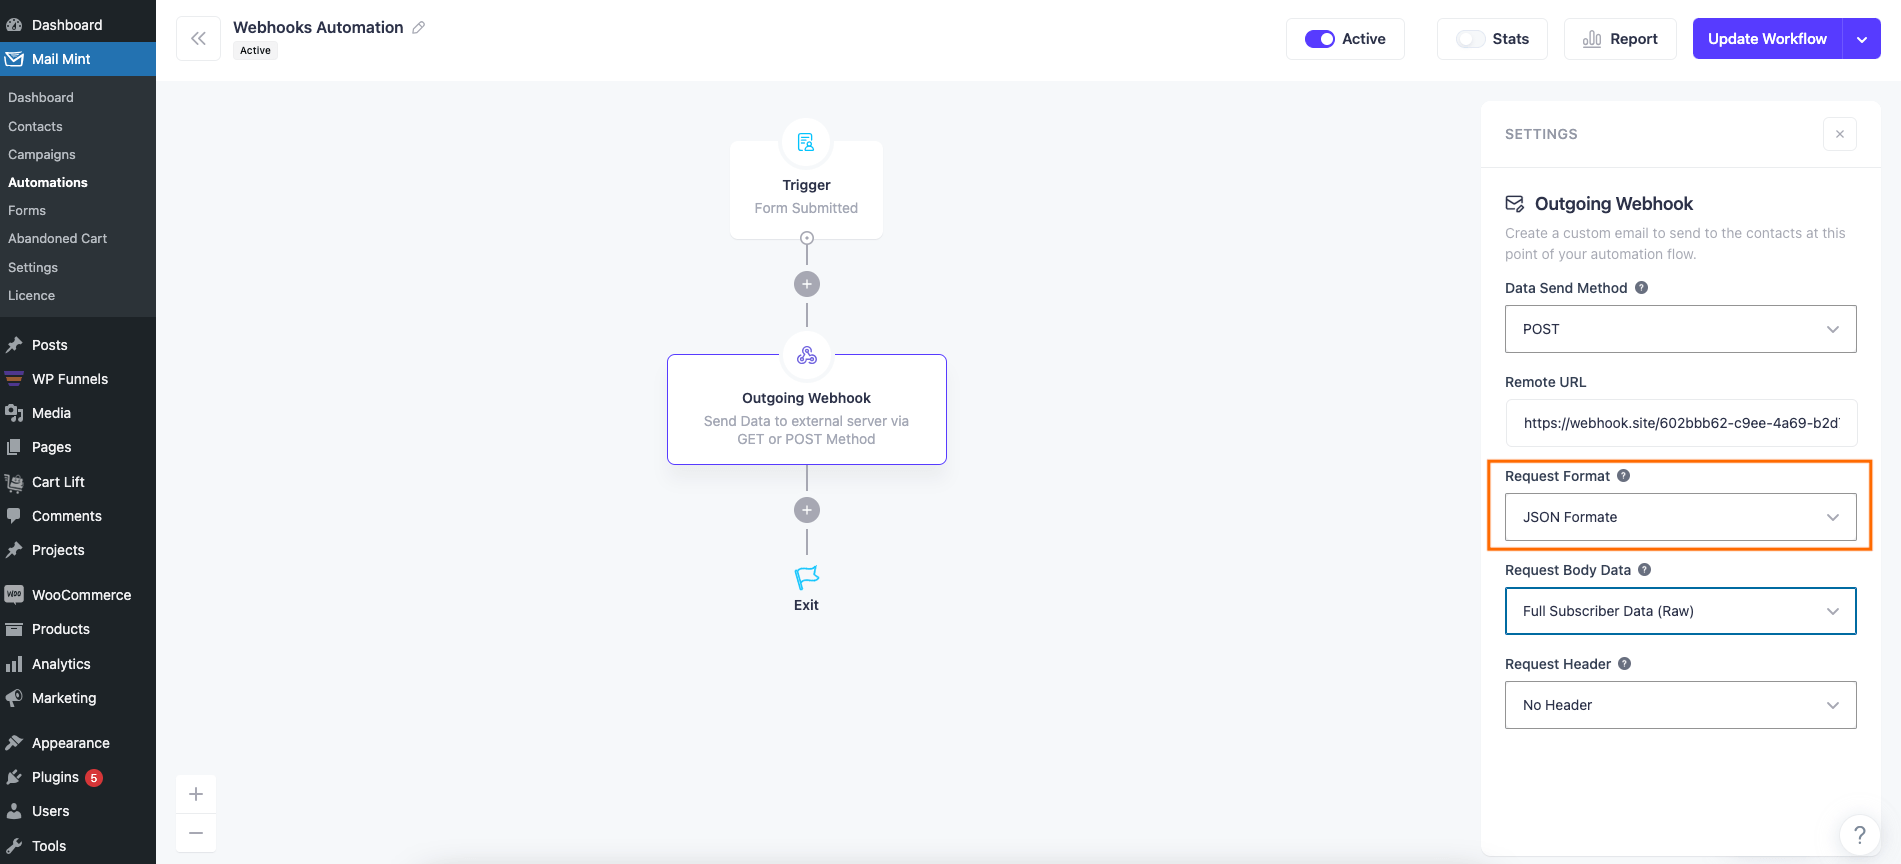
4. Now set the Request Format as “JSON Format”.
5. Set the Request Body Data. Here you can select –
- Full Subscriber Data (Raw)
- Custom Data
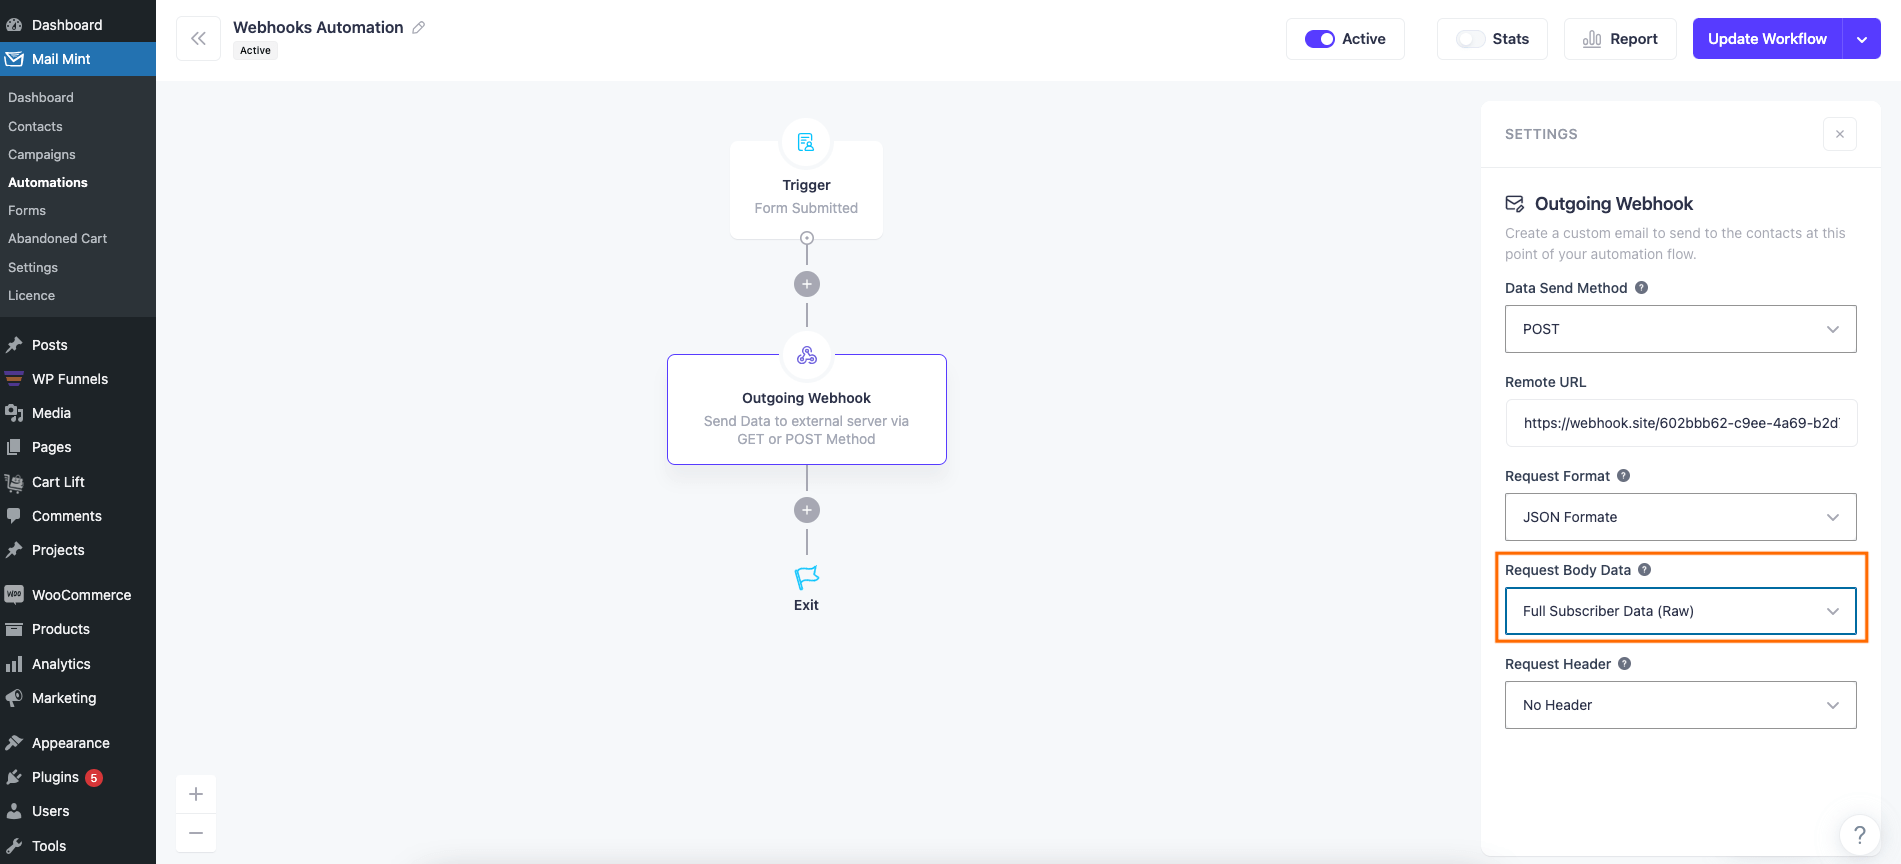
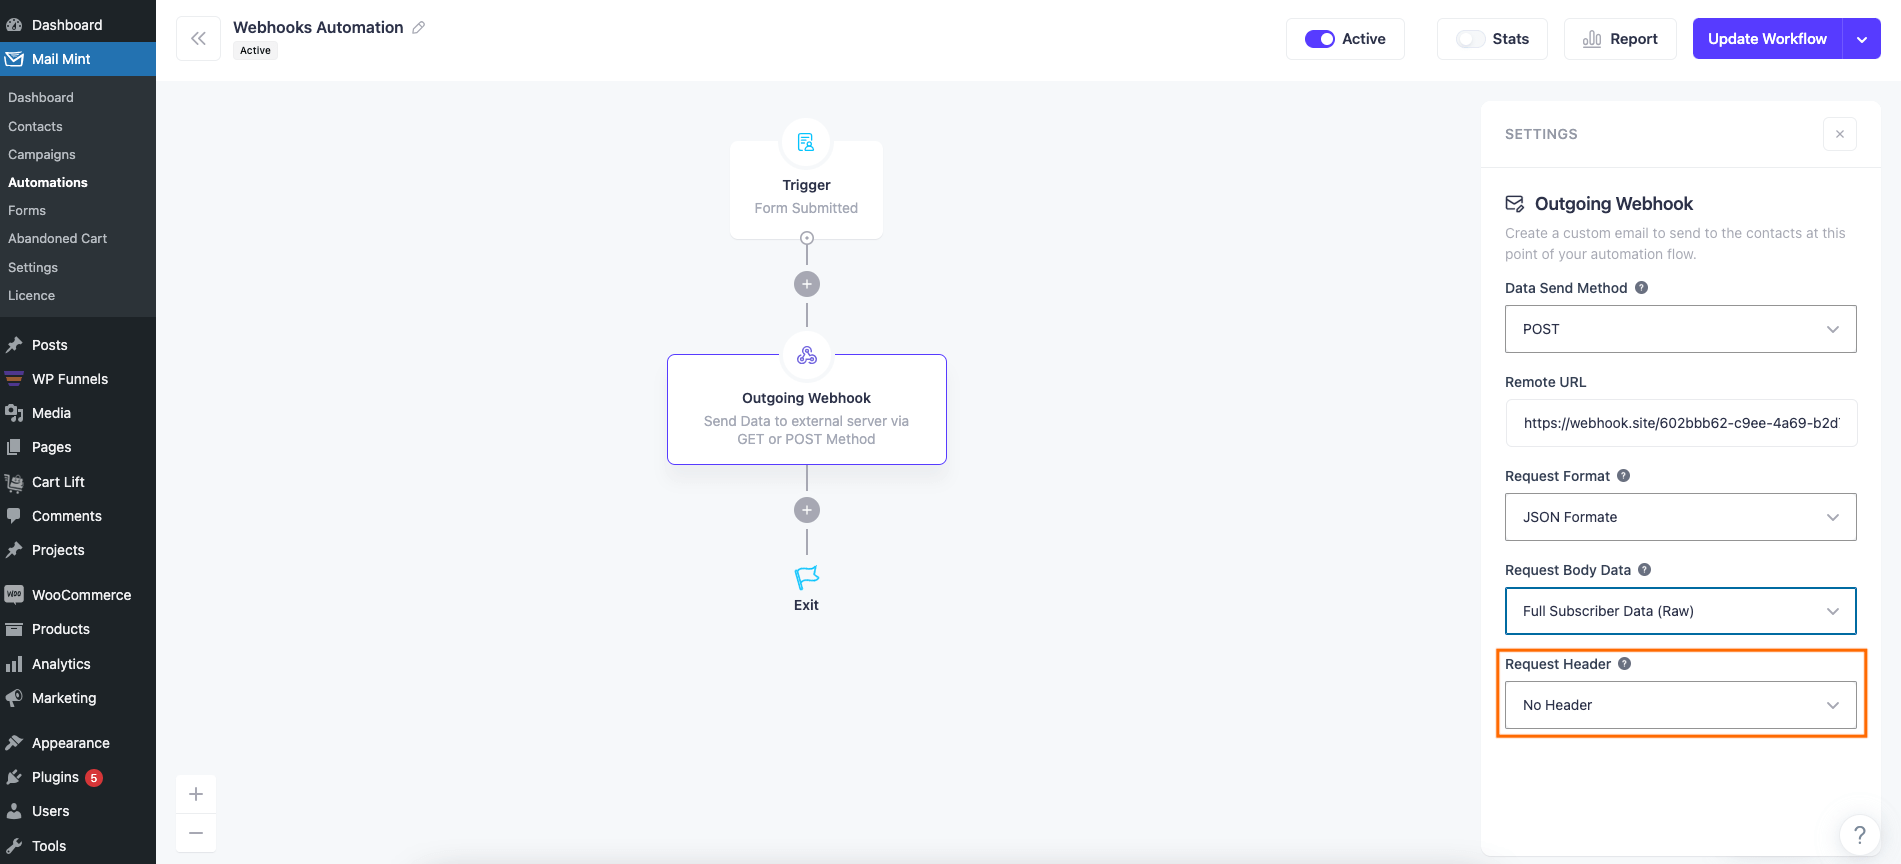
6. Set the Request Header as “No Header”.
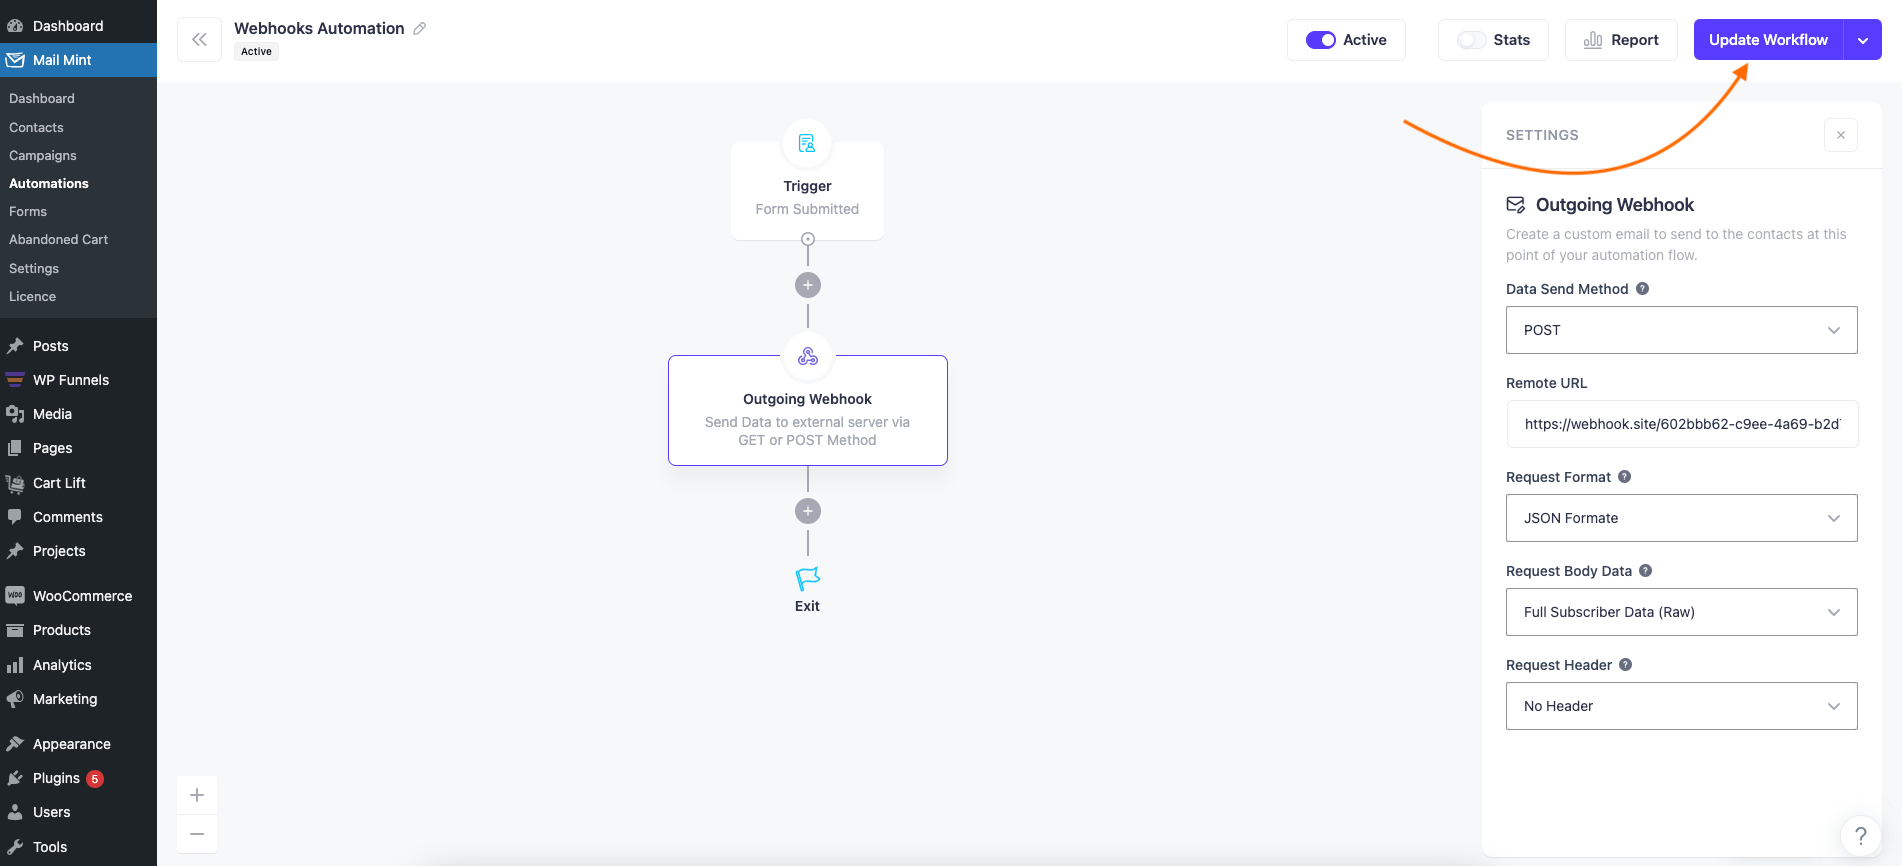
7. After you configure everything, click on “Start Workflow” or “Update Workflow”.
That’s how you can send data to your desired tools from Mail Mint.
