Now you can create automation in Mail Mint for MemberPress.
This documentation will guide you through the step-by-step process of creating the automation.
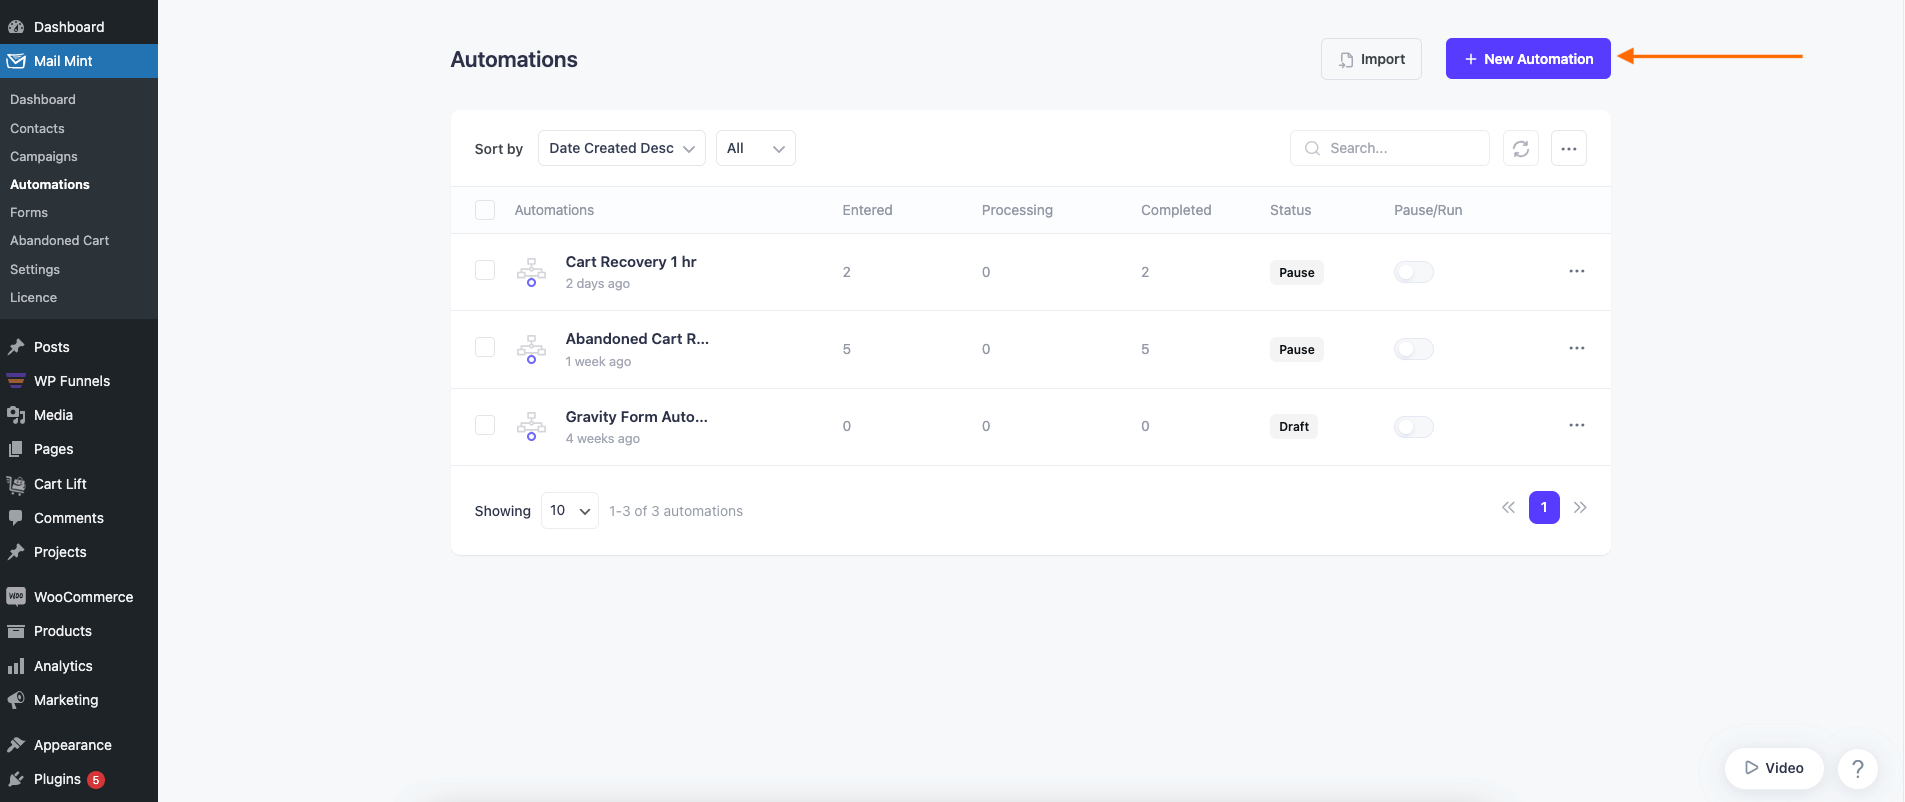
1. Go to Mail Mint > Automations module and click on “+ New Automation”.

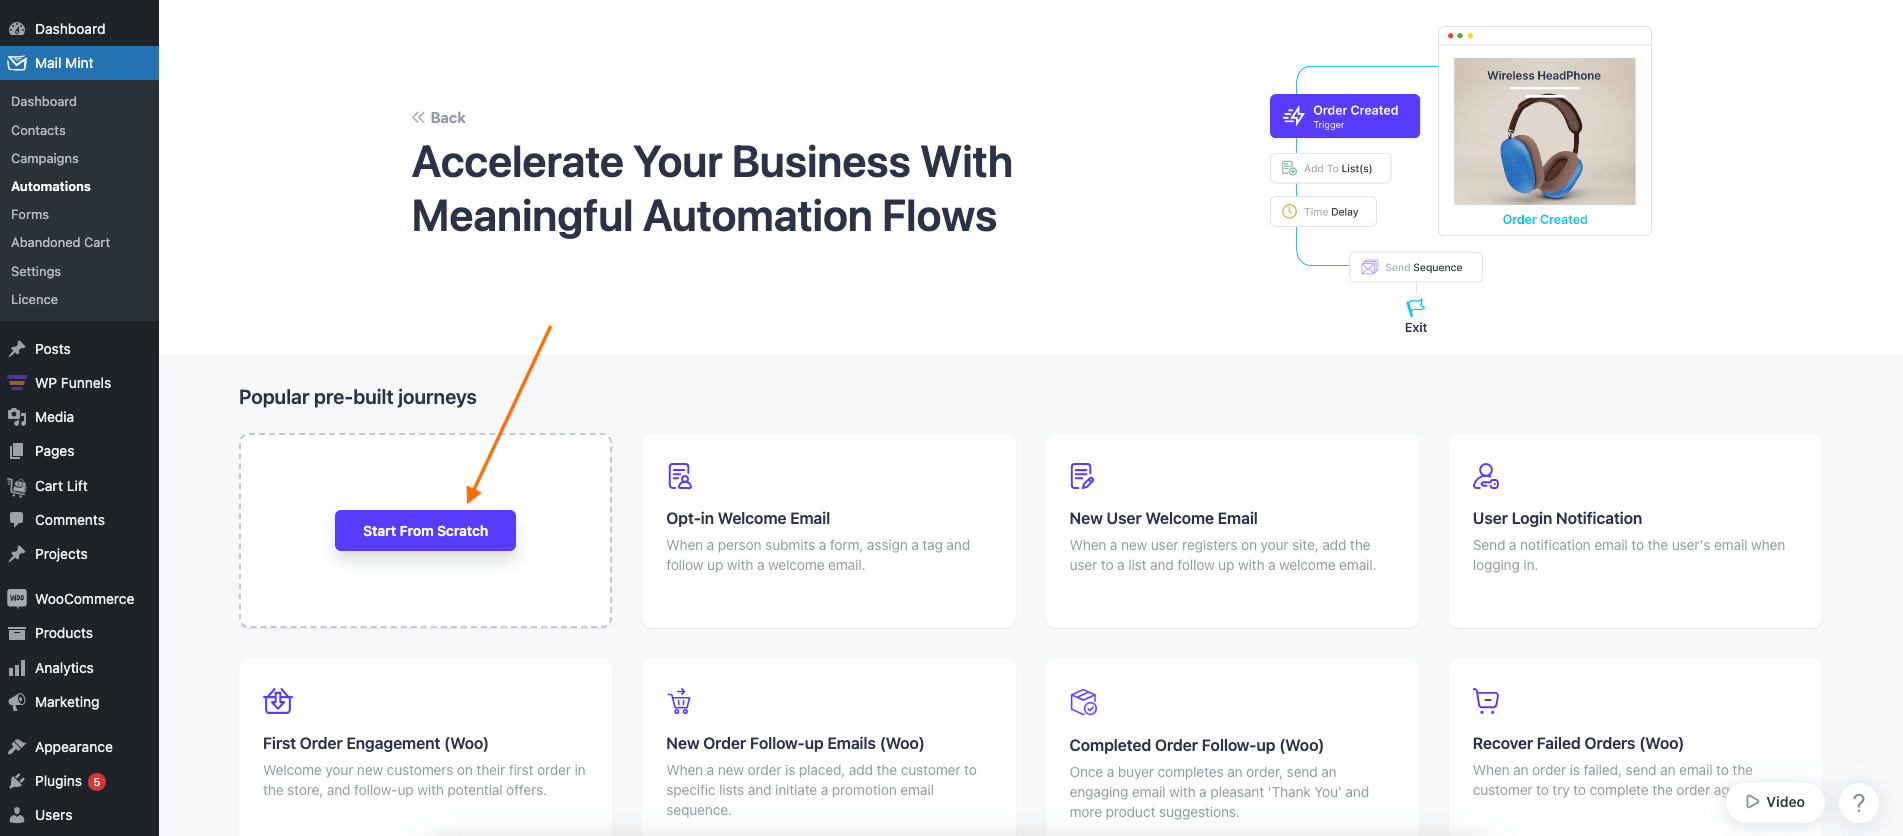
2. Click on “Start From Scratch” and it will take you to the Automation canvas.

3. Now it’s time to Select A Starting Point. Move on to the MemberPress tab and you will see some MemberPress triggers. Choose one to create your automation. For this automation, we are going for the “Added to a Membership Level” trigger.

4. Then select the membership level, for which this automation will run.

5. Then add any action like “Send An Email” or “Add To List”.

6. Configure your action after that. If your action is “Send An Email” then set all the information and email body for this automation from the right side.

7. After you configure everything, click on “Start Workflow“.

That’s how you can easily create automation for MemberPress.


