Before setting up course settings and pricing, make sure you’ve already created your course. Once the course is created, navigate to the top portion of the course dashboard, where you’ll find the “Settings” option. Click on it to configure how your course will appear, how students can access it, and how it will be priced. Once you’ve created a course, you’ll find a Settings tab at the top of your course dashboard. Clicking on it will reveal three major configuration sections: Basics, Resources, and Organize.

1. Basics Section
Let’s walk through the Basics section, which includes key settings like pricing, visibility, course duration, and more.
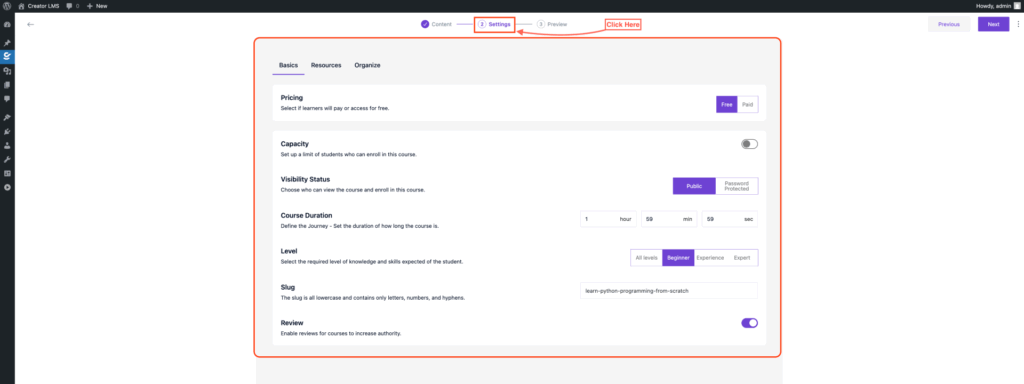
In the Basics area, you can choose whether your course will be free or paid. For paid courses, enter a regular price, and if you want to offer a special deal, you can set a discount price as well.
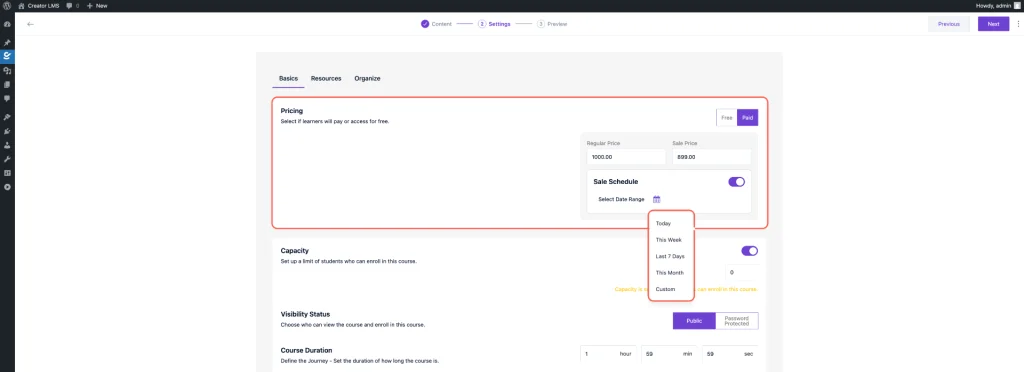
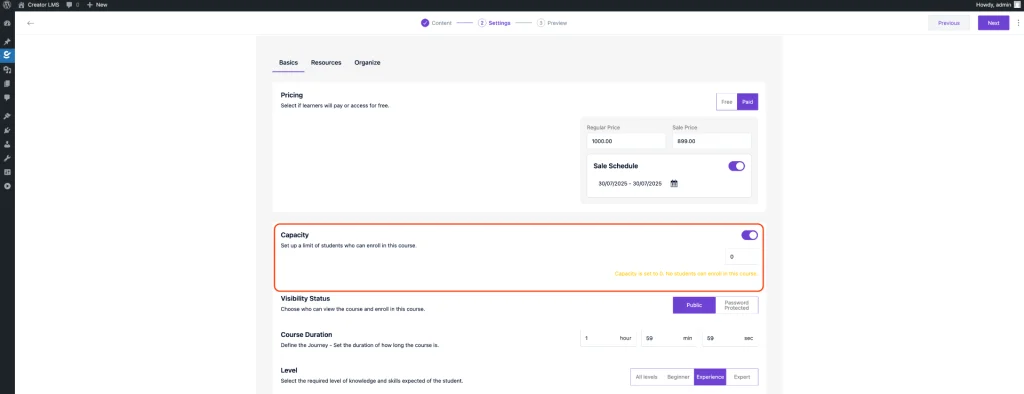
Now, set the Capacity to limit how many students can enroll in your course, and check the Visibility Status to decide whether the course should be Public or Password Protected.
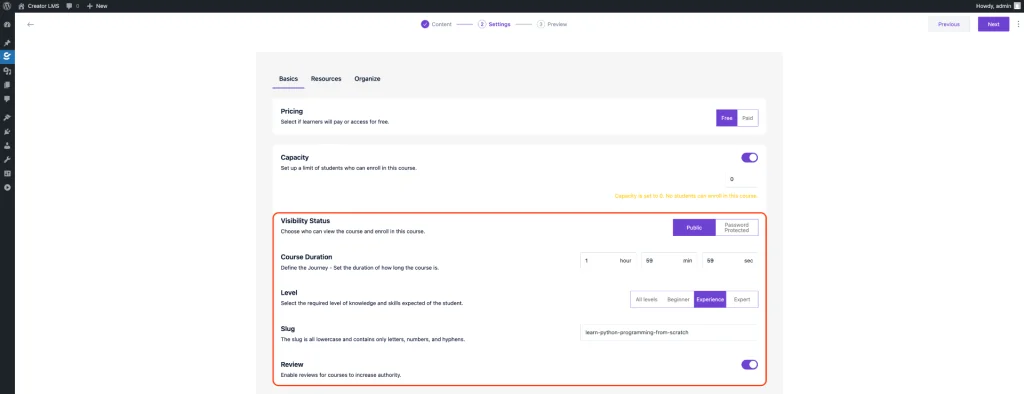
Next, set the Course Duration, choose the appropriate Level (All levels, Beginner, Experienced, or Expert), and define the Slug for your course. Finally, enable Reviews to allow student feedback and boost credibility.
2. Resources Section
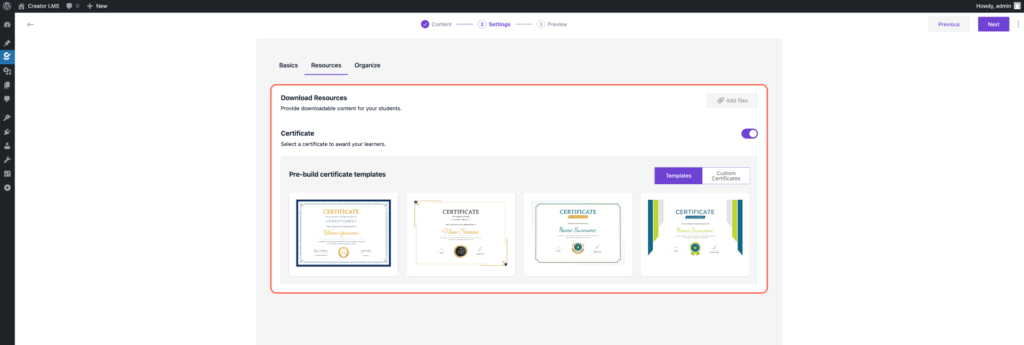
In the Resources section, enable Download Resources(Pro) to provide downloadable content to your students. This allows you to offer PDFs, guides, and other materials directly from the course dashboard. In the Certificate section, you can select a Certificate to award learners upon completion. Choose from Previously created certificates, Templates, or customize your certificate using Custom Certificates to personalize the completion award for your students.
3. Organize Section
In the Organize section, categorize your course by typing a category name and pressing Enter. You can also add unique tags to identify and organize your courses for easy searching and sorting.

Once you’ve completed the course settings, including pricing, duration, visibility, and organization, your course is now ready for students. You’ve successfully set up categories, tags, and downloadable resources, along with certificates for your learners. Review all details, ensure everything is properly configured, and hit “Publish” to make your course available for enrollment.
