In this guide, you’ll learn how to effortlessly generate a course outline using the “Generate Outline with AI” feature in Creator LMS. This helps course creators quickly build structured and engaging courses with just a few inputs.
Before you begin, make sure that both the Creator LMS (Basic) and Creator LMS Pro plugins are installed and activated on your site. The AI-powered outline feature is only available when both plugins are active.
Step 1: Enable the AI Suite
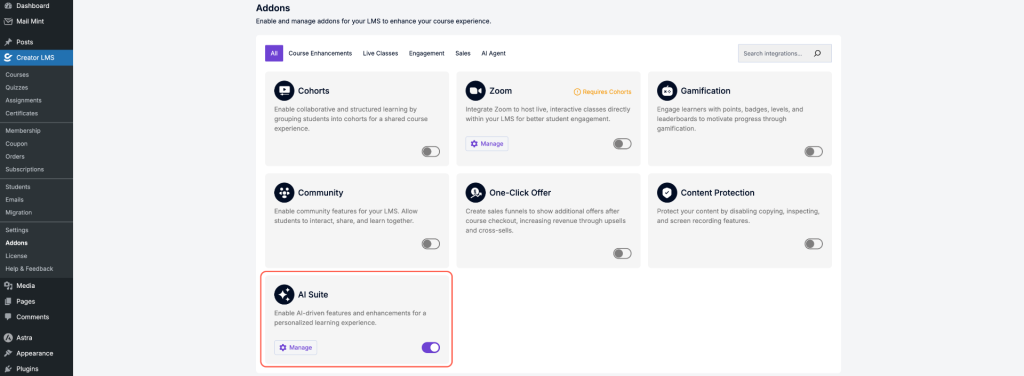
- Go to Creator LMS -> Addons and enable the AI Suite from the options. Then click Manage.
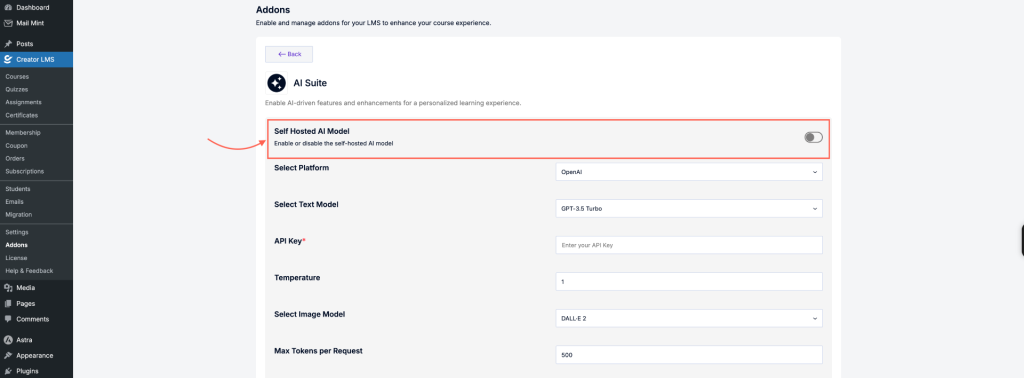
- Here, you will see the Self-Hosted option—click it. If needed, you can also connect different models using your API Key.
Step 2: Go to the Course Creation Panel
- Now, from the left sidebar, go to Creator LMS → Courses. Click Add New to create a new course or edit an existing one.

Step 3: Choose How You Want to Build Your Course
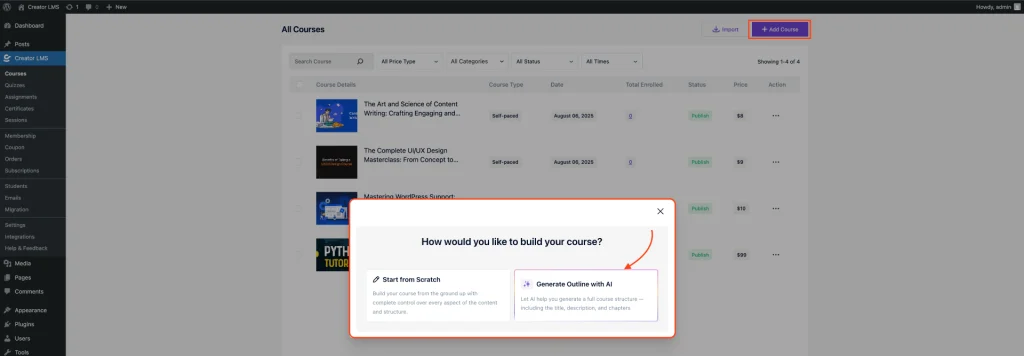
After clicking “Add New”, a pop-up will appear asking: “How would you like to build your course?”
You’ll see two options:
- Generate Outline with AI: Let AI help you generate a full course structure — including the course title, description, and chapters — based on the inputs you provide.
- Start from Scratch: Build your course from the ground up with complete control over every aspect of the content and structure.
✅ Select “Generate Outline with AI” to proceed with the AI-powered course creation.
Step 4: Describe Your Course Idea
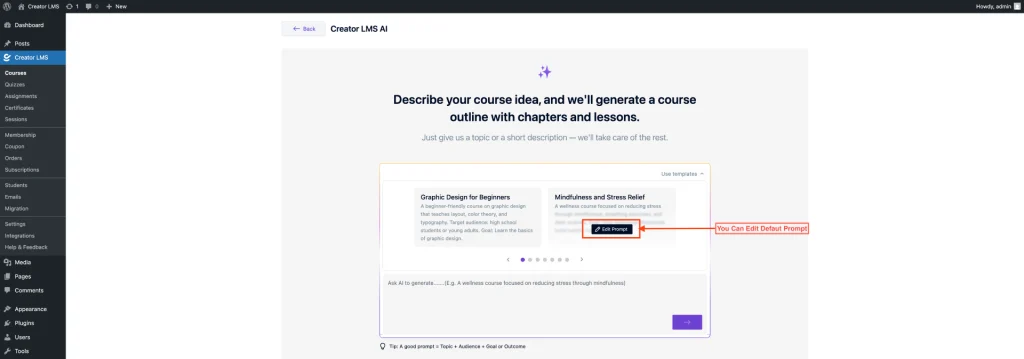
Once you select “Generate Outline with AI”, you’ll see a prompt that says: “Describe your course idea, and we’ll generate a course outline with chapters and lessons. Just give us a topic or a short description — we’ll take care of the rest.”
You can either:
- Use Templates: Click to view example prompts.
- Write Your Own Prompt: Describe your course idea in your own words.
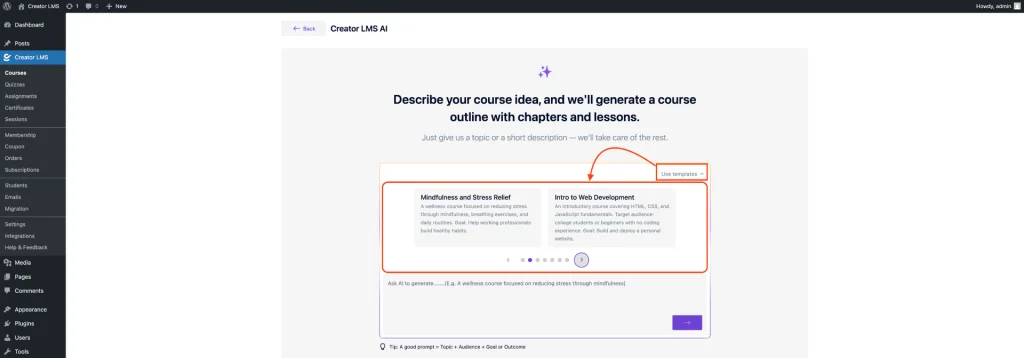
- You can also edit the template’s prompt by clicking on the “Edit Prompt” option.
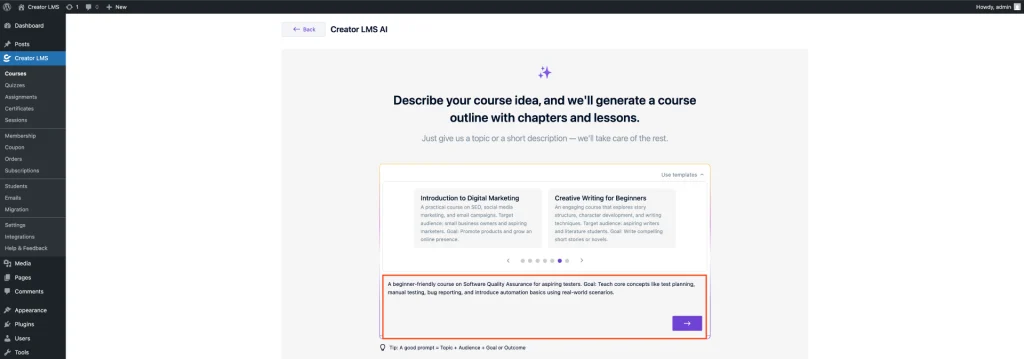
- Today, we’ll use our own custom prompt to generate a course. Here’s an example: “A beginner-friendly course on Software Quality Assurance for aspiring testers. Goal: Teach core concepts like test planning, manual testing, bug reporting, and introduce automation basics using real-world scenarios.” and click next.
- Once you click Generate Outline, Creator LMS AI will generate a complete course structure for you. If you’re not fully satisfied with the result, don’t worry — you can edit the prompt to improve the structure or focus, then simply click Regenerate to get a new version of the course.
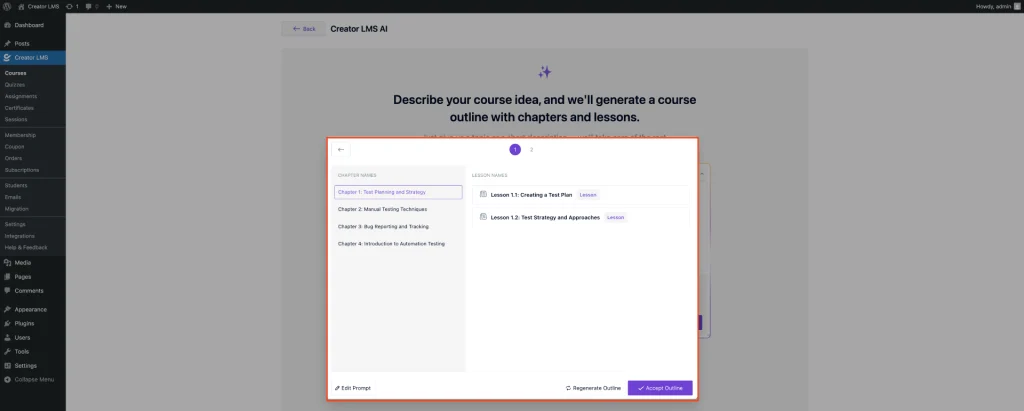
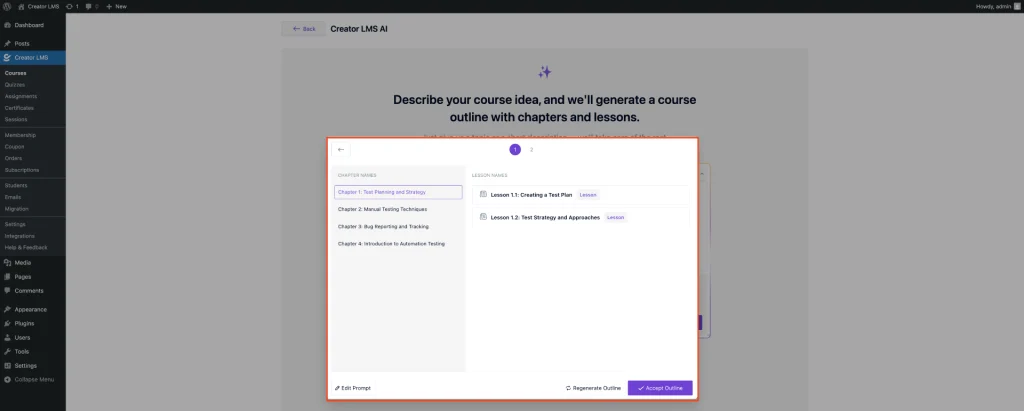
- Once you’re happy with the AI-generated course structure, simply click on the “Accept Outline” button.
Step 5: Set the Course Title, Description, and others
After the outline is generated, you will be directed to the Course Dashboard. Here, you can customize the course title, Description, Images, and others.
- Locate the Course Name field at the top of the dashboard. Edit the name to reflect your course title.
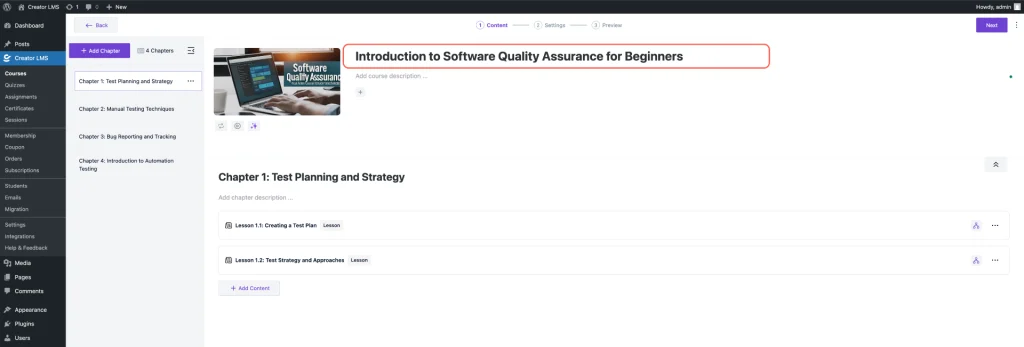
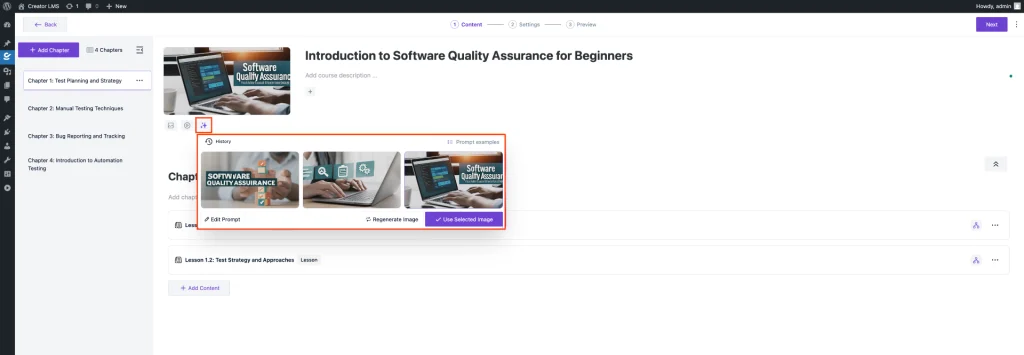
- You can use the LMS AI to automatically generate the course thumbnail.
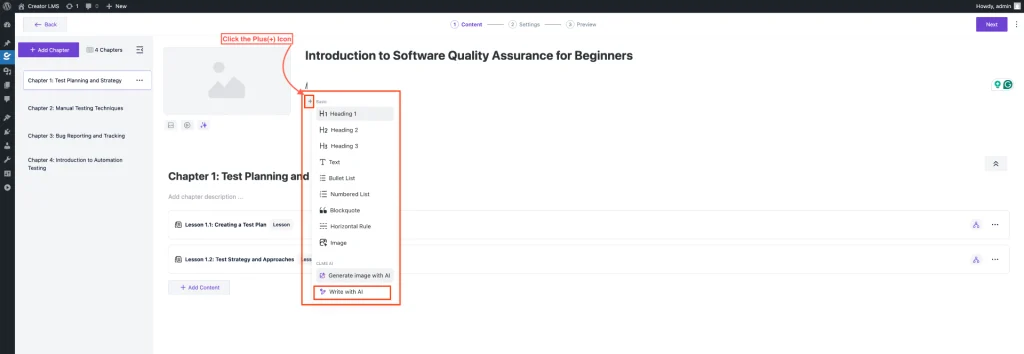
- Click the Plus Icon in the “Course description section” and generate your course description.
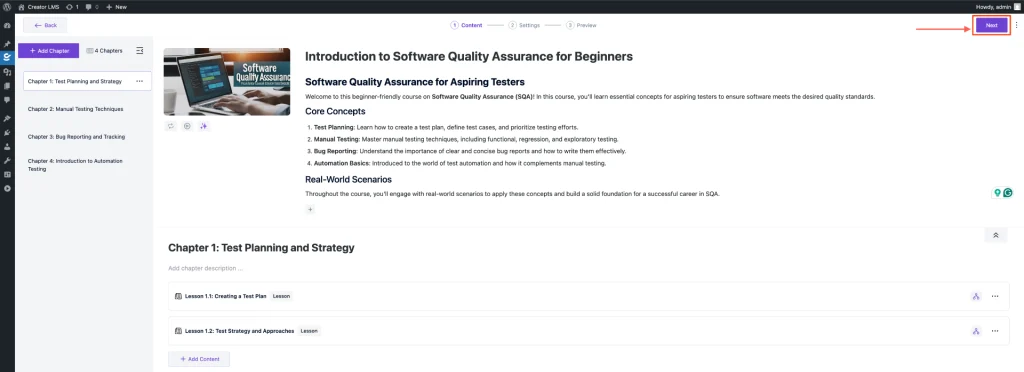
- Now, customize your course content as needed — edit lessons, add quizzes, or adjust the structure to match your vision. Once you’re satisfied, click Next.
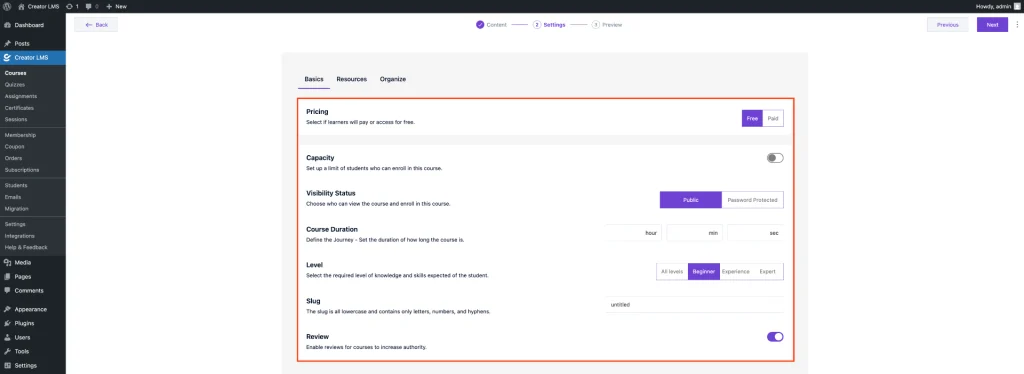
- Set important course details such as Price, Capacity, Difficulty Level, and more. Then, click Next to proceed.
- Finally, review everything and click Publish to make your course live and available to students.

You’re all set! With just a few guided steps, you’ve created and published a professional course using Creator LMS with AI assistance. Now you can share your course, track enrollments, and start teaching with confidence!