In this guide, we learn how to manage all subscriptions in Creator LMS, including viewing active subscriptions, checking purchase details, and ensuring users can access the courses assigned to their membership plans. Make sure both Creator LMS Basic and Pro are installed to use the full subscription features.
Steps to Manage Subscriptions
1. Create a Membership Plan
Make sure you have at least one membership plan set up. Subscriptions are generated when users purchase a membership.
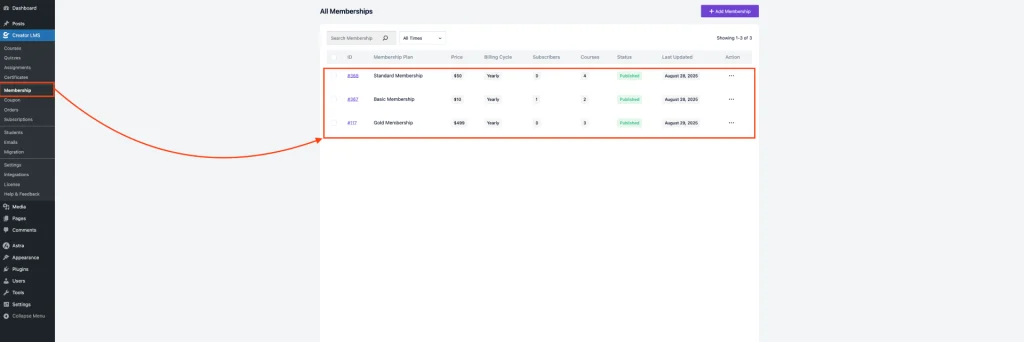
(Need help? See: [How to Create a Membership in CLMS].)
2. Assign Courses to Membership
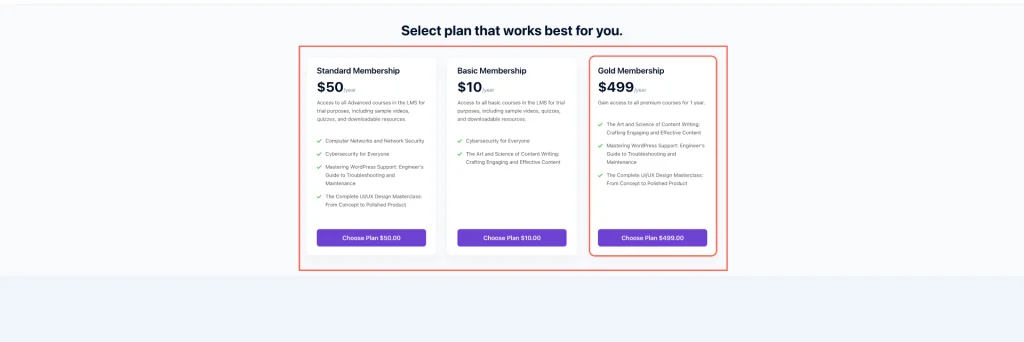
For example, a Gold Membership can include multiple courses. Make sure all the desired courses are assigned to the membership when creating or editing it.
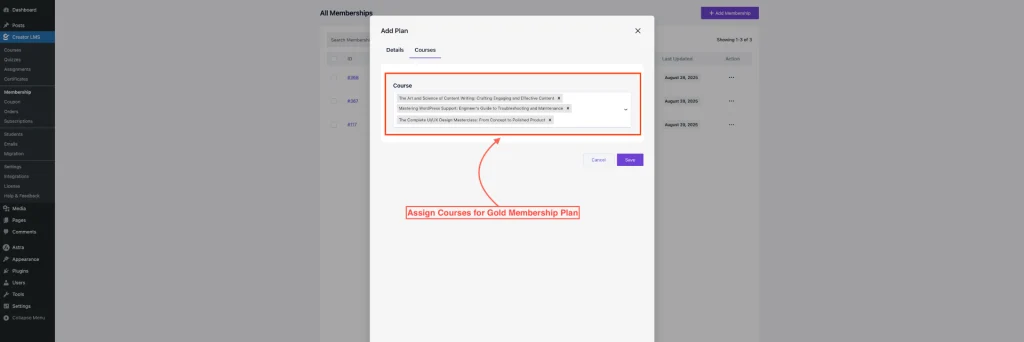
When a user purchases the membership plan, they will automatically gain access to all the courses included in that plan. You can verify this from the Course Dashboard.
3. View All Subscriptions
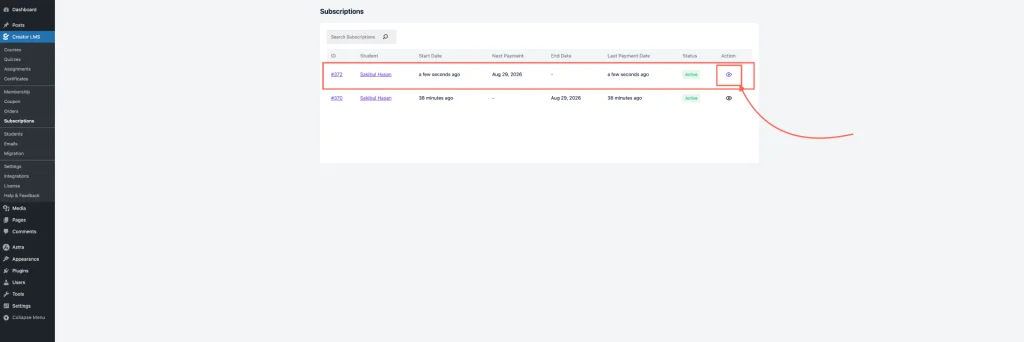
Navigate to the Subscription section in the LMS dashboard to see a list of all purchased subscriptions.
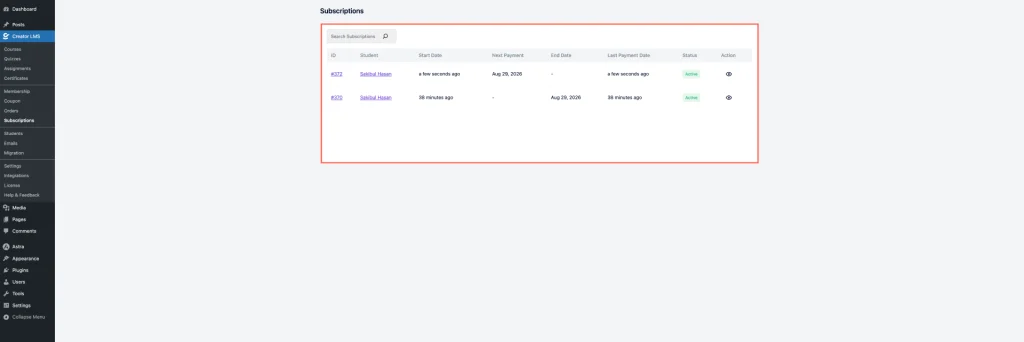
Click the View icon to open detailed information for a specific subscription.
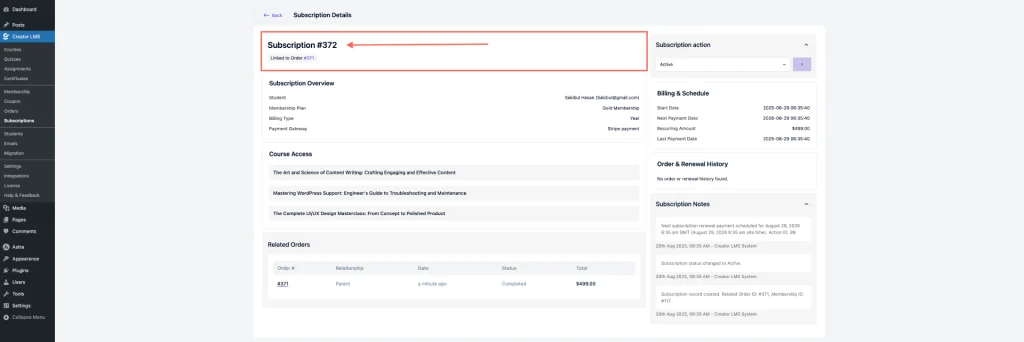
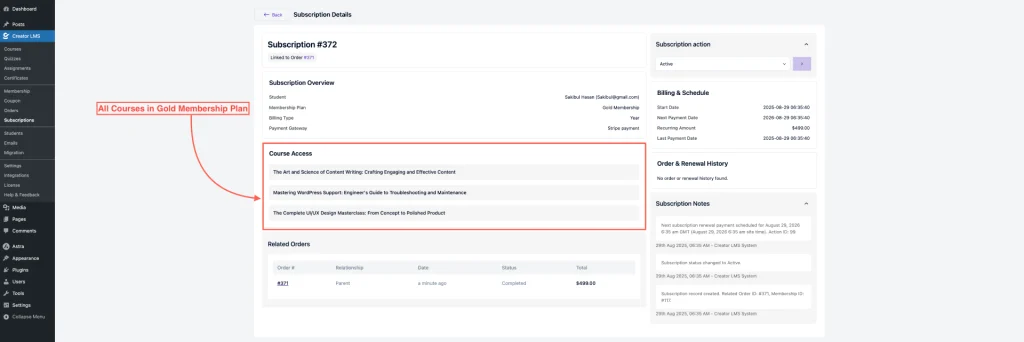
At the top, you’ll find the Subscription Order Number.
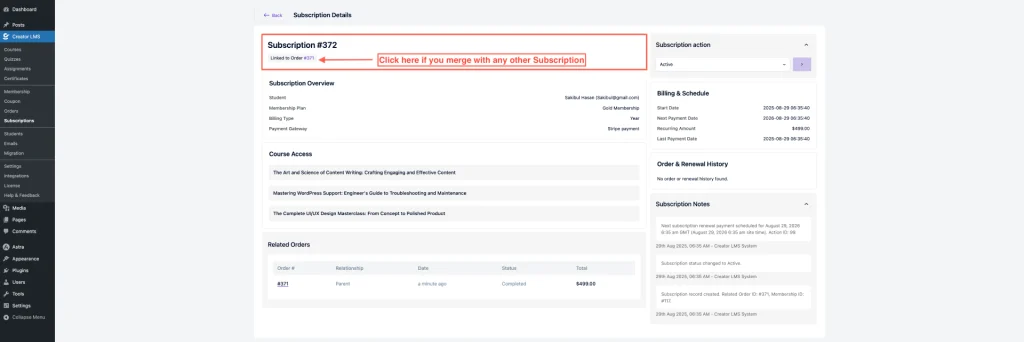
You can also merge any subscription order with another subscription, allowing you to consolidate multiple purchases under a single subscription for easier management.
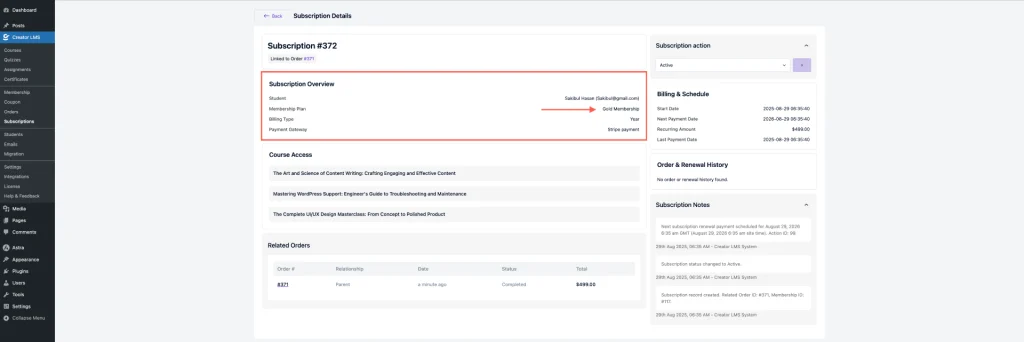
The Subscription Overview displays the user’s email, membership plan, payment gateway, and billing type.
Below that, you’ll see the courses assigned to the membership plan.
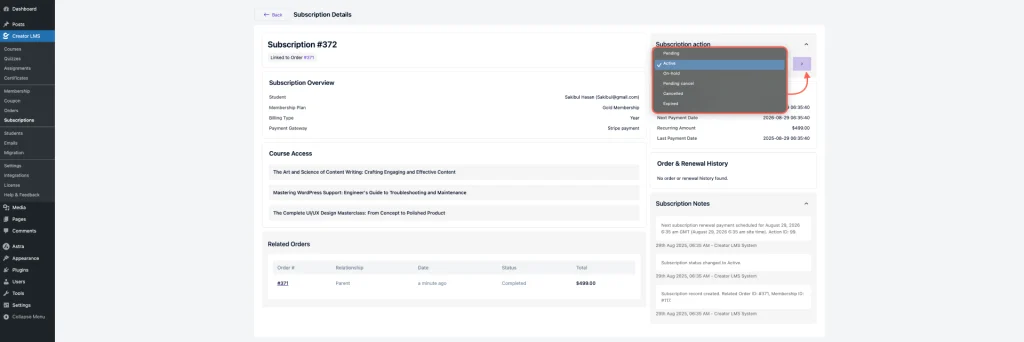
On the right side, the Subscription Actions menu allows you to change the status (Pending, On-Hold, Cancelled, Active, Expired, etc.).
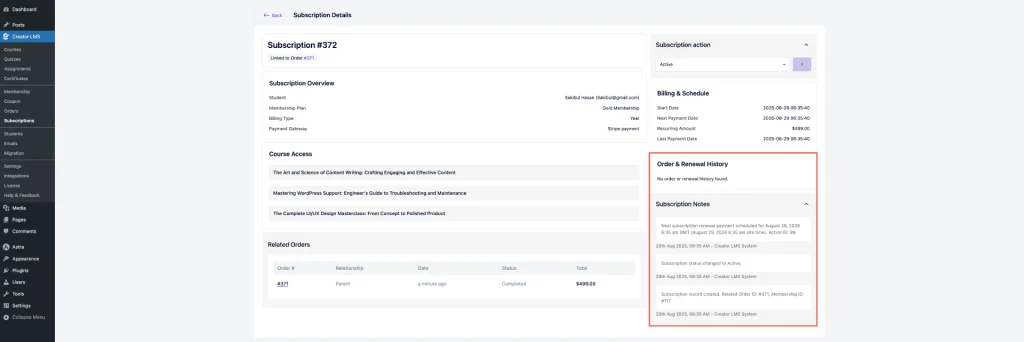
At the bottom, you can review the Order & Renewal History as well as any Subscription Notes.
Now everything is set, and you can easily manage all subscriptions, track user access, and handle membership plans efficiently in Creator LMS.