With WPFunnels, you can design and edit your checkout page using Elementor.
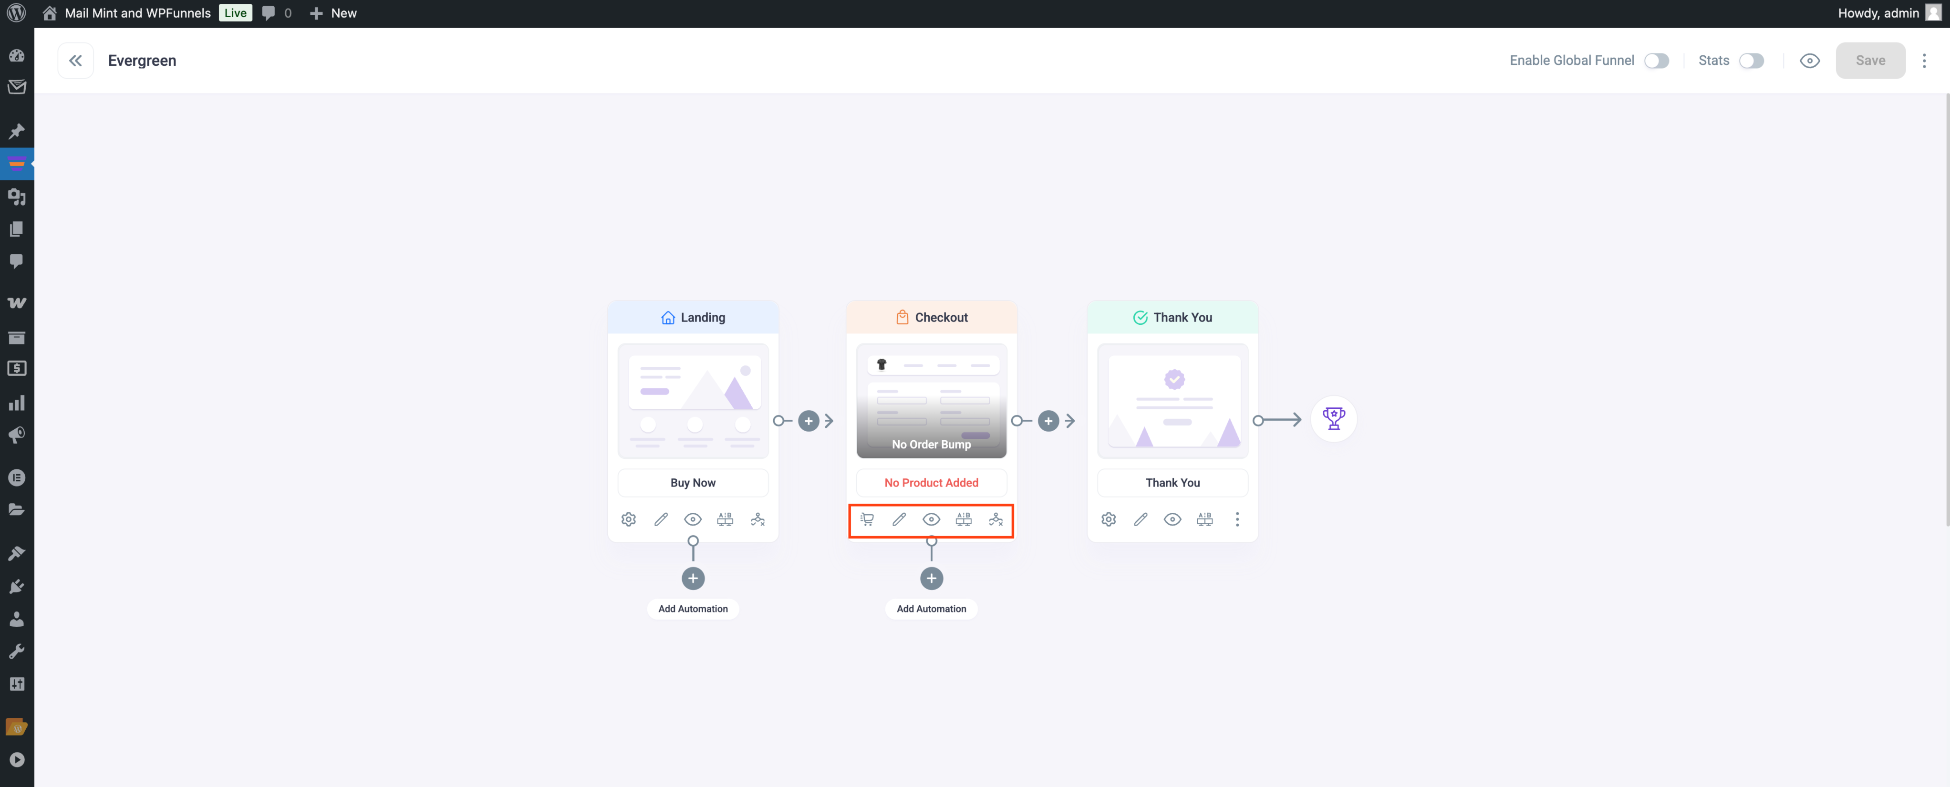
To design or edit your Checkout Page with Elementor, go to Dashboard > WPFunnels. Add a new funnel or edit an existing one. When you select the Checkout step, you will see five options at the bottom: Cart, Edit, View, A/B Testing, and Conditional Options.

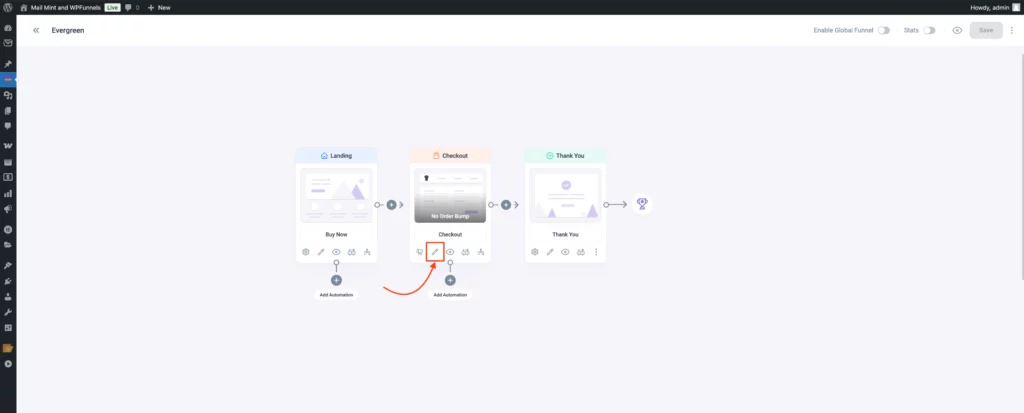
To edit the Checkout page, click on the Edit option.

Once you click on the Edit icon, a new tab will open with the Elementor page builder plugin, through which you can edit your Checkout page.
Note: If you set Elementor as the default page builder the Checkout page will open with Elementor. You can change the default page builder from the WPFunnels Settings.
Once the page is open with Elementor, you will get the following view if you’ve started creating the checkout page from scratch:

Now, you can edit the Checkout page from scratch, or if you’ve selected a checkout template, you will get the pre-made template here.
On the left, drag and drop Elementor widgets into sections or search for them in the widget bar. To add a Checkout Button, scroll down to WPFunnels or search for it. Drag and drop the Checkout Button widget to your template.

To make any changes to your Checkout Button, click on the WPFunnels Checkout Widget, and you will get some options to change the Layout, Enable Order Bump, etc.
Also, by clicking on the Style or Advanced option, you will get some more options to change the button style.
Now, Click on the Update button from the bottom left.

That’s it. Your checkout page is ready.
Now, to see your Checkout Page in action, click on the View option next to the update button, or you can go back to your funnel canvas, click on the Checkout step, and then click on the View icon.