If you’re using a CRM tool, you know how useful it is for managing relationships and interactions with your active and potential customers.
One of the most popular and complete CRM solutions you can find in WordPress is the FluentCRM plugin.
And from now on, you can connect WPFunnels with FluentCRM to set up automations based on different triggers.
In this guide, you’ll learn how to create automated workflows by integrating WPFunnels with FluentCRM:
Step 1: Create a List in FluentCRM
To use the WPFunnels plugin, at first you need to make sure that the following plugins are installed and activated on your sites:
- WPFunnels – Pro
- WooCommerce
- FluentCRM
Once the plugins are installed, you also need to make sure that the WPFunnels Pro License is activated.
Now, Segment your audience or contacts with multiple lists, and tags in FluentCRM.
You can learn to segment your audience in FluentCRM by following this simple guide.
Step 2: Enable Integration in Funnels
First, you will have to create a new funnel or edit an existing one.
Now, Click on the [+ Integration] button on the top left side of your canvas. Click on this button to integrate your funnel with other tools.
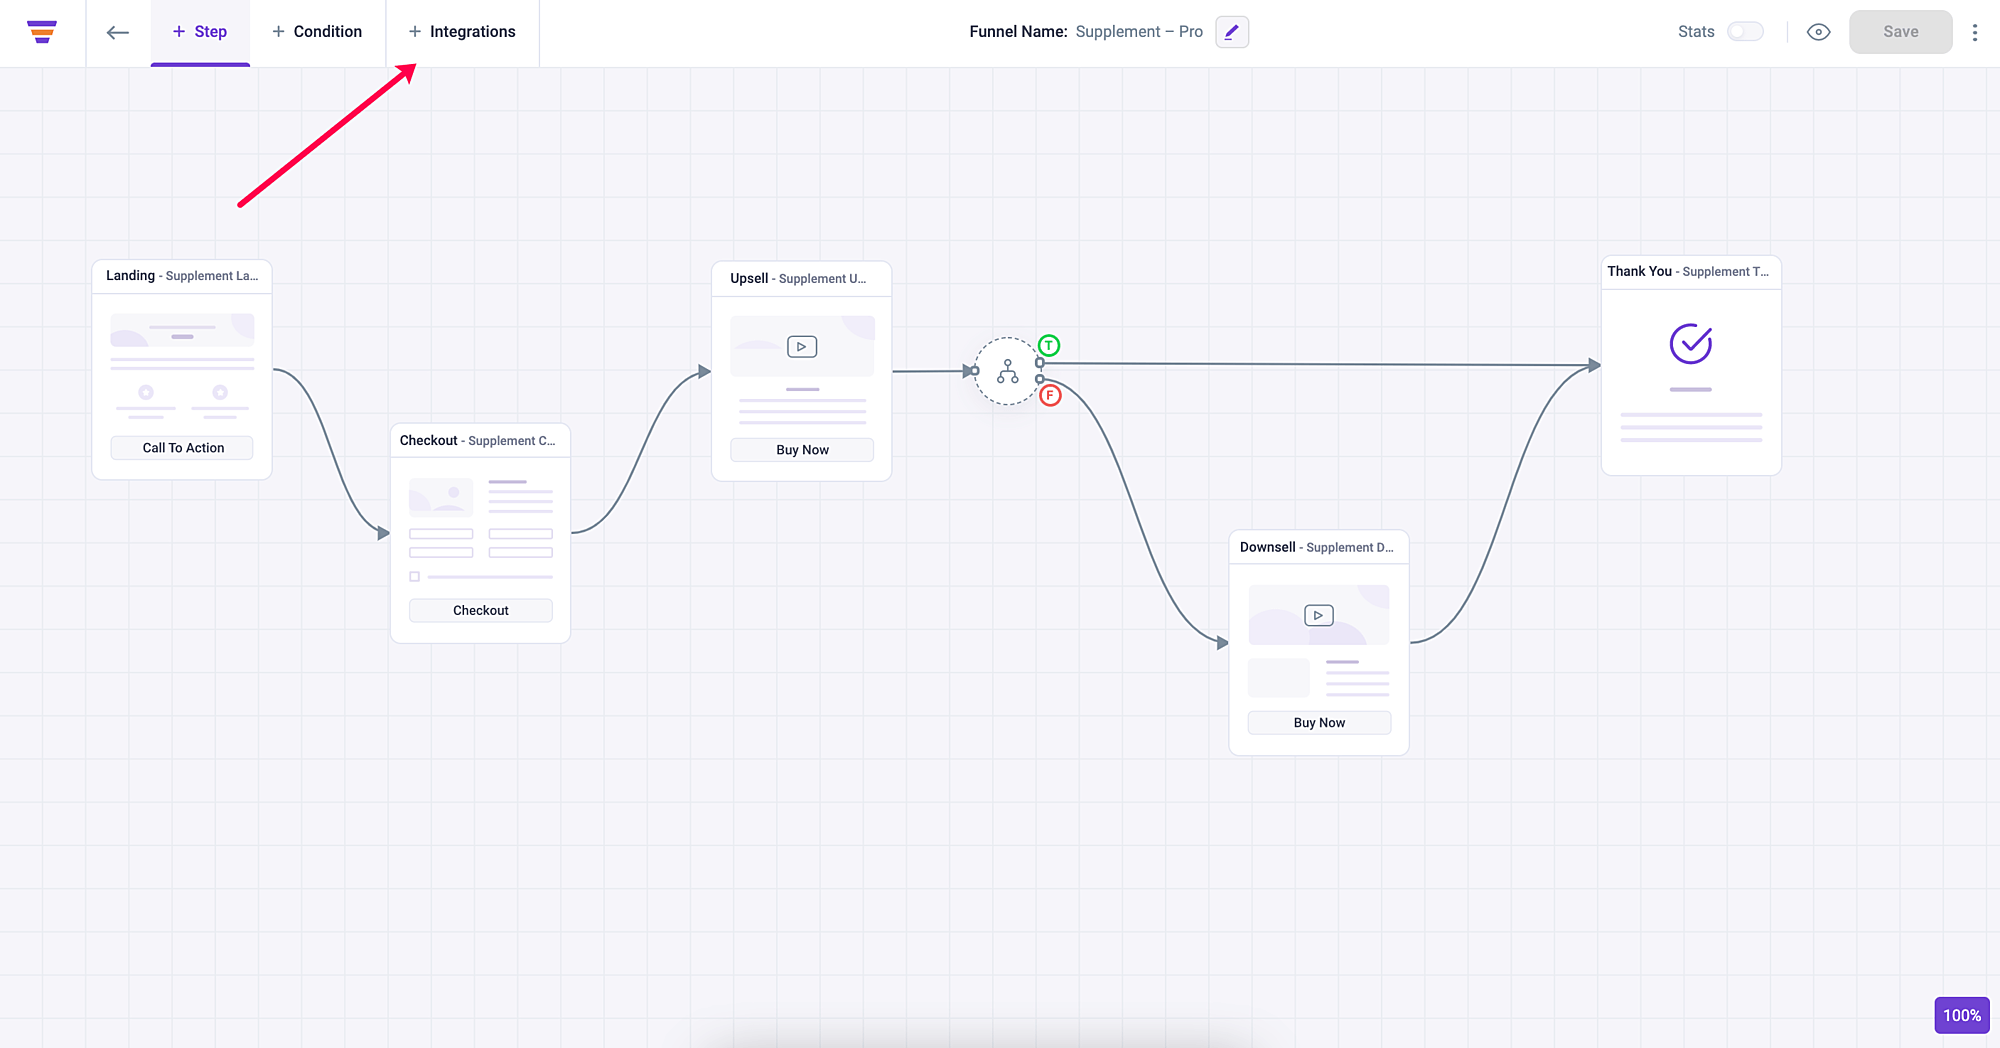
Once you click on this, you’ll be able to see a drawer with the Add New Integration button.

After clicking on the button you’ll see options to Edit the name of the Integration and Connect CRM option.

Click on the drop-down bar and select FluentCRM. As of now, we’re only offering integration with FluentCRM but in the future, we’ll make WPFunnels compatible with popular CRM tools.
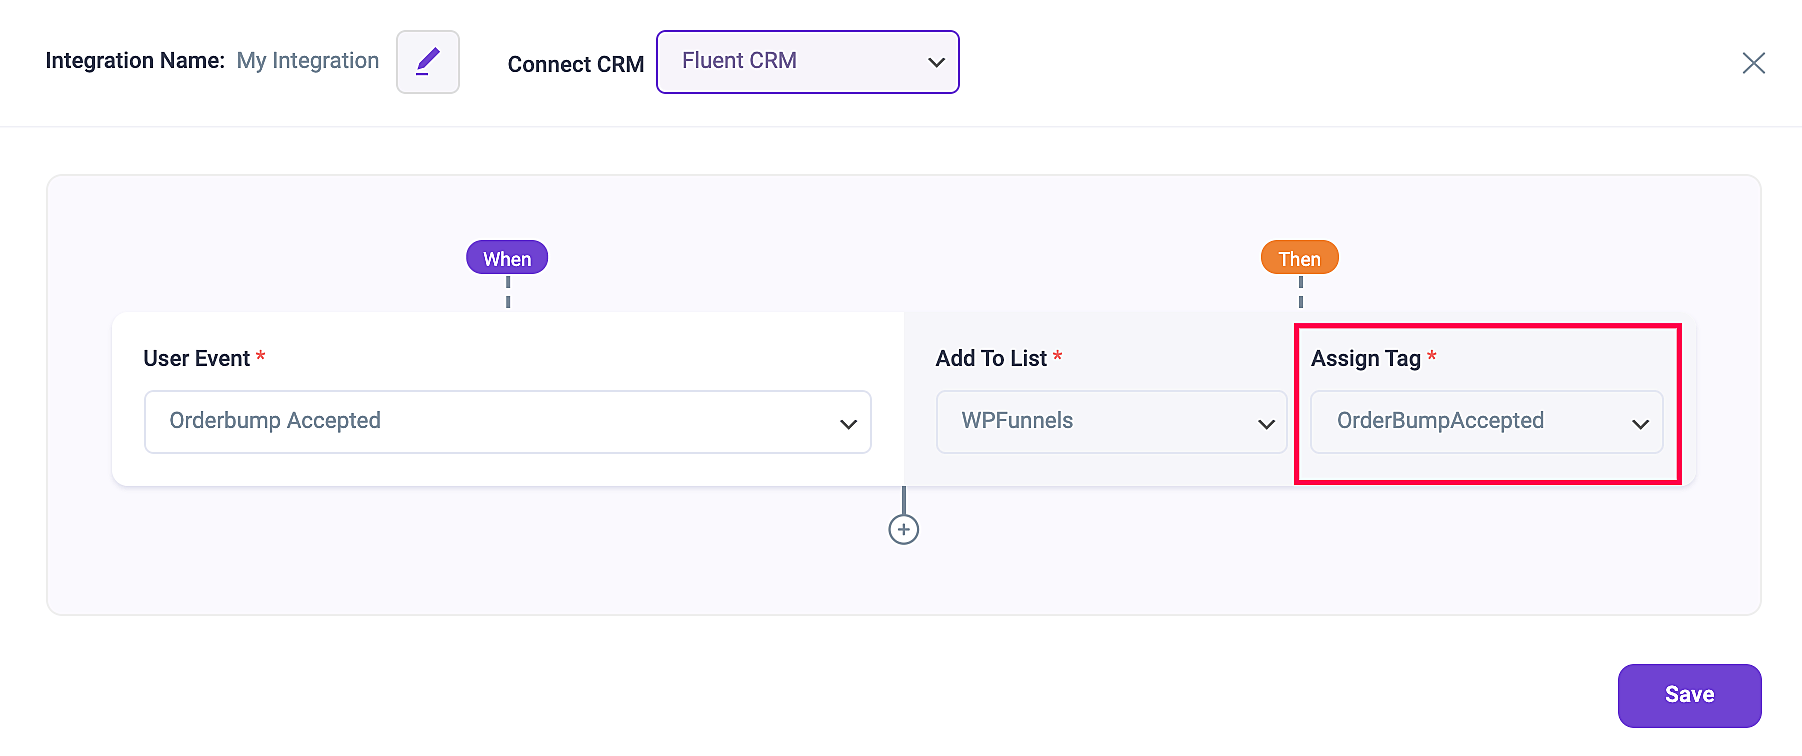
After selecting the CRM, you’ll be able to get three options there such as User Event, Add to List, and Assign Tag.
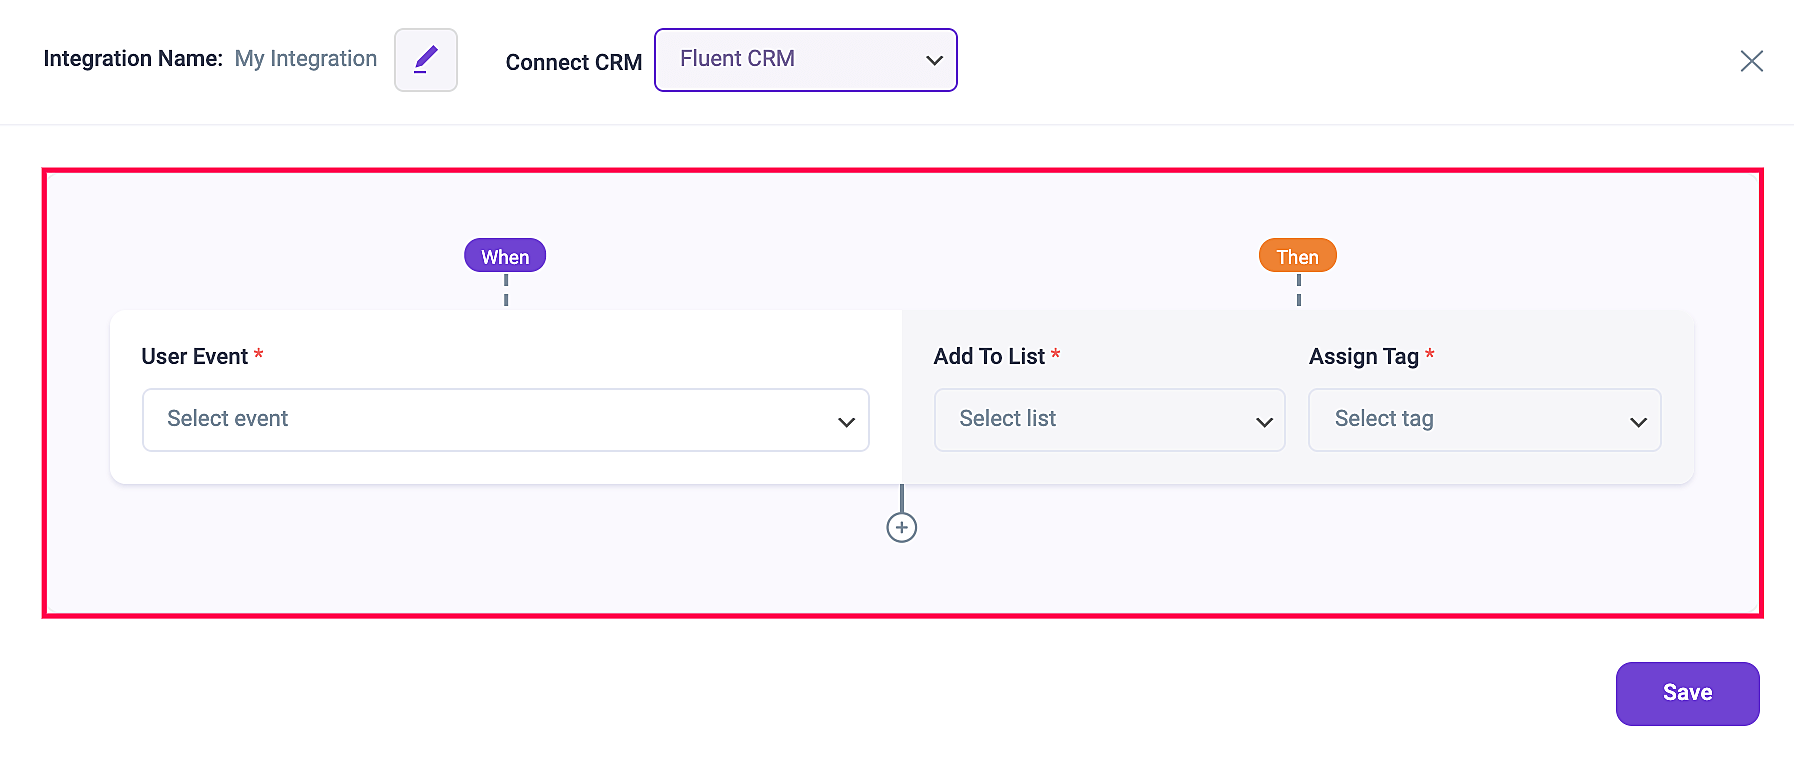
Now, Click on the drop-down button below the User Event and you’ll get the following triggers:
- CTA Triggered
- Order Bump Accepted
- Order Bump Not Accepted
- Upsell Accepted
- Upsell Rejected
- Downsell Accepted
- Downsell Rejected
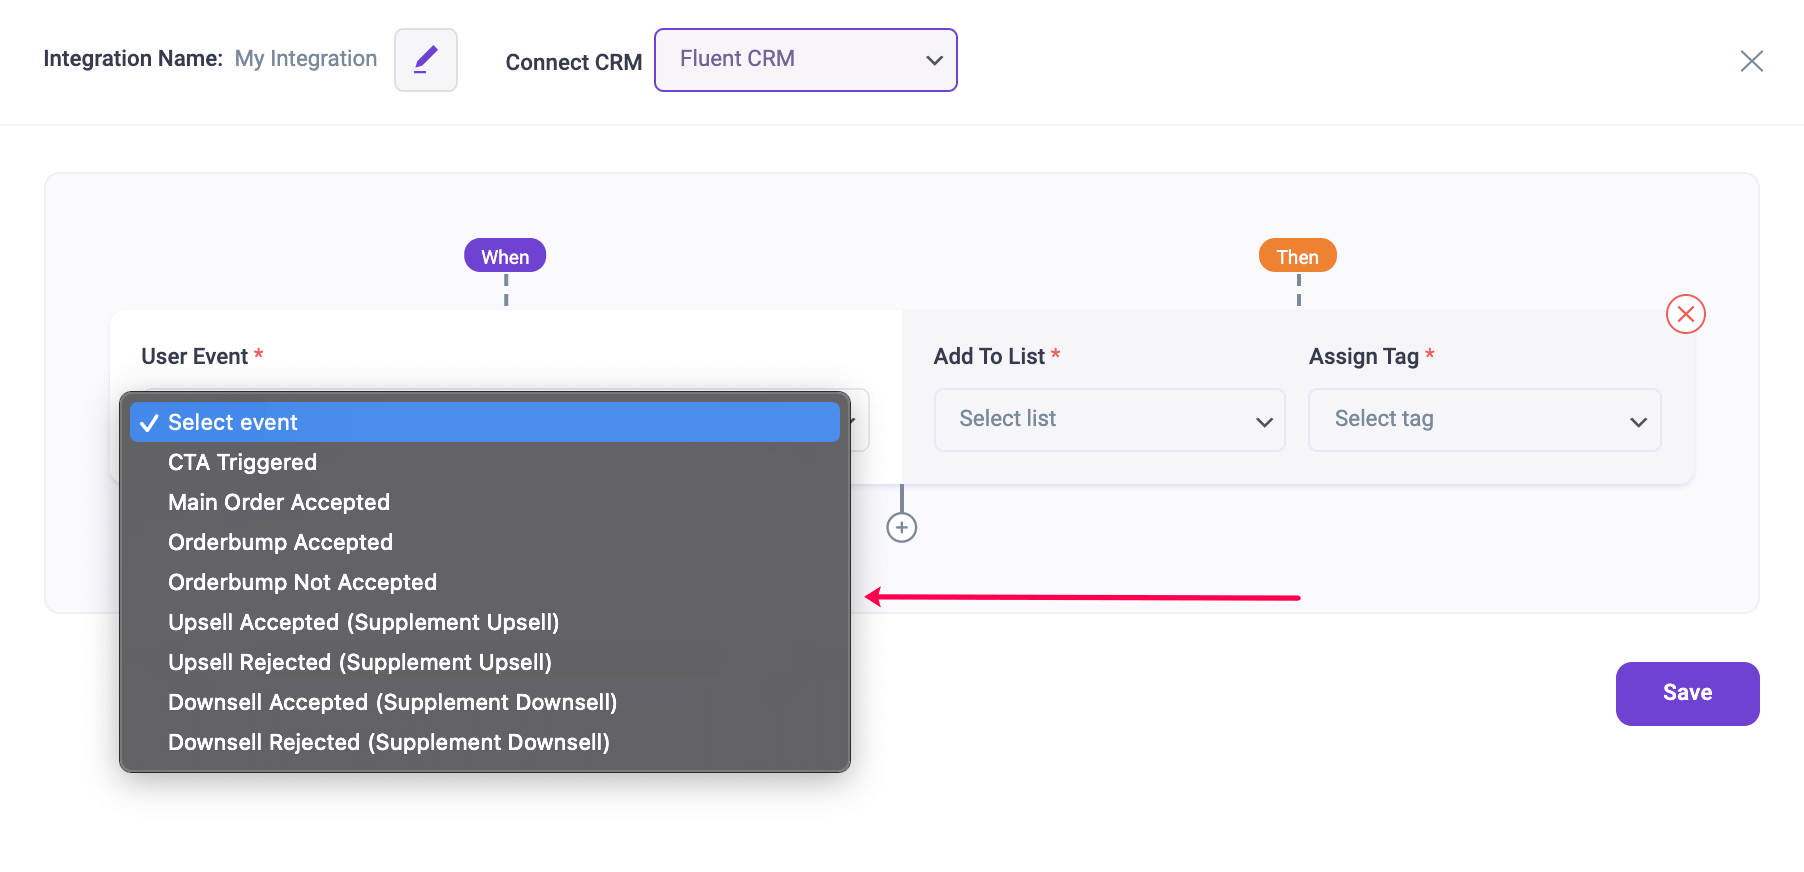
Here the trigger designates an action that initiates subsequent actions in the sales funnel workflow.
As of now, I’m selecting Order Bump Accepted as the User Event.
Once you have added the user event, it’s time for you to pass the selected trigger the list that you’ve already created in FluentCRM.
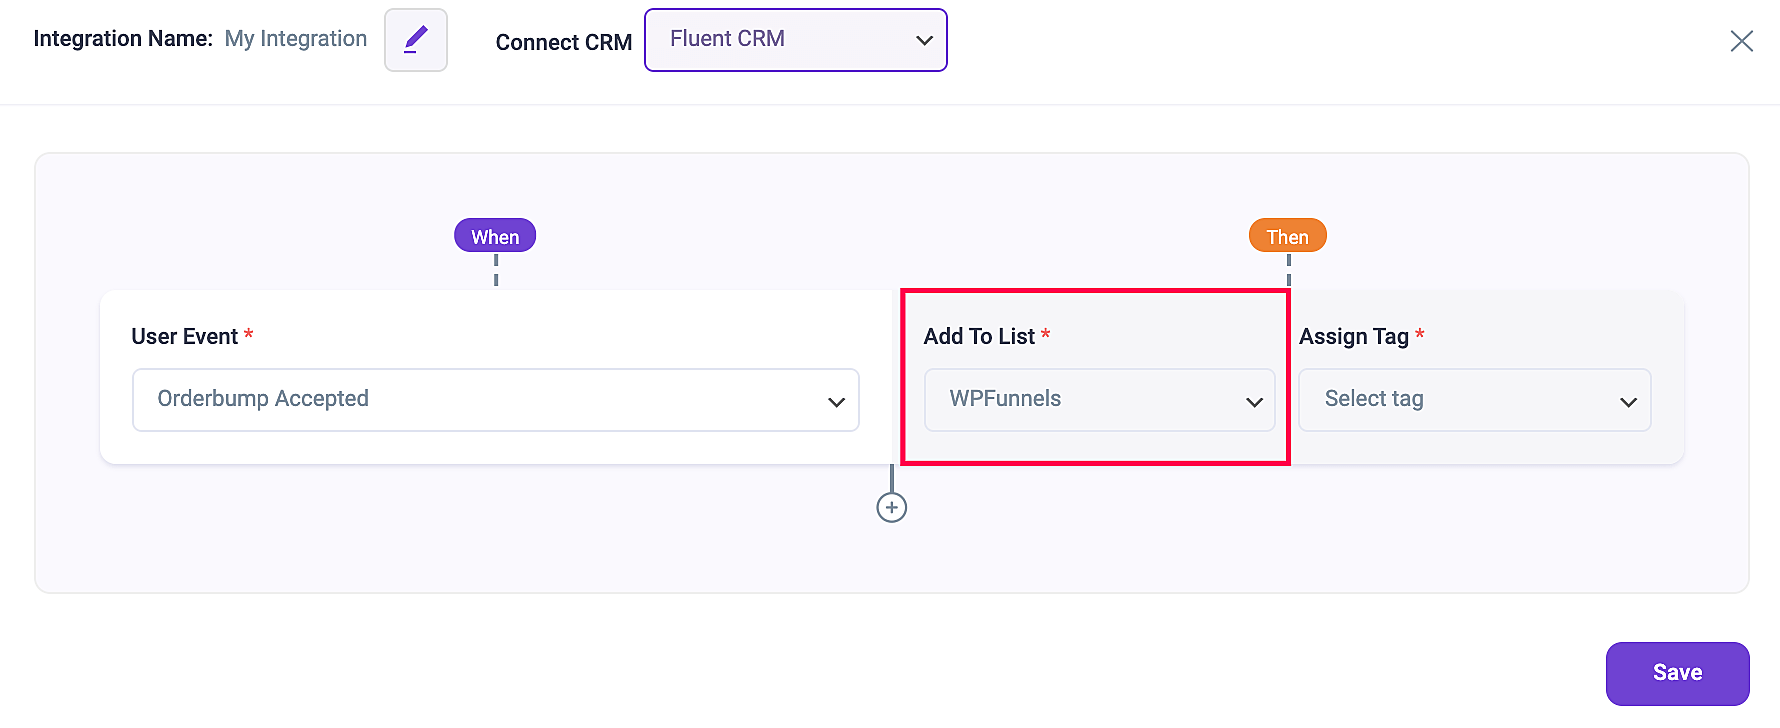
Now, click on the drop-down button and assign the preferred tag that you’ve already created in FluentCRM. And, then click on Save Changes.
You can also add another trigger by clicking on the plus sign below the condition.
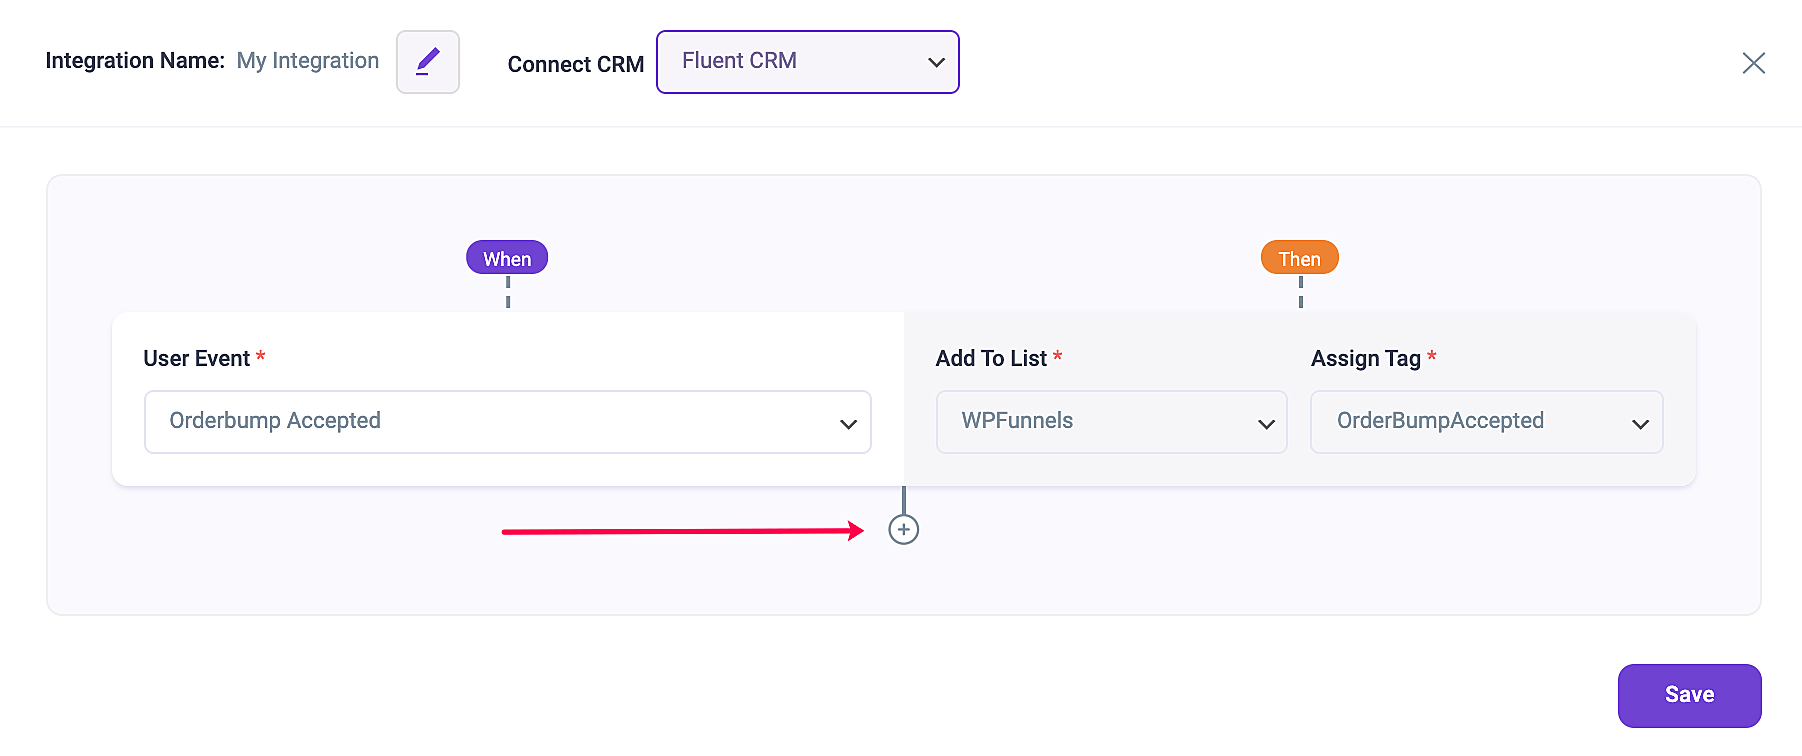
So, whenever a prospect takes a specific action, user details will be passed out to the mentioned list with assigned tags. And thus you’ll be able to run the required Automation in FluentCRM easily.
That’s it! This is how you can connect your CRM and capture leads using WPFunnels.
