Creator LMS has built-in community features so your students can interact, share ideas, and engage with your courses.
This guide explains how to quickly turn on these features and start building your course community.
Prerequisites:
Before enabling community features in Creator LMS, make sure:
- Creator LMS Basic or Pro (Business Plan) is installed and active on your site.
Step 1: Go to the Community Settings
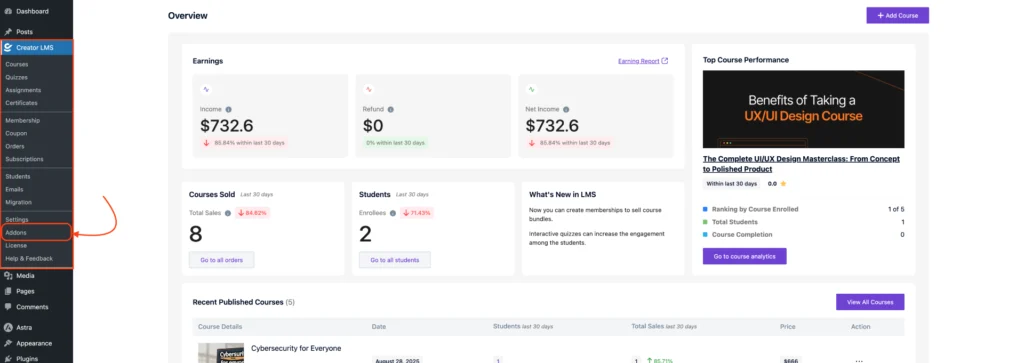
- In your WordPress dashboard, navigate to Creator LMS → Addons.
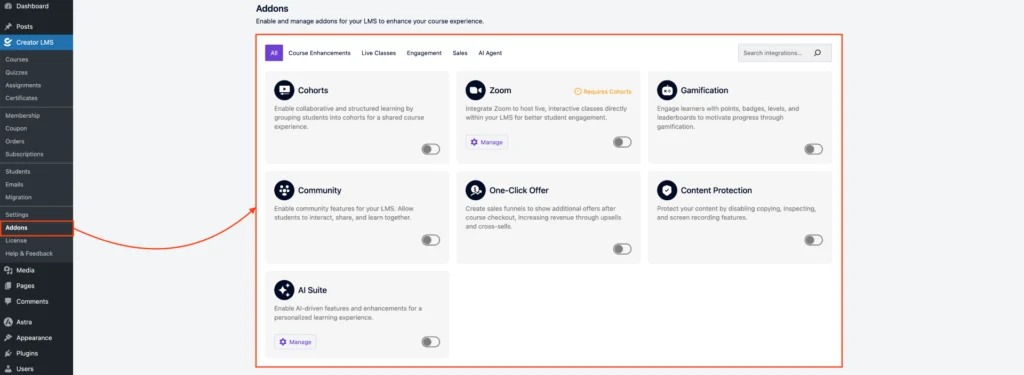
- Then you will see different kinds of addons are available, like,
- Cohorts
- Zoom
- Gamification
- Community
- One-Click Upsell
- Content Protection
- AI Suite
- …and more coming soon
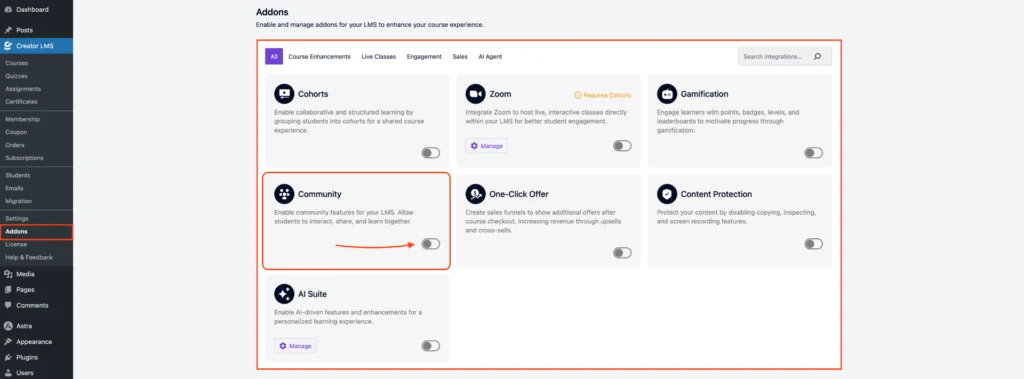
- Enable the Community addon by turning on the toggle switch next to it.
Step 2: Access the Community Page
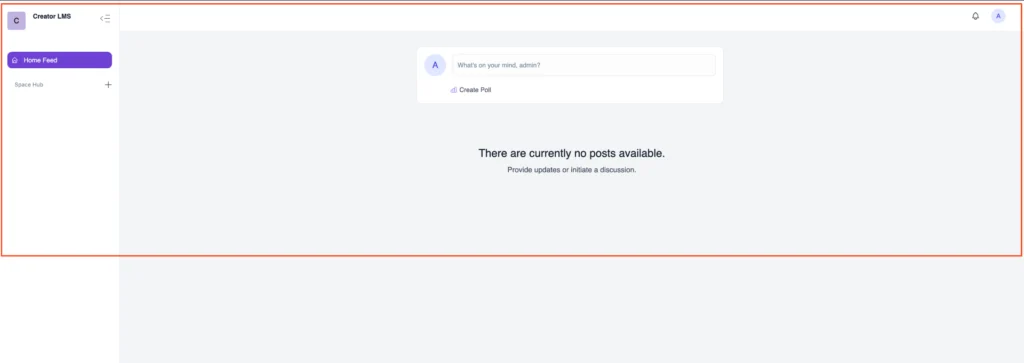
- Once enabled, a Community menu option will appear in the left-hand sidebar.
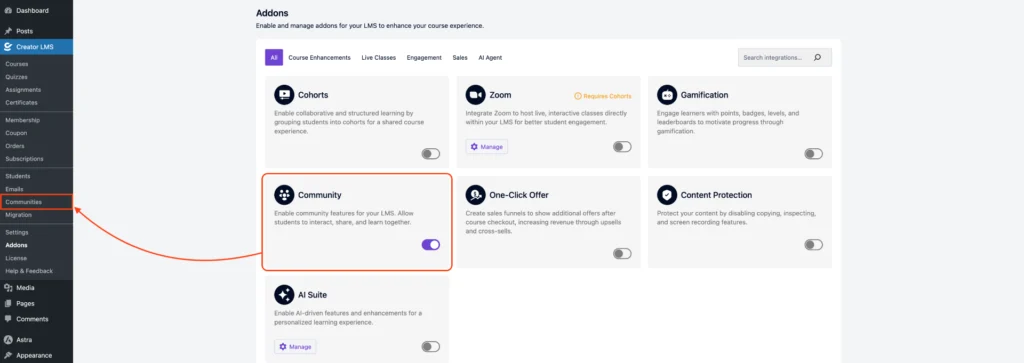
- Click on Community to go to the community page, where you can see all spaces and manage them.
That’s it for this doc! ✅
In the next guide, we’ll learn how to create a community for a course so you can engage your learners even more effectively.