In this doc, I will show you how you can configure your funnel checkout page.
I assume that you have already set up the Landing, Checkout, and Thank You pages.
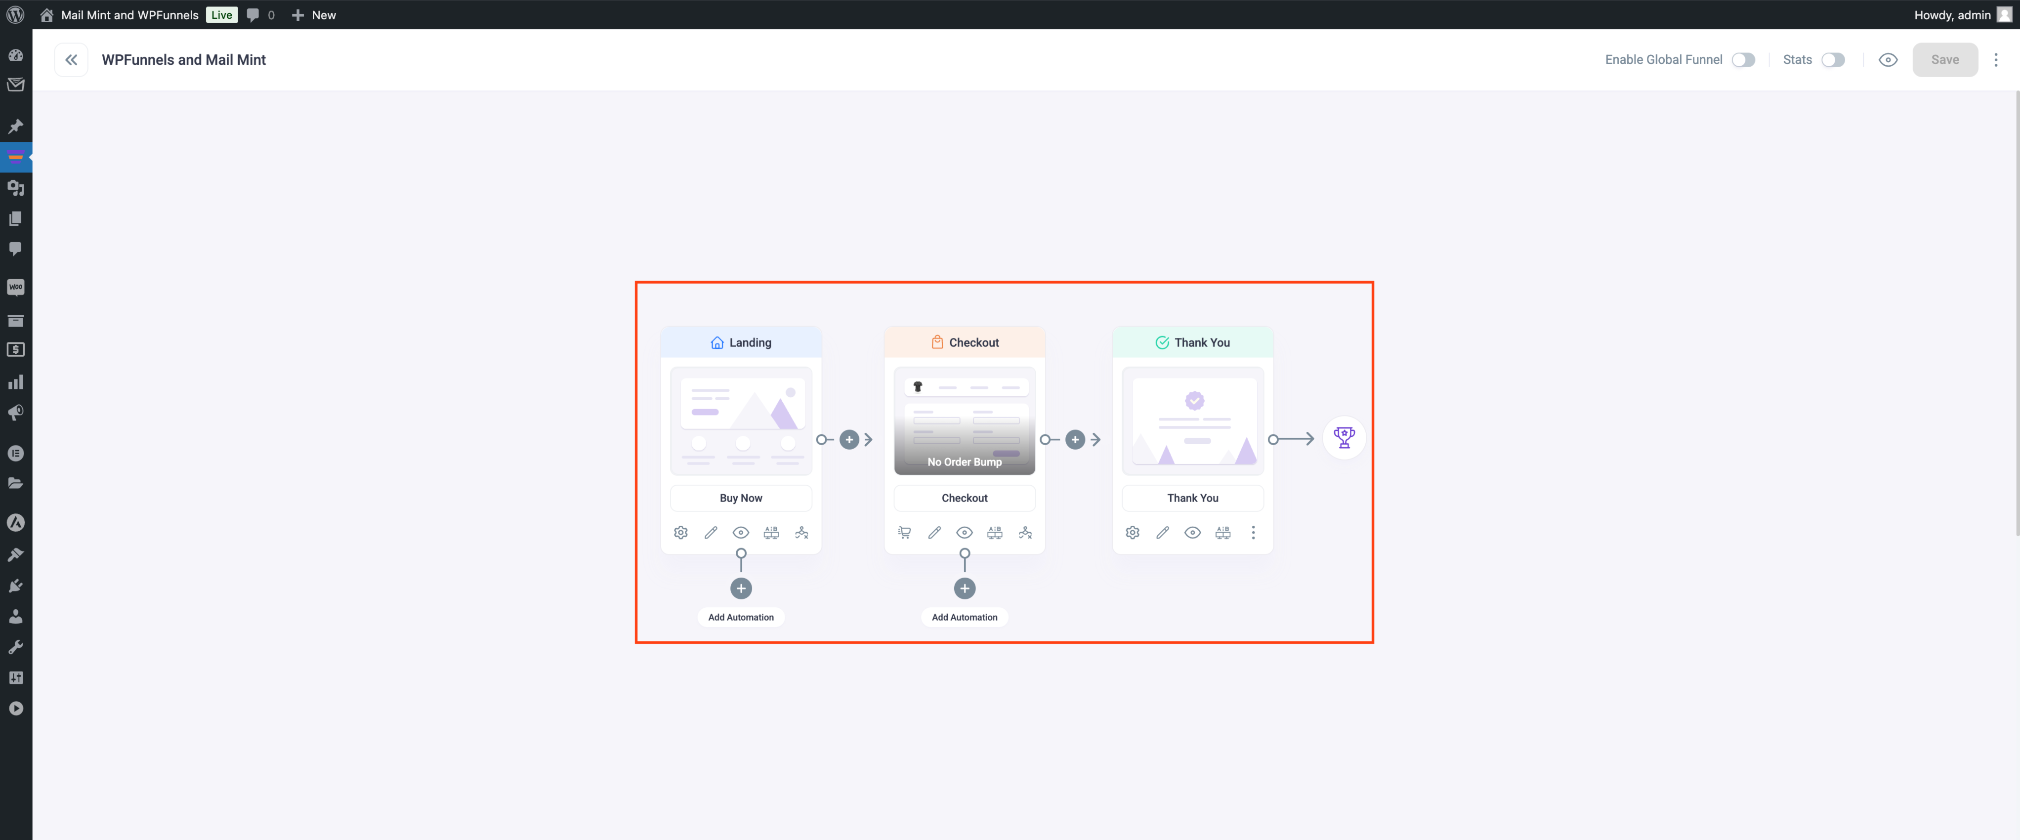
If no product has been added to your funnel, a red warning message labeled ‘No Product Added‘ will appear on the Checkout step.
Add a new product to your Checkout
To add a product to your funnel checkout, click on the Checkout step, where you’ll see several new options appear.

The first option is Add Product, which allows you to include a product in your funnel. The second option enables you to edit the Checkout page directly. The third option is View, where you can preview the Checkout page. The fourth option is A/B Testing, which lets you test different versions of your page and determine which performs better. Lastly, you’ll find the Conditions option, where you can set multiple conditions, such as true/false, to customize the flow of your funnel.
From here, click on the Cart icon, and you’ll be able to include a new product directly to your Checkout page
Once you click on the ‘Cart’ icon option, you will get the following view:
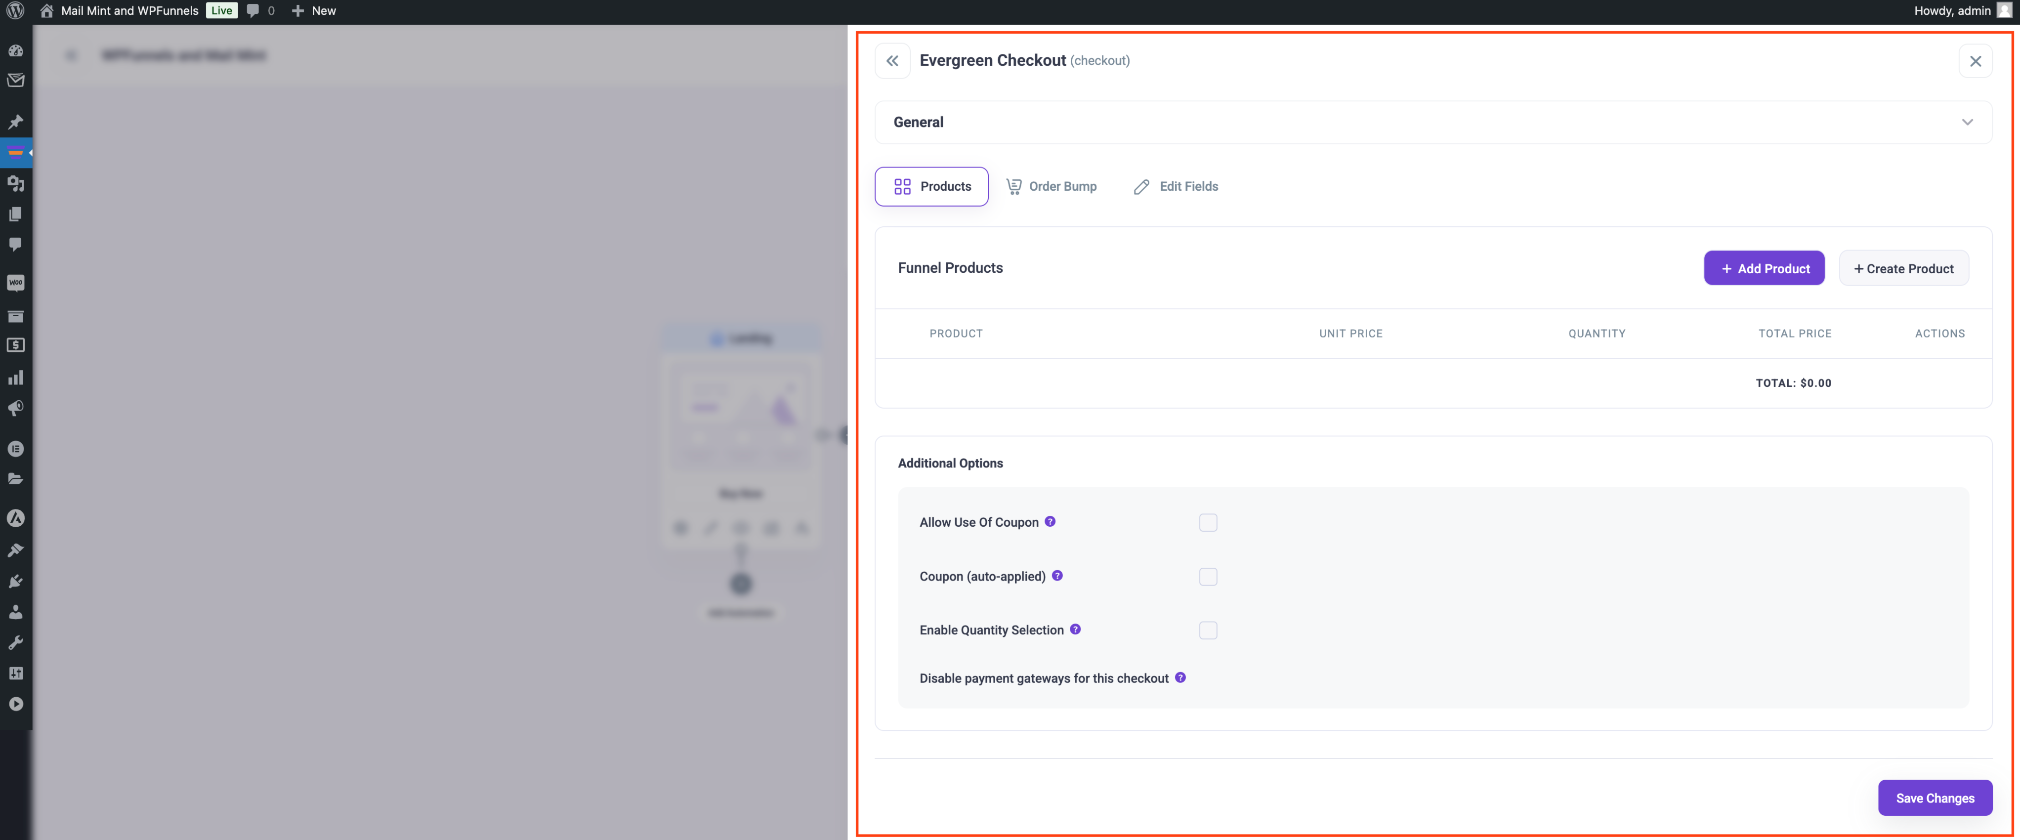
Here, you will see that Products tab is selected by default.
On the right, you’ll find an “Add Product” button. After clicking it, a pop-up will appear. Type the first three letters of the product name, and suggestions will appear. Simply select your preferred product from the list.
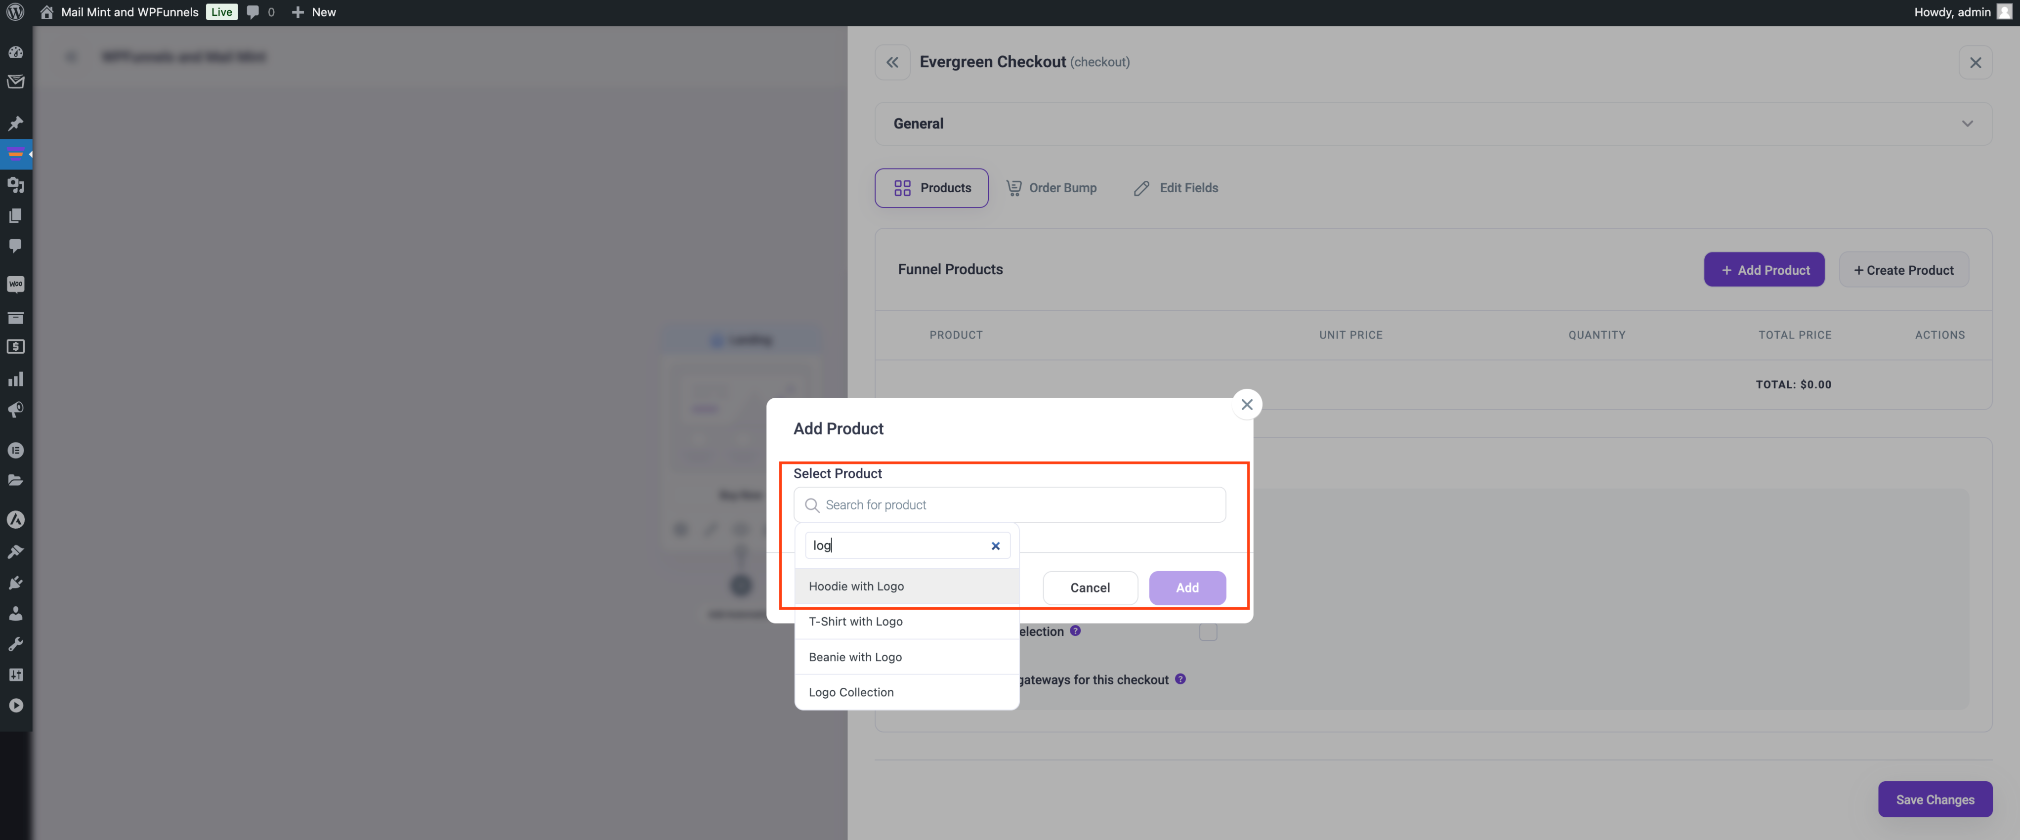
After choosing the product, click on the Add button to add this product to your Checkout.
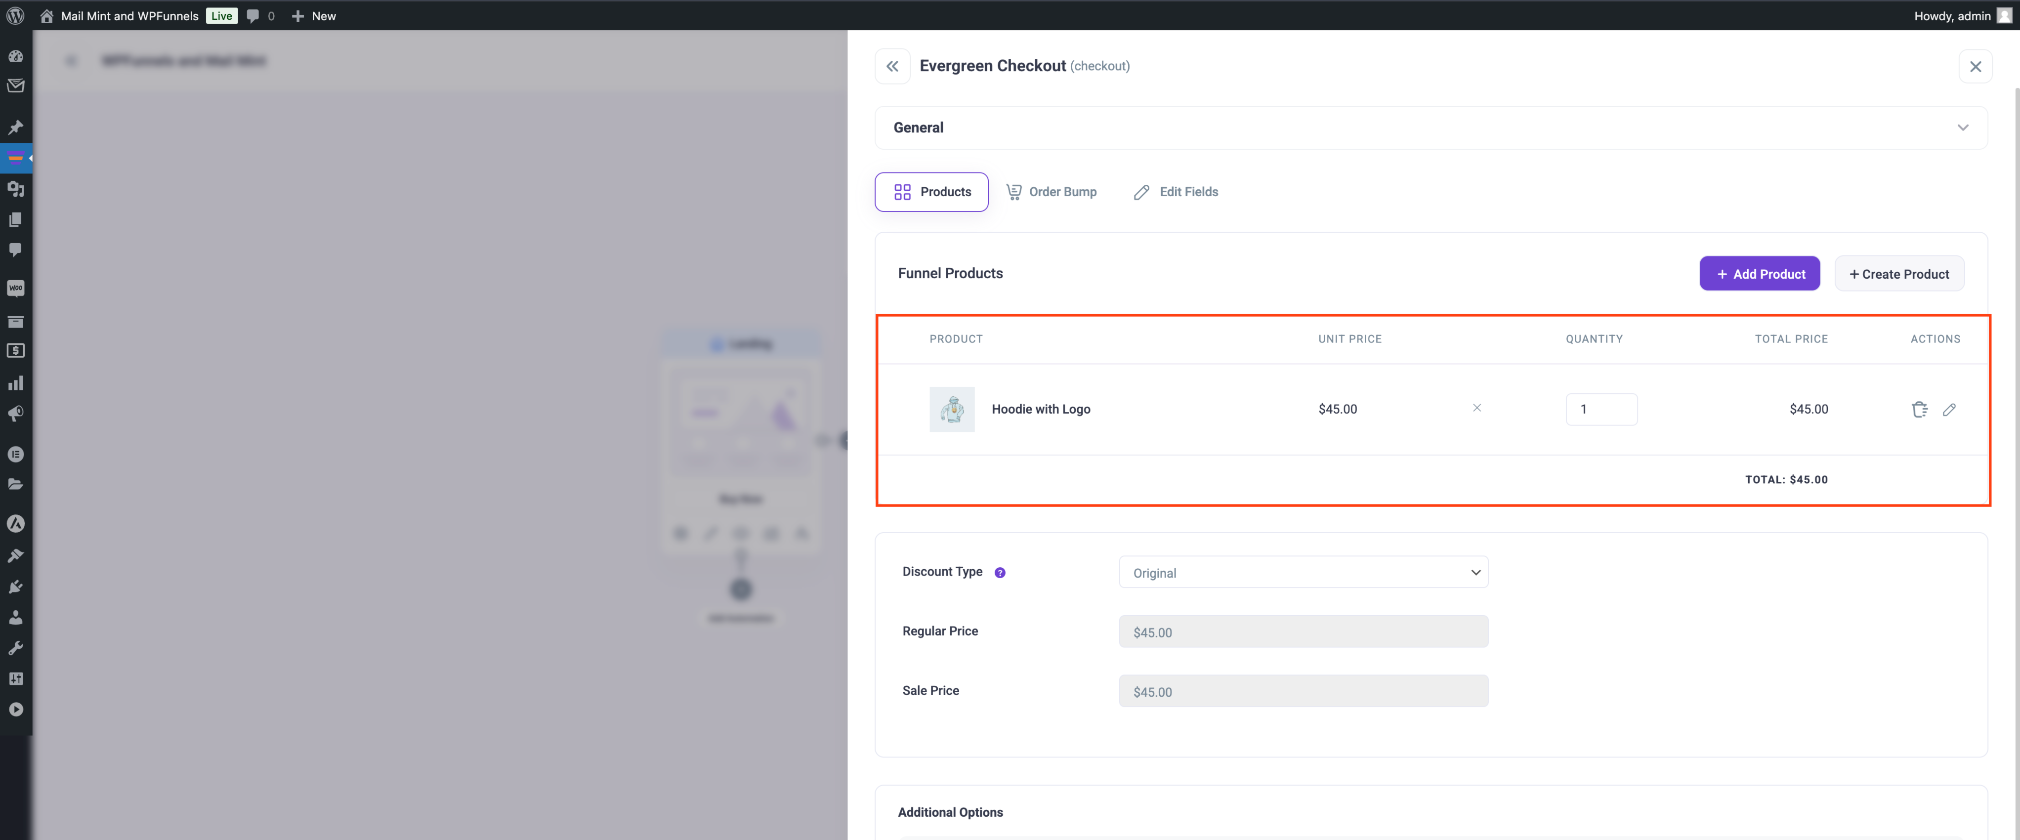
Once the product is added to your funnel, you can adjust the quantity using the Quantity field.
You can also add more products in the same way. Simply search for a product, select it from the list, and click the Add button. The product will then be added to your funnel.
You may also find options to choose the discount type for the order, along with additional details like allowing coupons, auto-applying coupons, and more.
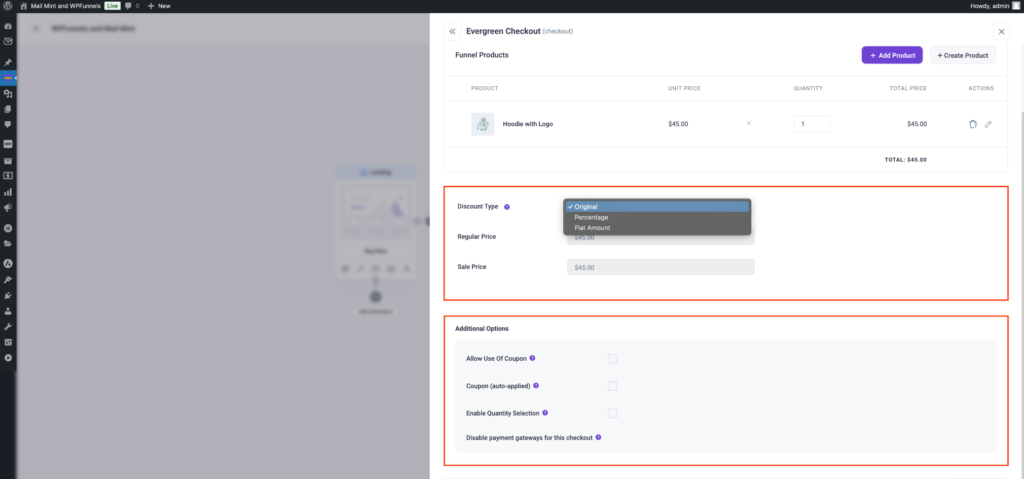
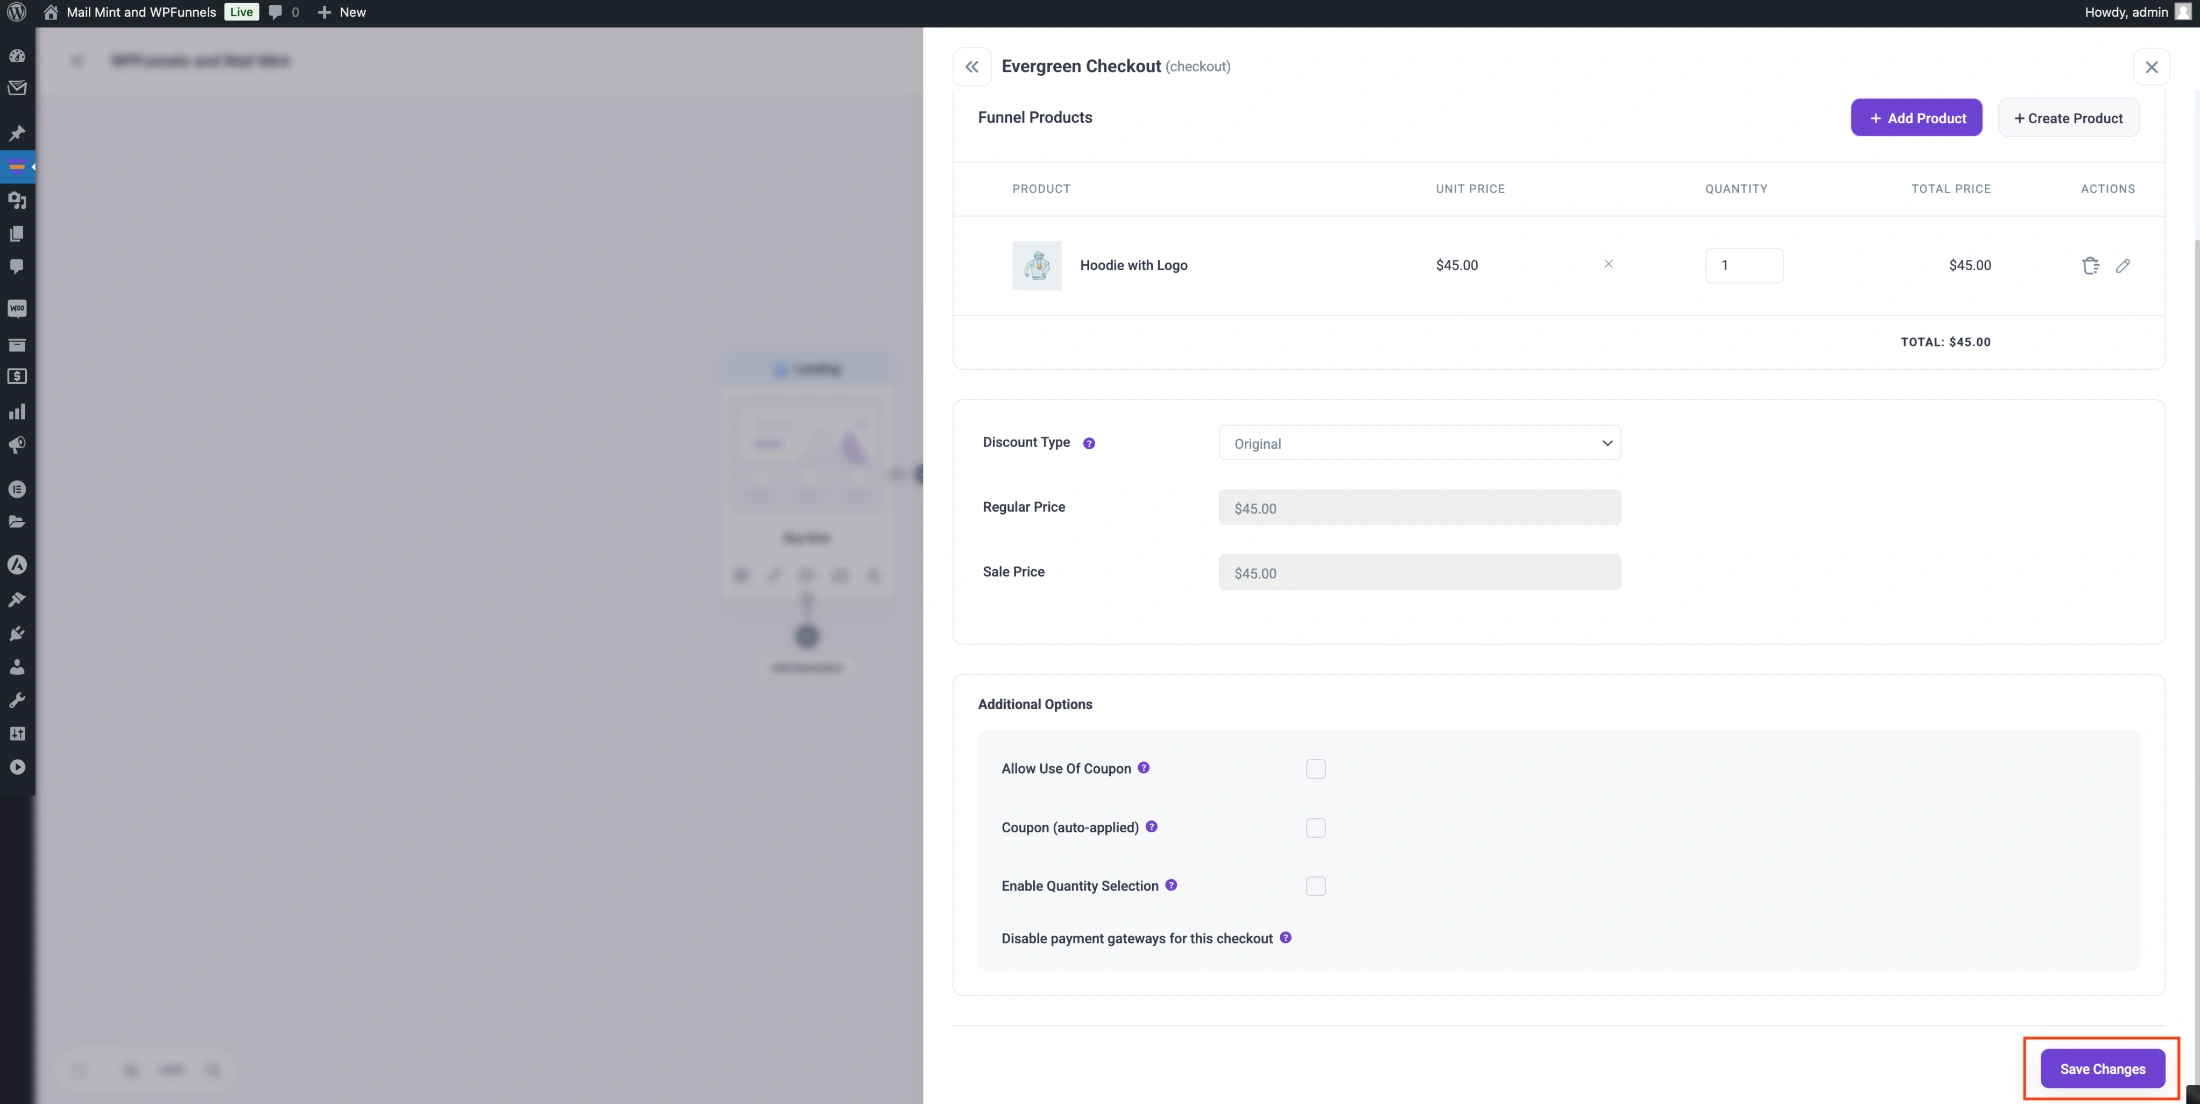
Finally, don’t forget to click the Save Changes button to apply your updates.
Adding an order bump to your Checkout page
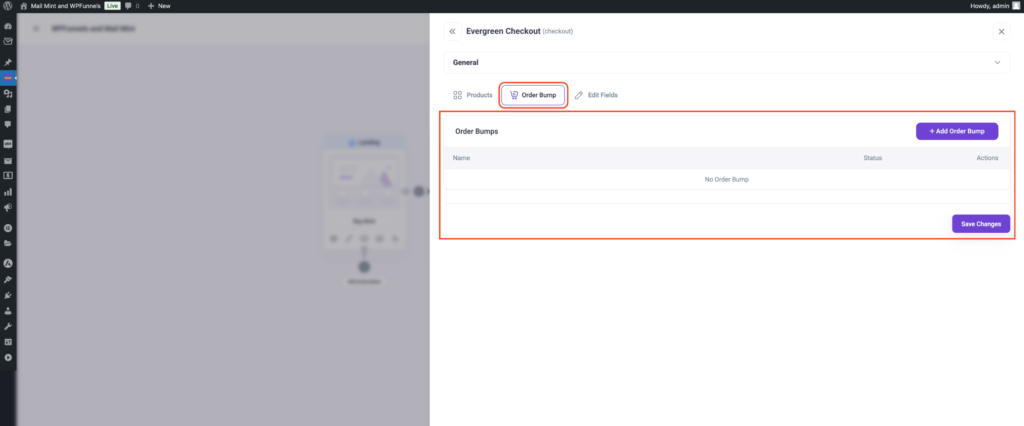
If you’d like, you can add an Order Bump to your checkout. To do this, click on the Order Bump option from the Add Product tab. Once there, you’ll find an Add Order Bump button to proceed with the setup.
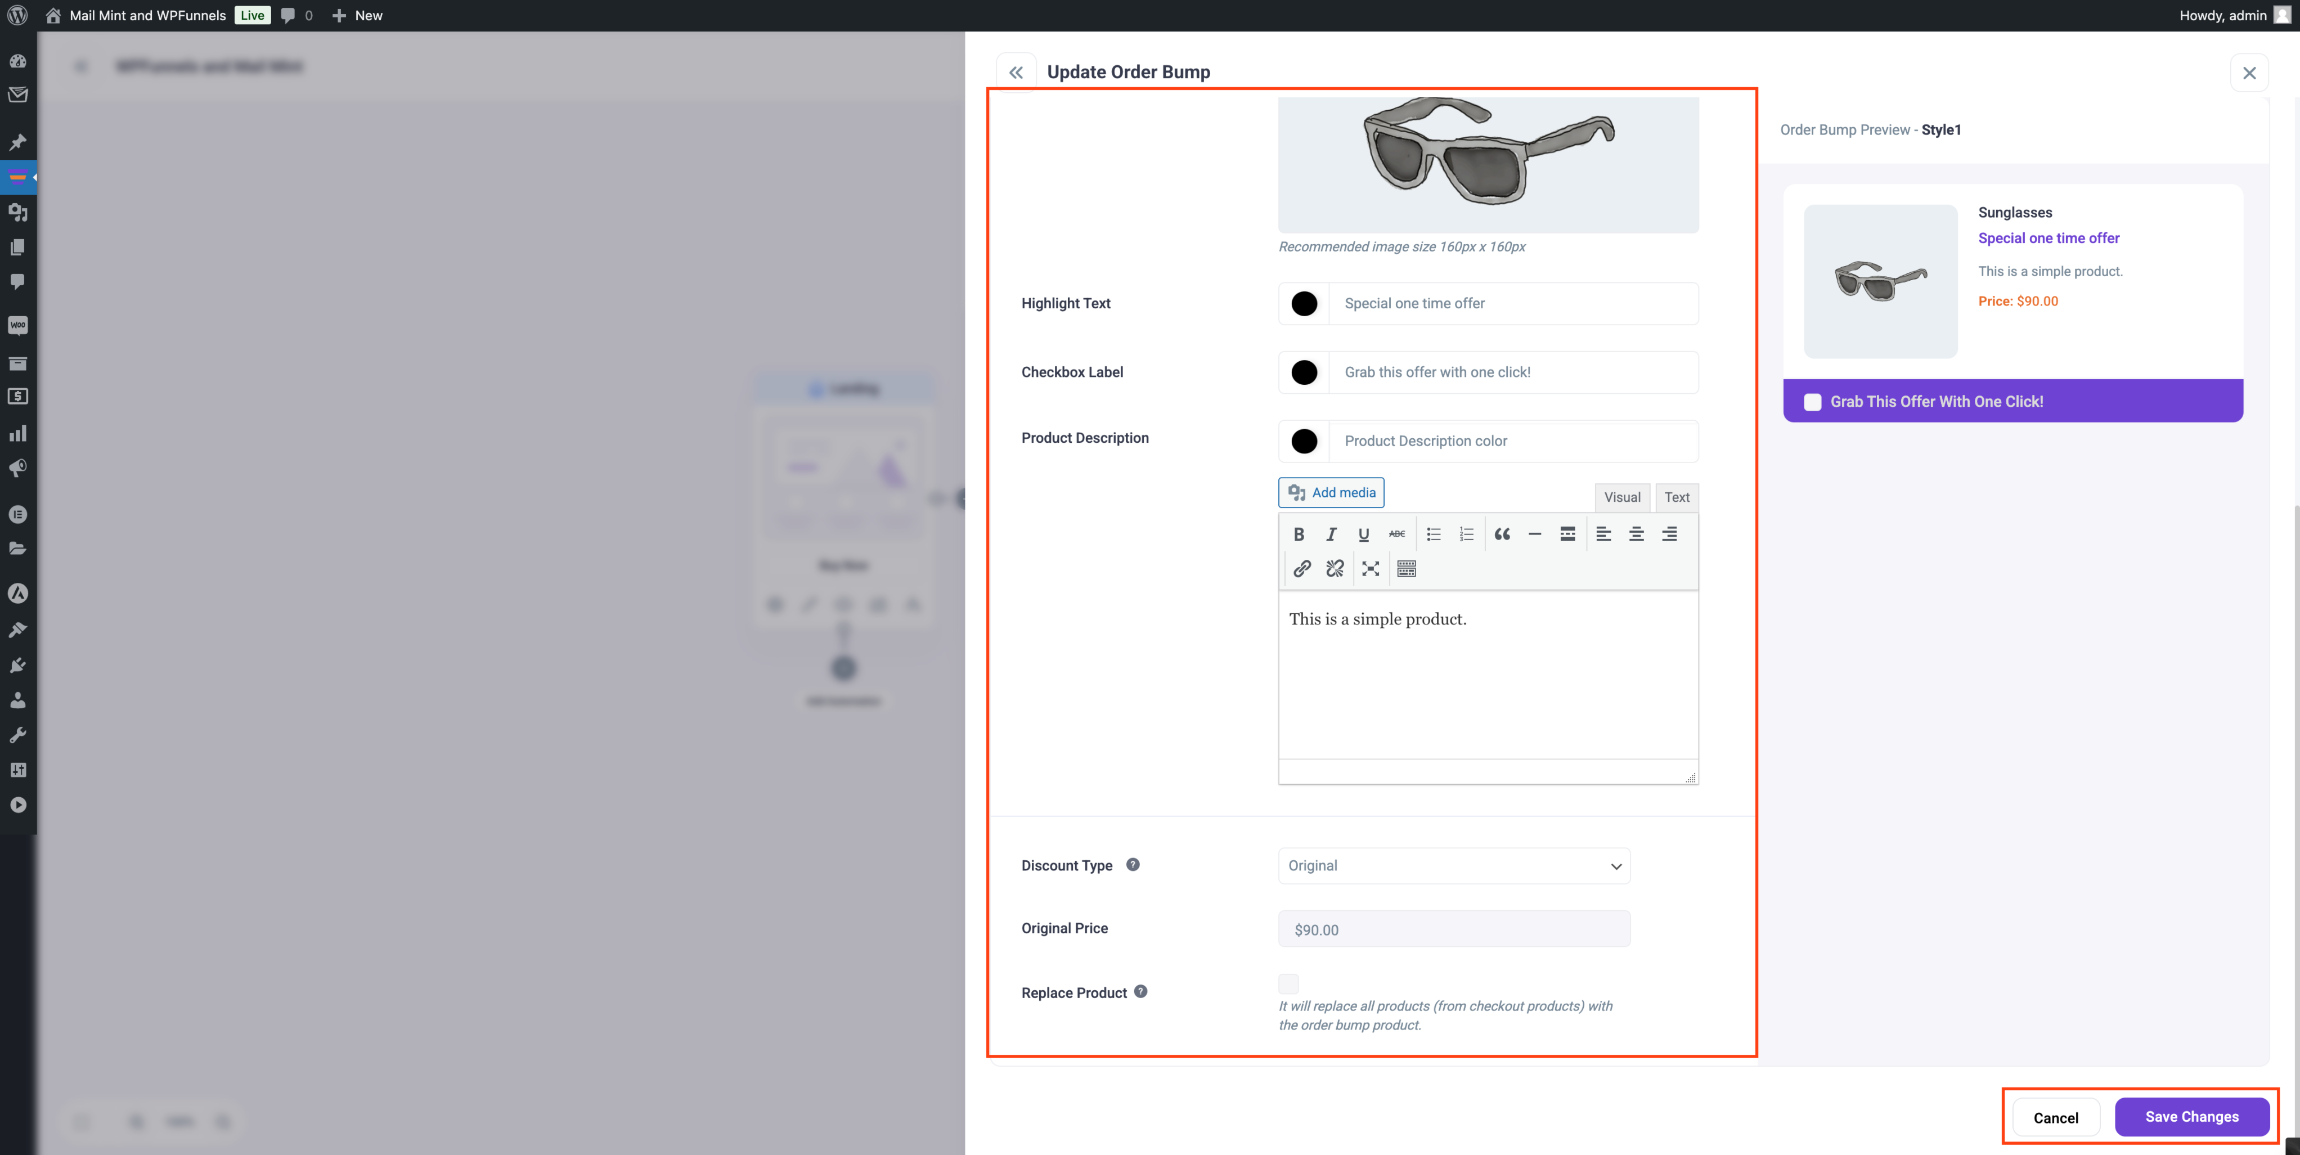
Next, you’ll find several options to customize your order bump, such as labeling the order bump name, selecting a template style, choosing the position where you want the order bump to appear, and selecting a product.
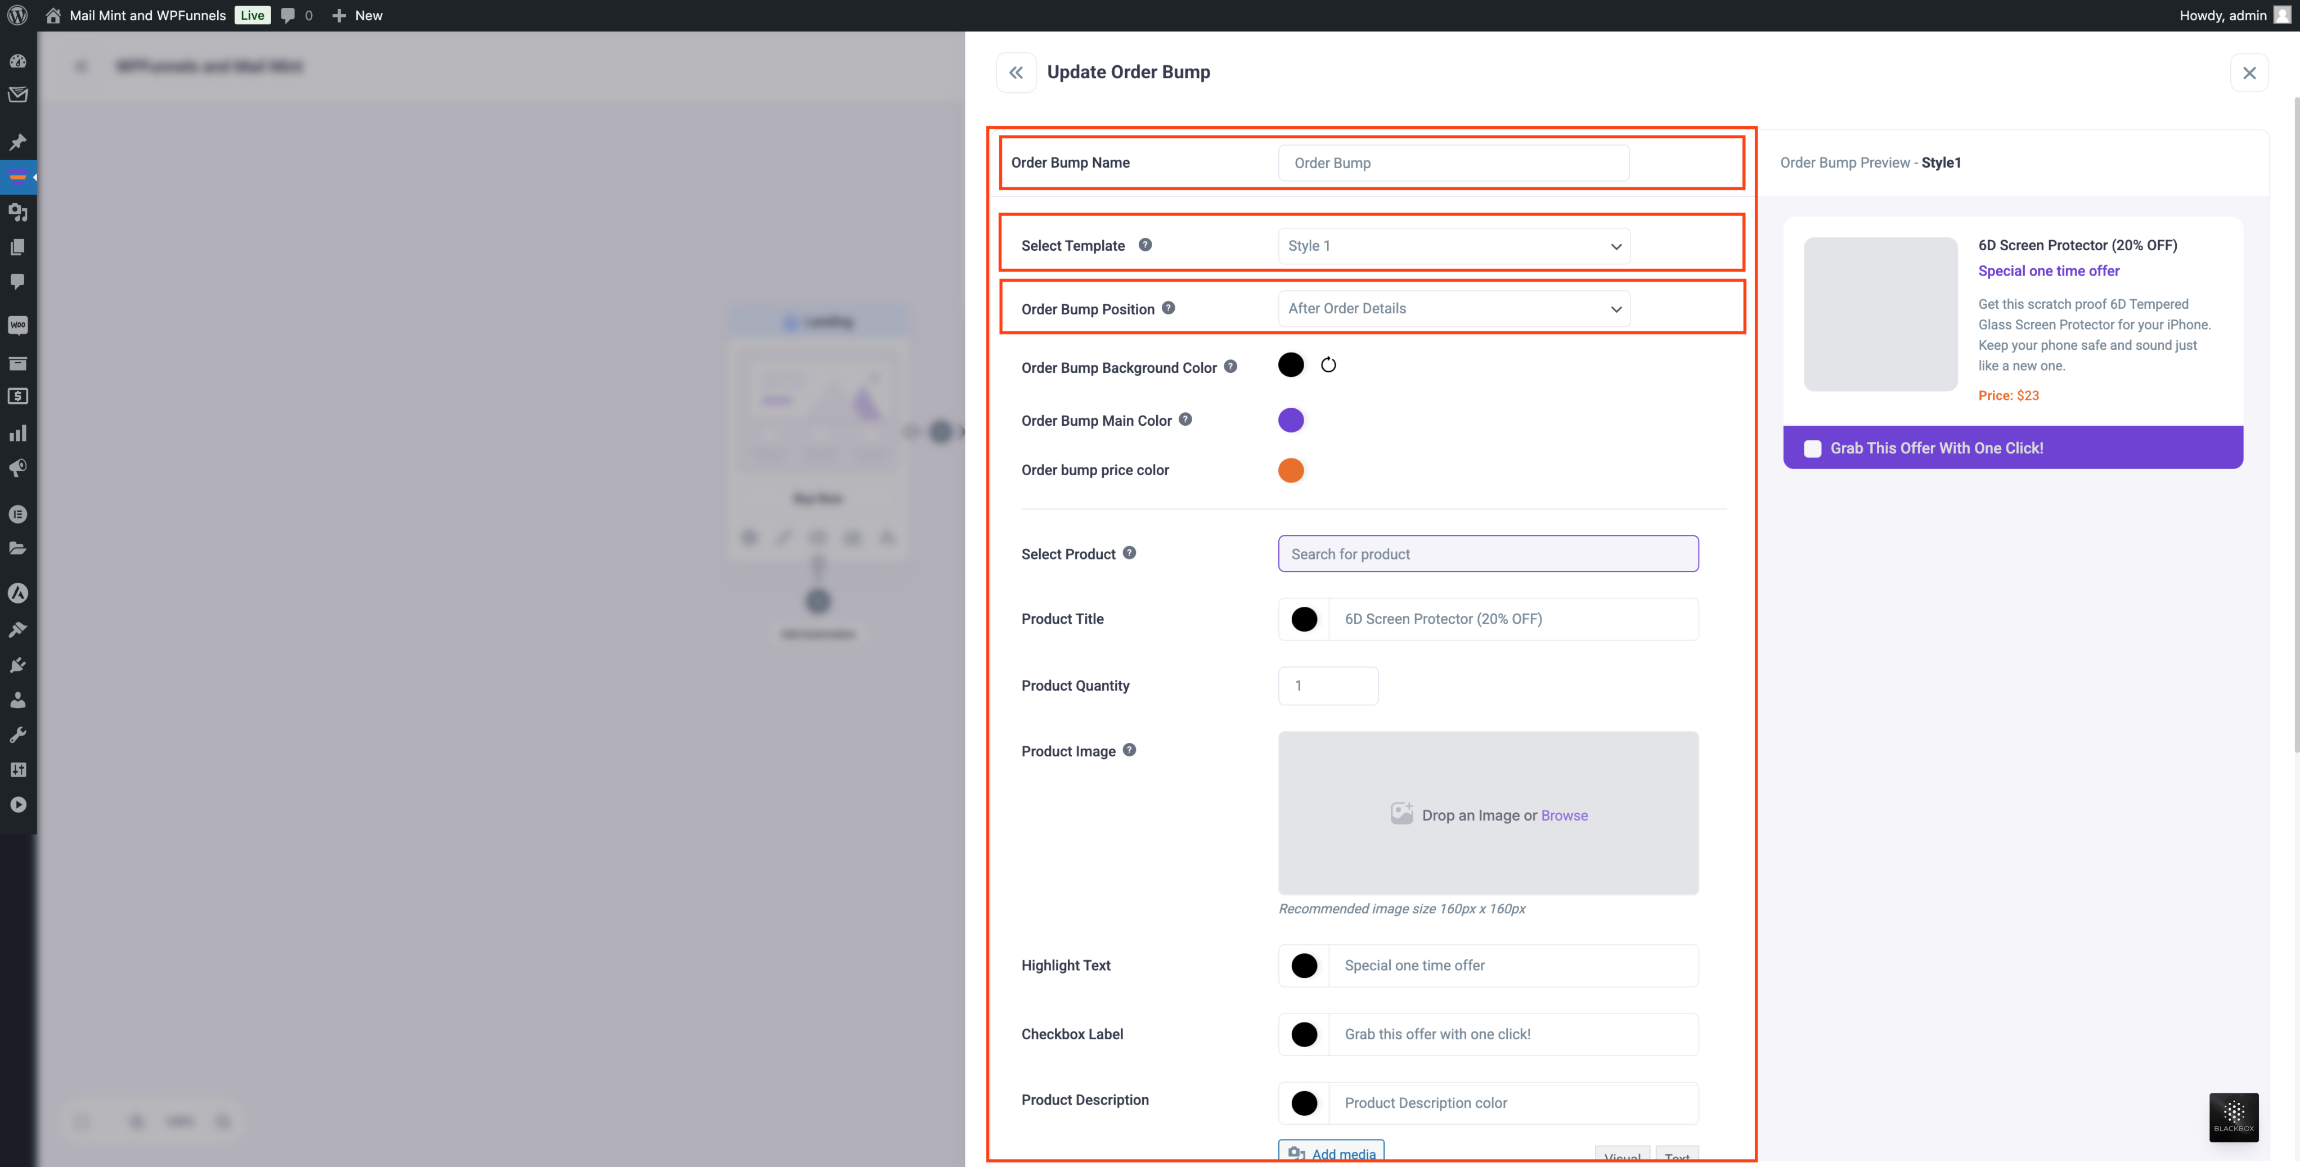
To ‘select product‘, simply type the first three letters of its name, and suggestions will appear. Once you find your desired product, you can easily add it to the order bump.
Make the desired changes, click on the “Save Changes” button, and you’ll see the order bump on your Checkout page.
Edit the design of the Checkout page
Now, to change the layout/design of your Checkout page, go back to the funnel canvas, click on the Checkout step, and then click on the Edit option from the top of the Checkout step.
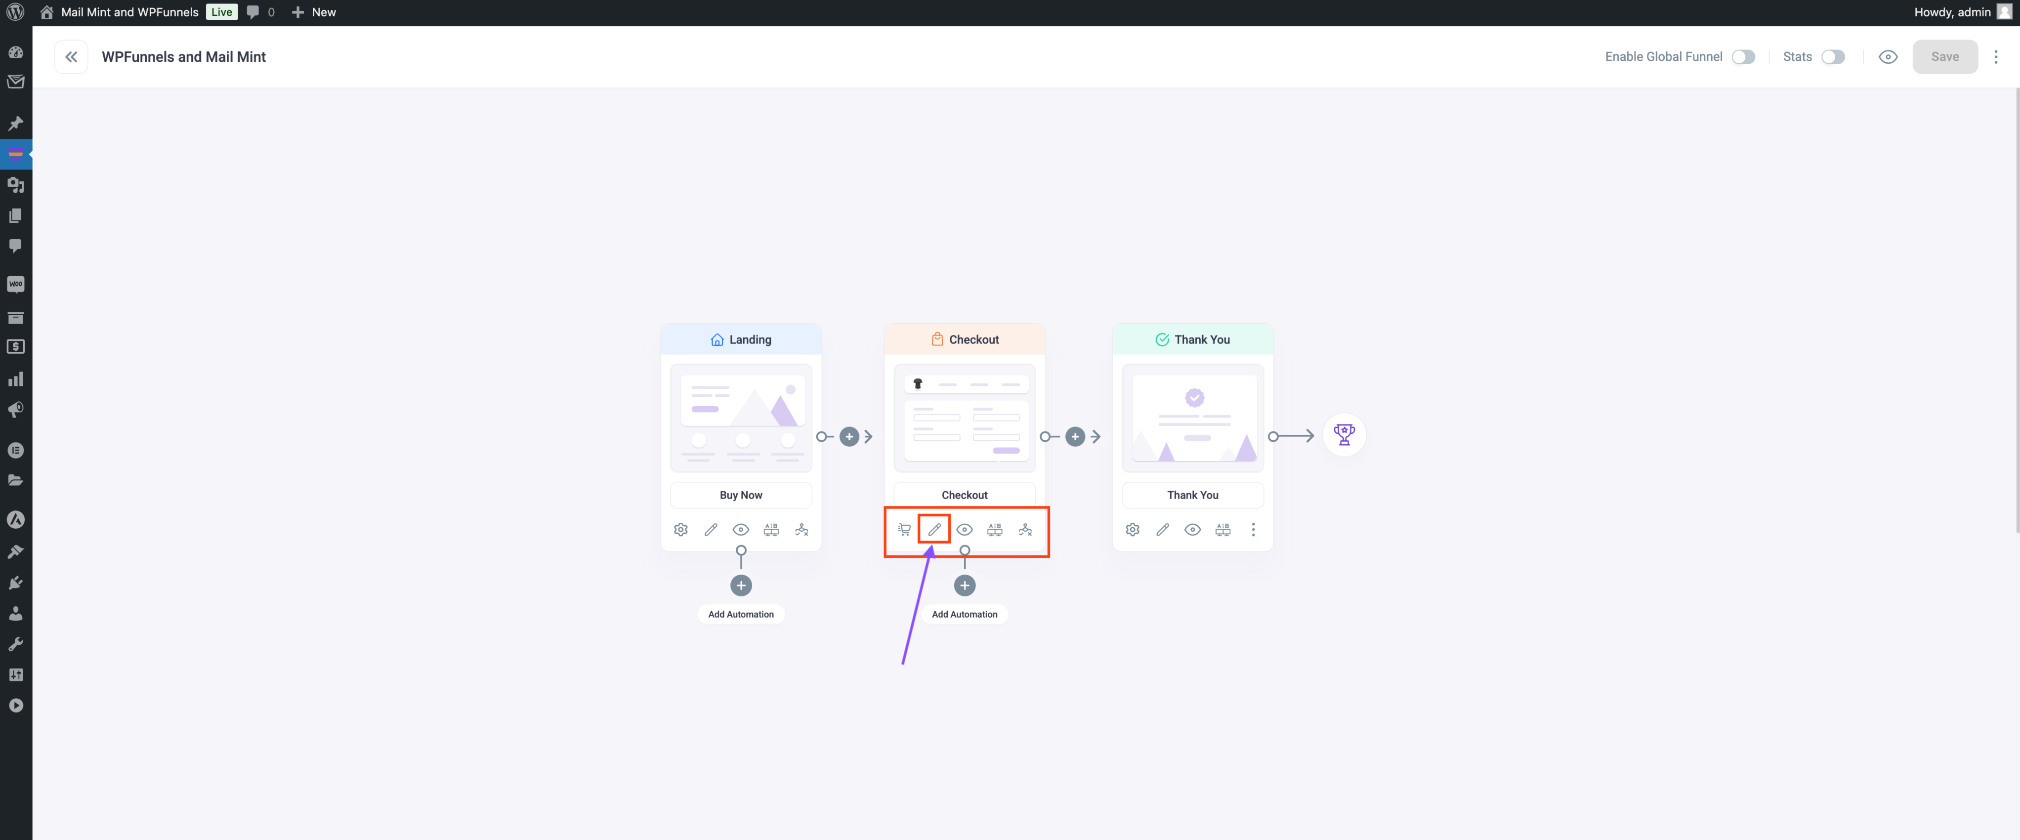
Once you click on the Edit option, a new tab will open with the Elementor page builder plugin, allowing you to customize your Checkout page.
It’s worth noting that I’ve set Elementor as the default page builder, which is why the Landing page opens directly in Elementor. You can change the default page builder from the WP Funnels Settings if needed.
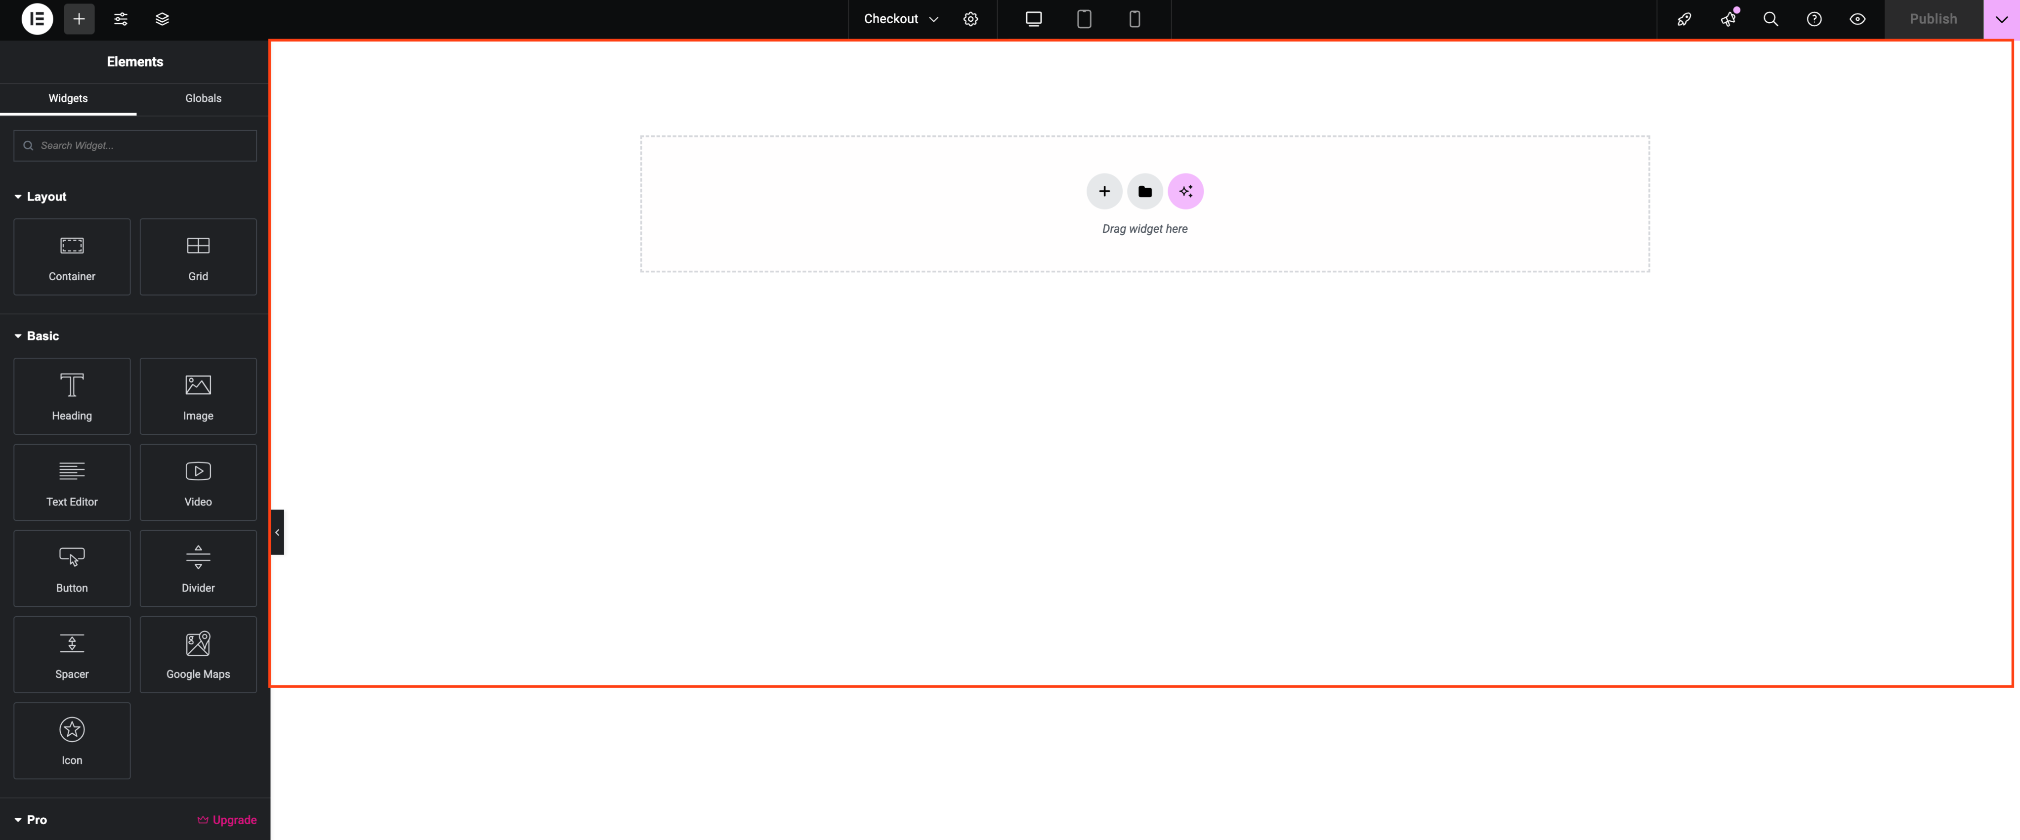
When the page opens in Elementor, you’ll see the following view:
Also, if you are using a pre-made template, then you will get the Checkout layout here, and you can make any changes as you want.
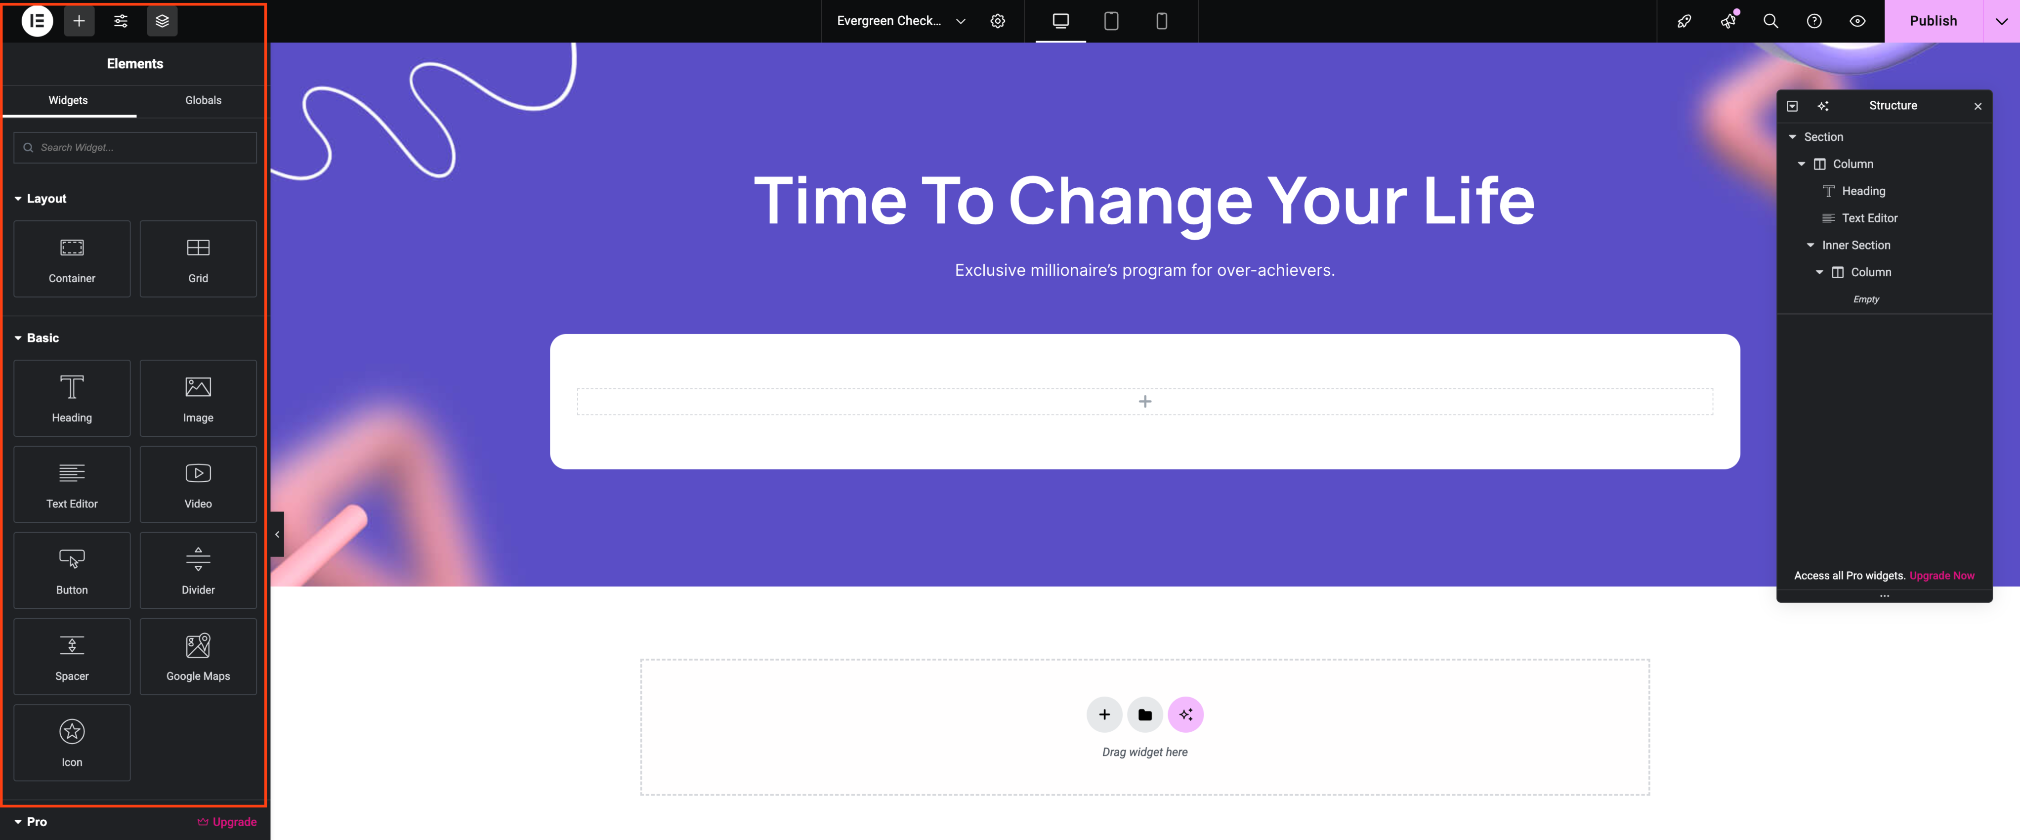
On the left, you will get a list of widgets that you can simply drag and drop on your editor and then edit the widget.
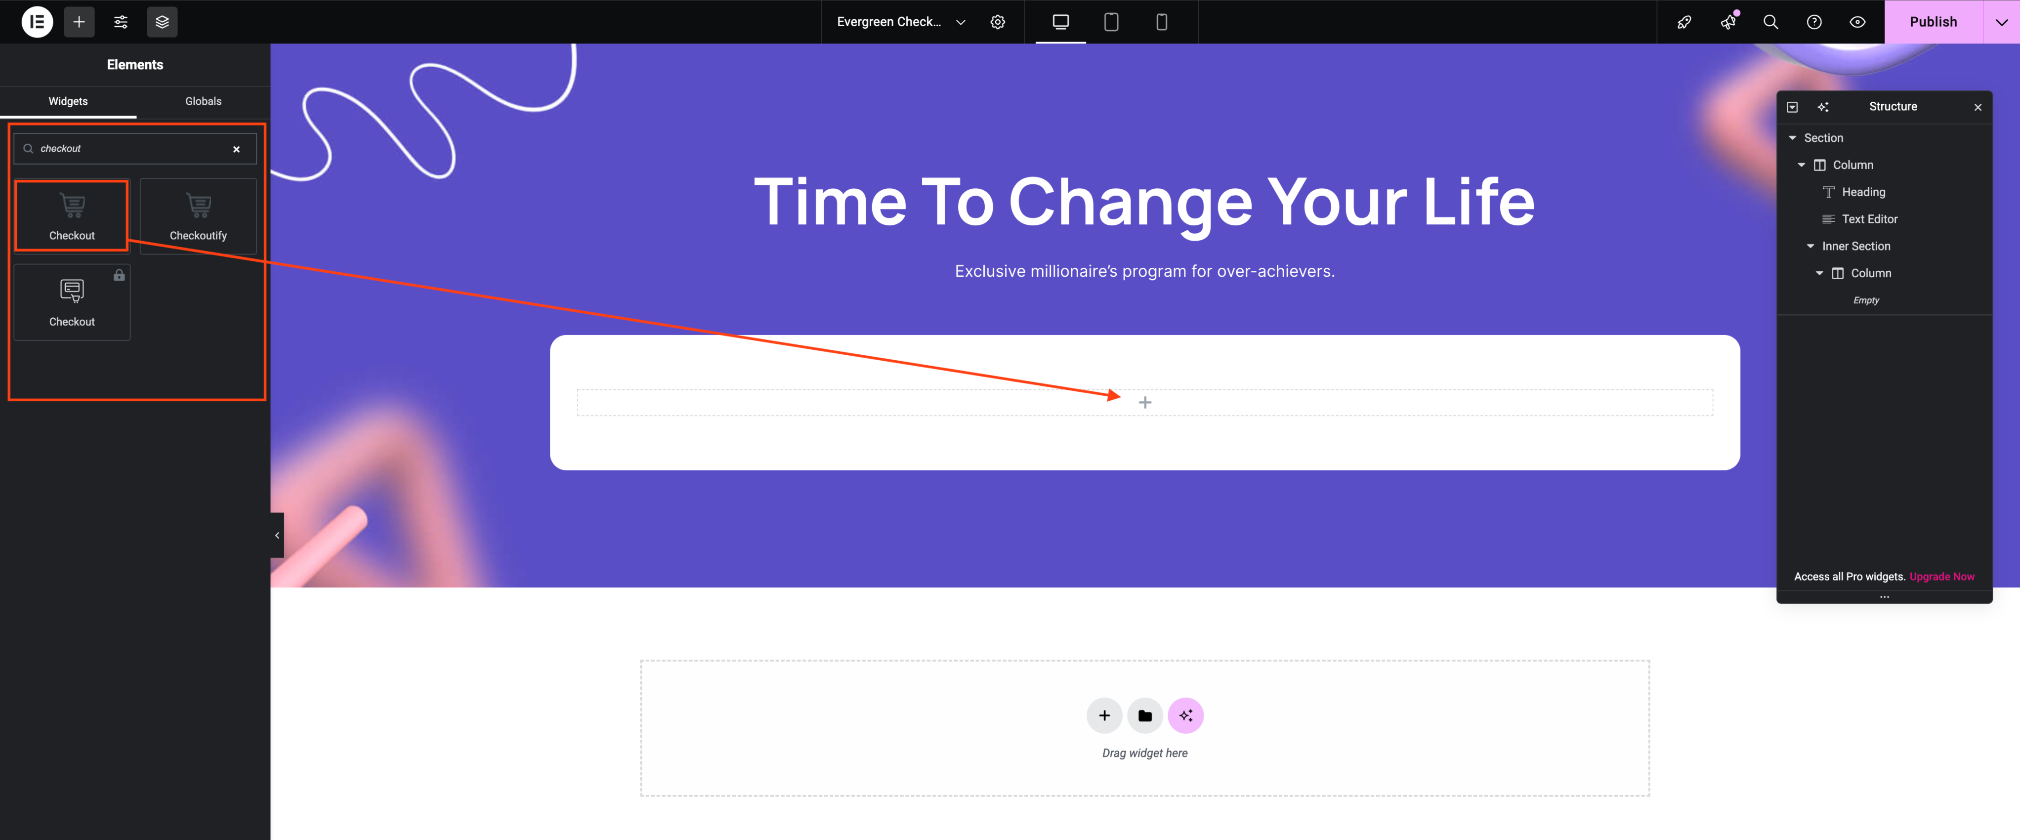
You can also search for a widget using the search bar. Simply type ‘Checkout’ in the search bar, and you’ll find the WPFunnels Checkout widget. Alternatively, you can use the WPFunnels Checkout shortcode to integrate the checkout functionality.
Drag the Checkout widget and drop it on your editor.
Click on the Publish button, and all the changes will be saved.
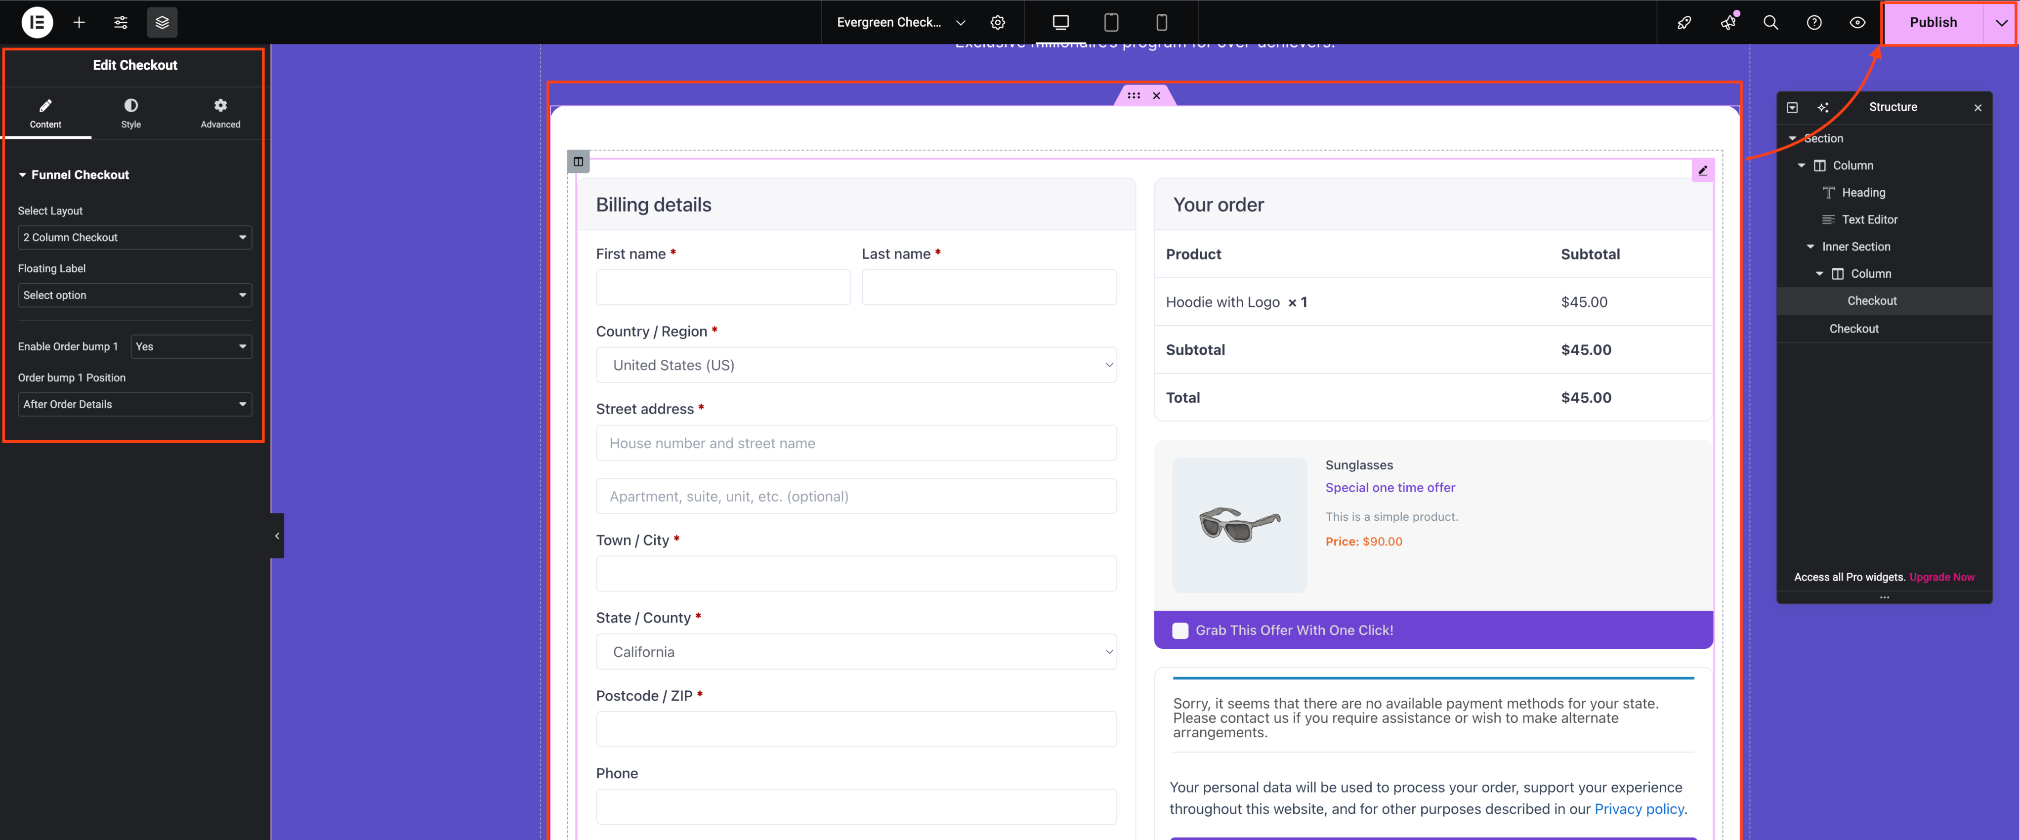
Your checkout page is ready.
Now, finally, to see your checkout page in action, select Checkout Step from your can click on the view option next to the UPDATE button on Elementor, or you can go back to your funnel canvas, select Checkout Step, and then click on the view option.