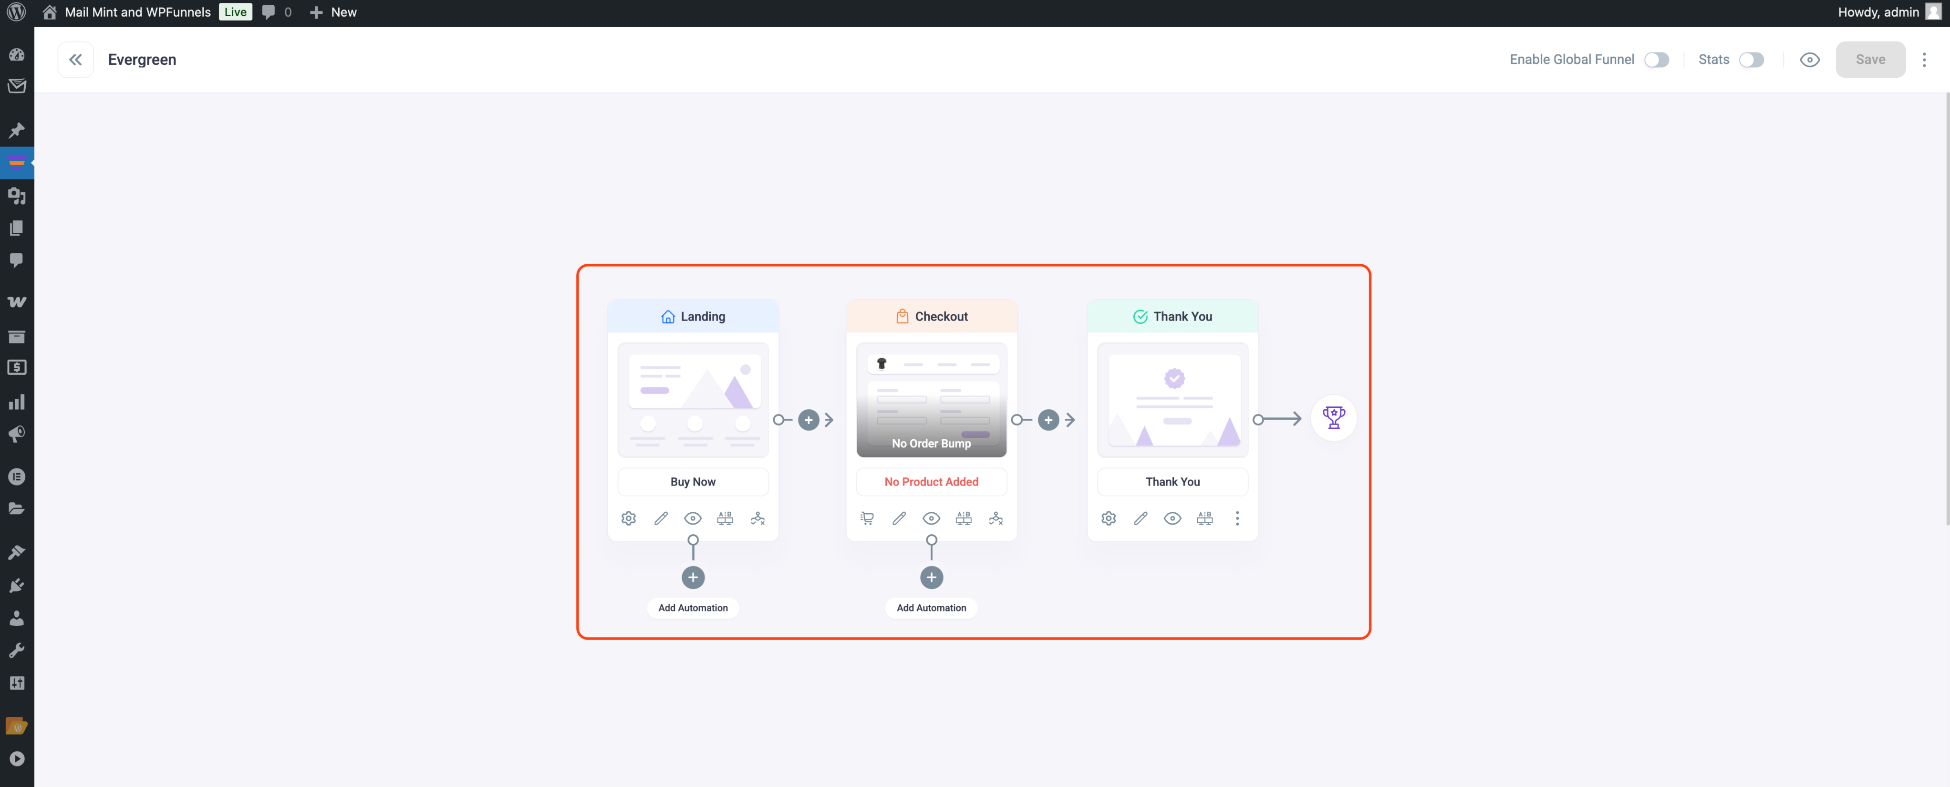
When creating a sales funnel, the first and the most important part of the process is to plan your sales funnel.
You need to strategically decide what steps to use and what offers to make so that you can make your buyers spend more, every time they enter your funnel.
WPFunnels introduced the first canvas-based drag & drop funnel builder in WordPress with which you can visually plan your sales funnel, and then design & execute your complete funnel without leaving your WordPress dashboard.

In this section of the guide, we will cover the all-important visual funnel planner that you will be able to use easily and focus on highlighting all the features you may use before designing the funnel step pages.
Go through the following resources one by one and learn how you can use WPFunnels to plan highly converting sales funnels visually:
Articles
- Start Creating A Sales Funnel
- Import A Pre-built Funnel Template
- The Visual Funnel Canvas Overview
- All Types Of Funnel Steps
- Add Or Remove A Funnel Step
- Decide & Assign The Main Funnel Sales Product
- Set Discount To The WPFunnels Main Product
- Checkout Step Configuration Options
- How To Enable Quantity Selection During Checkout
- How To Edit Checkout Fields In WPFunnels
- Using Conditional Steps To Control Funnel Journey
- Thank You Step Configuration Options
- Thank You Page Auto Redirect
- Detailed Analytics Within WPFunnels
- How To Set A Funnel Page As Homepage


